
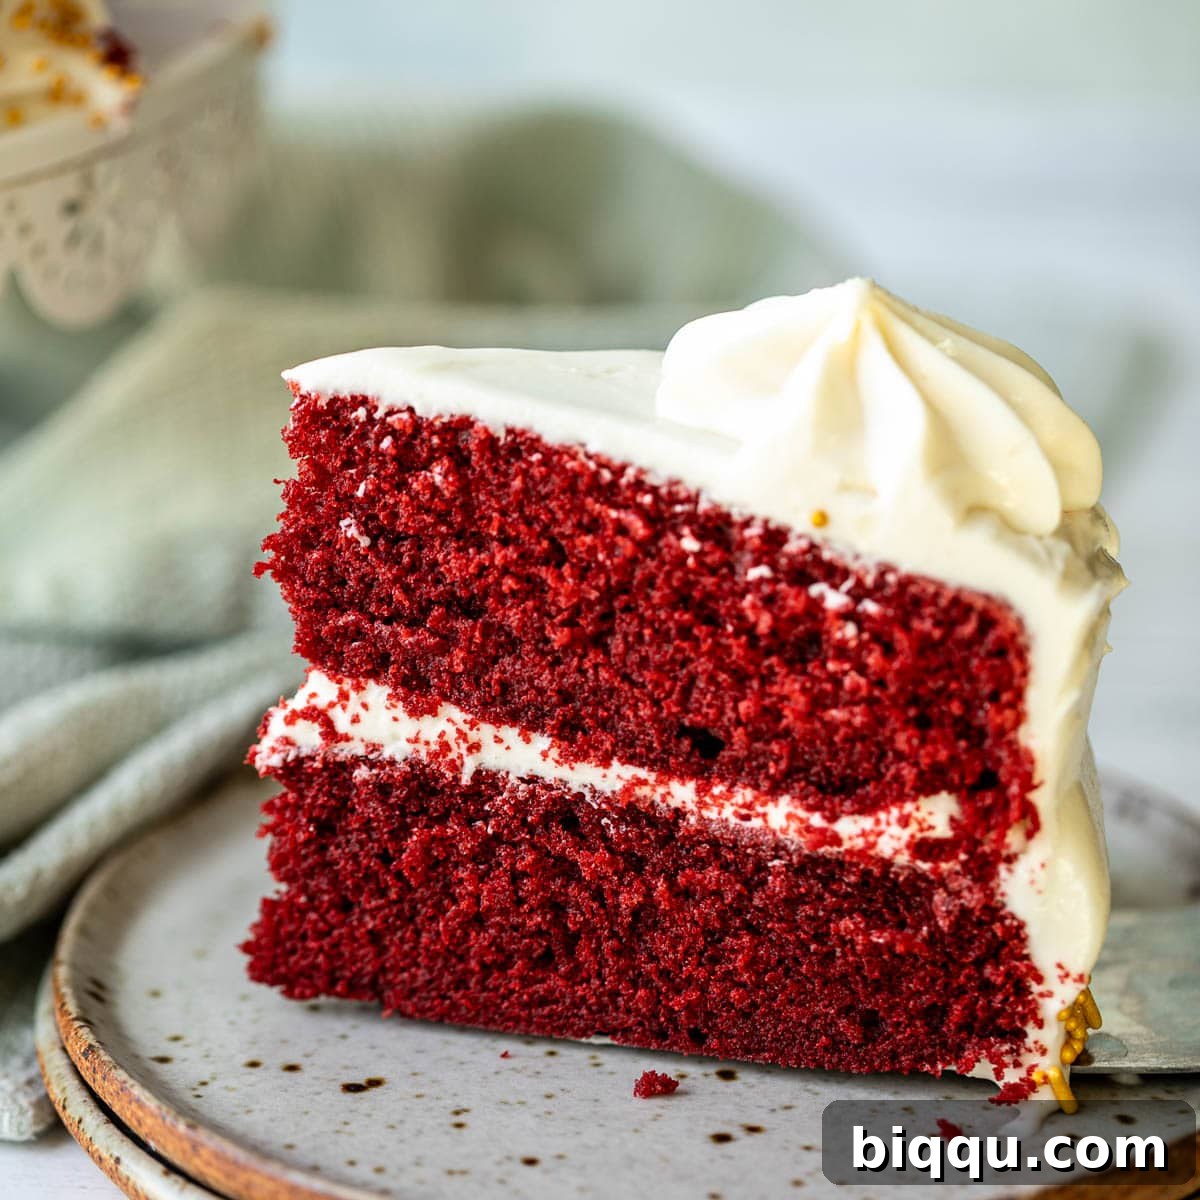
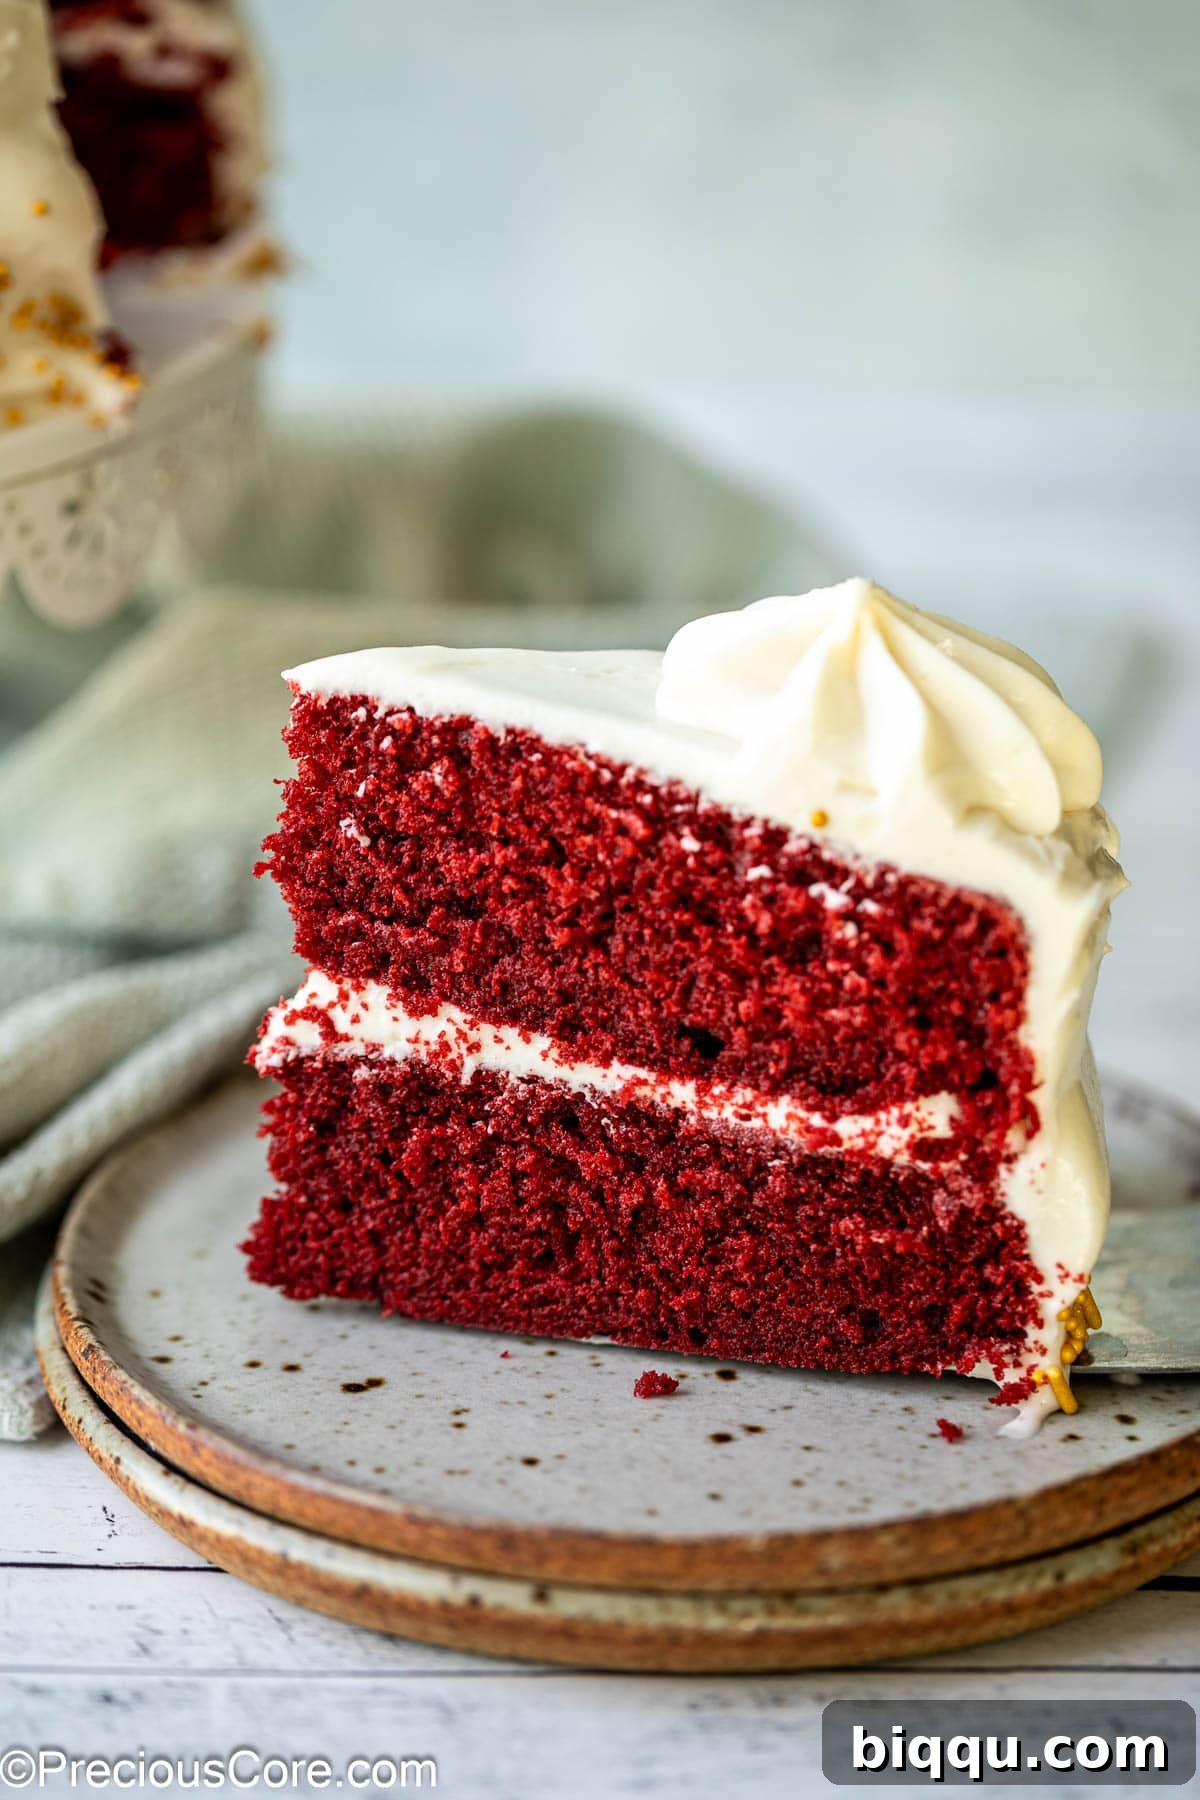
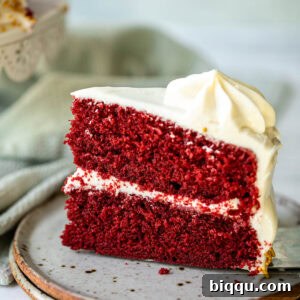
Craving a classic, melt-in-your-mouth Red Velvet Cake but don’t have buttermilk on hand? No problem! This **Red Velvet Cake Recipe Without Buttermilk** delivers a truly decadent and unforgettable dessert experience, proving you don’t need traditional ingredients to achieve baking perfection. Get ready to impress with this moist, fluffy cake, exquisitely paired with a tangy, silky cream cheese frosting – the golden final touch that ties every delicious layer together. It’s time to add this show-stopping dessert to your collection of go-to recipes.
This magnificent cake is more than just a treat; it’s a celebration in itself. Its striking deep red hue makes it perfect for any special occasion, from festive holidays like Christmas and Easter to romantic Valentine’s Day celebrations, heartwarming Mother’s Day gatherings, elegant weddings, or simply when you desire an exceptionally good cake. One bite, and you’ll understand why this recipe is destined to become a beloved favorite, delivering a delightful flavor that truly sends you to dessert heaven.
For all my fellow cake enthusiasts out there, if you cherish indulging in homemade cakes as much as I do, then you absolutely must explore my other delectable cake creations. Be sure to try my highly-rated Best Yogurt Cake, the comforting and rich Old Fashioned Carrot Cake, or the delicate and versatile Vanilla Sponge Cake! Each recipe is crafted to bring joy to your kitchen and delight to your taste buds.
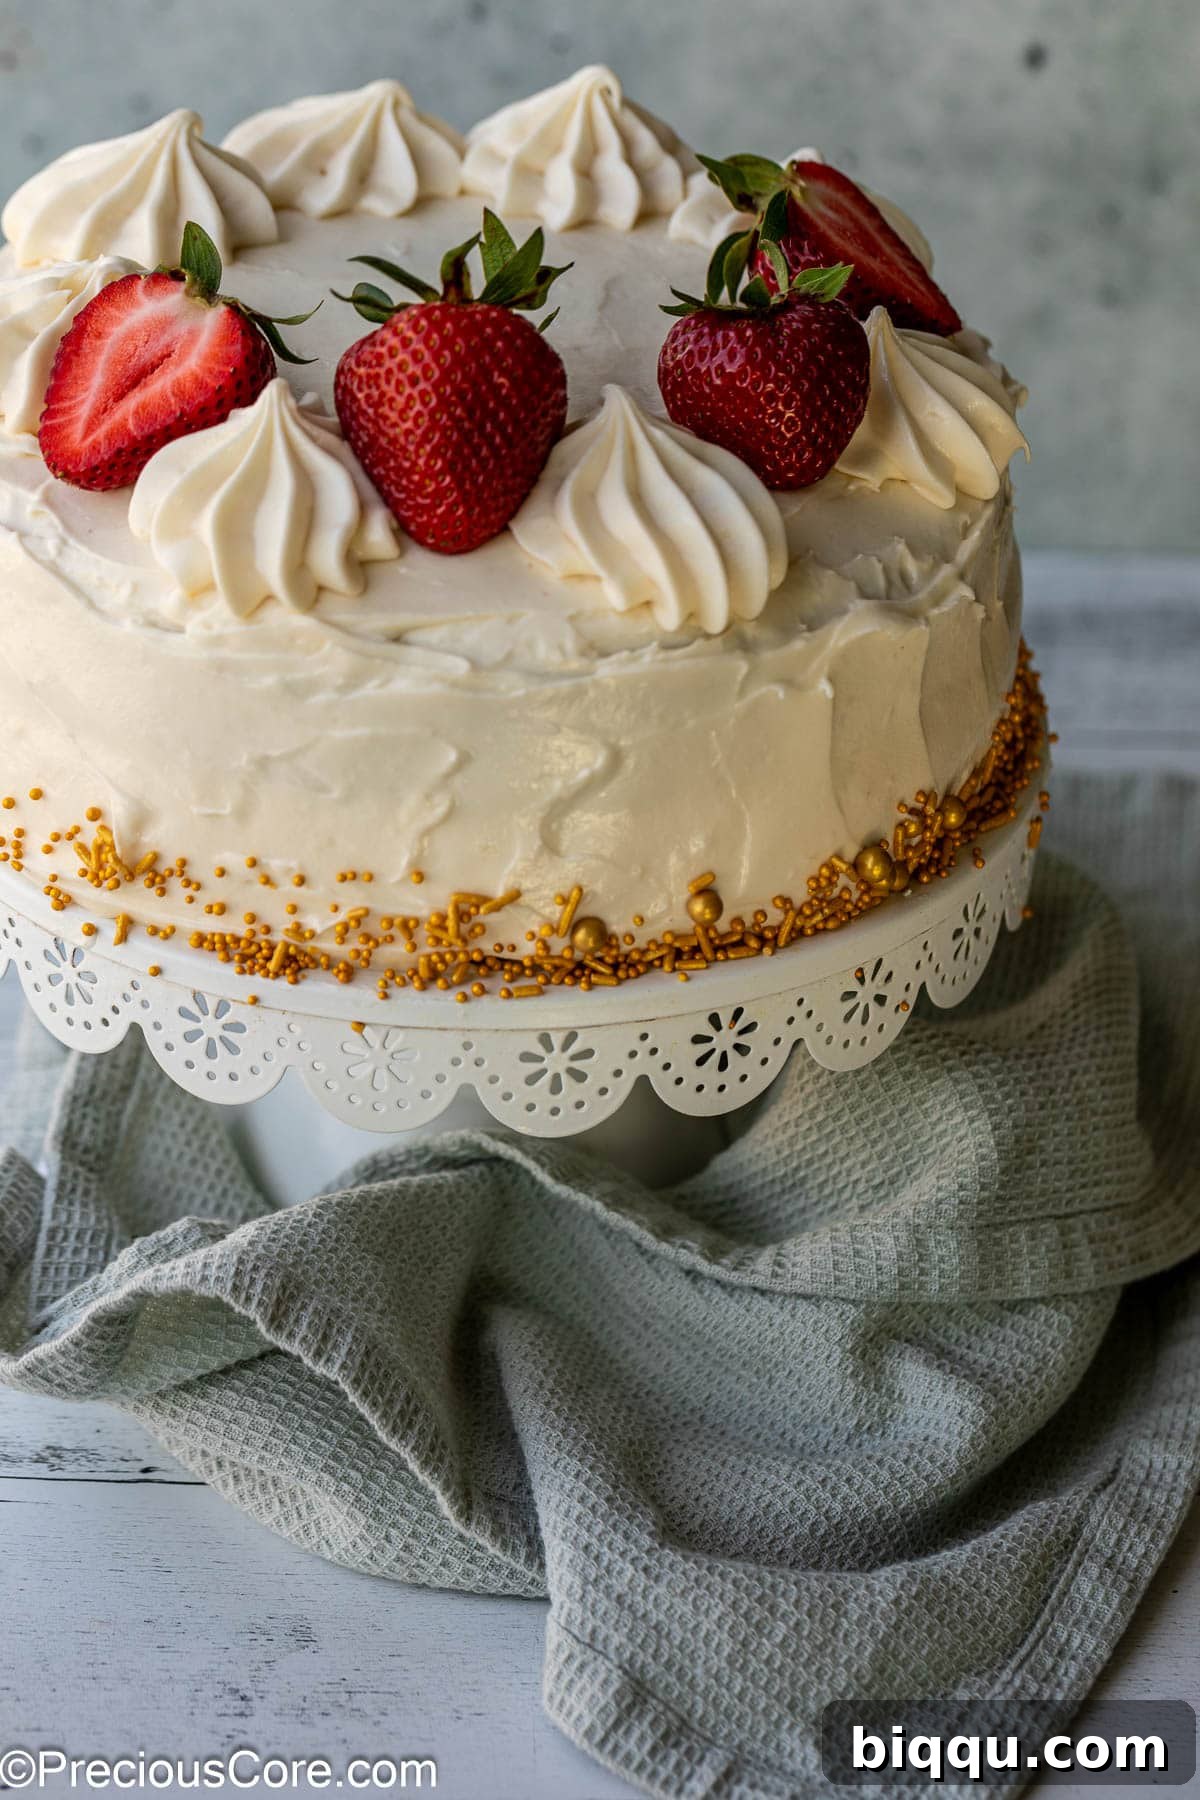
Table of Contents
- Mastering Red Velvet Cake Without Buttermilk
- The Magic Behind This Recipe
- Essential Ingredients For Your Buttermilk-Free Red Velvet Cake
- Creative Recipe Variations For Your Red Velvet Cake
- Smart Ingredient Substitutions
- Step-by-Step Guide To Baking The Perfect Red Velvet Cake Without Buttermilk
- Expert Tips For A Flawless Red Velvet Cake
- Red Velvet Cake FAQs
- Perfect Serving Suggestions
- Explore More Irresistible Cake Recipes
- Red Velvet Cake Recipe Without Buttermilk – Full Recipe Card
Mastering Red Velvet Cake Without Buttermilk
My journey to perfect a red velvet cake recipe without buttermilk was driven by a desire to demonstrate that you can still achieve an absolutely flawless cake, even when this traditional ingredient isn’t available. I am incredibly proud of the outcome: a cake that boasts an exceptional flavor profile and an exquisitely tender texture.
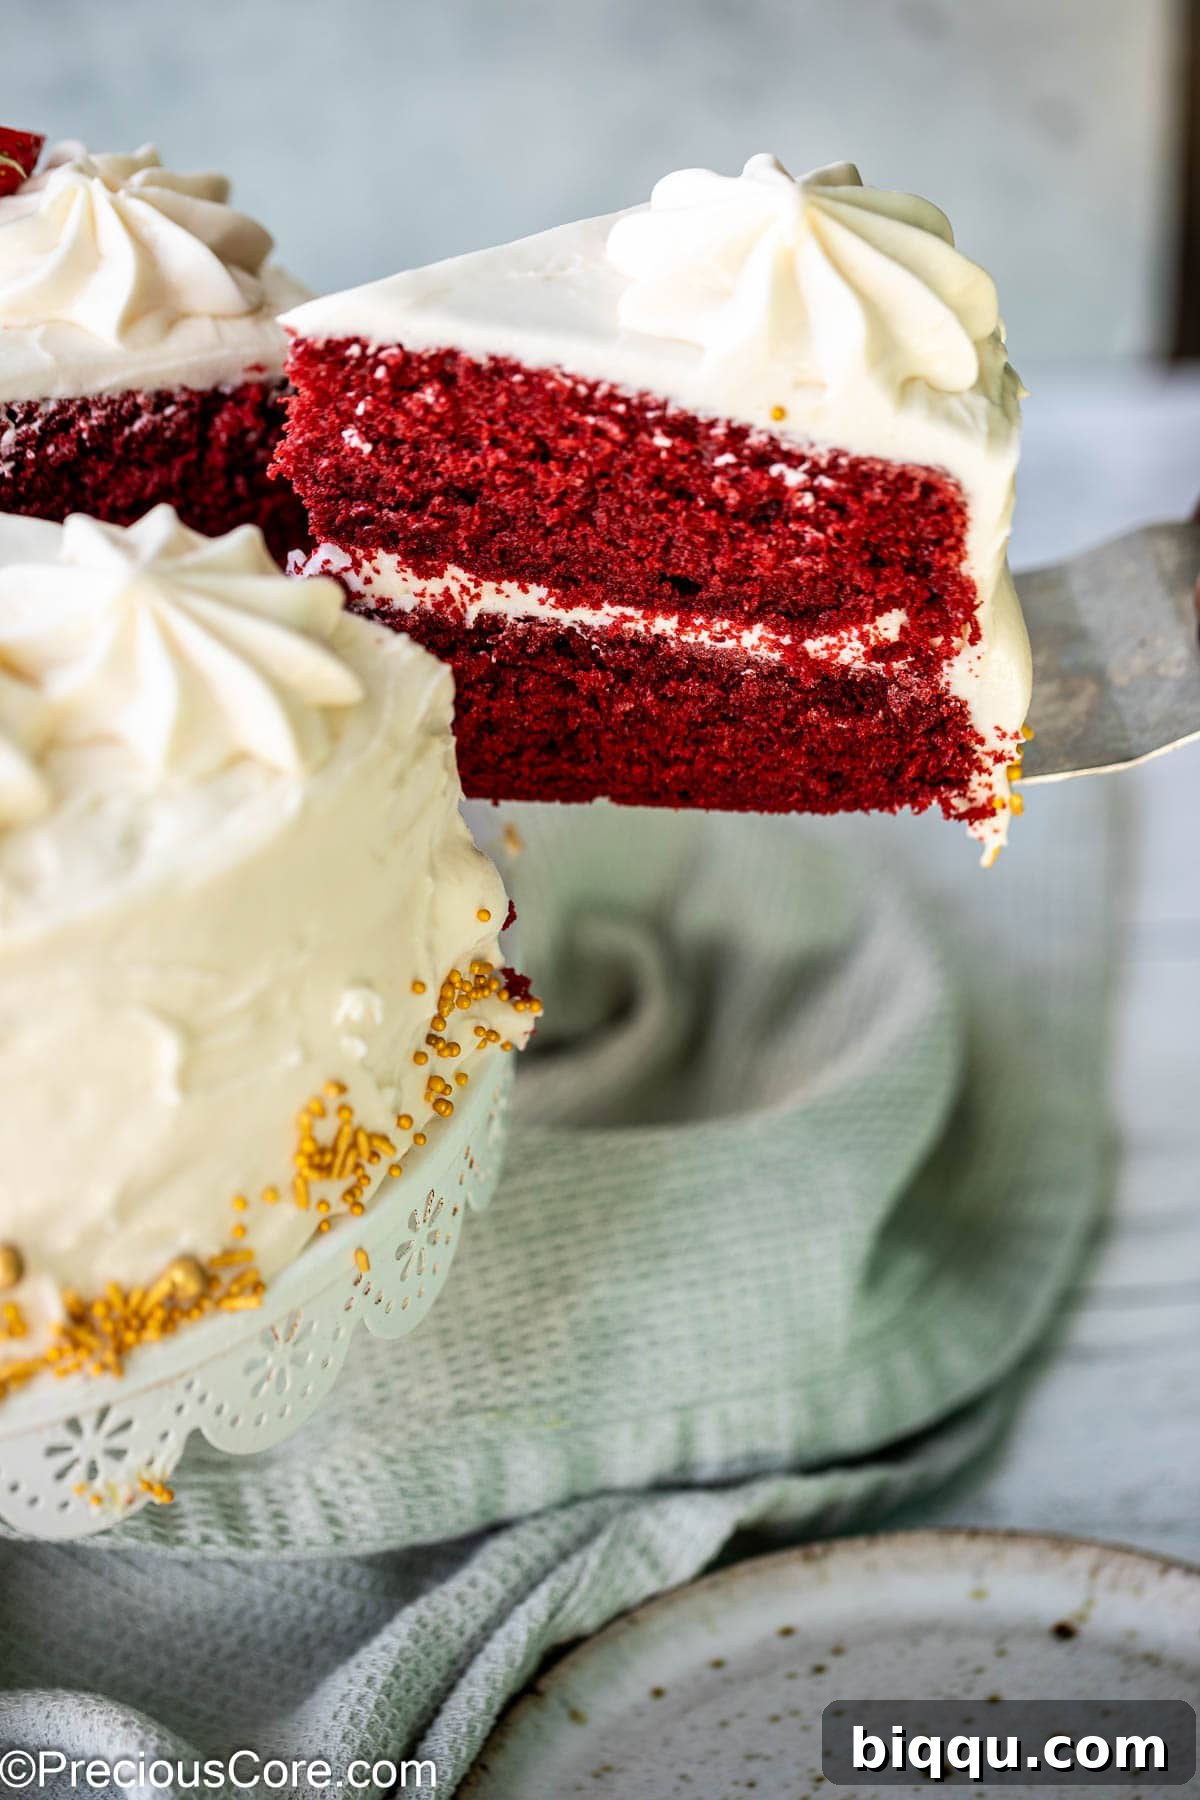
This recipe yields an unbelievably fluffy and moist cake, rich with a sophisticated flavor. Subtle notes of vanilla extract intertwine beautifully with a gentle hint of cocoa powder, creating a complex and harmonious taste. Each bite reveals its buttery richness and an incredibly soft crumb that simply melts in your mouth.
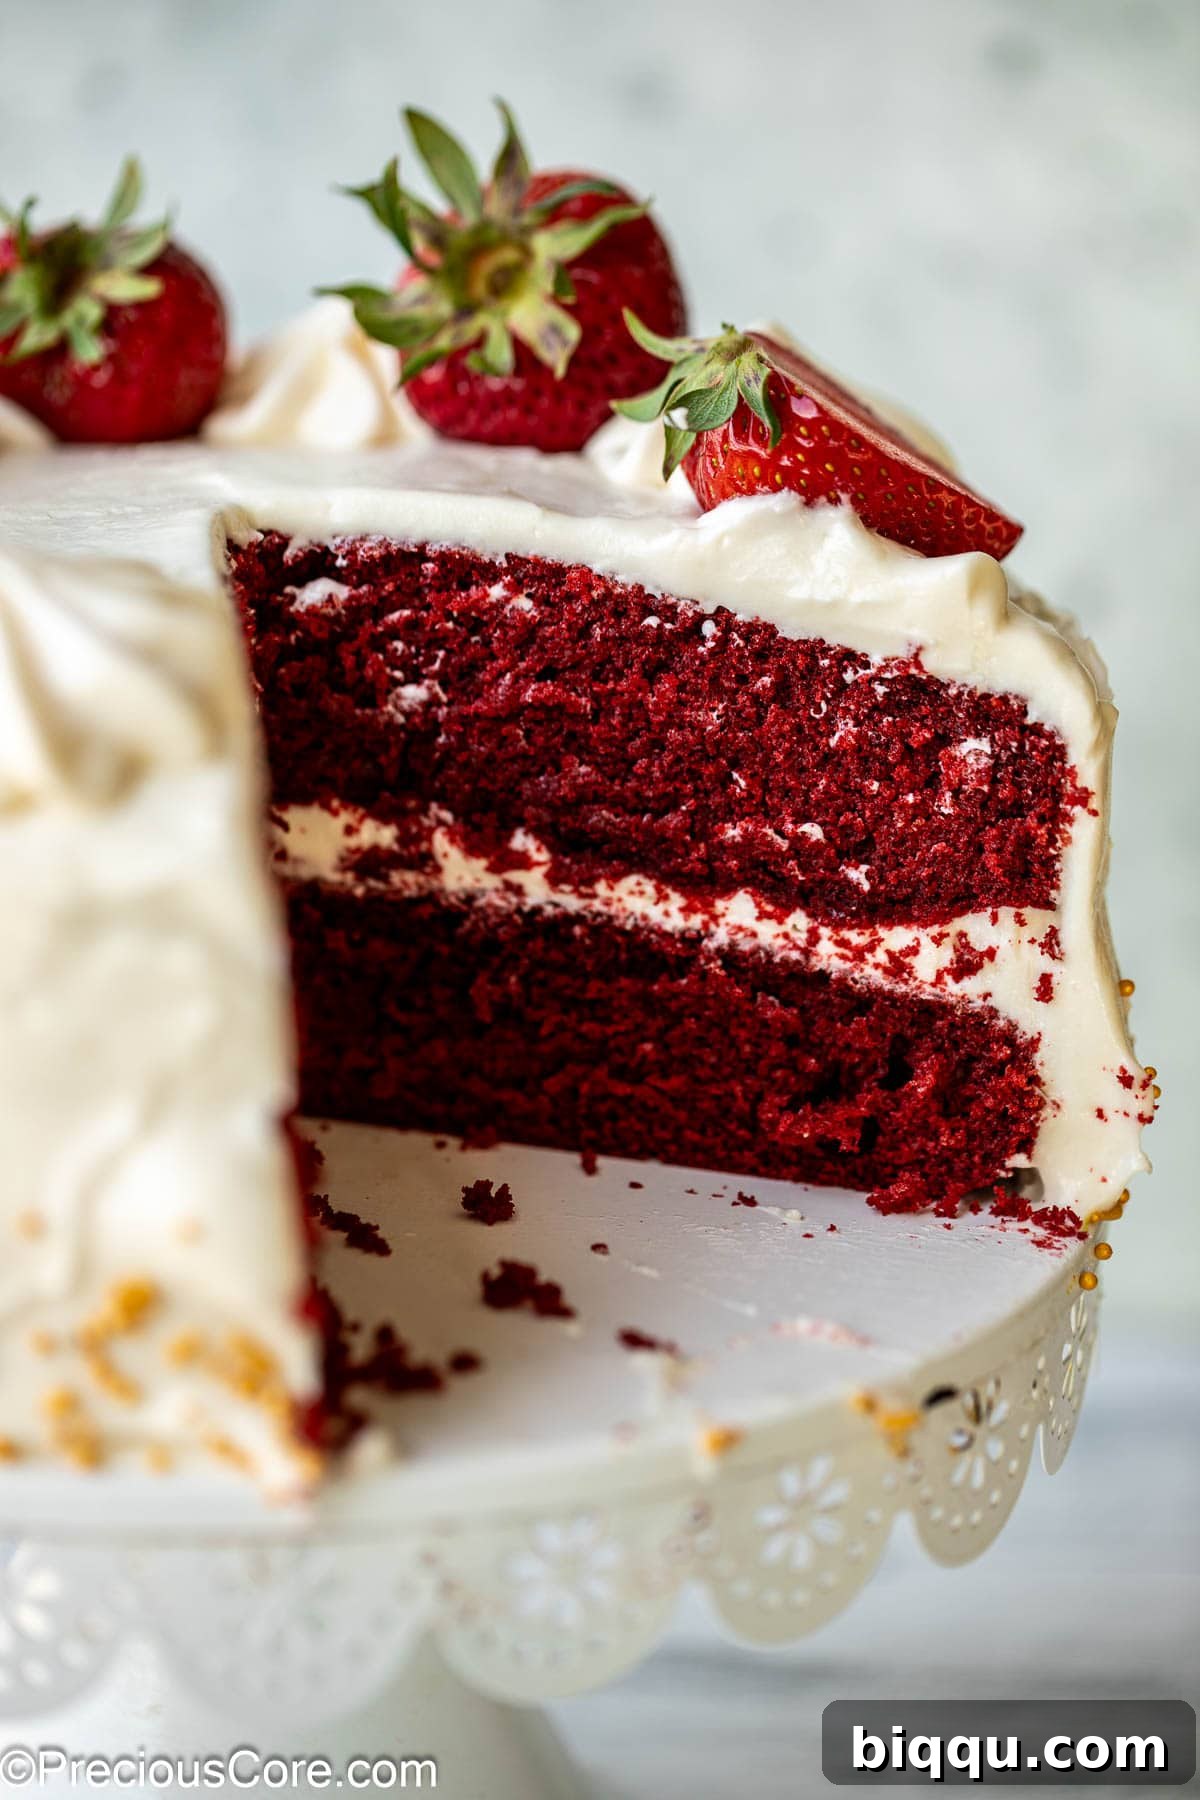
The accompanying cream cheese frosting is more than just a topping; it’s an integral part of the experience. It offers the perfect counterpoint to the cake, striking an ideal balance between sweetness and a delightful tanginess. With this carefully crafted recipe, you can confidently bid farewell to concerns about dry or dense cakes. The resulting texture is nothing short of perfection – moist, light, and wonderfully airy.
The Magic Behind This Recipe: Why It Works So Well
- Perfect for Any Celebration: This classic red velvet cake, crowned with its luscious cream cheese frosting, is a dessert truly suited for any occasion. Its timeless appeal means it doesn’t rely on seasonal ingredients, making it an ideal choice year-round. Whether you’re planning a birthday bash, a sophisticated wedding, or simply a cozy family dinner, this cake will undoubtedly be the highlight. Serving 12 delighted guests, it’s a dessert that will be anticipated and enjoyed throughout any event.
- Effortlessly Buttermilk-Free: The most innovative aspect of this recipe is its brilliant elimination of buttermilk without compromising on taste or texture. This makes it a lifesaver when you find your fridge lacking buttermilk, saving you an extra trip to the grocery store. Our secret lies in using white vinegar as a clever substitute. When combined with baking soda, this acidic agent perfectly mimics the chemical reaction buttermilk provides, ensuring your cake achieves that signature light, airy lift.
- Remarkably Adaptable: While designed for two round 8 or 9-inch cake pans, this versatile recipe effortlessly adapts to various baking needs. Fancy individual treats? Convert the batter into delicious red velvet cupcakes. Planning a larger gathering? Transform it into an impressive red velvet sheet cake. We’ll provide more specific guidance below on how to adjust baking times and quantities for different pan sizes, ensuring perfect results every time.
- Accessible for Every Baker: Red velvet cake, often perceived as a specialty reserved for professional bakers, is surprisingly approachable with this recipe. We’ve simplified the process to make it welcoming for everyone, even those new to baking. Detailed, easy-to-follow instructions ensure that whether you’re a seasoned pro or just starting your baking journey, this recipe can quickly become your trusted go-to for an impeccable red velvet cake.
Essential Ingredients For Your Buttermilk-Free Red Velvet Cake
Below, you’ll find a detailed recipe card with all the precise measurements. But first, let’s explore some key components that make this cake so special:
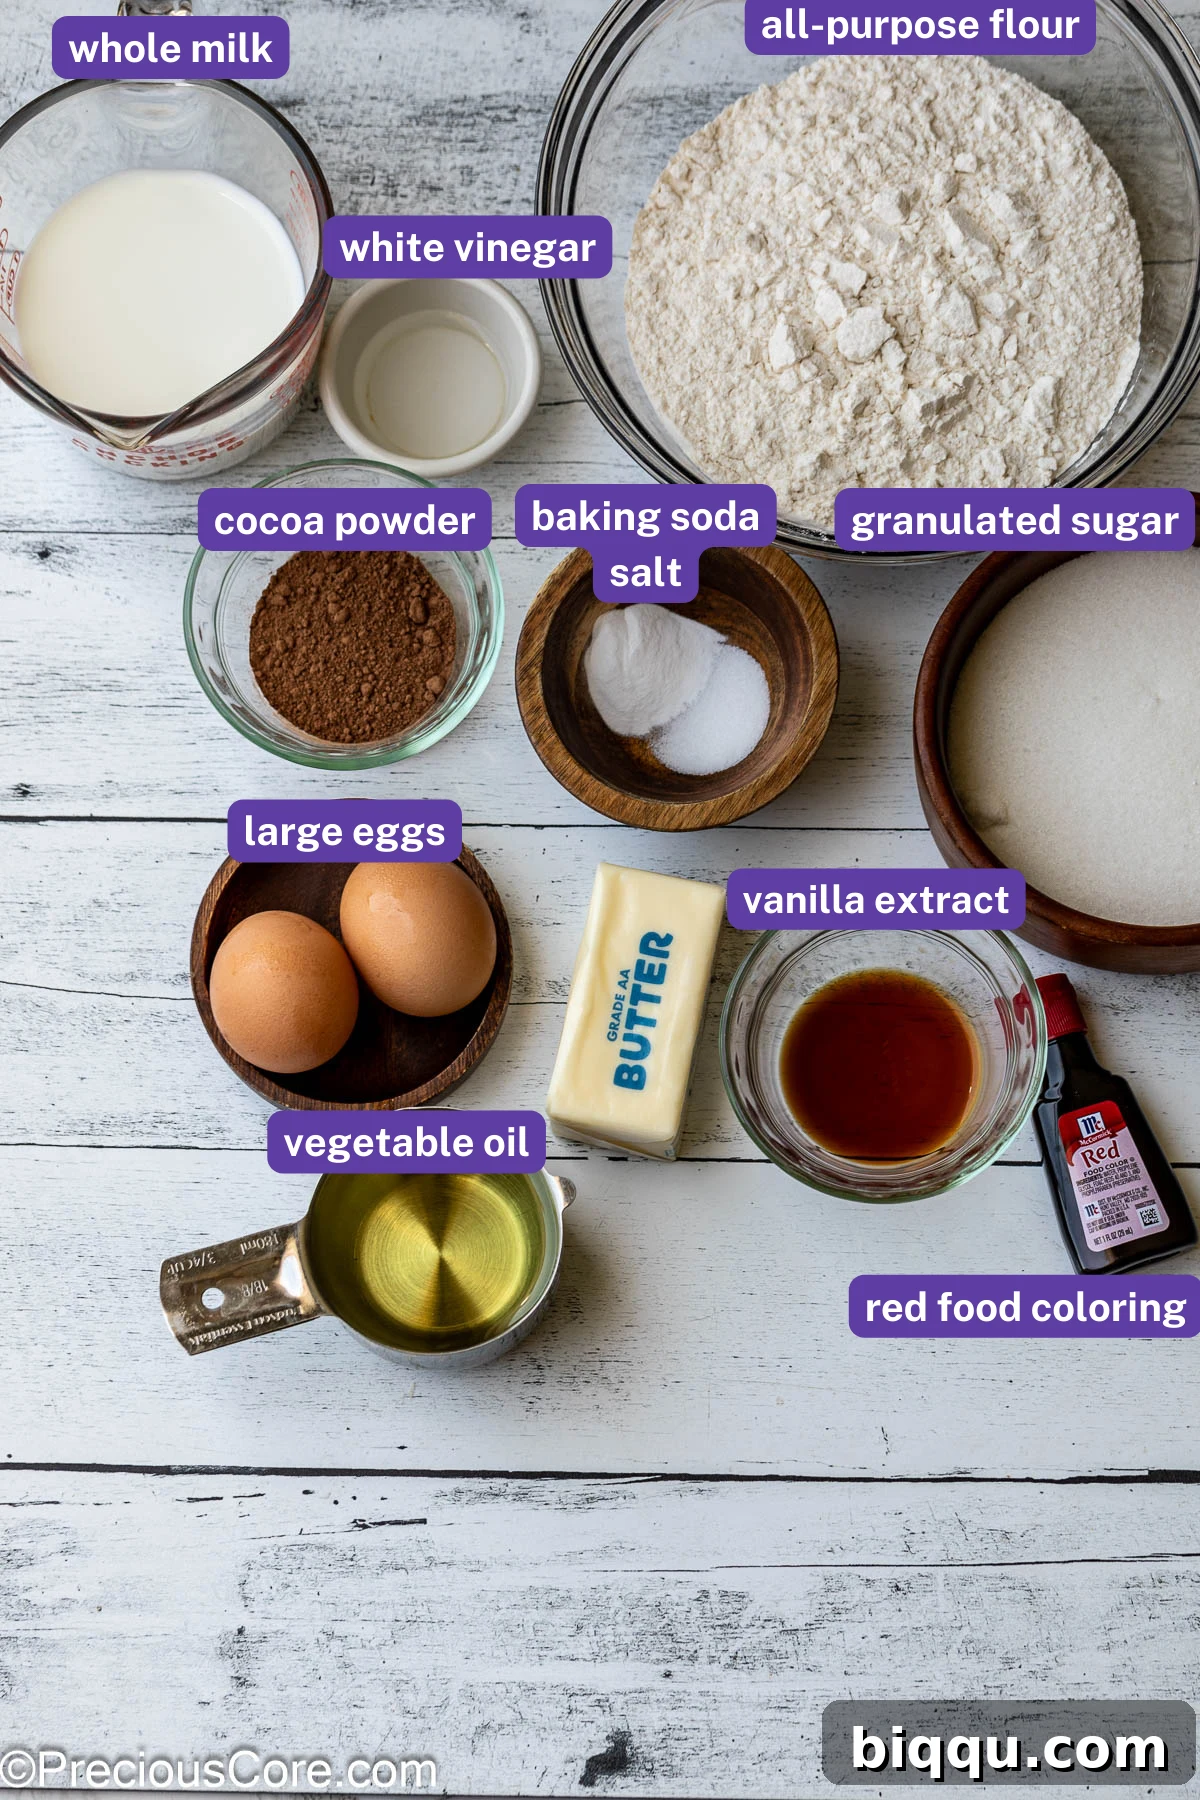
- Flour and Sugar: These are the foundational elements of nearly any cake. For this recipe, we opt for readily available all-purpose flour and granulated sugar. All-purpose flour provides the necessary structure, while granulated sugar contributes to both sweetness and moisture, ensuring a tender crumb.
- Red Food Coloring: The iconic deep red hue is non-negotiable for a true red velvet cake! We recommend using a high-quality red food dye to achieve that vibrant, show-stopping color. For those seeking alternatives, we’ll discuss natural coloring options in our substitution section.
- White Vinegar: As we are crafting this masterpiece without buttermilk, white vinegar steps in as a critical ingredient. This acidic agent is essential for activating the baking soda (sodium bicarbonate). This chemical reaction is what creates carbon dioxide gas, allowing the cake to rise beautifully and achieve its signature light and fluffy texture. Without it, your cake would be dense and flat.
- Cocoa Powder: The inclusion of natural cocoa powder is key to red velvet’s distinctive subtle flavor. It imparts a delicate, luxurious chocolate note without overpowering the vanilla, contributing to the cake’s unique depth and tenderness. It’s not a chocolate cake in the traditional sense, but the cocoa adds a crucial layer of complexity.
Beyond the cake, you’ll also need a handful of essential ingredients for our irresistible cream cheese frosting, including softened cream cheese, unsalted butter, fine powdered sugar (also known as confectioners’ sugar), and a touch of pure vanilla extract. Remember, using high-quality ingredients will always elevate your baking! Find the complete list and detailed step-by-step instructions in the printable recipe card below.
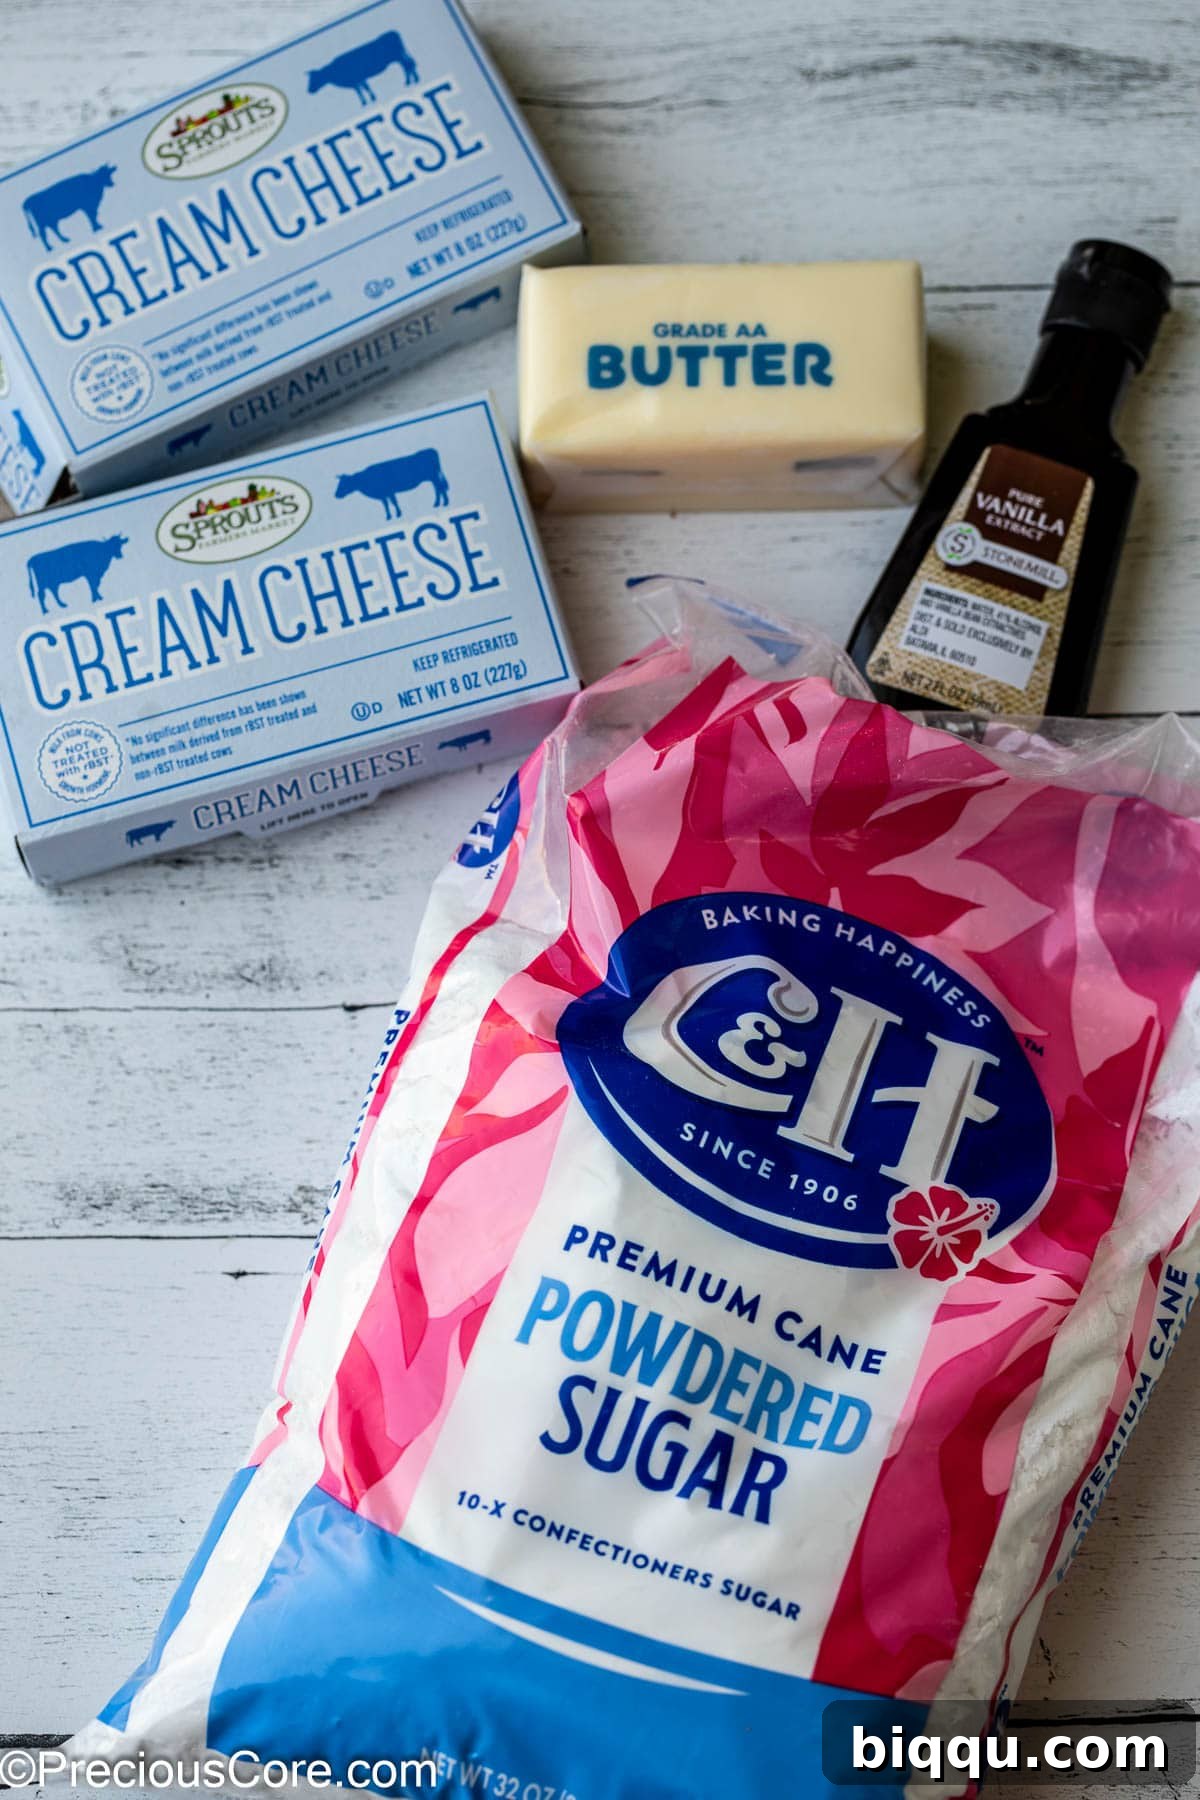
Top Tip: For the silkiest, lump-free cream cheese frosting, ensure all your frosting ingredients – especially the cream cheese and butter – are at perfect room temperature before you begin mixing. This crucial step guarantees a smooth, uniform consistency that will make your cake’s presentation truly impeccable.
Creative Recipe Variations For Your Red Velvet Cake
While this recipe delivers a classic experience, feel free to unleash your creativity and customize your red velvet cake!
- Alternative Frosting Types: If cream cheese frosting isn’t your preference, don’t worry! This versatile cake base pairs wonderfully with other popular frostings. Consider a rich, classic vanilla buttercream or a luscious chocolate frosting. Both options complement the red velvet flavor beautifully and work perfectly for elegant layer cakes.
- Transform into Red Velvet Cupcakes: This recipe is incredibly adaptable for individual servings. Simply divide the prepared cake batter among standard cupcake liners. This recipe yields approximately 24 delightful cupcakes, perfect for parties, bake sales, or a smaller, portion-controlled treat! Adjust baking time accordingly (usually 18-22 minutes for standard cupcakes).
- Fun Mix-ins: Elevate your cake by folding in delicious mix-ins just before baking. Chocolate chips (white, milk, or dark), finely chopped pecans, walnuts, or festive sprinkles can add an extra layer of texture and flavor, making each slice a delightful surprise.
Smart Ingredient Substitutions
Life happens, and sometimes you don’t have every ingredient on hand. Here are some smart substitutions to ensure your red velvet cake is a success:
- Red Dye Alternatives: To achieve that signature vibrant red, you can use either liquid red food coloring or gel red food coloring. For a natural alternative that avoids artificial dyes, consider purchasing beetroot powder or natural beetroot food coloring. Be aware that natural methods might result in a slightly more muted or brownish-red hue as beetroot can oxidize during baking.
- Milk Options: For the most tender crumb and richest flavor, we highly recommend using whole milk due to its higher fat content. However, the recipe is forgiving! You can successfully use skim milk, 2% milk, or even unsweetened almond milk. While the texture might be subtly different, your cake will still turn out wonderfully moist and flavorful.
- Cooking Oil Varieties: Any neutral-flavored oil will work beautifully in this recipe. Excellent choices include vegetable oil, canola oil, corn oil, grapeseed oil, or even a light olive oil. These oils contribute to the cake’s moistness without imparting unwanted flavors.
- Vinegar Substitutes: If white vinegar isn’t in your pantry, don’t fret! Apple cider vinegar can be used as a direct substitute in a pinch. Freshly squeezed lemon juice also works effectively as an acidic agent to activate the baking soda.
- Flour Alternatives: While all-purpose flour provides a great balance, you can experiment with cake flour for a slightly finer, even more tender crumb. If using cake flour, you might need to adjust the liquid slightly as cake flour absorbs more moisture.
If you love exploring different cake recipes, also check out my truly delightful Salted Caramel Cake and the rich, comforting Butter Pecan Pound Cake!
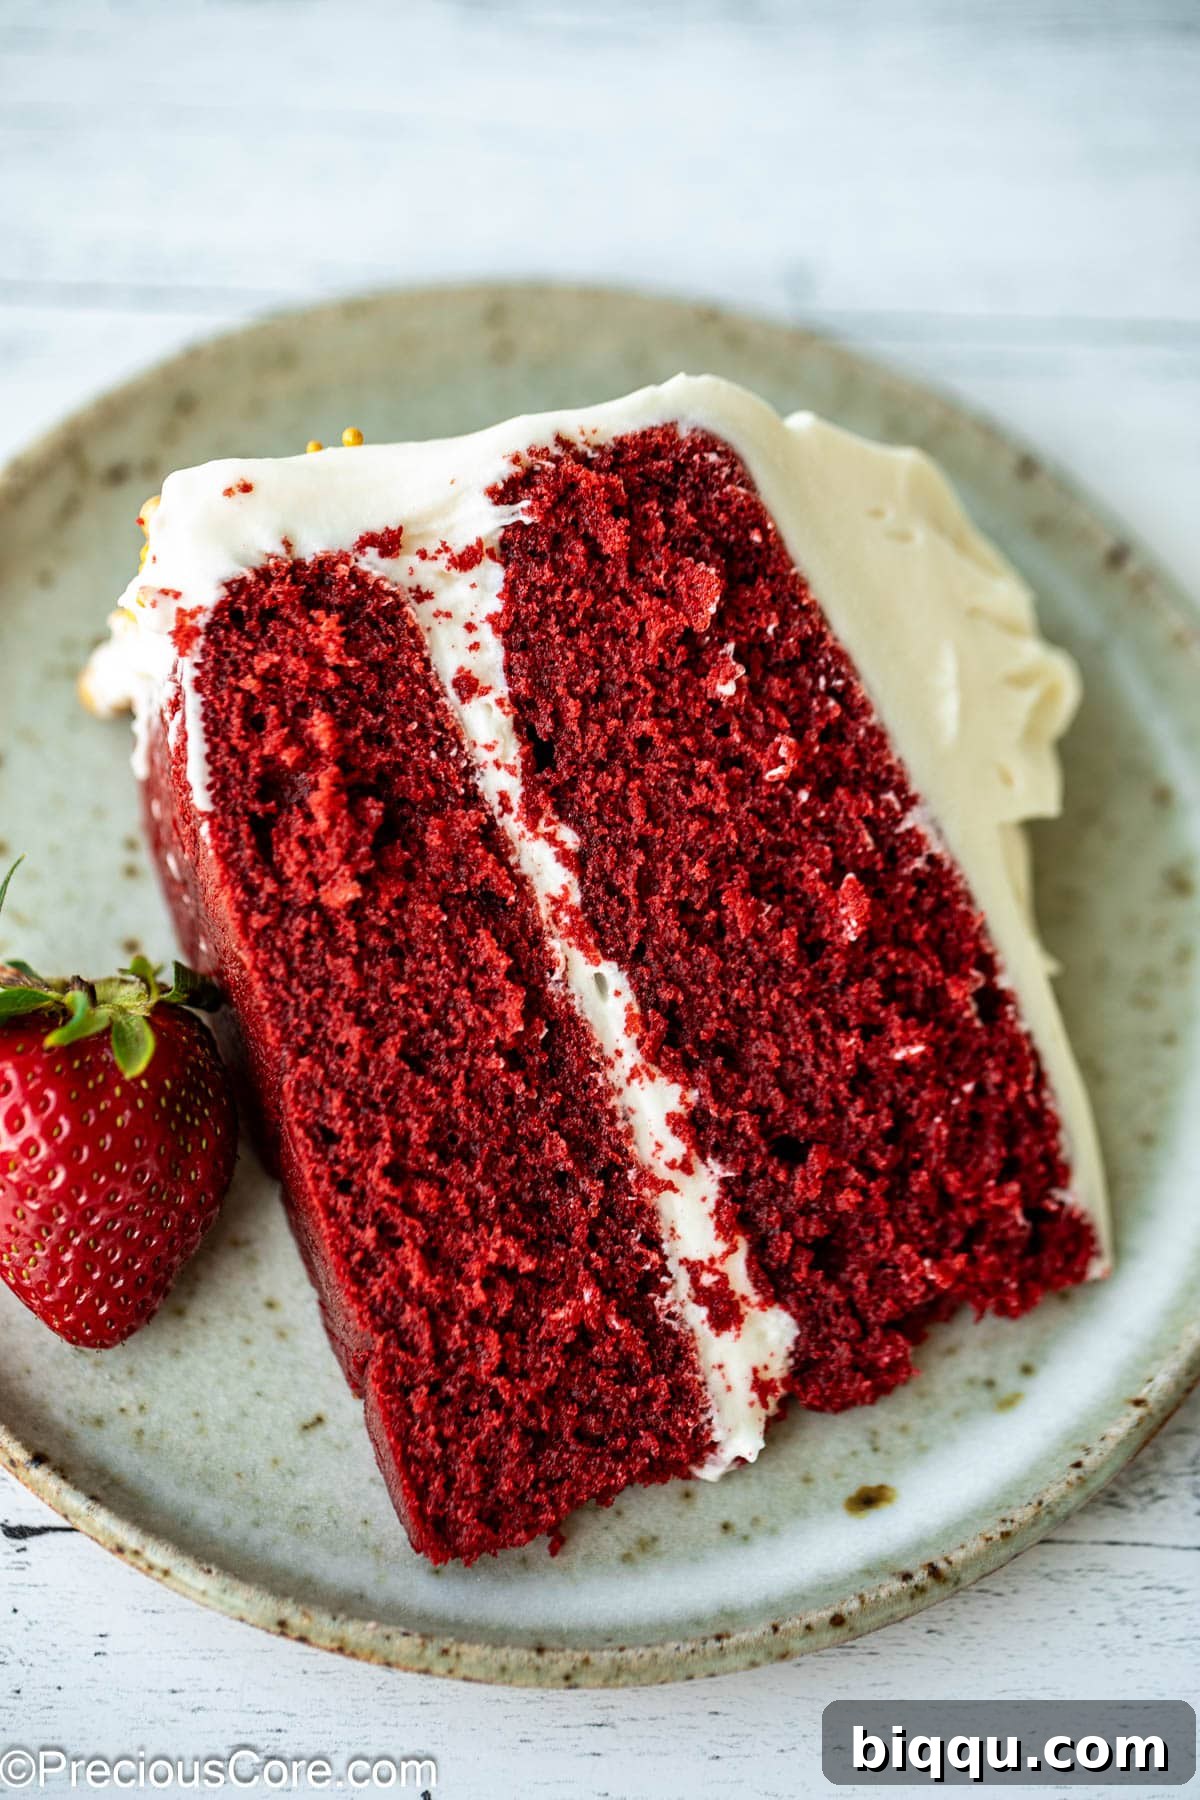
Step-by-Step Guide To Baking The Perfect Red Velvet Cake Without Buttermilk
Creating this royal treat is surprisingly straightforward. Follow these steps, and you’ll be astonished at how easily you can bake a bakery-quality red velvet cake right in your own kitchen!
- **Preparation is Key:** Begin by preheating your oven to 350°F (180°C). Prepare two 9-inch round cake pans by greasing them thoroughly and dusting lightly with flour to prevent sticking. In a medium mixing bowl, combine the milk and white vinegar. Stir gently and set this mixture aside; it will develop a slightly curdled appearance, mimicking buttermilk, which is exactly what we want.
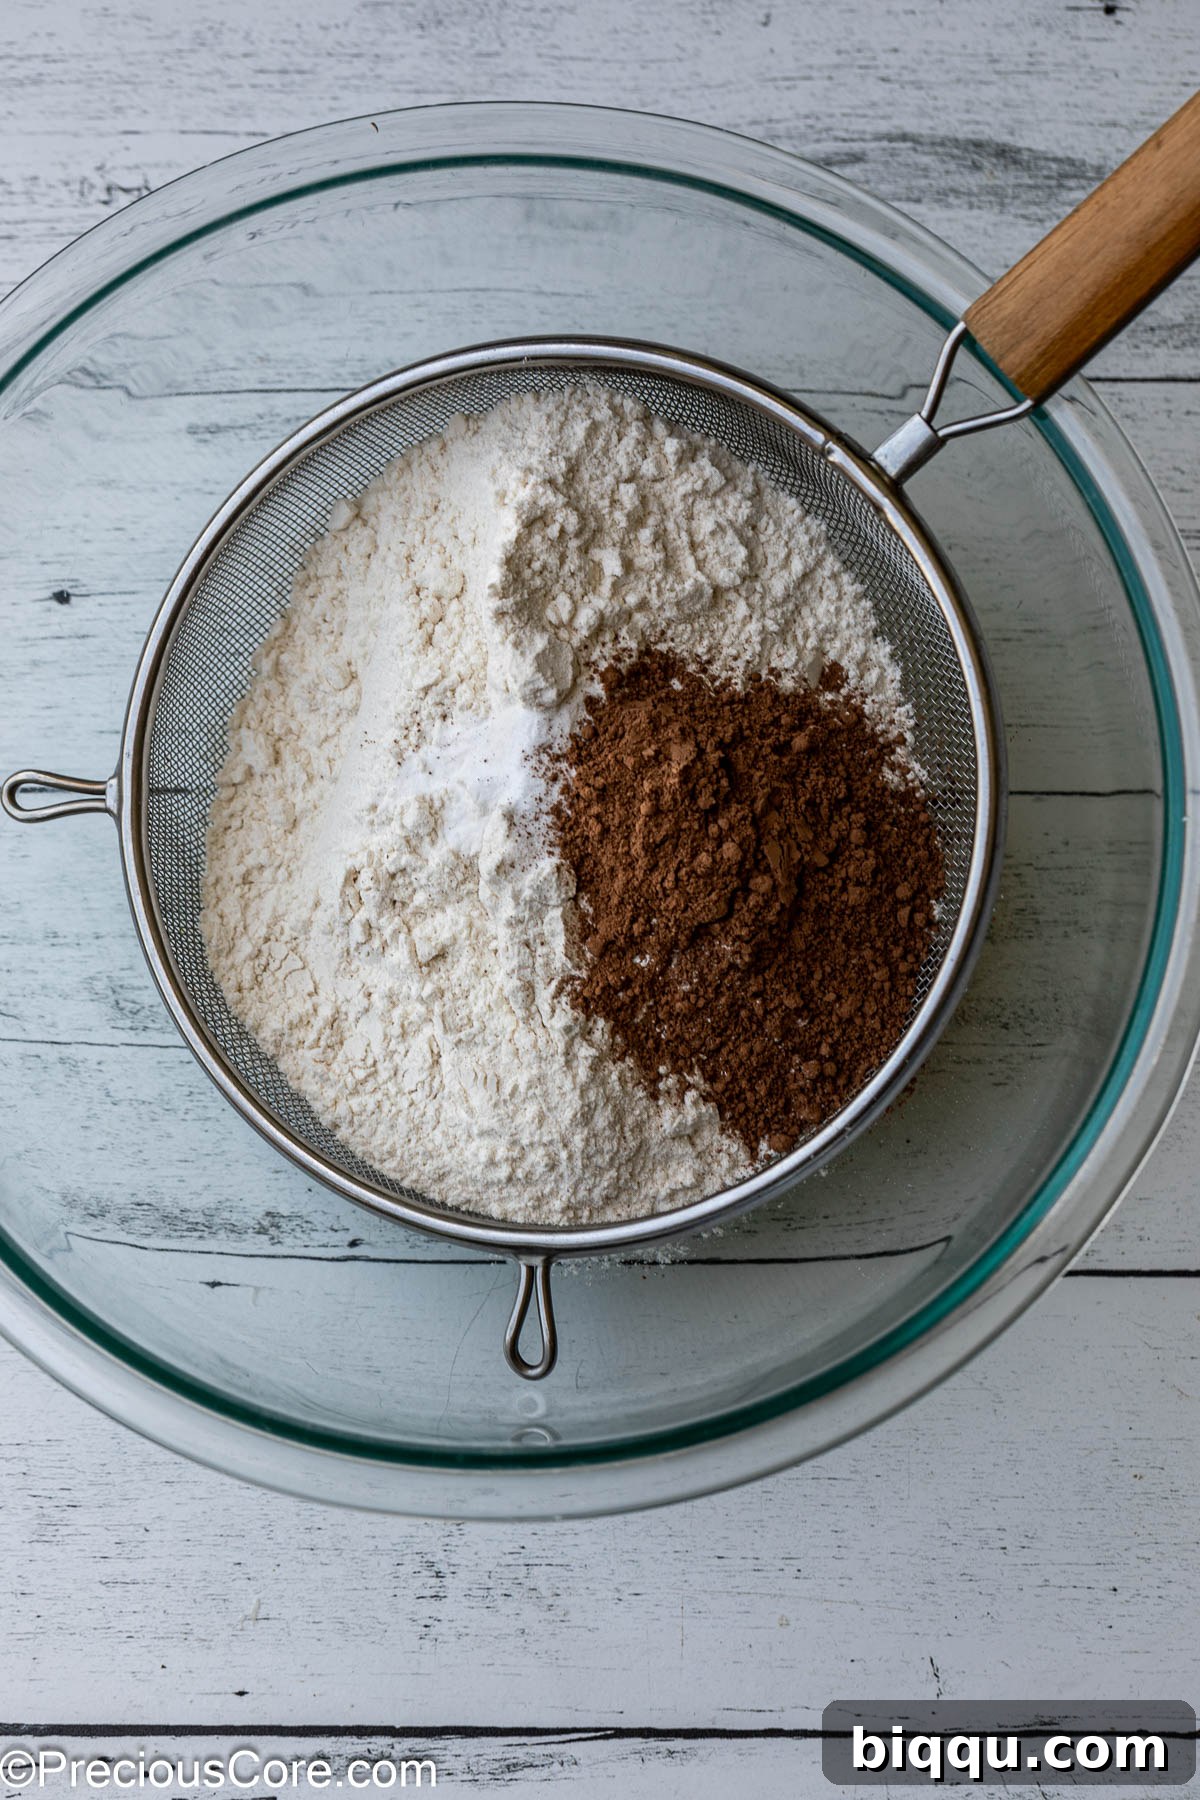
- **Sift Dry Ingredients:** In a separate, large bowl, sift together the all-purpose flour, salt, baking soda, and cocoa powder. Sifting is a crucial step that helps aerate the flour, prevents lumps, and ensures an even distribution of leavening agents, resulting in a lighter cake.
- **Cream Wet Ingredients:** In the bowl of a stand mixer fitted with the paddle attachment (or using a hand mixer), cream together the softened unsalted butter and granulated sugar on medium speed for a full 5 minutes until the mixture is light, fluffy, and pale. This process incorporates air, contributing to the cake’s tender texture. Next, gradually add the vegetable oil, mixing until just combined. Then, add the eggs one at a time, beating well after each addition. Finally, gently stir in the milk/vinegar mixture and the vanilla extract, mixing until everything is fully incorporated but do not overmix.
- **Combine Wet and Dry:** With the mixer on its lowest speed, or using a spatula for gentle hand mixing, gradually add half of the sifted flour mixture to the wet ingredients. Mix until just combined, being careful not to overdevelop the gluten. Then, add the remaining half of the dry ingredients and mix until the batter is smooth and well incorporated. Stop mixing as soon as no dry streaks remain. Overmixing can lead to a tough cake.
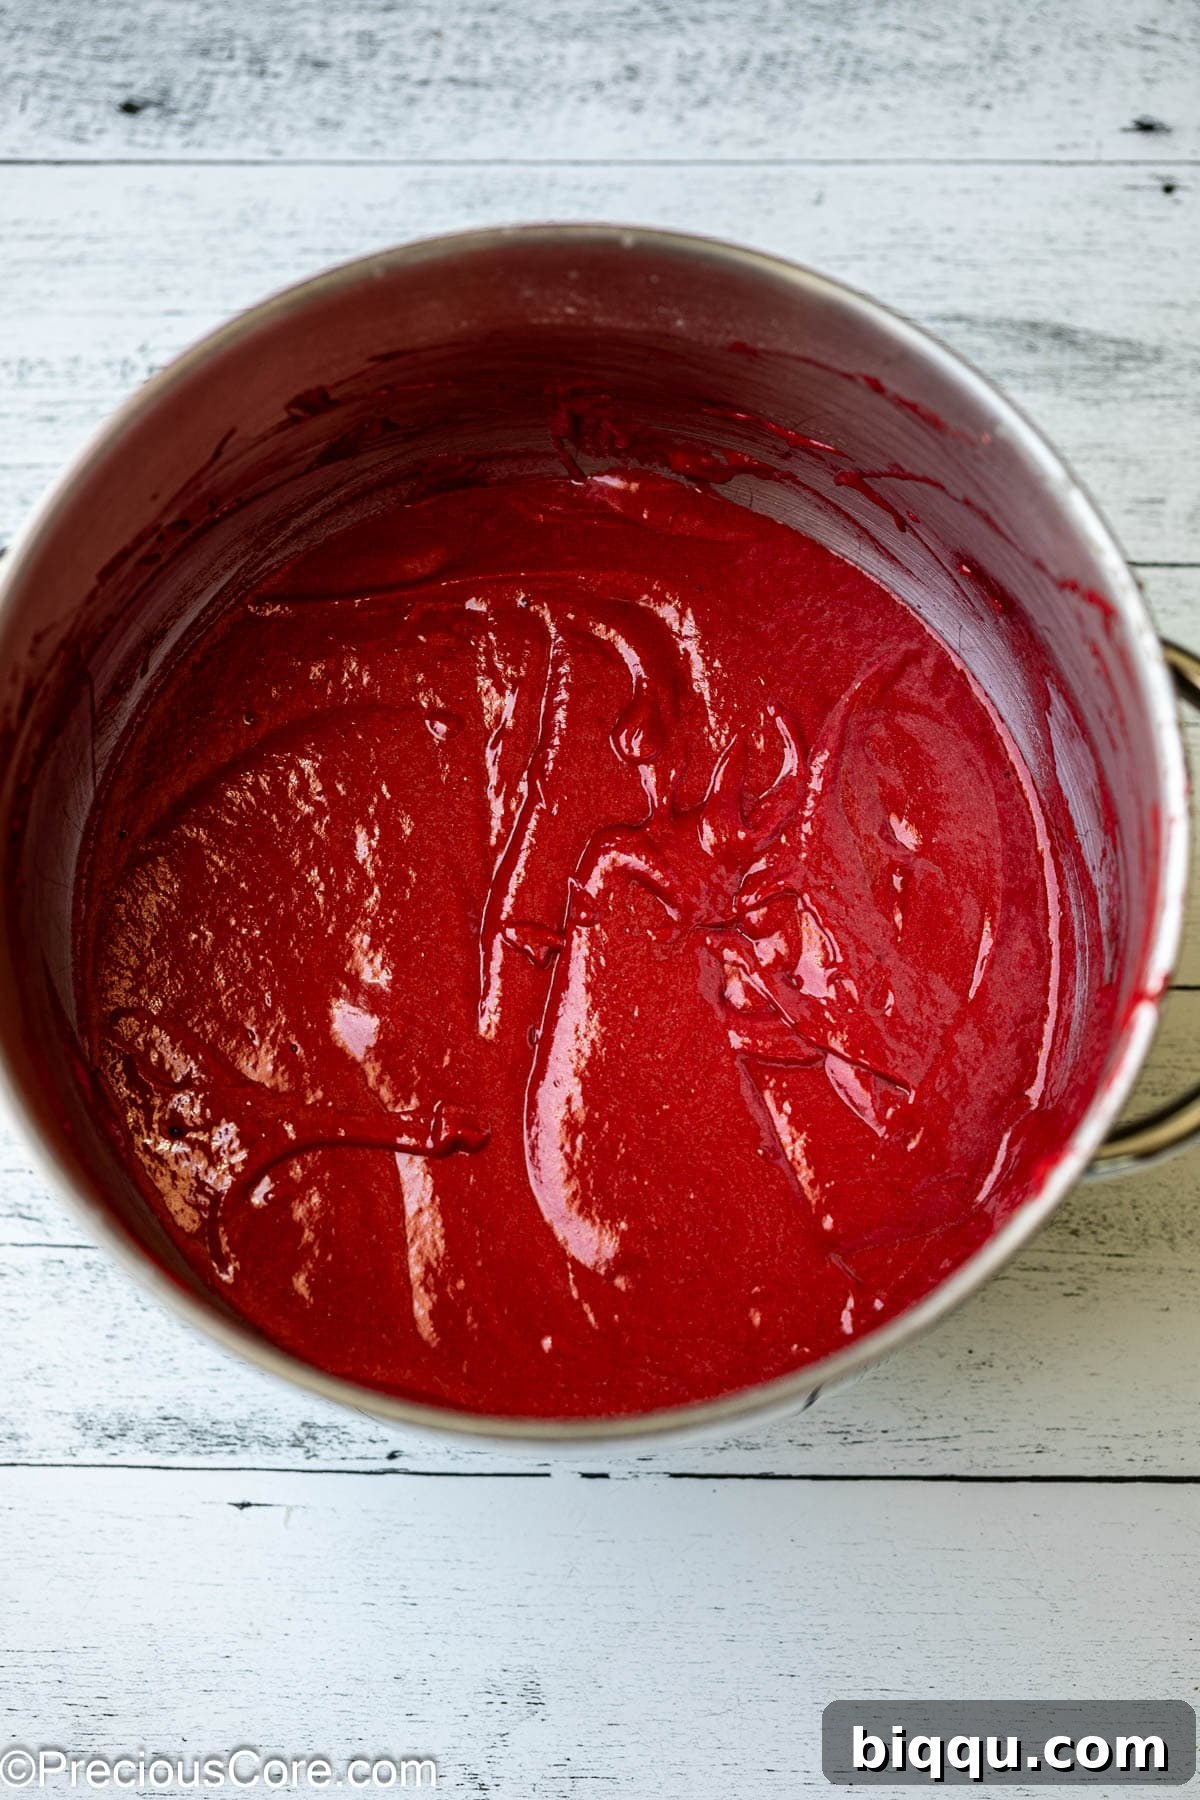
- **Achieve the Signature Red:** Add the red food coloring to the batter. Mix thoroughly until the batter is uniformly and vibrantly red. Don’t be shy with the coloring; this is what gives red velvet its iconic appearance.
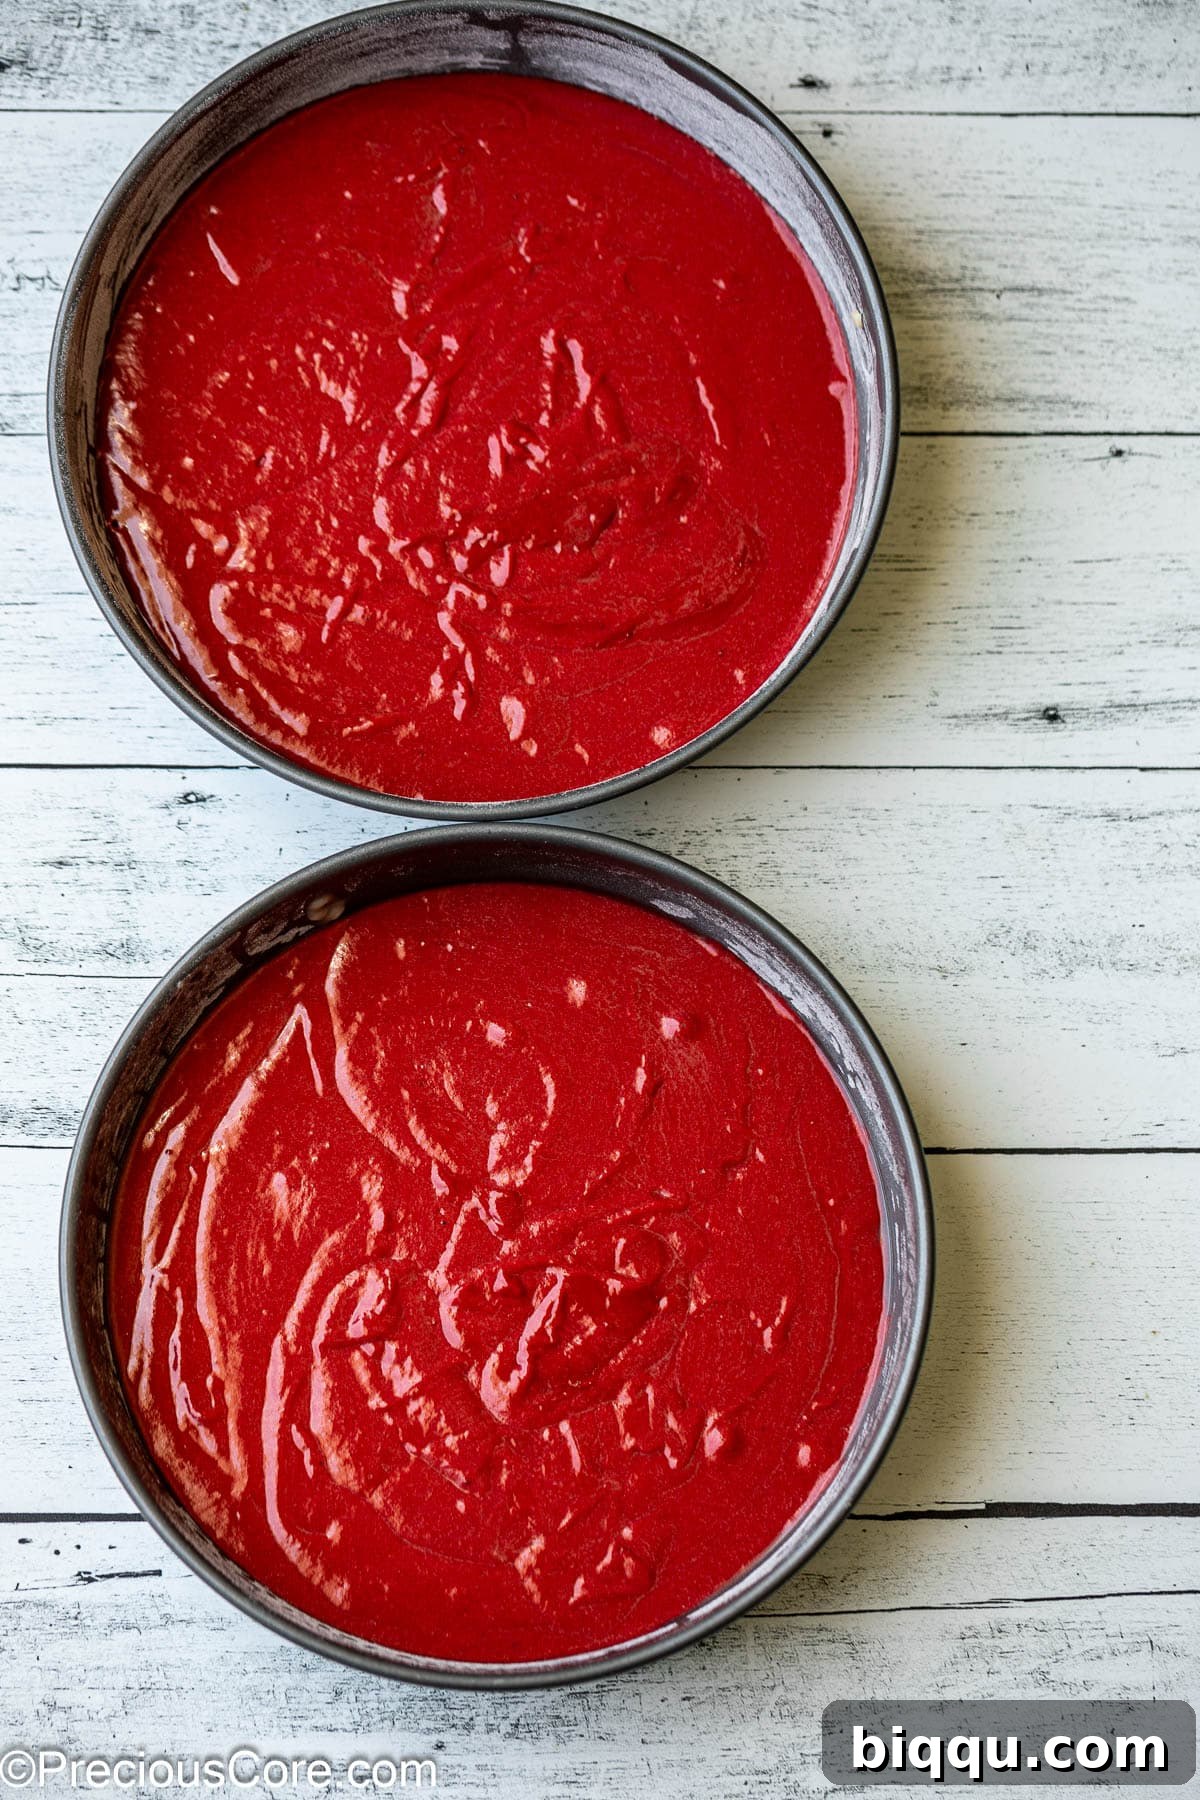
- **Divide and Prepare for Baking:** Carefully divide the rich red batter evenly between your two prepared 9-inch baking pans. For precision, you can use a kitchen scale to ensure each pan holds the exact same amount of batter, which helps guarantee even baking and level cake layers. Should you opt for two 8-inch pans, your layers will be slightly thicker, requiring a modest increase in bake time. Alternatively, for a taller, more elegant small cake, use three 6-inch pans. Remember, altering pan sizes will necessitate adjustments to both baking duration and how you divide your frosting.
- **Bake to Perfection and Cool:** Place the cake pans in the preheated oven and bake for approximately 22 minutes. To check for doneness, insert a toothpick into the center of each cake; it should come out clean, with no wet batter attached. Once baked, remove the cakes from the oven and allow them to cool in their pans on a wire rack for about 10-15 minutes. This resting period helps the cakes firm up before you attempt to invert them. After this initial cooling, carefully turn the cakes out onto the wire rack to cool completely for at least one hour. Ensure they are fully cooled before proceeding to the frosting stage.
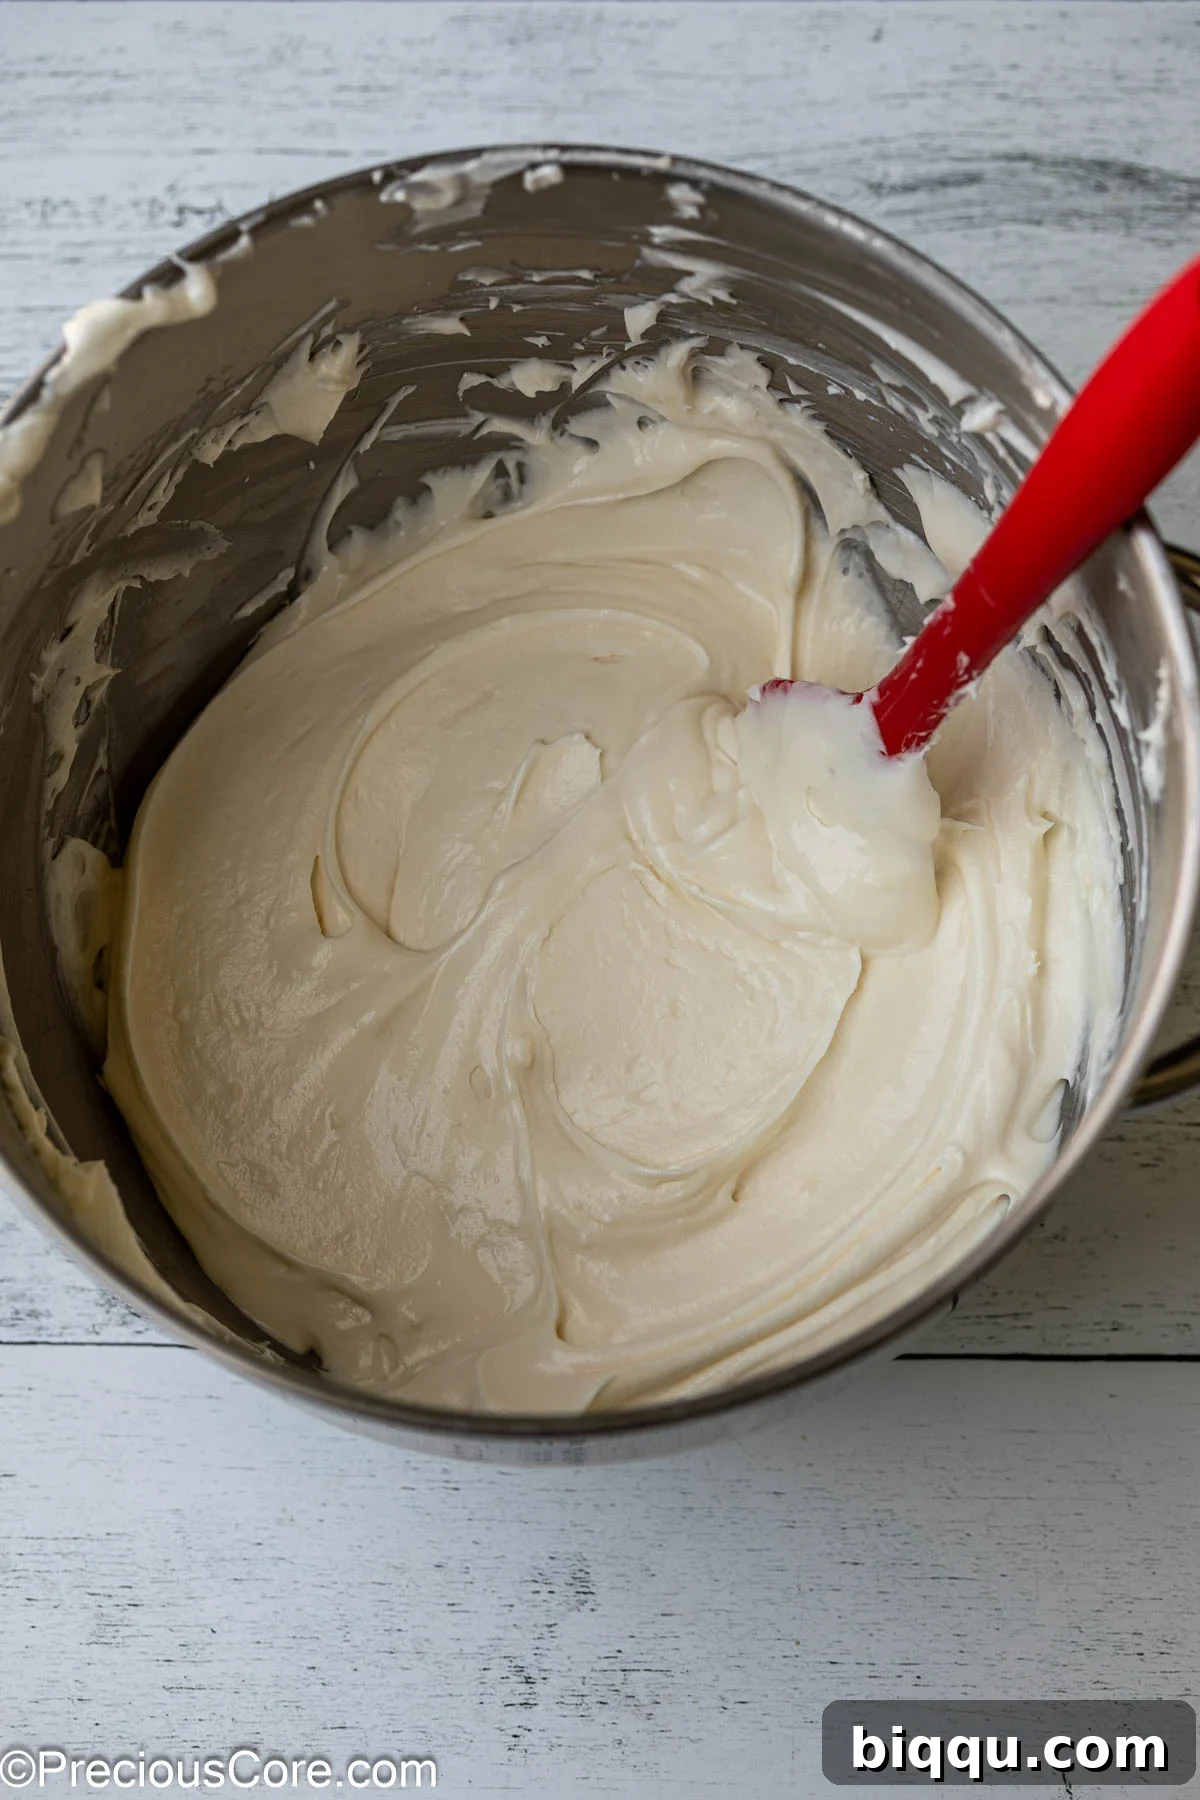
- **Whip Up the Cream Cheese Frosting:** While your cake layers are cooling, it’s the perfect time to prepare the luxurious cream cheese frosting. In a large mixing bowl, combine the softened cream cheese and butter. Beat these together with a stand mixer or hand mixer on medium-high speed until the mixture is light, incredibly fluffy, and completely smooth – this should take about 3-5 minutes. Gradually add the powdered sugar, one cup at a time, mixing well after each addition until fully incorporated. Finally, beat in the vanilla extract. Taste and, if desired, add a quarter teaspoon of salt to balance the sweetness, adjusting to your preference.
- **Assemble and Decorate Your Masterpiece:** Once your cake layers have cooled completely to room temperature, it’s time for the most rewarding part: assembling and frosting! Place one cake layer on your serving platter or cake stand. Using an offset spatula, generously spread a thick, even layer of the creamy, tangy cream cheese frosting over the top.
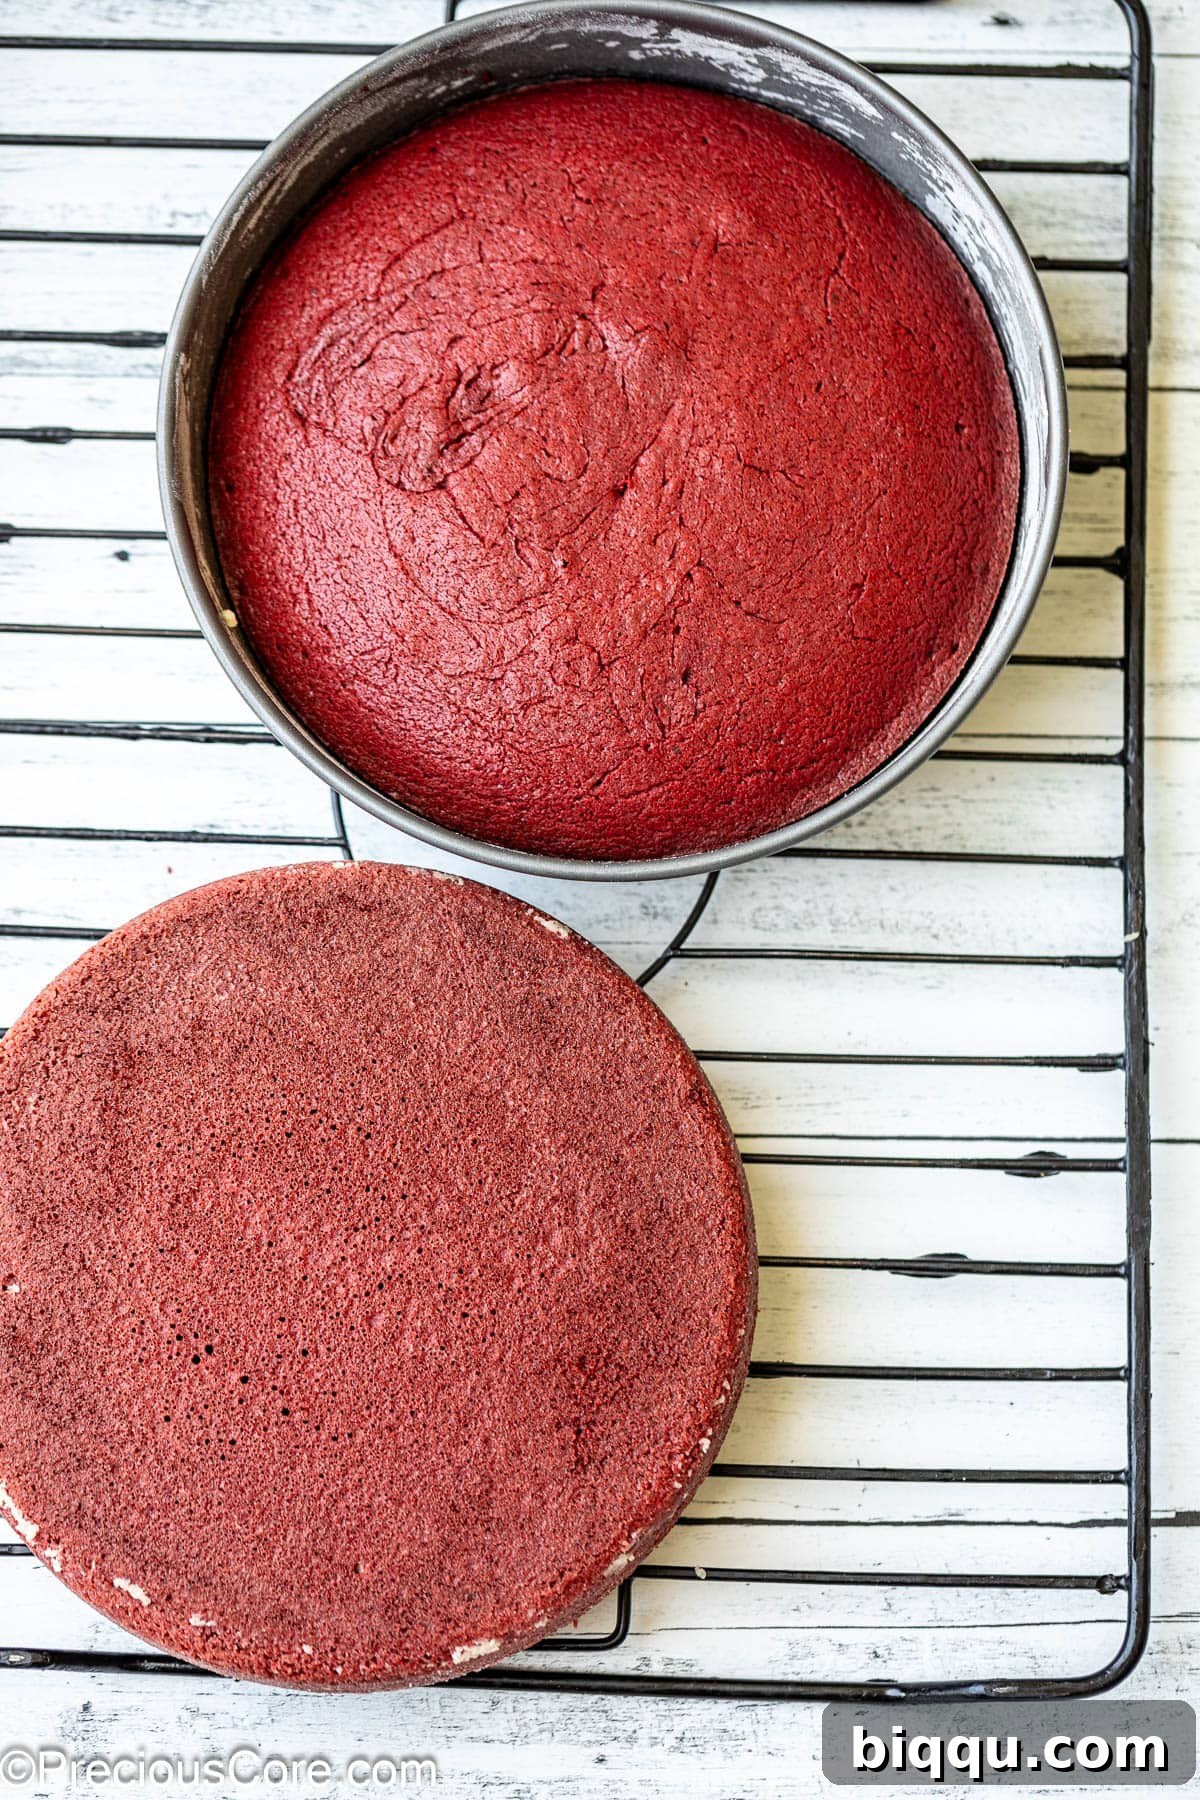
Baking Tip: For perfectly flat cake tops, I love to invert the warm cake layers onto a wire rack to cool. The gentle pressure of gravity helps to level out any doming, creating beautiful, even layers for easier frosting.
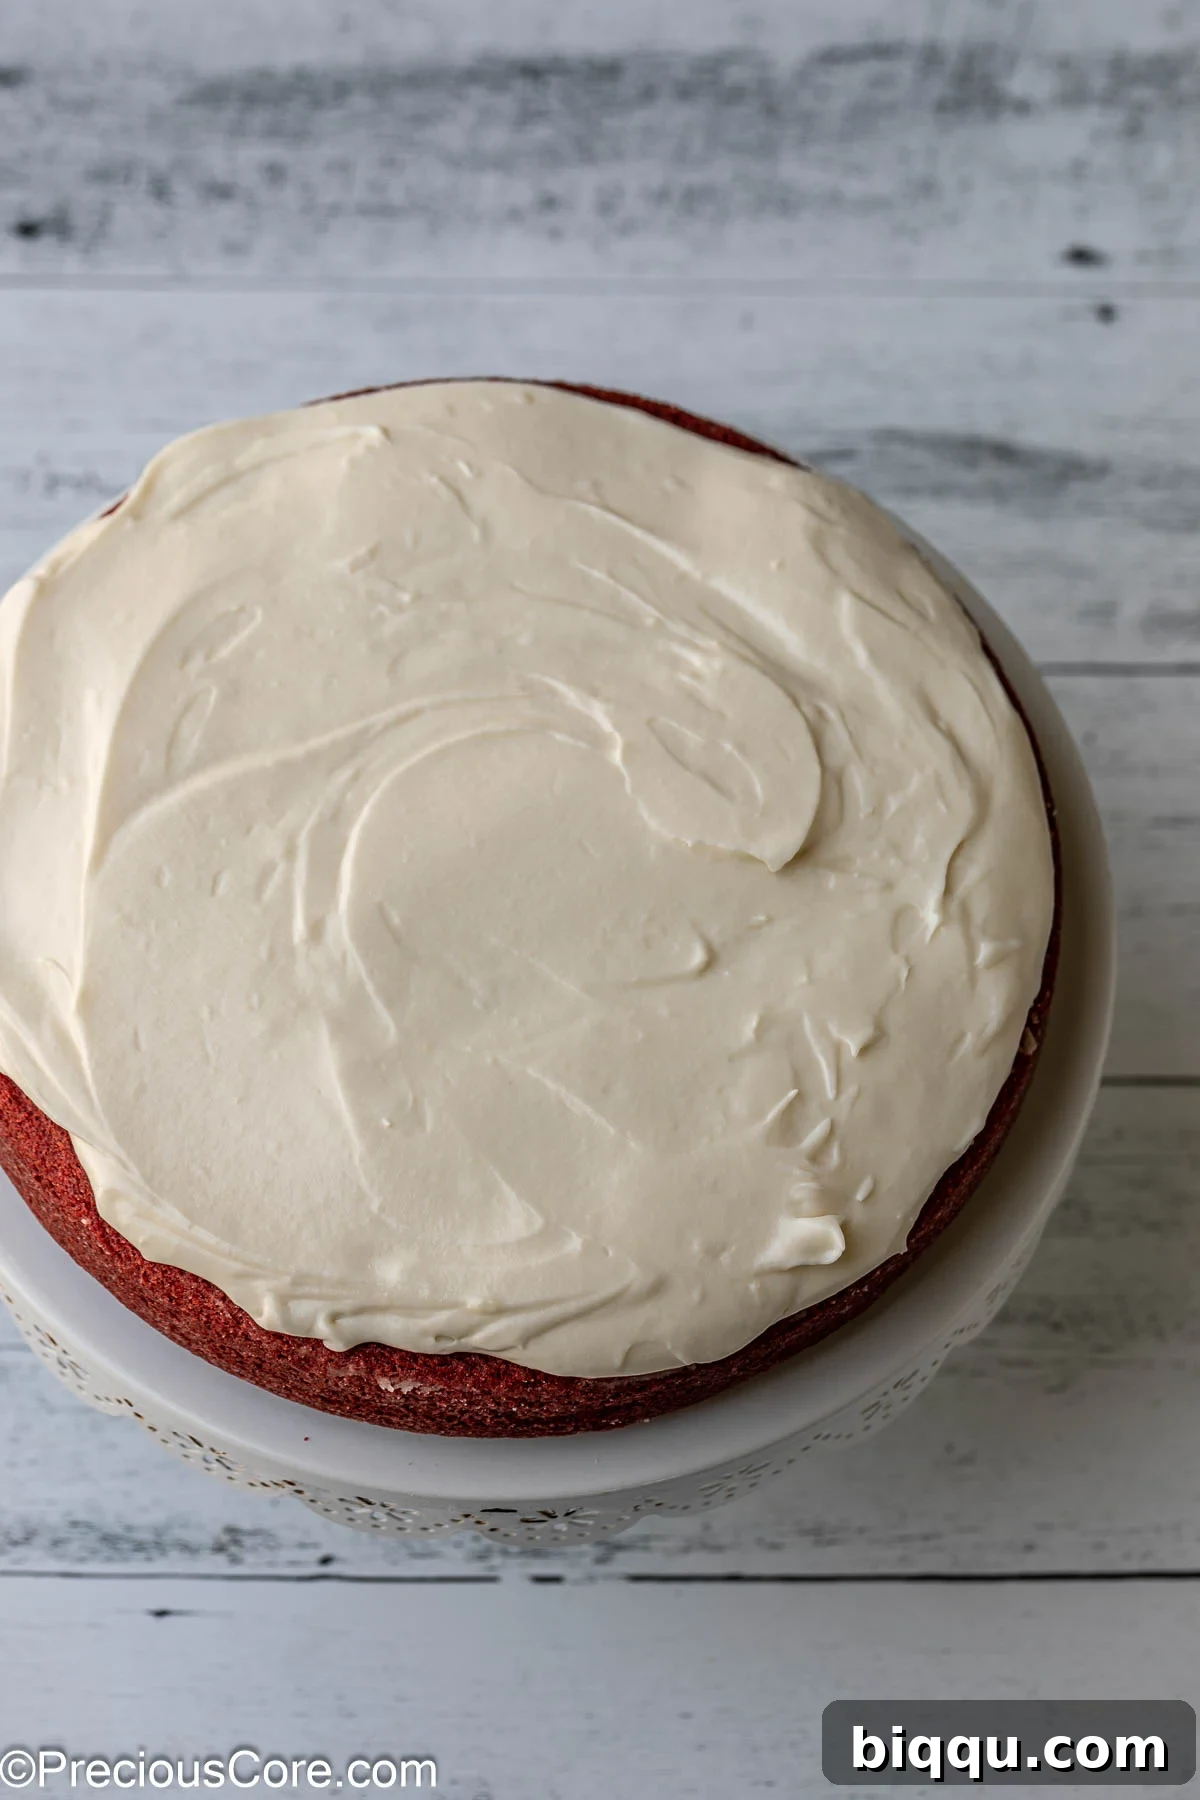
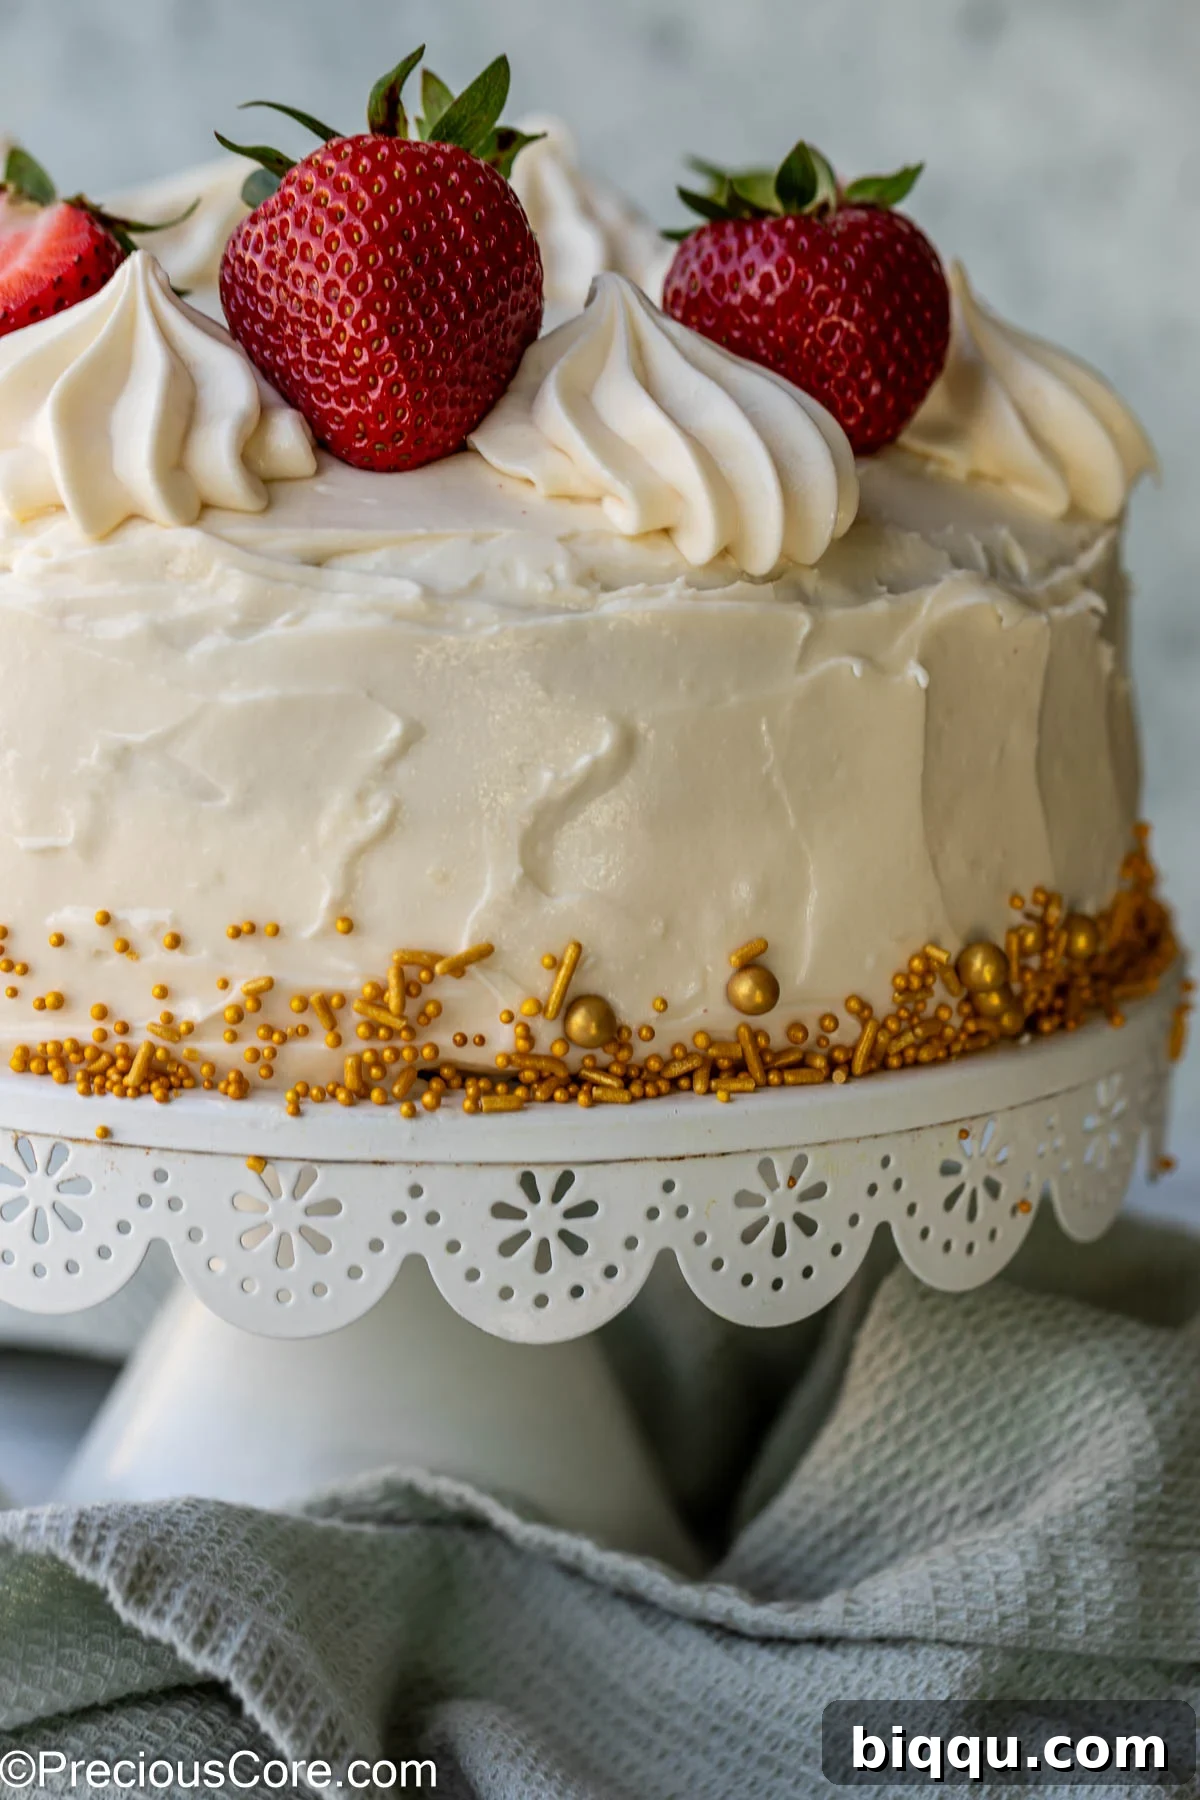
Carefully place the second cake layer on top of the frosted first layer. Now, spread another lavish layer of cream cheese frosting over the top of this second layer. Finally, use your offset spatula to spread the remaining frosting evenly around the sides of the entire cake. Smooth it to your desired finish – a rustic look or a perfectly polished surface. If you have any extra frosting, transfer it to a piping bag fitted with a star tip to pipe elegant swirls or borders over the top for a decorative flourish. For an extra touch of freshness and visual appeal, I often adorn my finished cake with fresh strawberries.
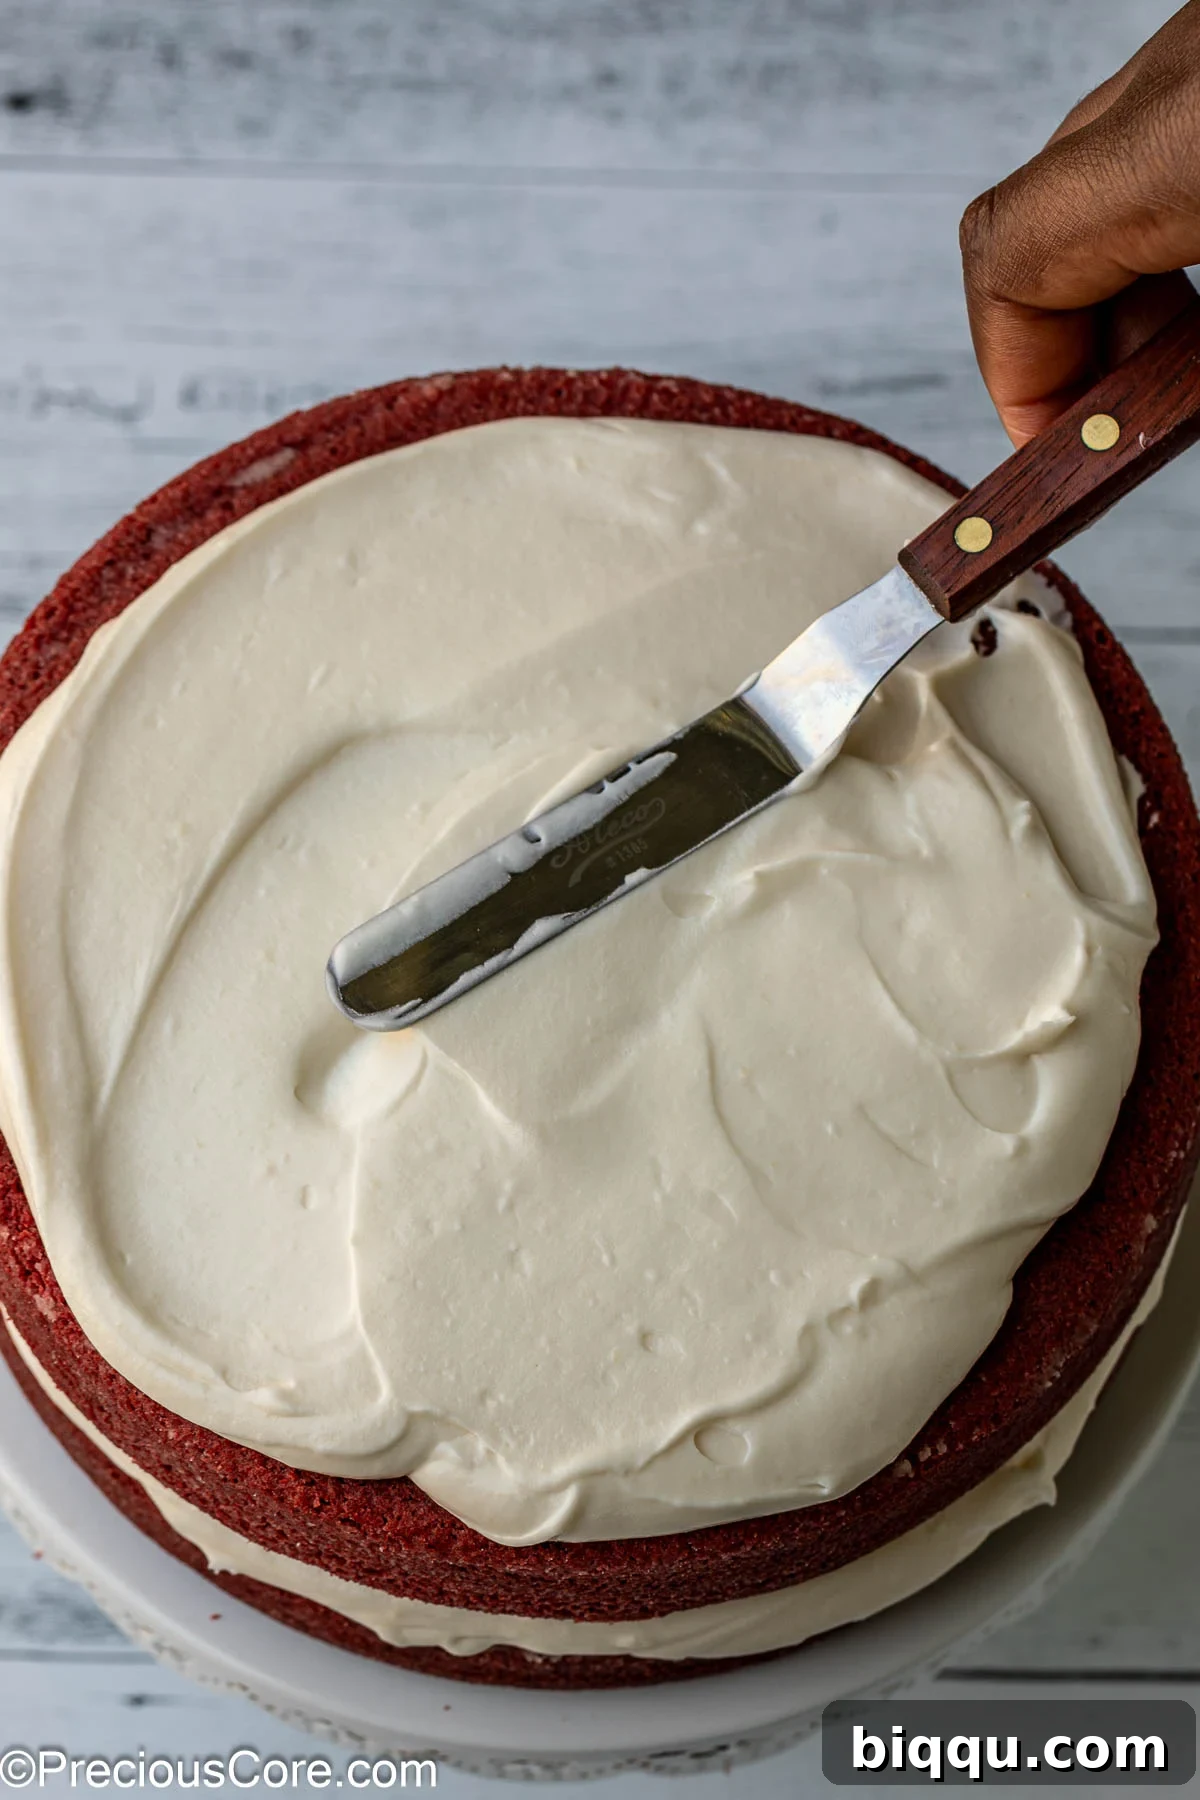
Crucial Tip: Patience is a virtue when frosting! It is absolutely essential that your cake layers are completely cooled to room temperature before you apply the frosting. Attempting to frost warm cakes will result in melted, sliding frosting and a cake that lacks structural integrity. Wait for absolute coolness for a beautiful, stable, and perfectly frosted cake!
Don’t forget to explore another timeless favorite: this incredible Old Fashioned Carrot Cake, bursting with flavor and warmth!
Expert Tips For A Flawless Red Velvet Cake
Achieving red velvet perfection is easier than you think with these additional insights:
- Pan Size Flexibility: While this recipe is designed for two 9-inch round cake pans, it’s remarkably versatile. You can successfully divide the batter into two 8 x 4 inch loaf cake tins for a rustic presentation or into two 11 x 7 inch rectangular baking dishes for a sheet cake style. If using 8-inch round pans, your cake layers will be thicker, requiring an extended baking time. Similarly, loaf pans will also need adjusted baking durations. Always monitor with a toothpick test for doneness when altering pan sizes.
- Smart Planning for Events: If you’re preparing this stunning cake for a special event, consider splitting the process over two days. Bake the cake layers on the first day, allowing them to cool completely. Once cooled, wrap them tightly in plastic wrap and store at room temperature overnight. On the second day, prepare your frosting and proceed with assembly and decoration. This approach simplifies the task and makes entertaining a breeze!
- Proper Storage for Leftovers: Due to the luscious cream cheese frosting, any leftover red velvet cake *must* be refrigerated. To maintain its freshness and prevent drying, store it in an airtight cake container with a tall lid. Alternatively, if using a platter, ensure the cream cheese frosting has set completely before carefully wrapping the entire cake with plastic wrap to prevent it from sticking and disturbing the beautiful frosting. Stored properly, your cake will remain delicious for 3-5 days in the refrigerator.
Red Velvet Cake FAQs
Red Velvet cake is a distinctive and highly celebrated dessert renowned for its vibrant deep red or reddish-brown hue and a subtle, unique flavor. It’s fundamentally a vanilla-based cake with a hint of cocoa, not a strong chocolate cake. The cocoa provides depth without being overpowering. Traditionally, this cake is adorned with a rich, tangy cream cheese frosting. The classic recipe relies on acidic buttermilk to react with baking soda, ensuring its characteristic light and fluffy texture. However, our innovative recipe achieves this same perfect texture and rise using an alternative acidic agent, allowing you to enjoy this magnificent cake even without buttermilk!
Creating a delicious homemade red velvet cake without buttermilk is entirely possible, and even straightforward! The key is to introduce another acidic component to activate the leavening agents like baking soda. For this recipe, we’ve perfected a simple yet effective substitute: combining regular whole milk with white vinegar. The vinegar, being acidic, curds the milk slightly and creates the necessary environment for the baking soda to react, producing carbon dioxide. This reaction is what ensures your cake rises beautifully, becoming incredibly fluffy and moist, just as it would with traditional buttermilk. Other acidic options like apple cider vinegar or lemon juice can also work in a pinch.
Historically, red velvet cake’s subtle reddish tint came from the reaction between natural cocoa powder (especially non-Dutched or “natural” cocoa, which is acidic), baking soda, and acidic ingredients like buttermilk or vinegar. The anthocyanins in older, un-Dutched cocoa would turn reddish when exposed to acid. Today, most cocoa powders are Dutched (processed with an alkali to reduce acidity), so food coloring is primarily responsible for the cake’s iconic vibrant red color.
Red velvet cake has a unique and complex flavor profile that’s often misunderstood. It’s not a strong chocolate cake, nor is it purely vanilla. It has a subtle cocoa flavor, often described as a mild chocolate, combined with a slight tanginess (traditionally from buttermilk, in our case from vinegar) and a hint of vanilla. This delicate balance of flavors is what makes it distinct and so appealing, especially when paired with its signature sweet and tangy cream cheese frosting.
Perfect Serving Suggestions
This exquisite red velvet cake, perfect for any special occasion, pairs wonderfully with a variety of beverages and accompaniments. Whether you’re celebrating or simply enjoying a moment of indulgence, here are some delightful serving ideas to enhance your experience:
Homemade Vanilla Ice Cream
Coconut Hot Chocolate
Honey Lemon Tea
Homemade Chocolate Ice Cream
Explore More Irresistible Cake Recipes
If you loved baking this red velvet masterpiece, you’re in for a treat! Here are more of my all-time favorite cake recipes, each promising delicious results for every occasion. Dive in and find your next baking adventure!
Old Fashioned Carrot Cake
Plain Cake Recipe
Southern Lemon Pound Cake Recipe
Yogurt Cake
Old Fashioned Fresh Apple Cake Recipe
Vanilla Pound Cake
For a truly simple yet elegant dessert, be sure to try my exquisite Italian Pear Almond Cake Recipe. And when you need a crowd-pleasing, make-ahead dessert that’s bursting with flavor, look no further than my comforting Challah Bread Pudding!
If you try this delightful Red Velvet Cake recipe, please take a moment to leave a star rating below. Your feedback helps others discover and enjoy this recipe, and I always love hearing from you! Thank you!
Red Velvet Cake Recipe Without Buttermilk
Print Recipe
Ingredients
Red Velvet Cake
- 1 cup whole milk
- 1 Tablespoon white vinegar
- 2½ cups all-purpose flour
- ½ teaspoon salt
- 1 teaspoon baking soda
- 2 Tablespoons cocoa powder
- ½ cup softened unsalted butter
- 1 cup granulated sugar
- ¾ cup vegetable oil (or any neutral oil)
- 2 large eggs (at room temperature)
- 2 teaspoons vanilla extract
- 2 Tablespoons red food coloring
Cream Cheese Frosting
- 16 ounces cream cheese blocks (softened)
- 8 tablespoons butter (softened)
- 4 cups powdered sugar
- 2 teaspoons vanilla extract
Instructions
-
1. Preheat oven to 350℉ (180℃). Grease and flour 2 9-inch cake pans.
-
2. In a medium mixing bowl, combine the whole milk and white vinegar and set aside.
-
3. Sift together the flour, salt, baking soda and cocoa powder.
-
4. In a large mixing bowl or the bowl of a stand mixer set to medium speed and fitted with the paddle attachment, cream together the butter and sugar for about 5 minutes until light and fluffy. Add the oil and mix to combine. Add the eggs one at a time and mix to combine. Add the milk and vinegar mixture and vanilla extract and mix until just combined.
-
5. With the mixer on low speed or mixing gently by hand, add half of the flour mixture, mix to combine, then add the other half of the flour mixture and mix until well incorporated. Do not overmix.
-
6. Add the red food coloring and mix until the batter is thoroughly and uniformly dyed red.
-
7. Pour half of the batter into each prepared baking pan. You can weigh each pan to make sure each baking pan has the same amount of batter for even layers.
-
8. Bake in the preheated oven for 22 minutes until a toothpick inserted in the middle of the cakes comes out clean.
-
9. Let the cakes cool in the pan for 10 minutes then transfer them onto a wire rack and let them cool completely for about one hour or more until they reach room temperature.
Frosting Instructions
-
1. To make the frosting, ensure cream cheese and butter are softened to room temperature. Beat the cream cheese and butter together in a large bowl with an electric mixer until light and fluffy (3-5 minutes). Gradually add the powdered sugar, then beat in the vanilla extract. If the frosting is too sweet, add a pinch of salt to balance the sweetness, starting with a quarter teaspoon and adding more if needed.
-
2. Fill and frost the cooled cake: Place one completely cooled cake layer on your serving plate. Using an offset spatula, spread an even layer of cream cheese frosting on top. Place the second cake layer over the first, then spread more cream cheese frosting over the top. Finally, spread the remaining frosting around the sides of the cake, smoothing it as desired. For decoration, transfer any extra frosting to a piping bag with a star tip and pipe swirls or borders. Fresh strawberries can also be added for a beautiful garnish.
Notes
- This batter will fit into other pans besides just 9-inch round cake pans! For example, you can divide the batter into two loaf cake tins (8 x 4 inches) or two rectangular baking dishes (11 x 7 inches). It will also fit into 8-inch rounds but will be a bit thicker, so you might need to extend the cooking time a bit (same with the loaf pans).
- Want to plan ahead? If you are making this cake for an event, I suggest baking the cake on one day, then making the frosting and decorating it on the next day! It is easy when you split up the project like this. After the first day, make sure to tightly wrap the cakes so they are ready for the next morning.
- If you have leftover frosted red velvet cake, it needs to be refrigerated because of the cream cheese icing. You can keep it in a cake container with a tall lid or keep it on a platter and carefully wrap it once the cream cheese frosting sets up and won’t stick to the plastic wrap.
Nutrition
Carbohydrates: 82g |
Protein: 7g |
Fat: 44g |
Saturated Fat: 20g |
Polyunsaturated Fat: 9g |
Monounsaturated Fat: 11g |
Trans Fat: 1g |
Cholesterol: 108mg |
Sodium: 447mg |
Potassium: 137mg |
Fiber: 1g |
Sugar: 19g |
Vitamin A: 1050IU |
Calcium: 76mg |
Iron: 2mg
Additional Info
Tried this recipe?
Mention @preciouscore or tag #PreciousCore!