
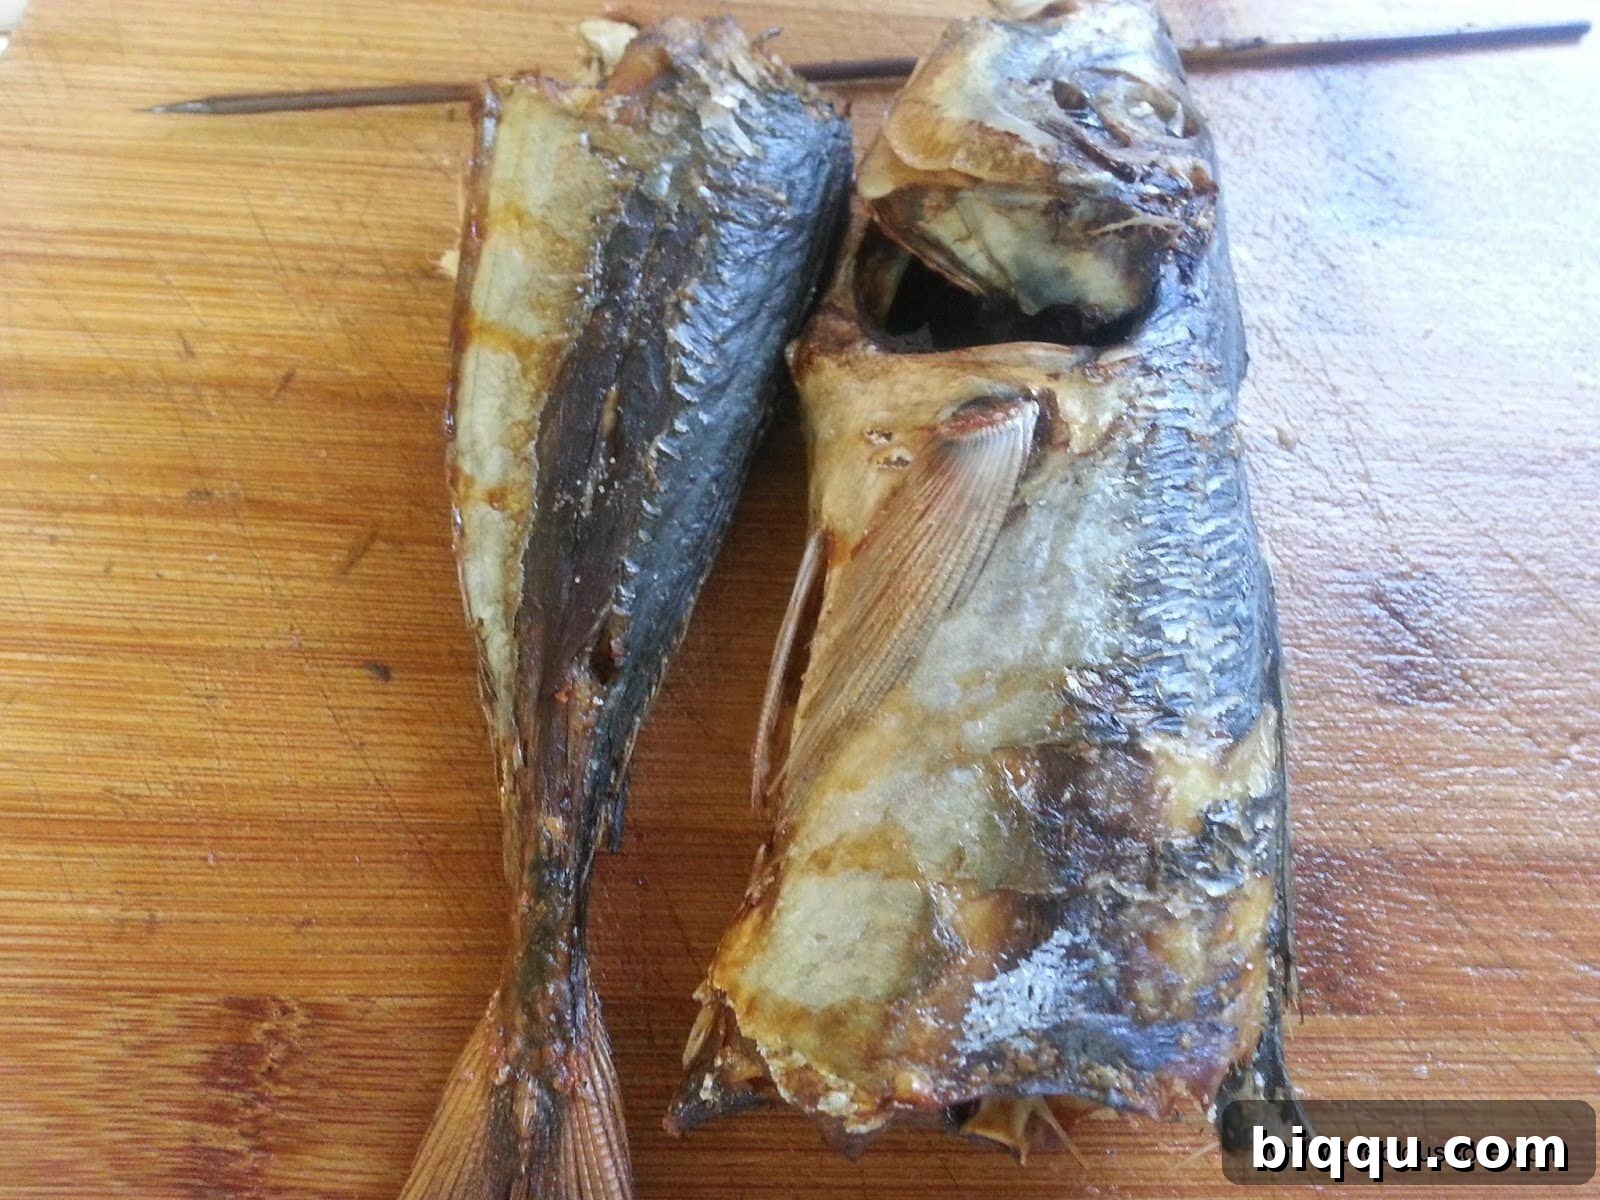
For many who cherish the rich, distinctive flavors of West African and Caribbean cuisine, dried fish is not just an ingredient; it’s a cornerstone. It imparts a depth of flavor and a unique texture that simply cannot be replicated by fresh or frozen alternatives. However, finding authentic, high-quality dried fish can be a significant challenge, especially when living outside regions where it’s a culinary staple. This was precisely the dilemma I faced after my family and I relocated to the United States. What was once a readily available commodity transformed into a rare luxury, occasionally spotted in specialty African markets, often at a premium.
My journey to recreate the essence of traditional dishes, such as the beloved Eru soup, which absolutely demands the robust flavor of dried fish, led me to experiment. Initially, I tried substituting with fried frozen fish. While it added a fishy note, the extra oil and the missing characteristic texture left something to be desired. This quest for authenticity, combined with a desire for a healthier, less oily option, eventually guided me to an ingenious solution: drying fish right in my own oven. The beauty of this method is its simplicity and accessibility; as long as you have access to quality frozen fish, you hold the power to create your very own batch of authentic oven-dried fish, bringing those cherished flavors back to your kitchen.
Mastering Homemade Oven-Dried Fish: A Simple Guide
Embracing the art of making your own dried fish at home is more than just a practical solution; it’s a culinary revelation. This method not only bypasses the scarcity and cost associated with store-bought dried fish but also offers a healthier alternative to frying. Imagine infusing your favorite stews and soups with that signature umami depth, all achieved with minimal effort and readily available ingredients. This comprehensive guide will walk you through every step, ensuring you can perfectly replicate the texture and flavor needed for truly authentic dishes.
Why Choose Homemade Oven-Dried Fish?
Beyond the simple convenience, there are several compelling reasons to try this method:
- Accessibility: Frozen fish is widely available in most supermarkets, unlike specialized dried fish.
- Cost-Effectiveness: Making your own can be significantly cheaper than purchasing imported dried fish.
- Quality Control: You dictate the freshness of your fish and the cleanliness of the drying process.
- Healthier Option: No need for excess frying oil, resulting in a lighter product.
- Customization: Adjust salt levels and add other seasonings to suit your taste preferences.
- Authentic Flavor: Achieve a similar texture and concentrated flavor profile essential for many traditional recipes.
Ingredients and Equipment You’ll Need
The beauty of this recipe lies in its minimal requirements. Gather these essentials, and you’re halfway to culinary success:
Key Ingredients:
- Fish of Choice: For this recipe, I used what’s commonly referred to as “morocco fish,” which is often labeled as Yellow Tail Mackerel in Western markets. This fish works wonderfully due to its firm flesh and moderate fat content, making it ideal for drying. Other excellent choices include Tilapia, Barracuda, or even smaller, leaner white fish. If opting for fillets, ensure they are relatively thin for faster drying.
- Salt: A pinch of sea salt or table salt is sufficient for seasoning and helps in the drying process.
Essential Equipment:
- Sharp Knife: For cleaning and gutting the fish.
- Cutting Board: A sturdy surface for preparation.
- Baking Sheet: A standard baking sheet will suffice.
- Parchment Paper or Aluminum Foil: To line the baking sheet for easy cleanup and to prevent sticking.
- Oven: The primary tool for the drying process.
- Bamboo Skewer (Optional but Recommended): Or any food-safe stick. While my initial use was purely based on tradition, it helps the fish maintain its shape and can facilitate more even drying by allowing air circulation.
Step-by-Step Guide to Oven-Drying Your Fish
Follow these detailed steps to transform your fresh or frozen fish into perfectly dried culinary gold:
Step 1: Thoroughly Clean the Fish
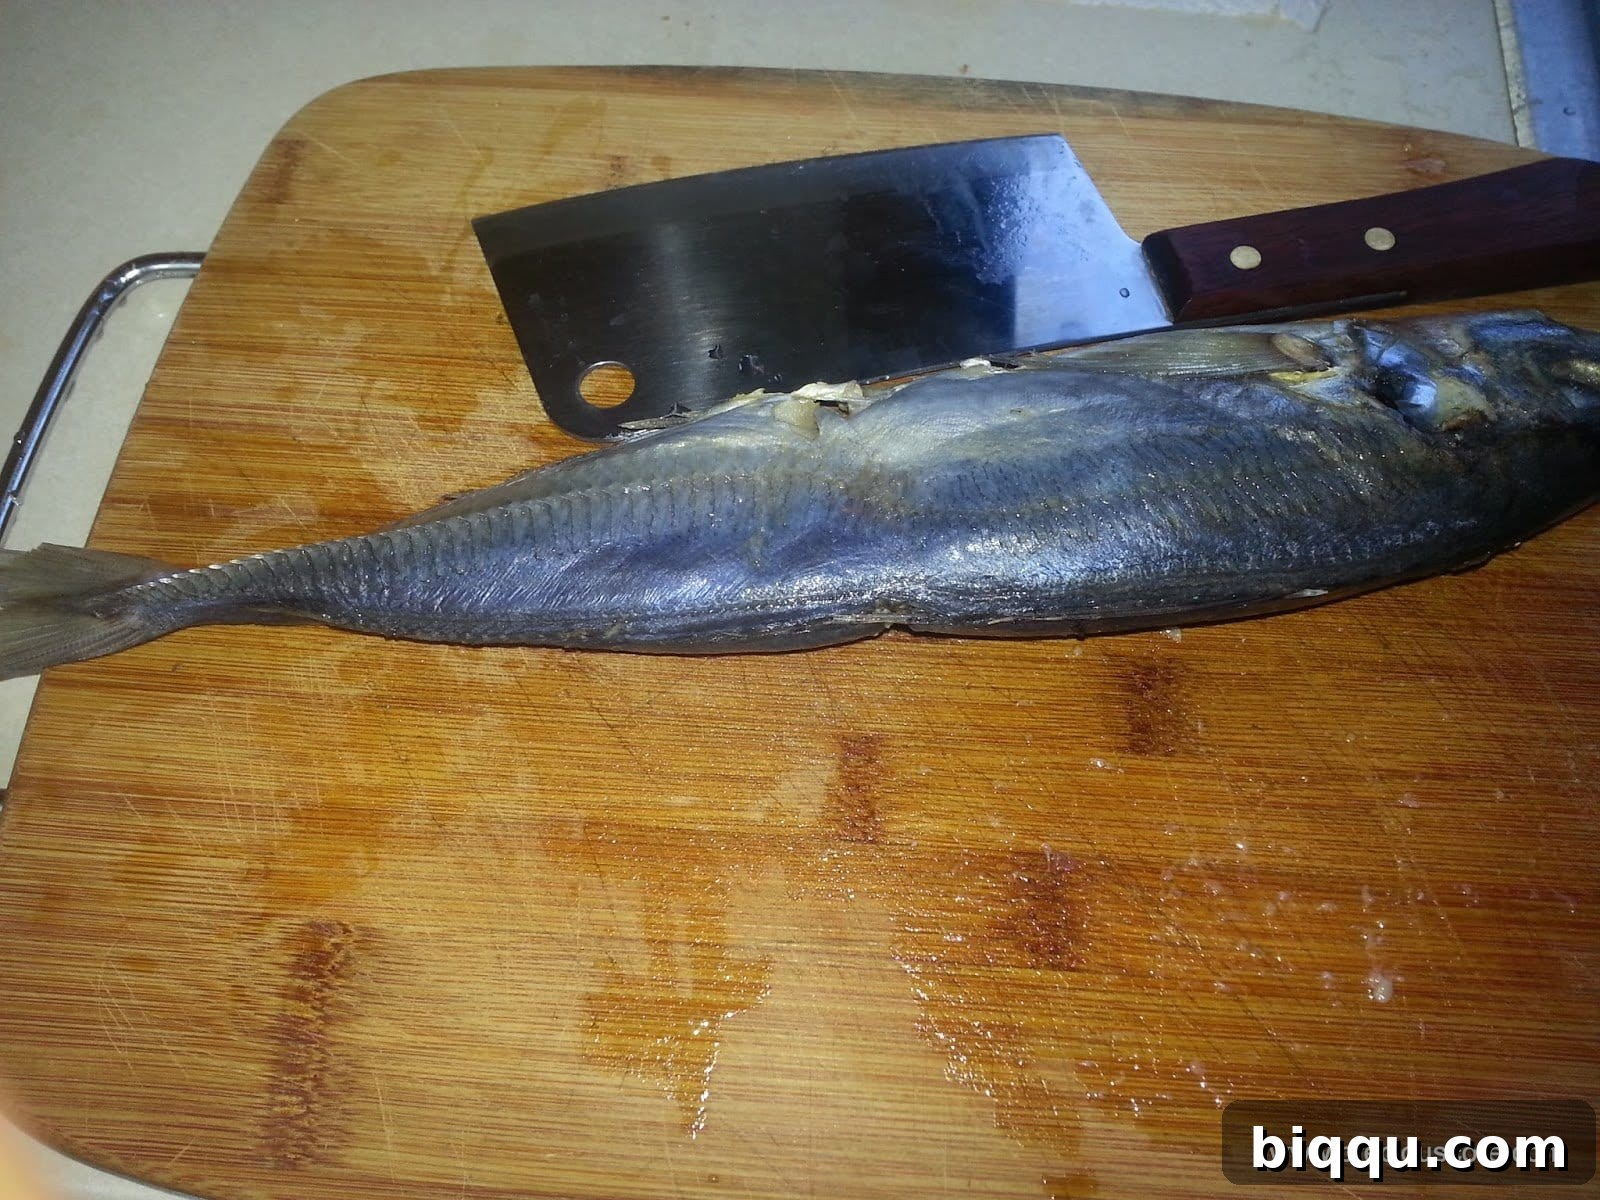
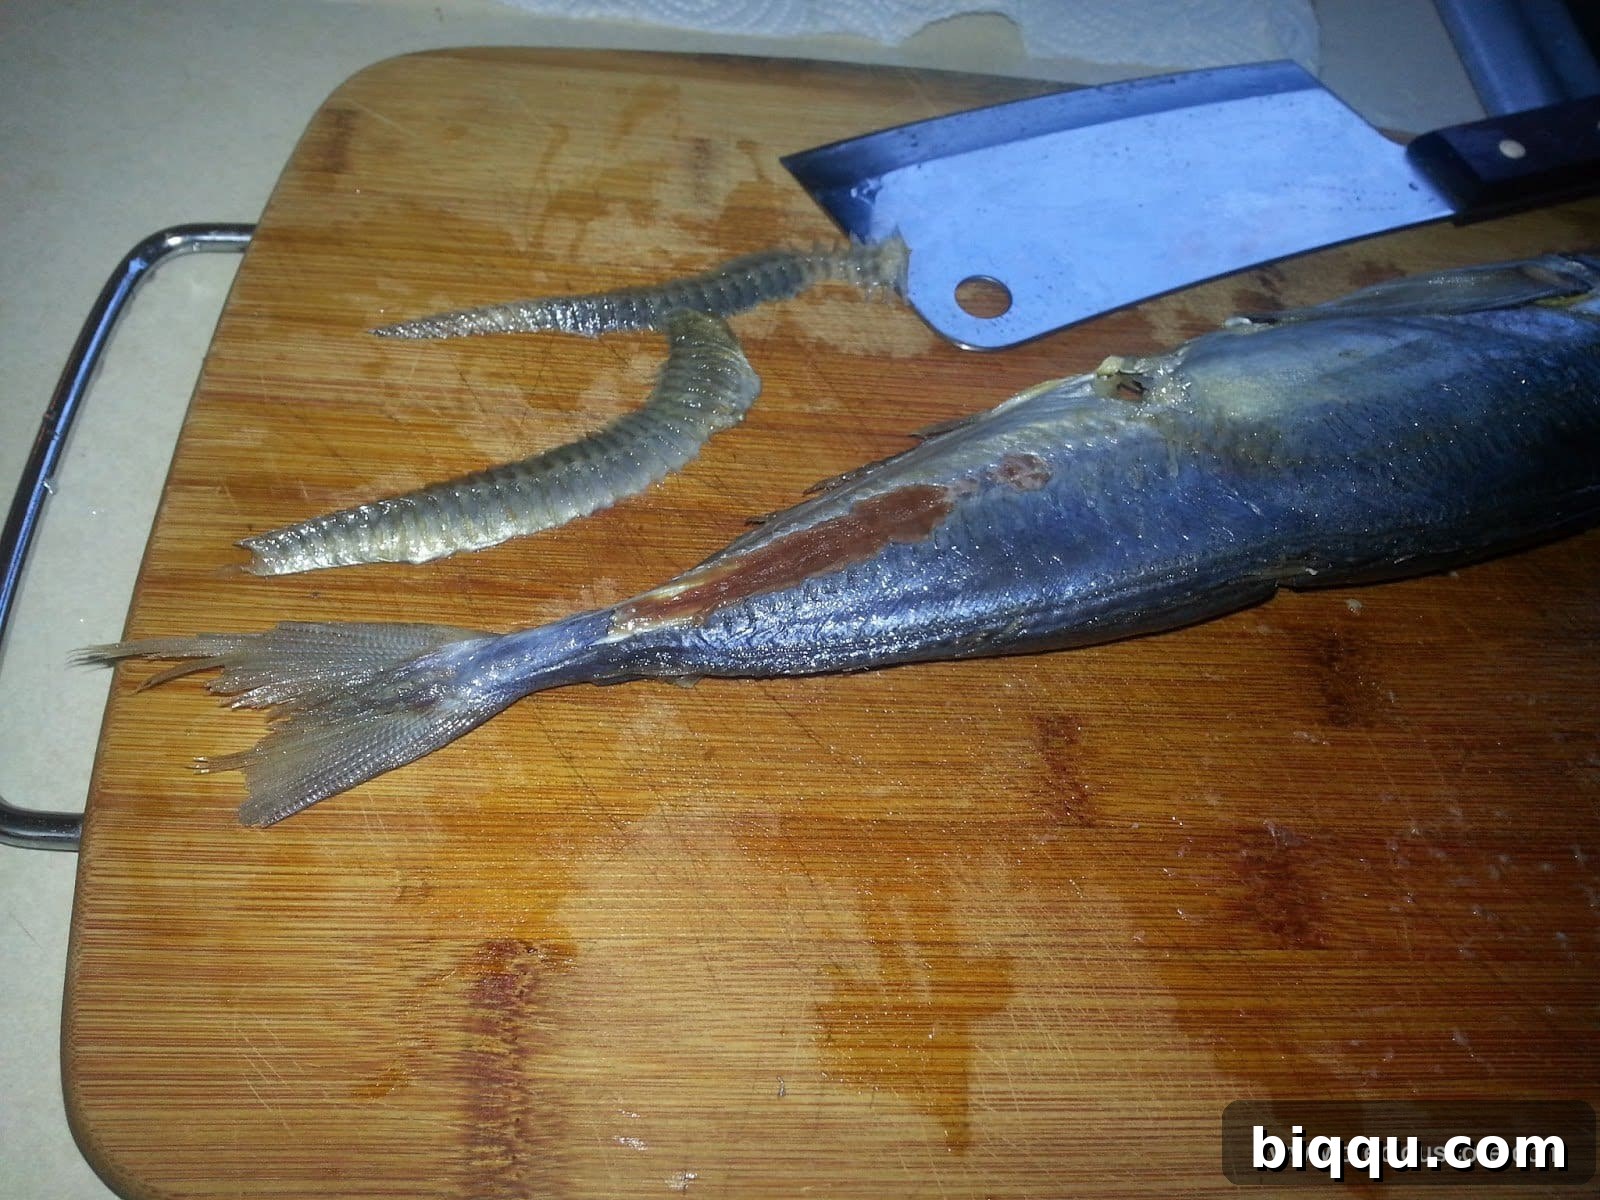
Proper cleaning is crucial for both hygiene and the quality of your dried fish. If using frozen fish, ensure it’s fully thawed before starting. Begin by rinsing the fish under cold running water. Next, carefully scale the fish by scraping against the direction of the scales with the back of your knife or a fish scaler. Make an incision along the belly from the anal fin to just below the gills. Scoop out all the internal organs, ensuring the cavity is completely clean. Rinse the fish thoroughly, both inside and out, to remove any residual blood or debris. Pat it dry with paper towels.
Step 2: Remove Gills (Optional but Recommended)
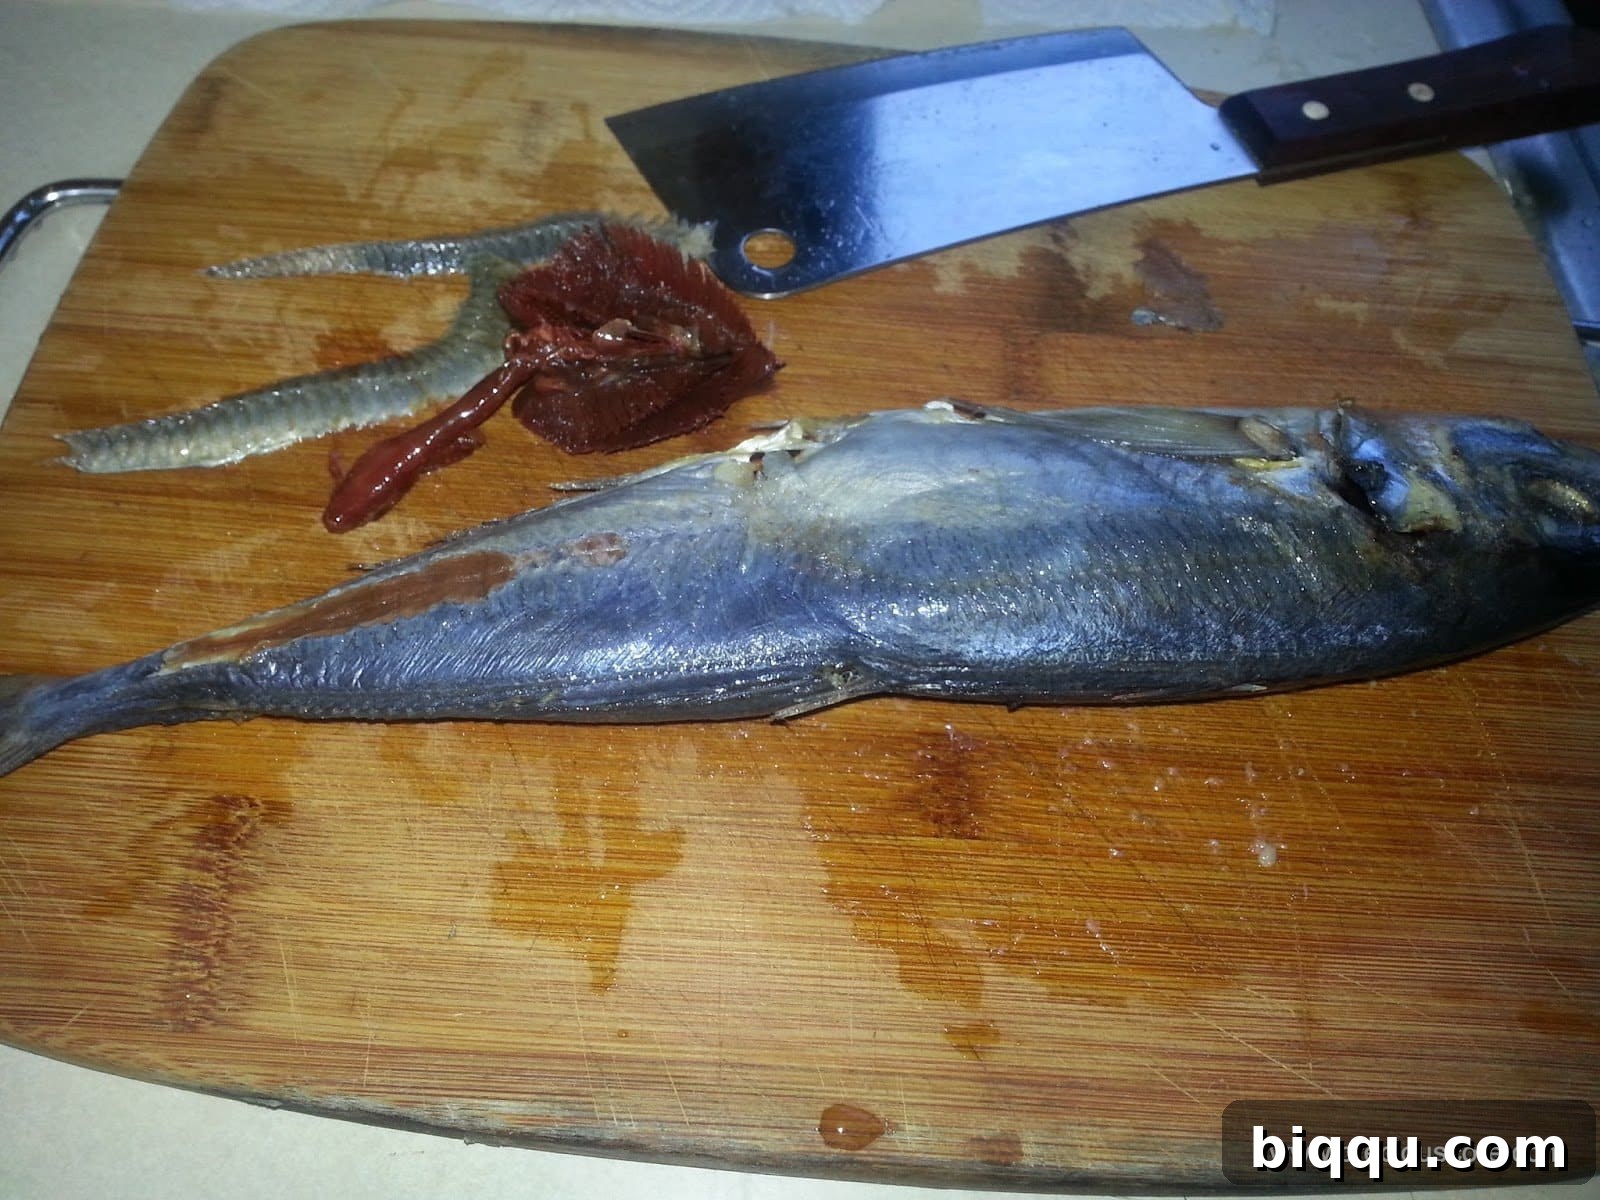
While not strictly necessary, removing the gills can prevent any lingering bitterness and ensures a cleaner-tasting final product. Gills are also one of the first parts of the fish to spoil, so taking them out contributes to better preservation. Simply use your fingers or a knife to carefully detach and pull out the gills from both sides of the fish head. Rinse again if needed.
Step 3: Seasoning and Skewering
Sprinkle a generous pinch of salt evenly over the entire fish, both inside the cavity and on the skin. Rub it in gently. Salt not only adds flavor but also helps to draw out moisture, aiding the drying process. Now, take your bamboo skewer or stick and carefully pierce it across the width of the fish, typically through the eyes or just below the head, and then again near the tail. While the exact rationale behind this traditional practice might be debated, it serves a practical purpose: it helps the fish maintain its shape during drying and can prevent it from curling, ensuring more uniform exposure to heat. It’s a trick passed down through generations, and it truly works!
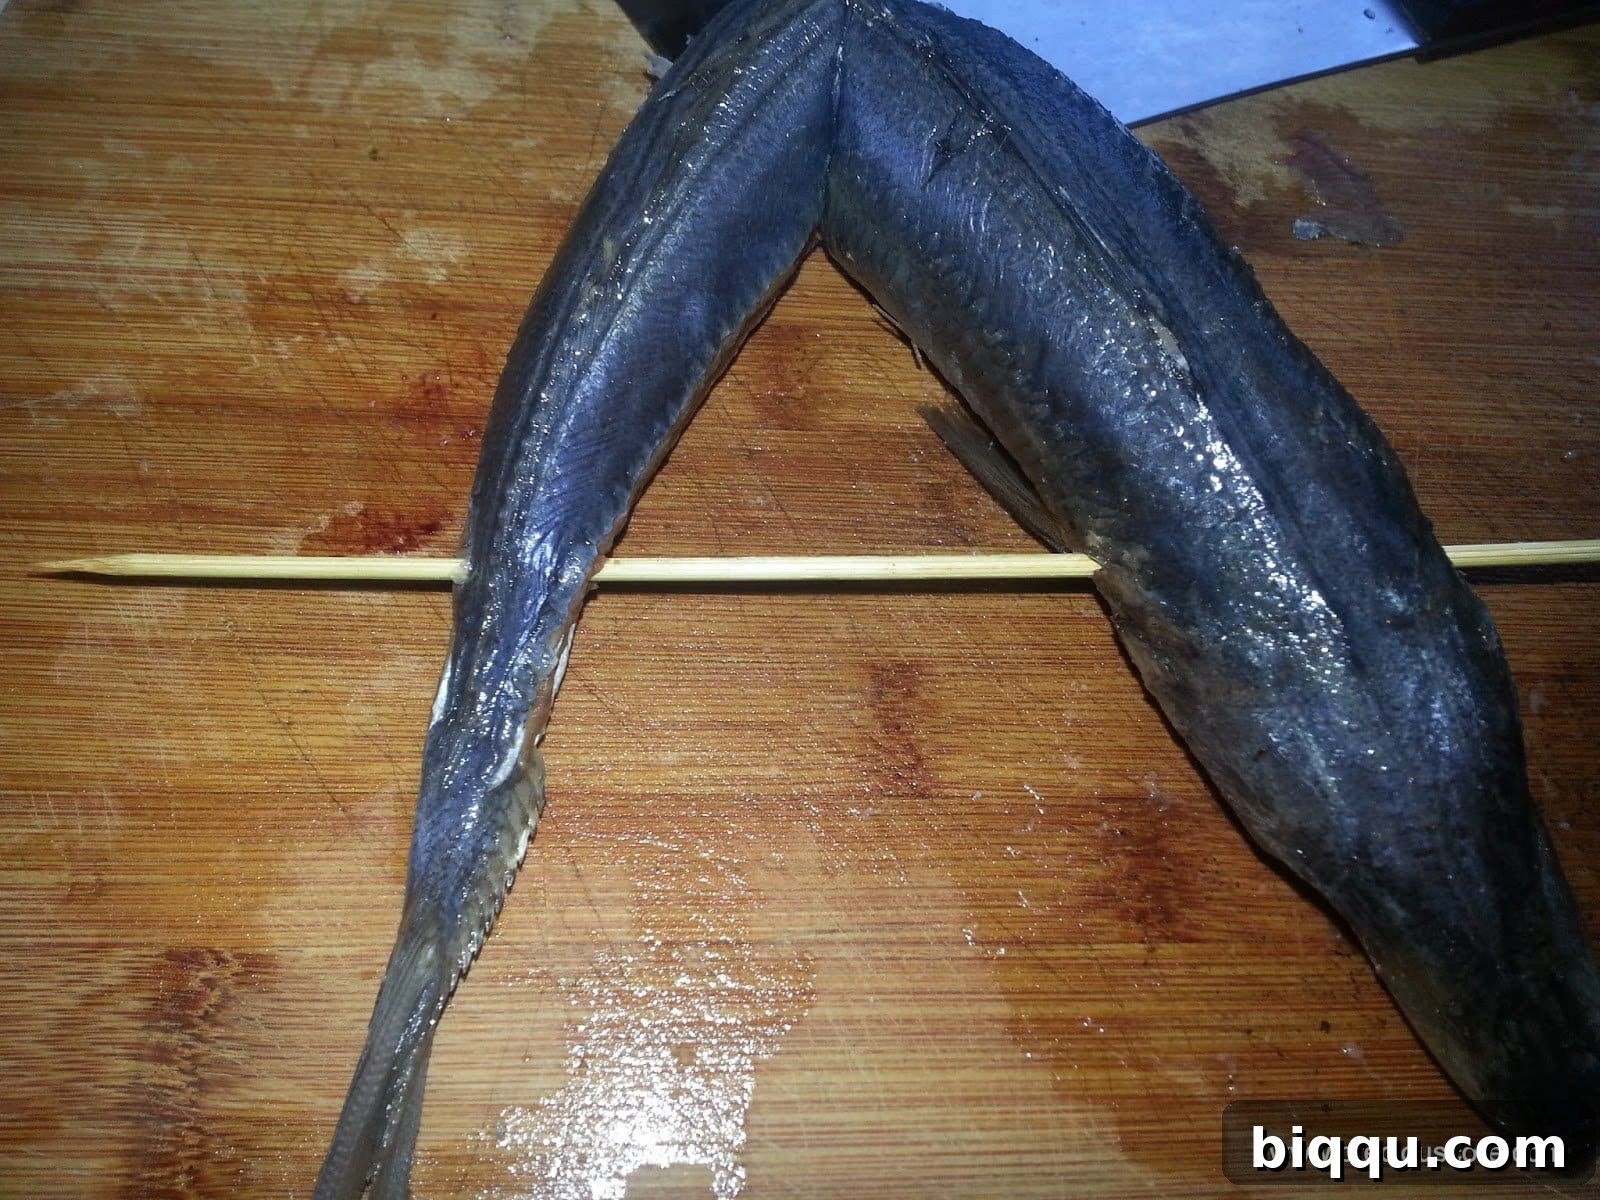
Step 4: The Oven Drying Process
Preheat your oven to approximately 400 Degrees Fahrenheit (200 Degrees Celsius). While this temperature might seem high for “drying,” the initial phase is more about partially baking and firming up the fish. Line a baking sheet with parchment paper or foil and place the skewered fish on it. Ensure there’s adequate space around the fish for air circulation. Bake the fish for about 10-15 minutes at this temperature. This initial bake helps to cook the fish through and begin the dehydration process effectively.
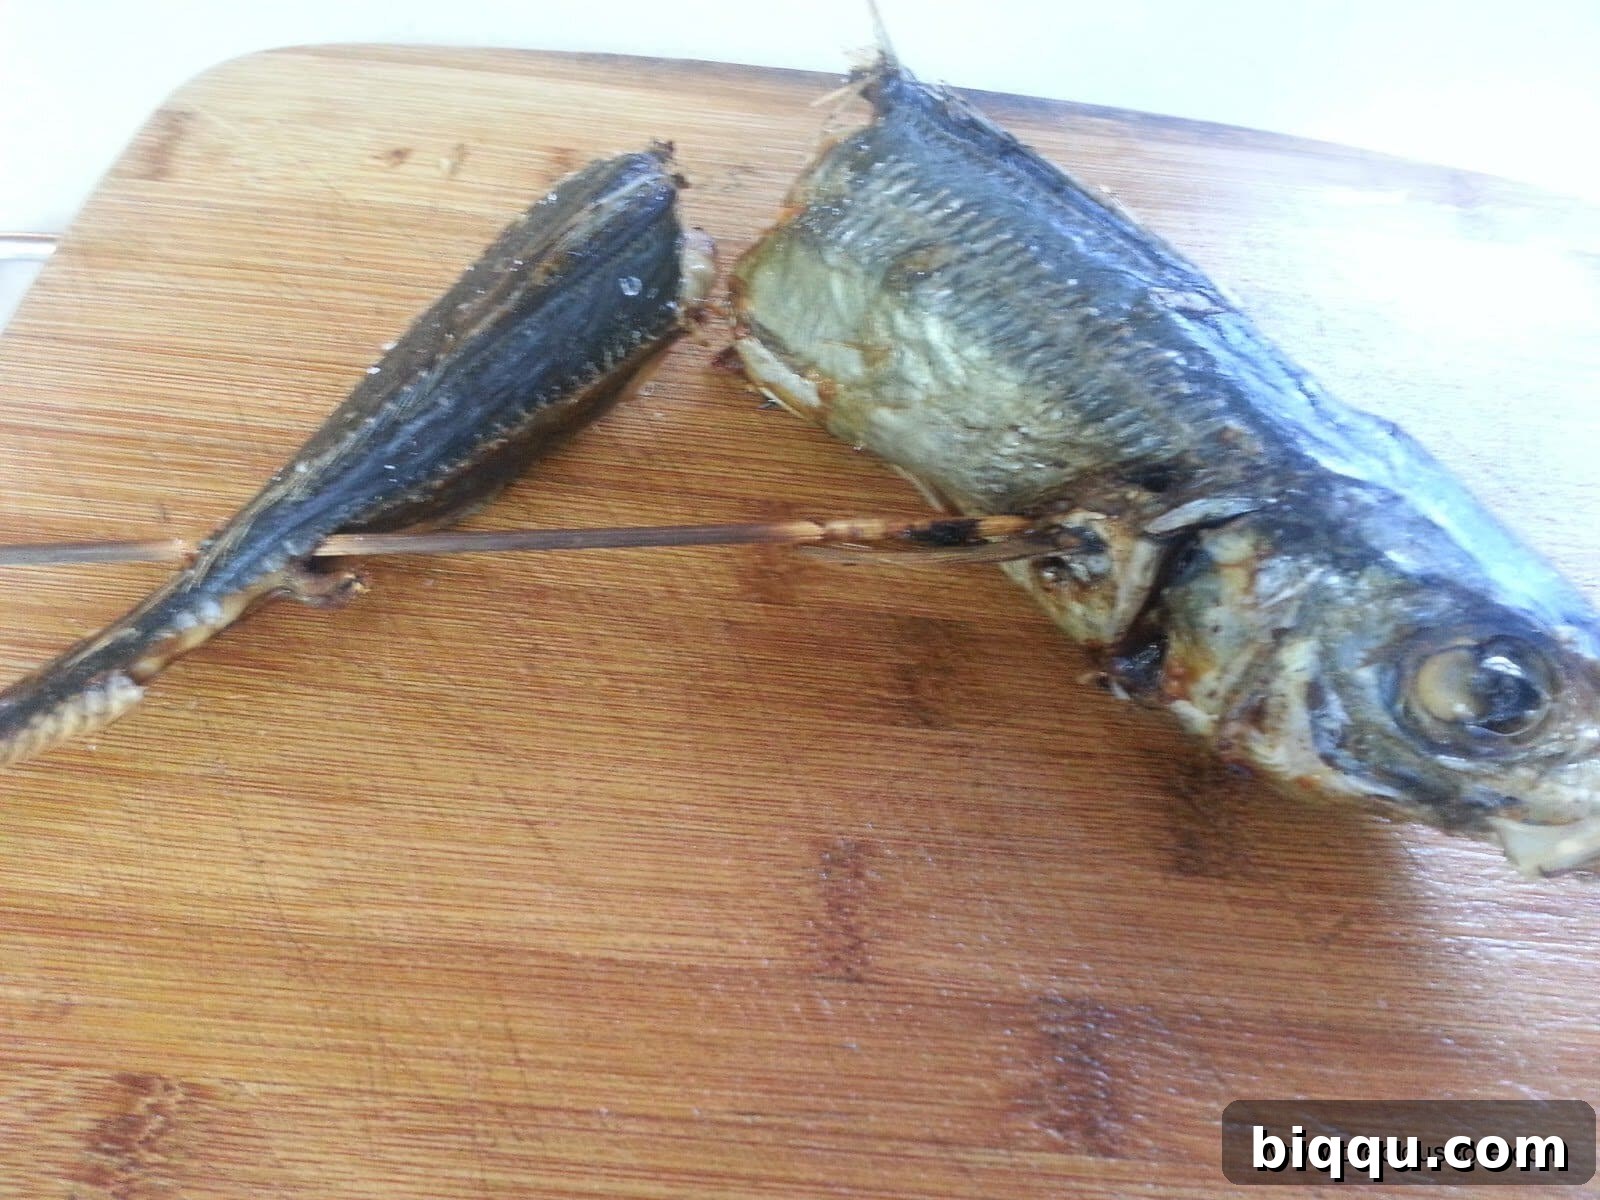
Step 5: Achieving the Desired Dryness
After the initial high-heat bake, reduce the oven temperature significantly. For optimal drying, set your oven to a much lower temperature, around 170-200 Degrees Fahrenheit (75-95 Degrees Celsius). This lower heat setting allows for gradual moisture evaporation without cooking the fish further or burning it. Continue to dry the fish for at least an hour, or even longer, depending on the thickness of your fish and your desired level of dryness. Turn the fish occasionally to ensure even drying. The goal is a firm, leathery texture. If you want a product that mimics traditionally sun-dried fish, it may require several hours at a very low temperature, potentially with the oven door slightly ajar to allow moisture to escape.
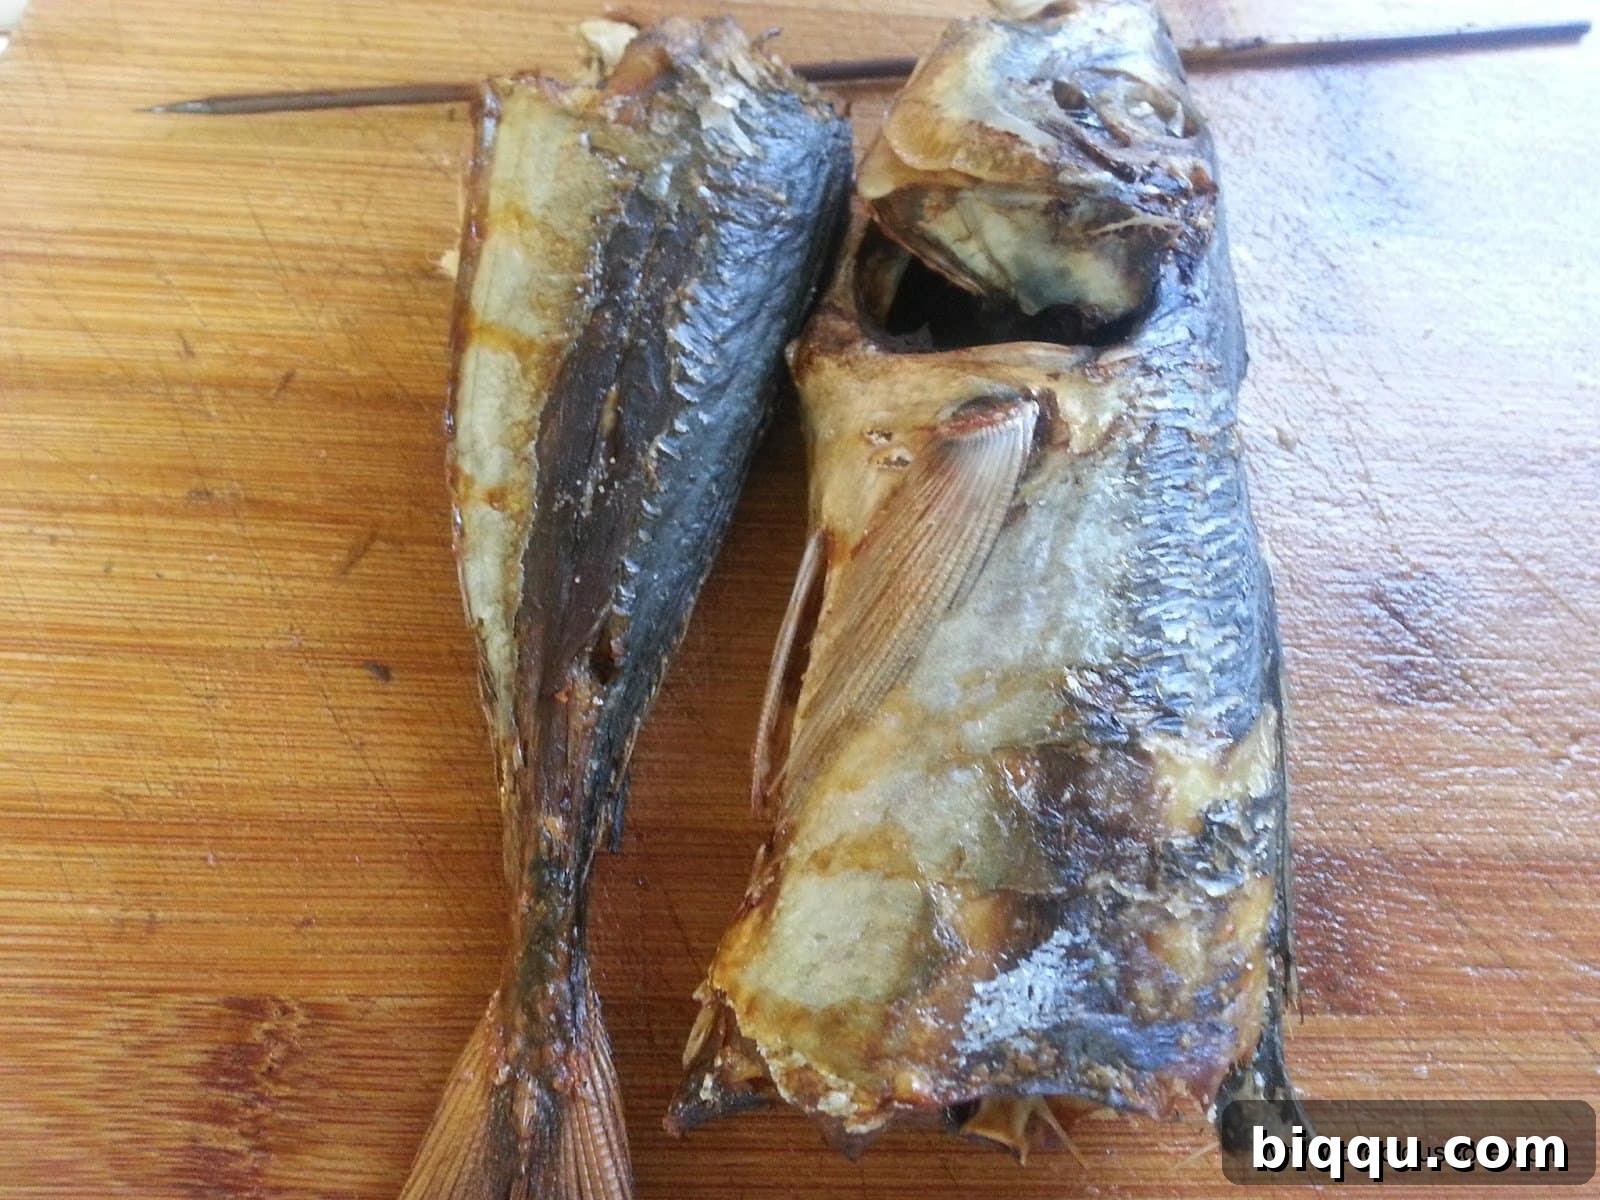
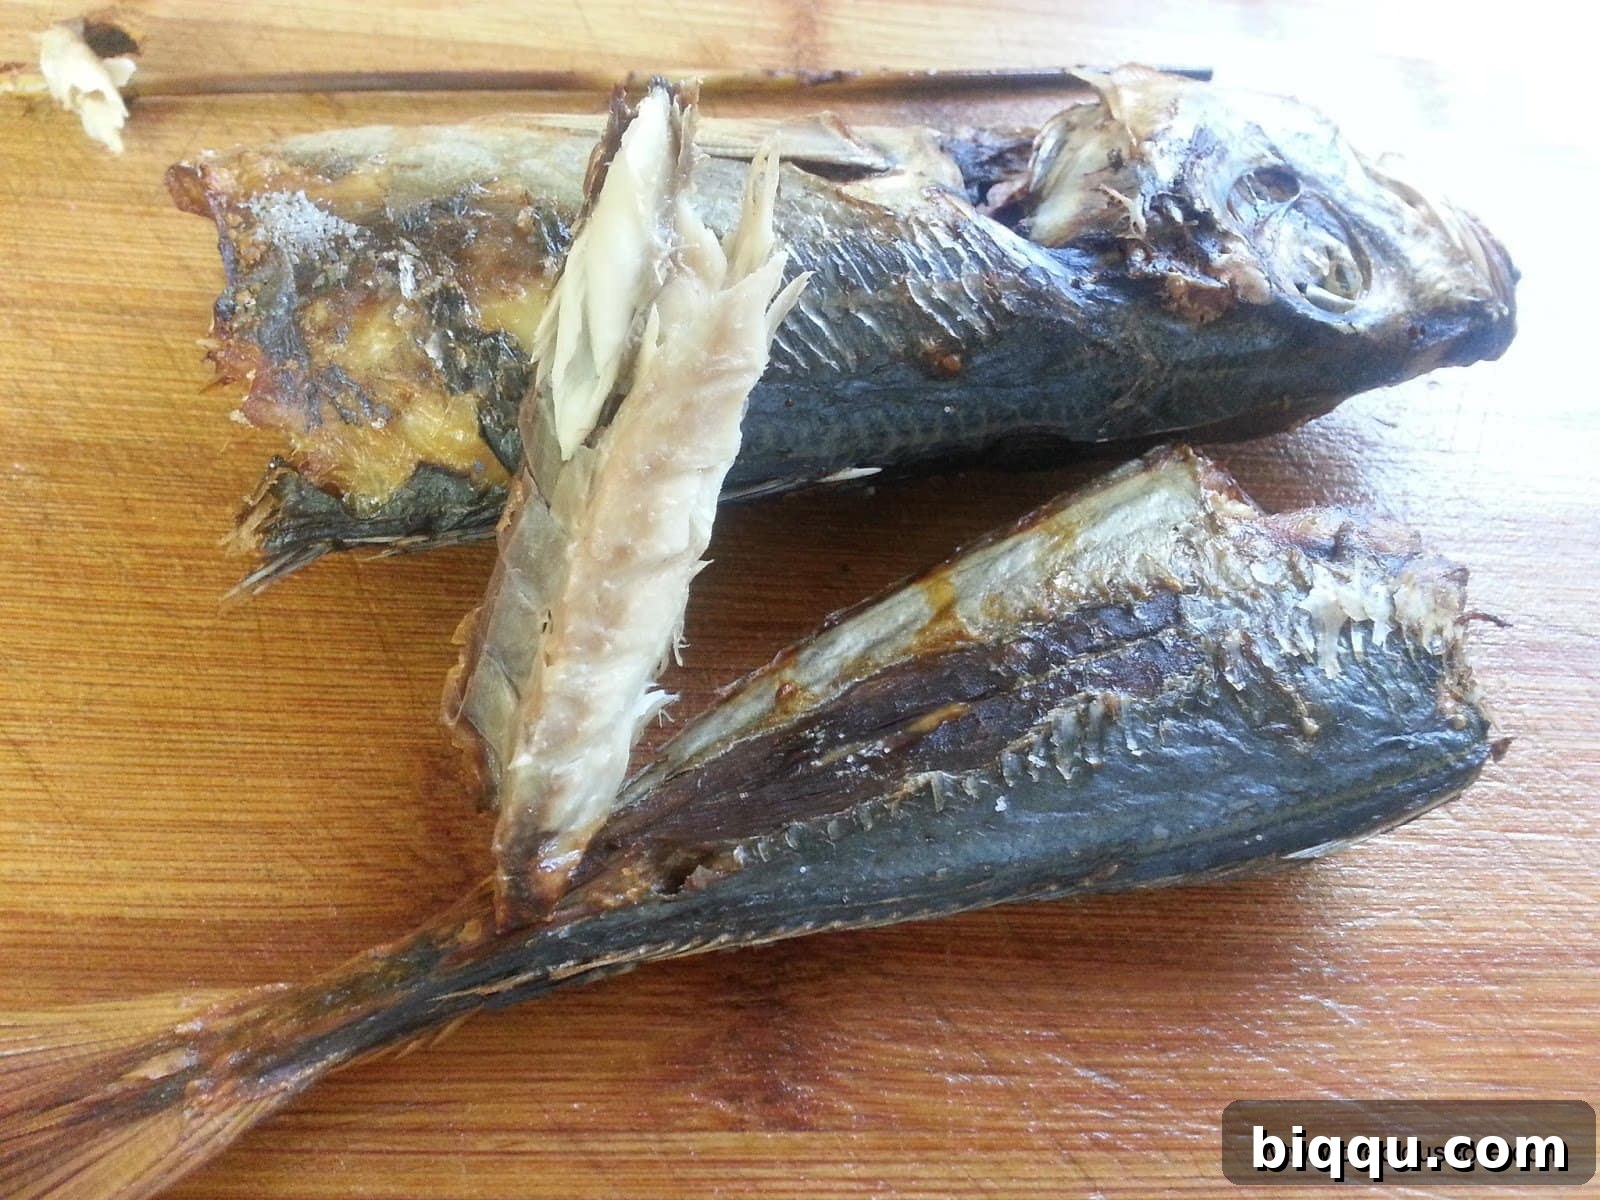
Step 6: Cool and Store
Once your fish has reached the desired level of dryness, remove it from the oven and let it cool completely on a wire rack. As it cools, it will continue to firm up. At this stage, you’ll find the aroma irresistible. If you’re anything like me, you’ll be tempted to break off a piece and enjoy the fruits of your labor – one of the undeniable perks of being the chef!
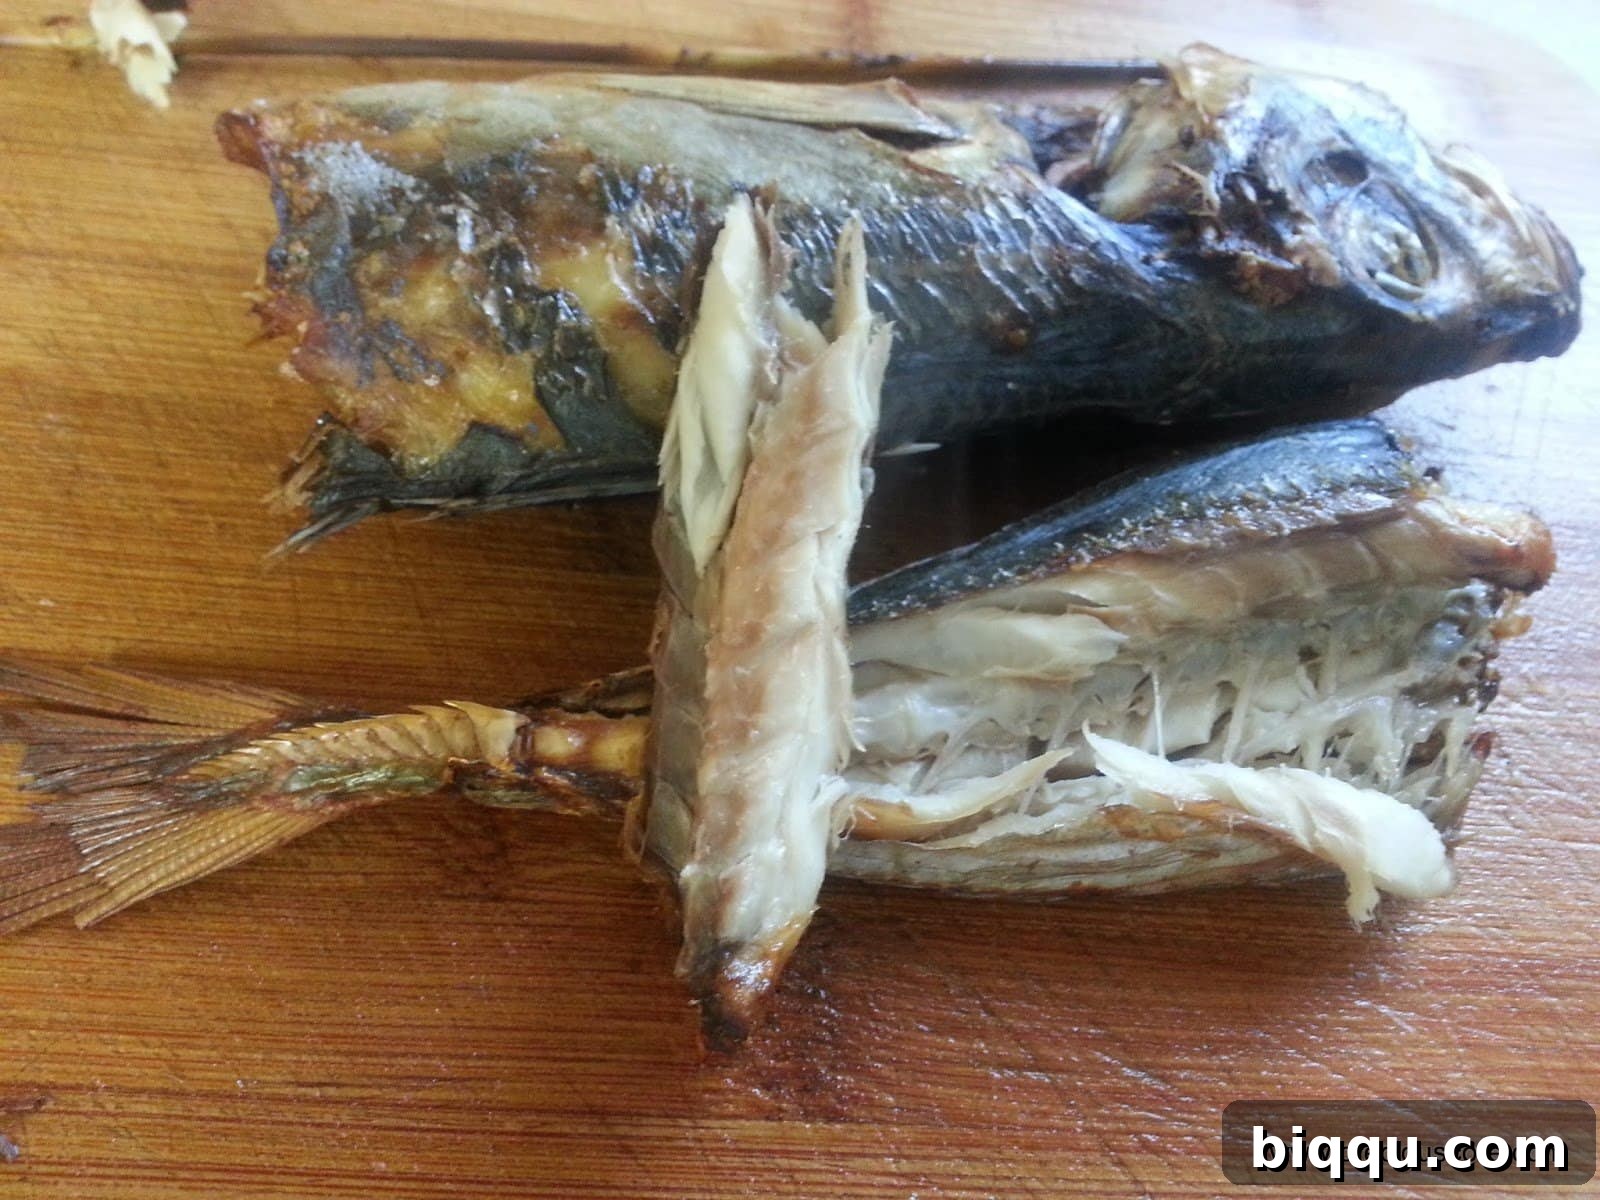
When dried to perfection, your homemade creation will have a firm, slightly chewy texture and a concentrated flavor. While it might resemble smoked fish in its firm texture, it isn’t truly “smoked” in the traditional sense, lacking the black charring or deep smoky aroma that comes from wood smoke. Instead, it’s a beautifully oven-dried product, ready to enhance your culinary creations.
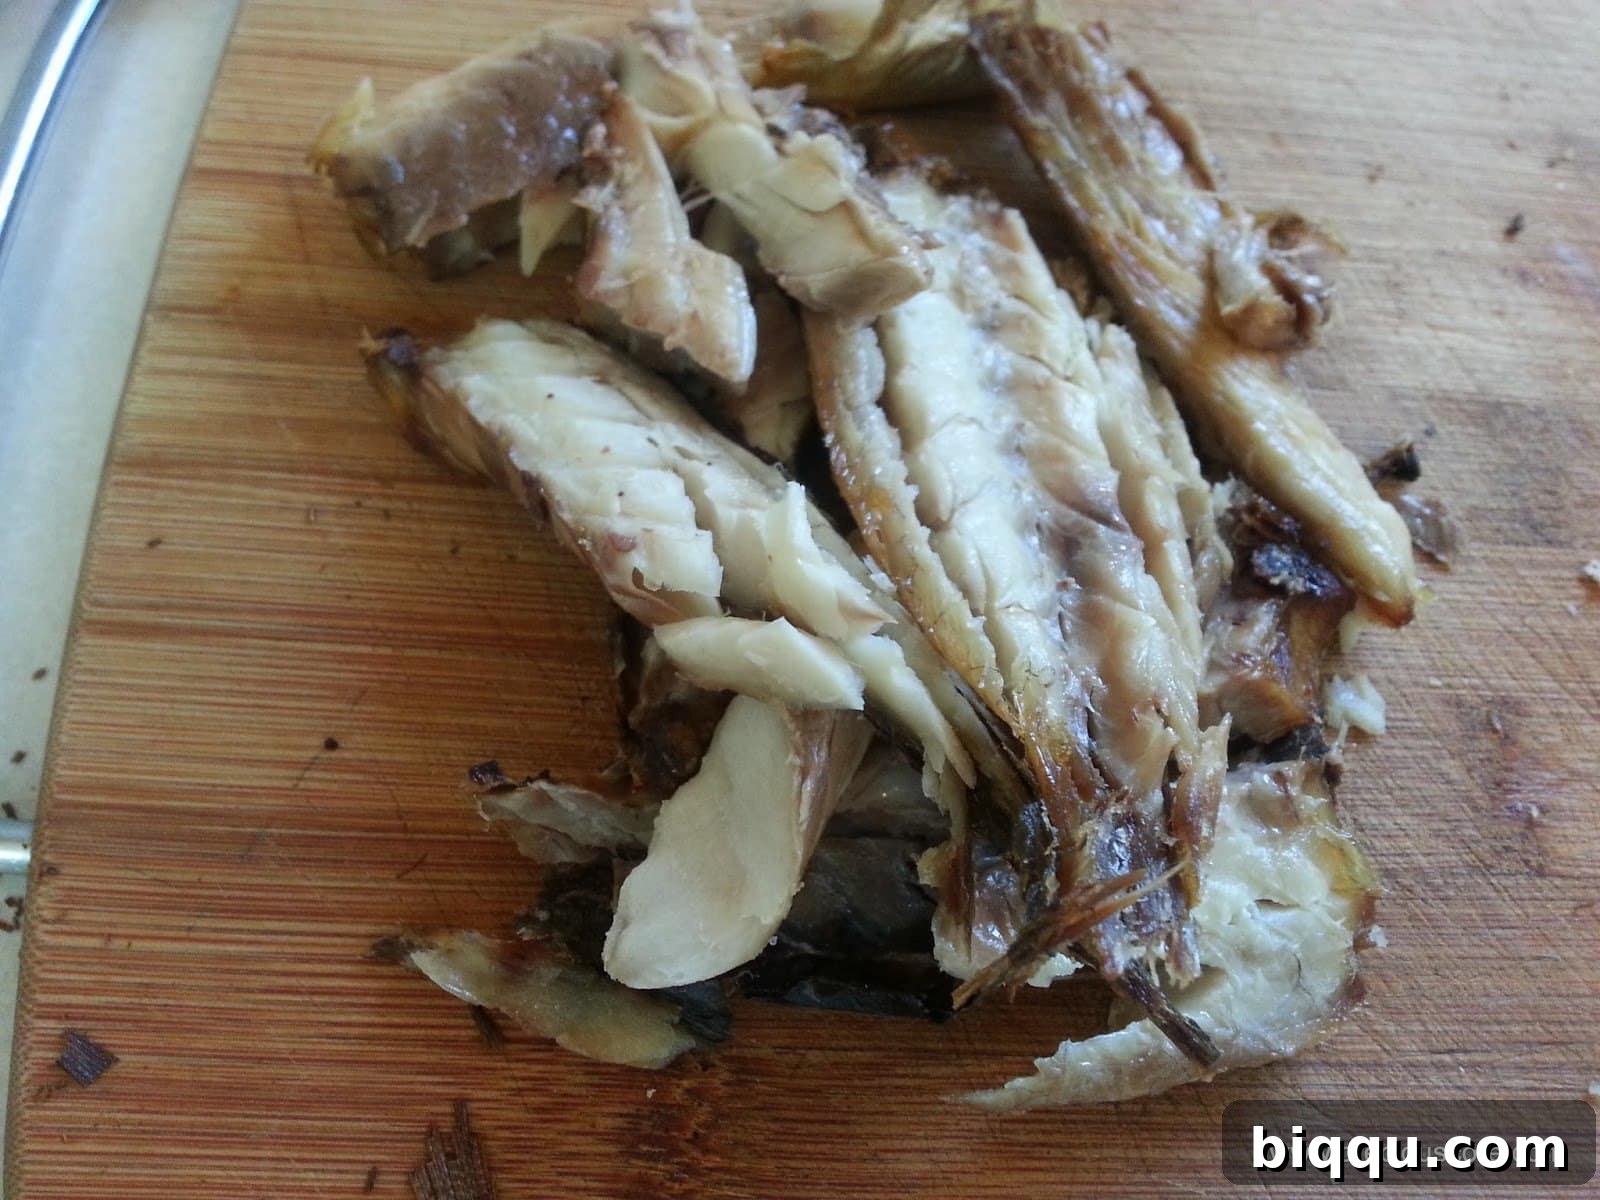
The culinary possibilities with your freshly dried fish are virtually endless. Its intense flavor profile and unique texture make it an indispensable ingredient in a variety of traditional African and Caribbean dishes. Here are some celebrated recipes where your homemade dried fish will truly shine:
- Ogbono Soup (aka “Soup of the Year”): A beloved West African soup known for its rich, viscous texture and earthy flavor. Dried fish adds an essential layer of umami and depth that elevates this soup to perfection.
- Delicious Eru: A popular Cameroonian dish featuring a vibrant blend of spinach or other leafy greens, oil, and various meats and fish. The addition of dried fish provides that authentic, pungent flavor that defines Eru.
- Finger-licking Kwacoco Bible: This traditional Cameroonian delicacy is made from grated cocoyams, typically wrapped in plantain leaves and steamed. Dried fish is often incorporated into the mixture or served alongside, contributing a savory counterpoint to the starchy cocoyam.
- Delicious Ekwang (or Ekpang Kukwo): Another cherished Cameroonian dish, similar to Kwacoco but made with grated cocoyam and water yam, again steamed in cocoyam leaves. Dried fish is crucial for its distinct flavor and makes this dish truly authentic and irresistible.
Tips for Success and Variations
Using Fish Fillets: If you prefer the convenience of boneless fish, you can absolutely use fish fillets for this method. Thinly cut tilapia fillets are an excellent choice. When using fillets, reduce the initial high-heat bake and focus more on the low-temperature drying. I typically let thinly cut tilapia fillets dry in the oven for at least an hour at about 200 Degrees Fahrenheit (95 Degrees Celsius). If, after an hour, they haven’t reached the desired dry and pliable consistency, simply extend the drying time. The goal is for them to become firm and almost leathery, much like commercially available Bonga Fish (smoked herring) in texture – though without the smoky flavor, unless you decide to add liquid smoke before drying.
Achieving Optimal Dryness: The key to successful dried fish is removing as much moisture as possible to prevent spoilage. However, you want it to remain somewhat pliable, not brittle. If your oven has a “warm” or “proof” setting, these very low temperatures can be ideal for the extended drying phase. You can also slightly prop open the oven door with a wooden spoon to allow moisture to escape more easily. The longer and slower the drying process at a low temperature, the better the texture and shelf life.
Storage: Once completely cooled, store your homemade dried fish in an airtight container in a cool, dry place. For extended freshness, especially in humid climates, consider refrigerating or even freezing it. Properly dried and stored fish can last for several weeks, if not months.
Flavor Enhancements: While salt is traditional, you can experiment with other seasonings before drying. A pinch of black pepper, garlic powder, or even a touch of chili powder can add an extra dimension of flavor, depending on the dish you intend to use it for.
Troubleshooting: If your fish feels sticky or not fully dry, it simply needs more time in the oven at a low temperature. If it starts to brown excessively, your oven temperature might be too high; reduce it further. Avoid overcrowding the baking sheet, as this can hinder even drying.
Frequently Asked Questions About Homemade Dried Fish
Q: Can I use any type of fish for drying?
A: While many fish types can be dried, leaner fish with firm flesh tend to work best. Examples include mackerel, cod, tilapia, or barracuda. Fatty fish can be dried but may have a shorter shelf life due to fat oxidation.
Q: How long does homemade oven-dried fish last?
A: When properly dried and stored in an airtight container in a cool, dry place, it can last for several weeks. Refrigeration extends this to a few months, and freezing can keep it fresh for up to six months or longer.
Q: Is it safe to eat?
A: Absolutely, provided you start with fresh, clean fish and follow proper drying and storage methods. The salt and the drying process inhibit bacterial growth.
Q: Can I use a food dehydrator instead of an oven?
A: Yes, a food dehydrator is an excellent alternative, often more efficient than an oven for long, low-temperature drying. Follow your dehydrator’s instructions for drying fish.
Q: What if I don’t have a bamboo skewer?
A: While helpful for maintaining shape, a skewer isn’t strictly necessary. You can simply place the fish directly on a wire rack over a baking sheet, turning it periodically to ensure even drying. The skewer just helps with structure.
Q: Can I air dry fish at home?
A: Air drying is a traditional method but requires specific environmental conditions – low humidity, good airflow, and protection from insects. For most home cooks, oven drying offers a more controlled and hygienic environment.
The journey of making your own oven-dried fish is incredibly rewarding. It’s a testament to culinary ingenuity and a wonderful way to connect with traditional flavors that might otherwise be out of reach. With this guide, you now possess the knowledge and confidence to transform ordinary frozen fish into an extraordinary ingredient, ready to infuse your meals with that authentic, sought-after taste.
So, will you try this out? Embark on this delicious adventure and bring the rich heritage of dried fish into your own home kitchen!