
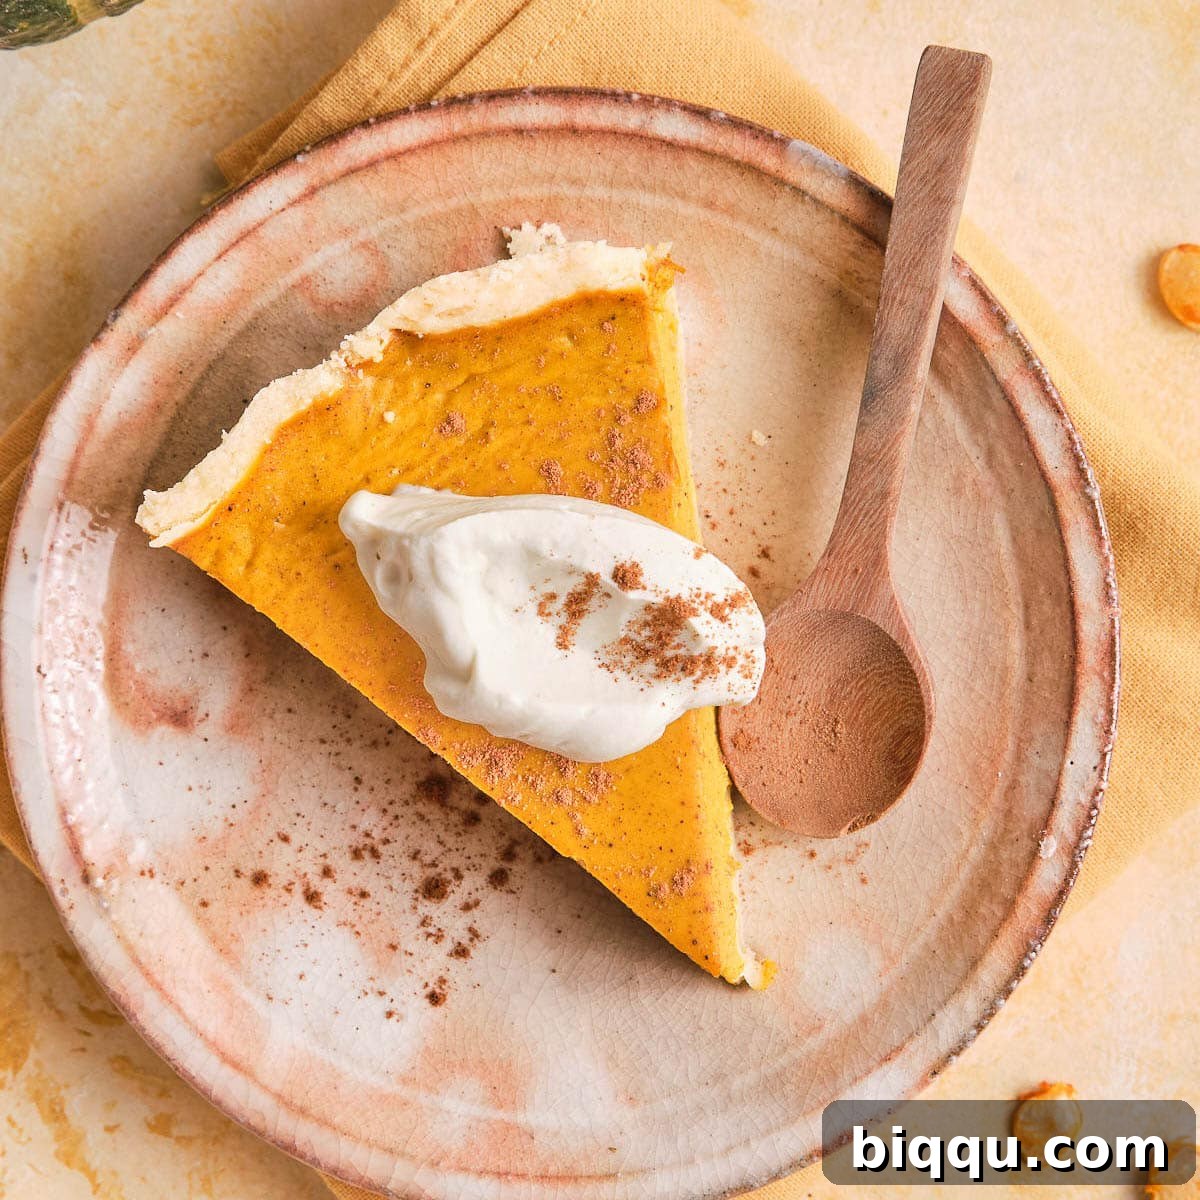
Craving a warm, spiced slice of homemade pumpkin pie but realized you forgot evaporated milk at the grocery store? Don’t let that stop you! This recipe will show you how to bake the most incredibly creamy and flavorful pumpkin pie without evaporated milk – a true fall classic that will impress everyone, from first-time bakers to seasoned dessert enthusiasts. You’ll be amazed at how easily you can achieve that rich, custardy texture and deep pumpkin flavor using readily available ingredients. Get ready to create a dessert that tastes like autumn in every bite, without any last-minute grocery runs.
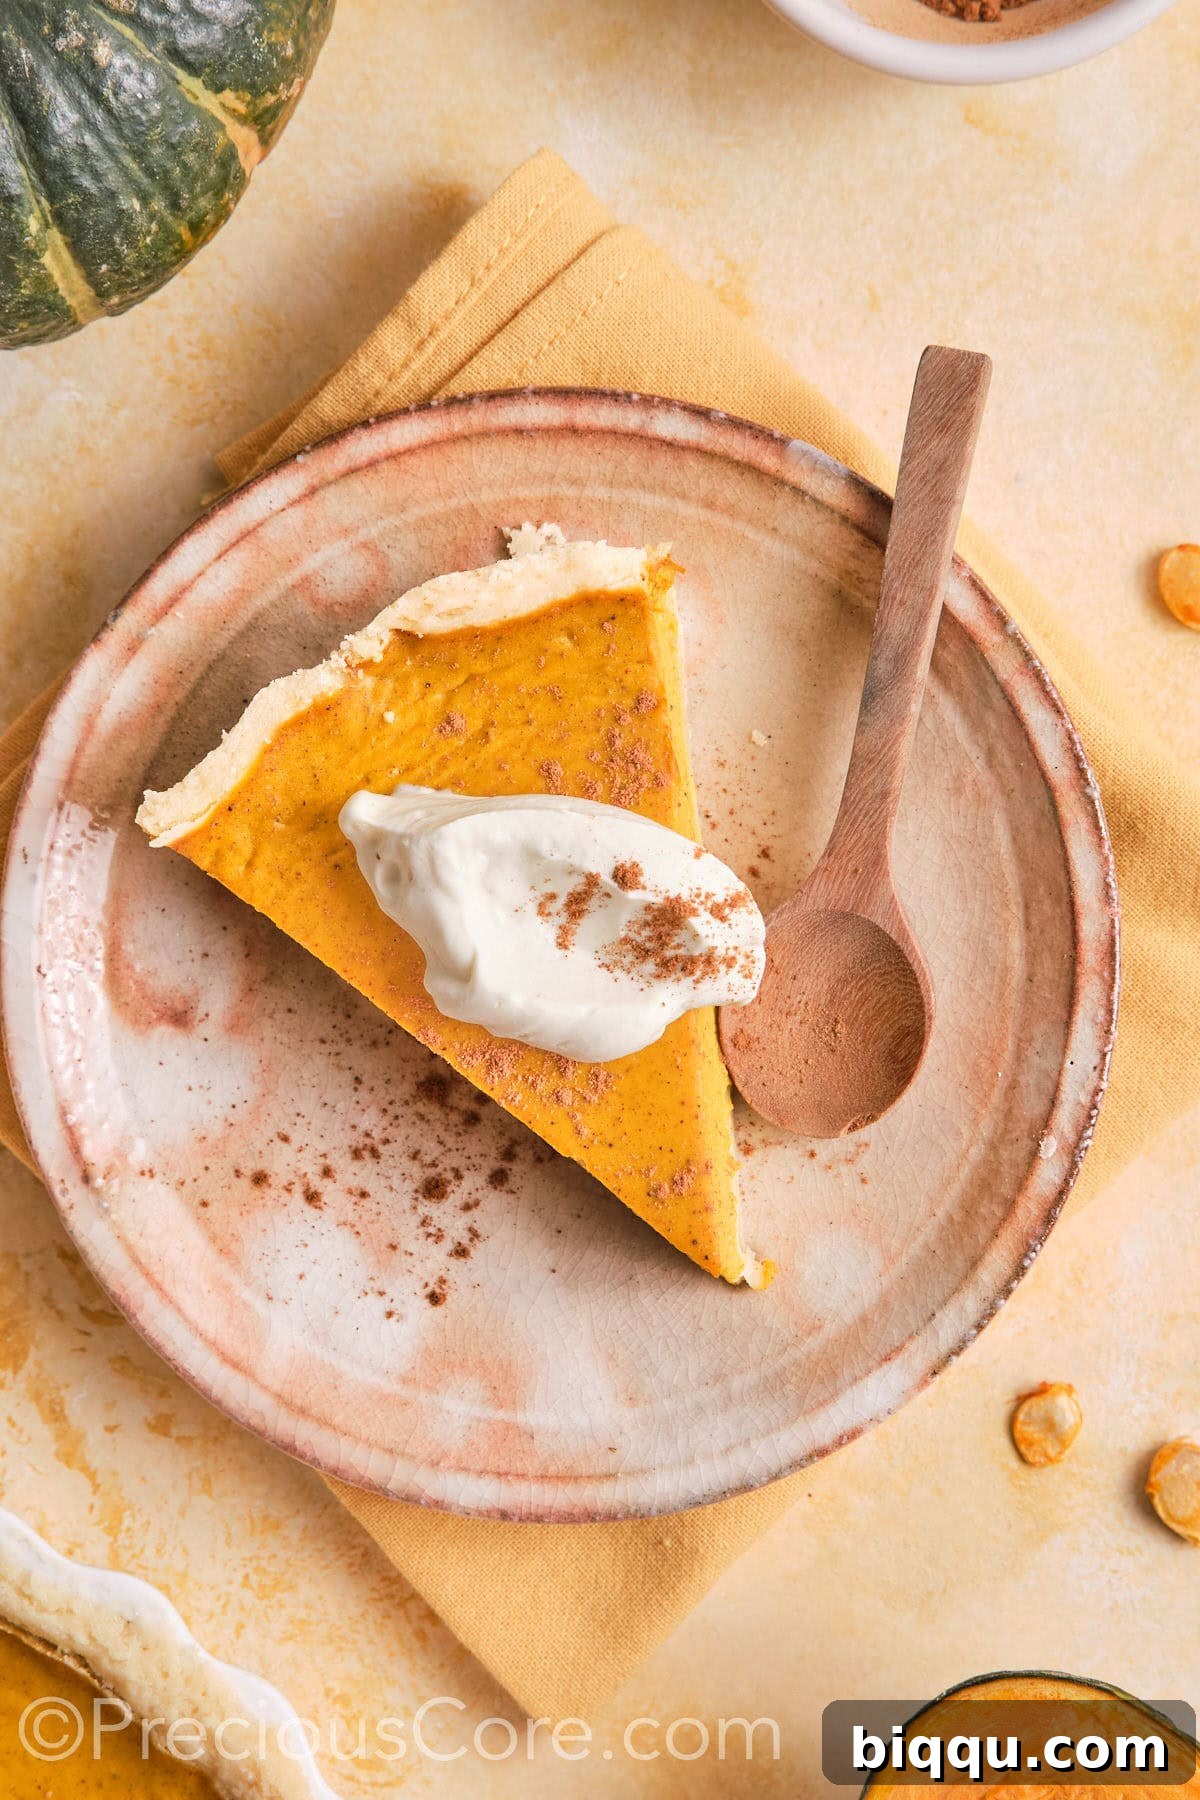
This beginner-friendly recipe simplifies the process of making traditional pumpkin pie from scratch. If you’ve ever felt intimidated by homemade pies, this straightforward guide is designed to make your baking experience enjoyable and stress-free. With clear steps and common ingredients, you’ll gain confidence in the kitchen and soon be serving up a masterpiece that tastes far more complex than it is to prepare. Embrace the simplicity and savor the delicious results!
If you’re eager to explore more delightful pumpkin-inspired creations this fall season, I highly recommend expanding your baking repertoire. Kickstart your day with my irresistible pumpkin spice doughnuts or a stack of fluffy pumpkin chocolate chip pancakes for a truly indulgent breakfast. For dessert, treat yourself to an effortlessly elegant easy pumpkin roll cake, or dive into the heavenly layers of a rich pumpkin cake with cream cheese frosting. Each recipe promises to fill your home with the comforting aromas of autumn and satisfy your pumpkin cravings.
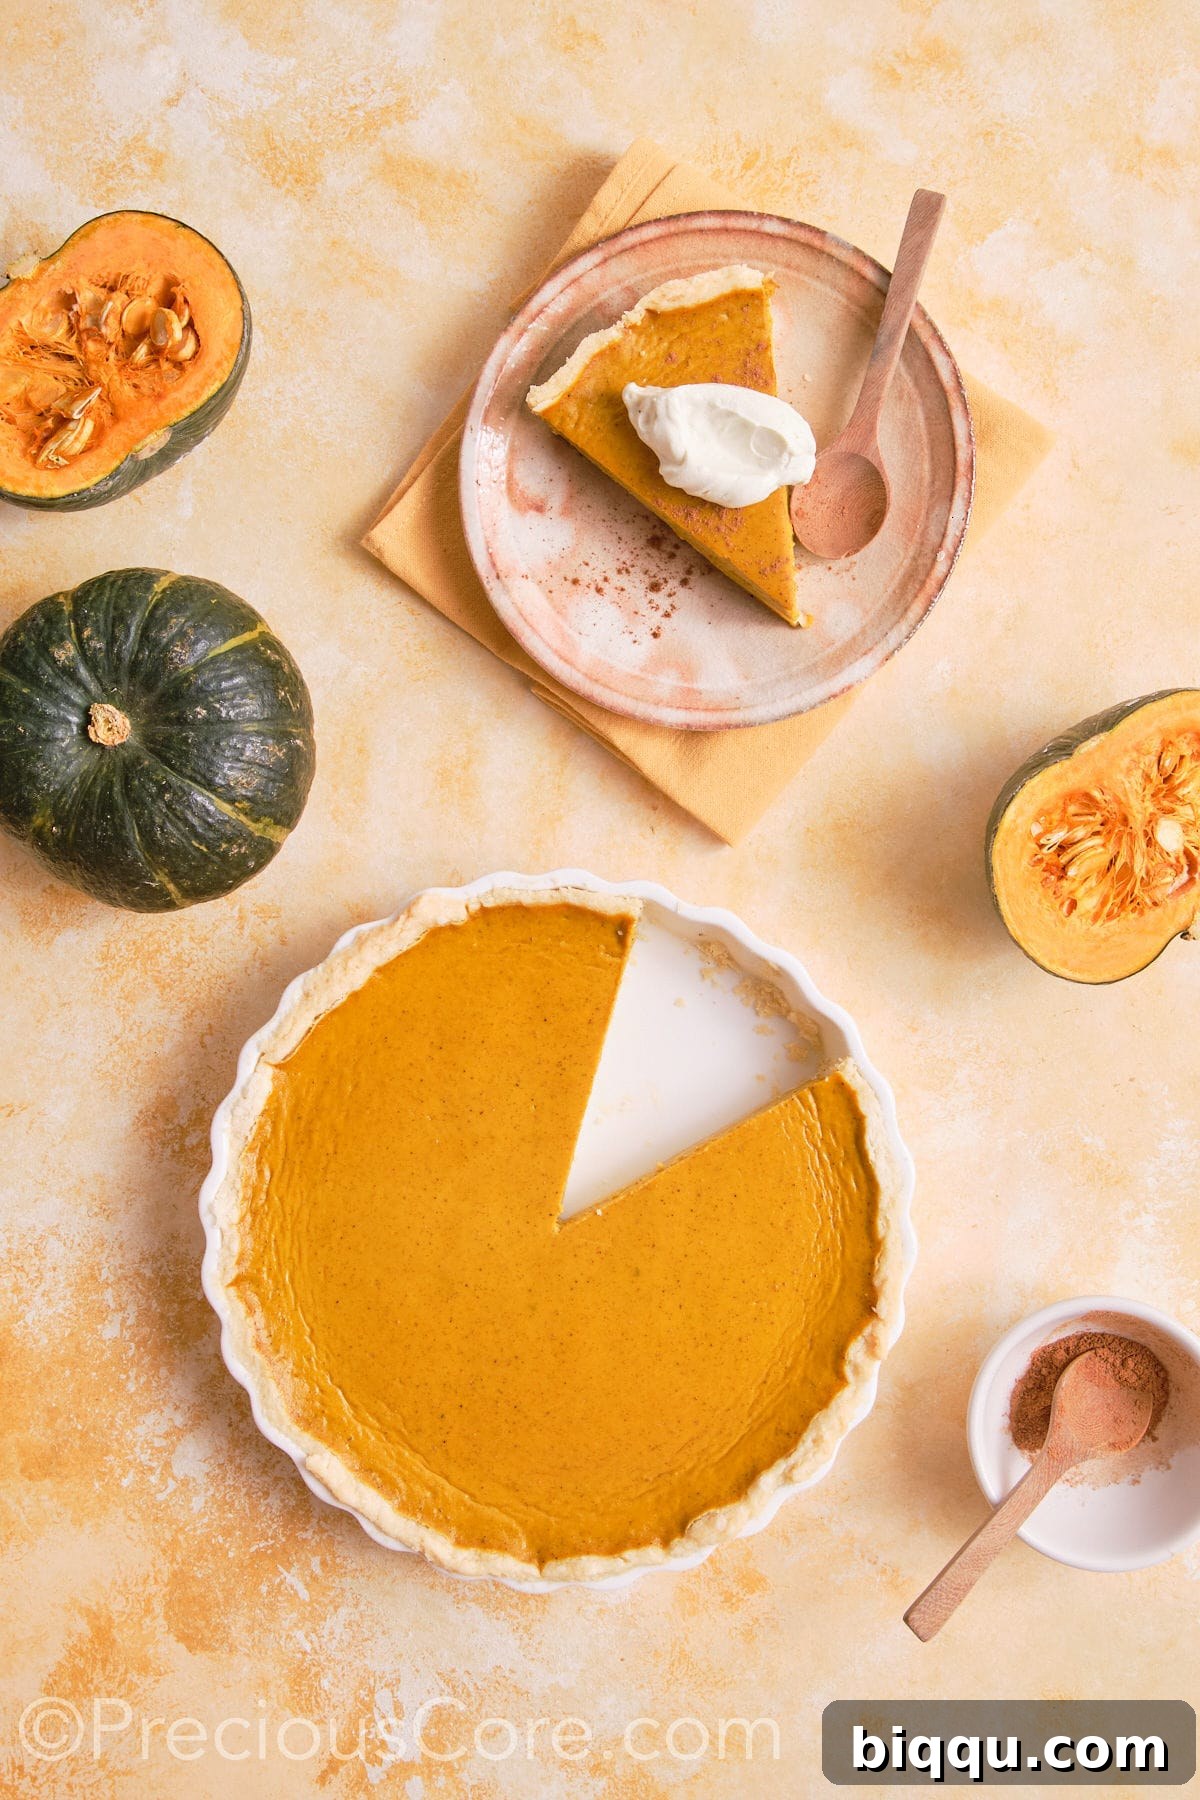
Why You’ll Love This Easy Pumpkin Pie Recipe
- Quick & Easy Prep: This recipe is designed for maximum flavor with minimal effort. You’ll only need about 20 minutes of active kitchen time to assemble this pie. Forget complicated crust preparations or the need for blind baking with pie weights; this recipe simplifies the process without sacrificing quality. It’s perfect for busy schedules when you want a homemade touch without spending hours in the kitchen.
- Ideal for Fall & Thanksgiving: Pumpkin pie is synonymous with autumn, and this recipe delivers all the comforting flavors of the season. Whether you’re hosting a grand Thanksgiving feast or a cozy fall gathering, this no-fuss pie is your go-to. Its reliability and classic appeal make it a favorite for any occasion, ensuring a delicious end to your celebratory meal.
- Excellent Make-Ahead Option: Preparing for holidays can be hectic, but this pumpkin pie allows you to get a head start. You can bake this pie a day or two in advance, allowing the flavors to meld beautifully and giving you more time to relax and enjoy your guests. Simply refrigerate it until you’re ready to serve, making your entertaining experience smoother and more enjoyable.
Essential Recipe Ingredients
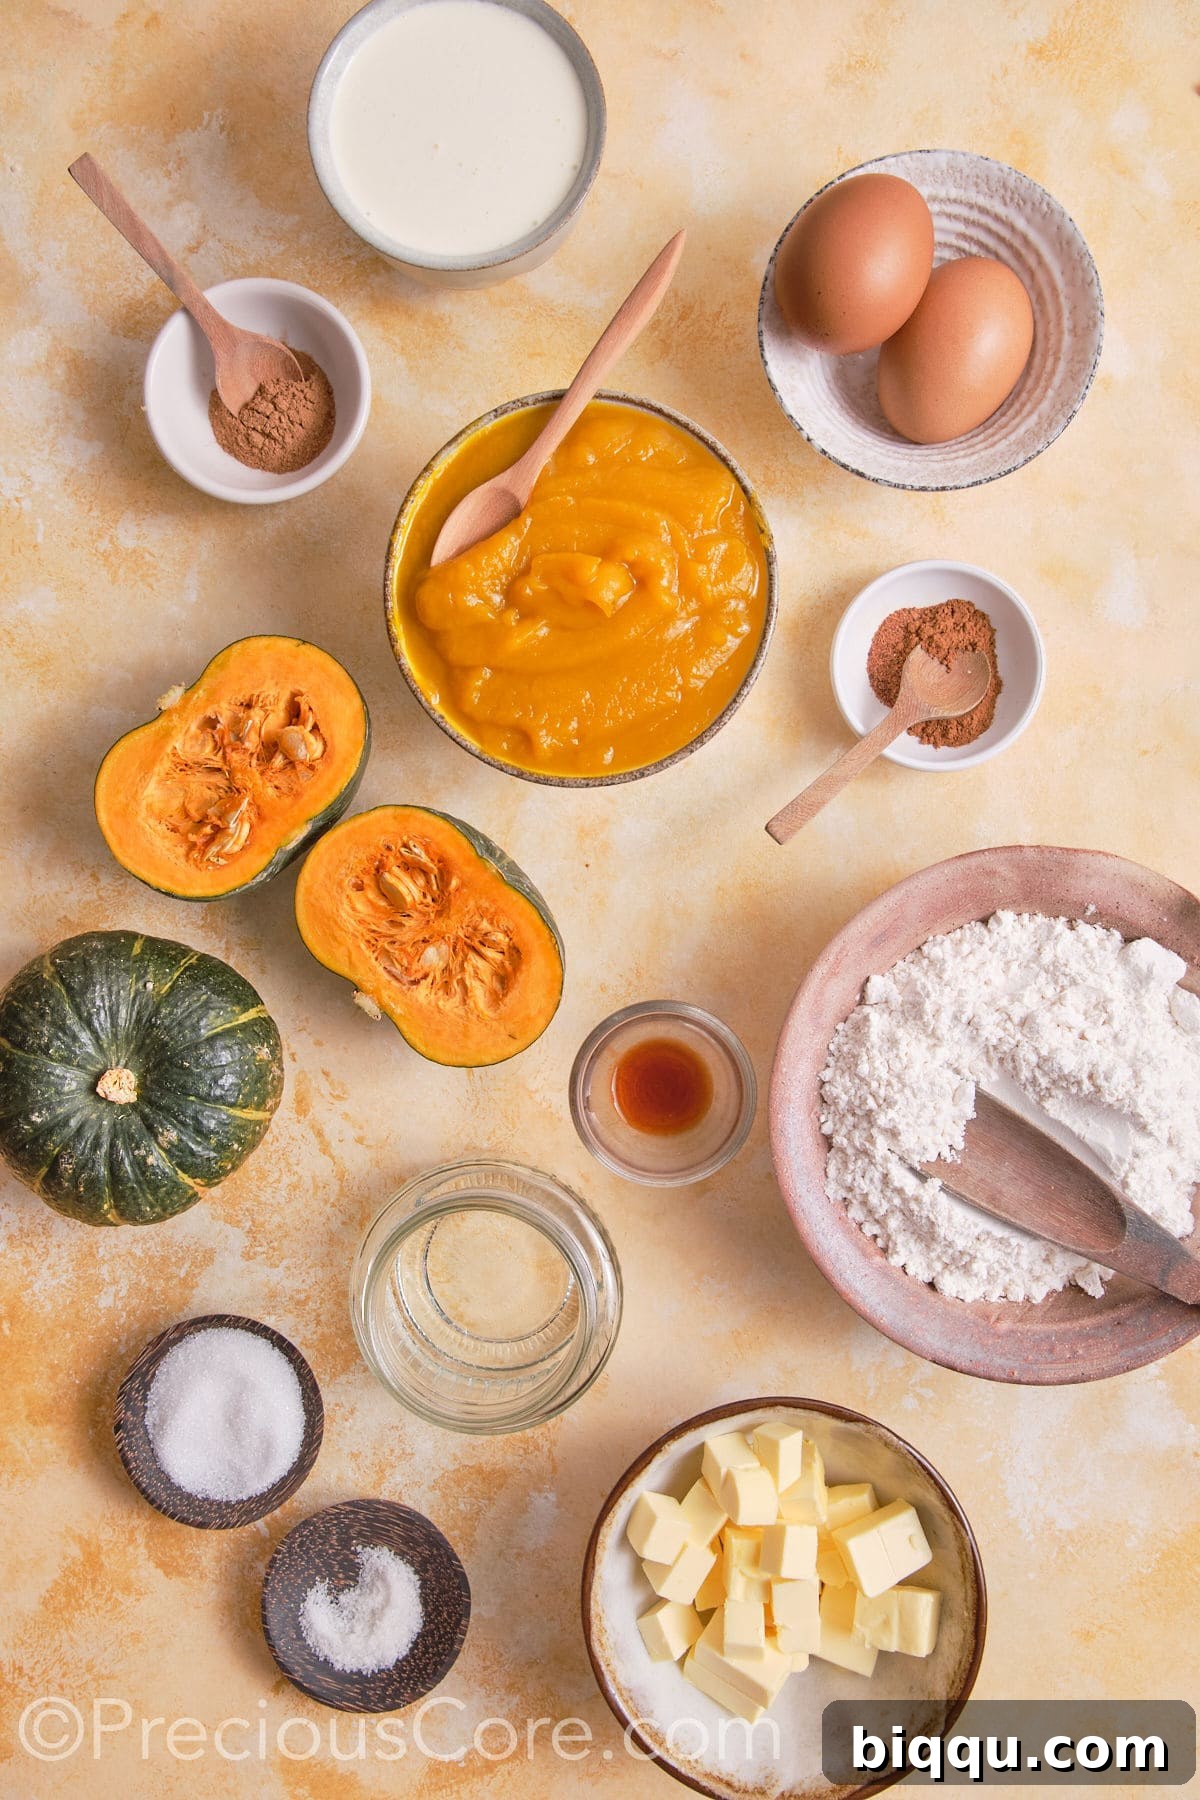
- All-Purpose Flour: The foundation of our flaky, tender pie crust. Regular all-purpose flour works perfectly to create a sturdy yet delicate base that complements the creamy filling.
- Sugar: A harmonious blend of brown sugar and white granulated sugar sweetens the pie. Brown sugar is key here, infusing the filling with a beautiful, deep caramel-like flavor and a hint of molasses that elevates the pumpkin taste.
- Unsalted Butter: Crucial for a rich, flavorful pie crust. Using unsalted butter allows you to control the overall saltiness of your pie, ensuring a perfectly balanced taste. Make sure it’s chilled and cut into small pieces for the best crust texture.
- Heavy Cream: This is our secret weapon for achieving incredible richness and replacing the evaporated milk. Heavy cream provides the luxurious, velvety texture that makes this pumpkin pie so satisfying, ensuring it’s just as decadent as its traditional counterpart.
- Pumpkin Puree: The heart of our pie! You’ll need about one 15-ounce can (approximately 2 cups) of pure pumpkin puree. It’s vital to use pure pumpkin puree, not pumpkin pie filling, which often contains added sugars and spices. For an extra special touch, you can easily make your own homemade pumpkin puree by roasting and blending fresh pumpkin.
- Large Eggs: Essential for giving the pie its classic rich, custardy texture and helping the filling set beautifully. Ensure your eggs are at room temperature before mixing, as this helps them incorporate more smoothly into the other ingredients, leading to a silkier filling.
- Vanilla Extract: A splash of vanilla enhances the warm spices and deepens the pumpkin flavor, adding a fragrant, sweet aroma that makes the pie truly irresistible.
- Spices: The soul of pumpkin pie! We’ll use a comforting blend of ground nutmeg, ground cinnamon, and a dedicated pumpkin pie spice blend. These spices together create that iconic warm, earthy, and sweet aroma and flavor profile characteristic of fall.
- Sea Salt: A pinch of salt is vital for both the crust and the filling. It balances the sweetness, brightens the flavors of the pumpkin and spices, and adds a subtle savory note that makes every bite more complex and satisfying. I particularly love using sea salt for its clean taste.
For the precise measurements of each ingredient, please refer to the comprehensive recipe card located at the bottom of this article.
Exciting Recipe Variations
- Elevate the Spice Profile: For those who love an extra kick, consider adding a tiny pinch of ground allspice, a dash of ground ginger, or even a very subtle hint of freshly ground black pepper to the filling. These additions will introduce layers of warmth and a sophisticated depth that will surprise and delight your palate.
- Creative Topping Ideas: Transform your pumpkin pie with an array of delightful toppings. Beyond classic whipped cream, try a maple-sweetened whipped cream for an extra autumnal touch. Garnish with candied pecans for a delightful crunch and sweetness, or lightly roasted pumpkin seeds for a savory contrast. A drizzle of caramel sauce or a sprinkle of finely grated orange zest can also add a gourmet flourish.
- Make it Gluten-Free: Adapting this recipe for a gluten-free diet is simple. Replace the all-purpose flour in the pie crust with your preferred high-quality gluten-free all-purpose flour blend. Many excellent blends are available that will yield a wonderfully flaky crust, allowing everyone to enjoy this fall favorite.
Smart Ingredient Substitutions
- Sweetener Alternatives: If you’re looking to modify the sugar content or flavor, maple syrup or honey can be excellent substitutes for brown and granulated sugar in the filling. These natural sweeteners will add their own distinct, rich notes that pair beautifully with pumpkin. Adjust quantities to taste, as they tend to be sweeter than granulated sugar.
- Spice Swap-Ins: Don’t have nutmeg or cinnamon on hand? No problem! Other warm, earthy ground spices like cardamom, cloves, or allspice can be used in their place. A combination of these can also create a unique and equally delicious spice blend for your pie.
- Heavy Cream Alternatives: While heavy cream provides the richest texture, you have options if it’s unavailable. Half-and-half can be used as a lighter, yet still creamy, alternative. For a dairy-free pumpkin pie, full-fat canned coconut milk (chilled overnight and the thick cream scooped off) or a rich almond milk can provide a good substitute, though the texture might be slightly different.
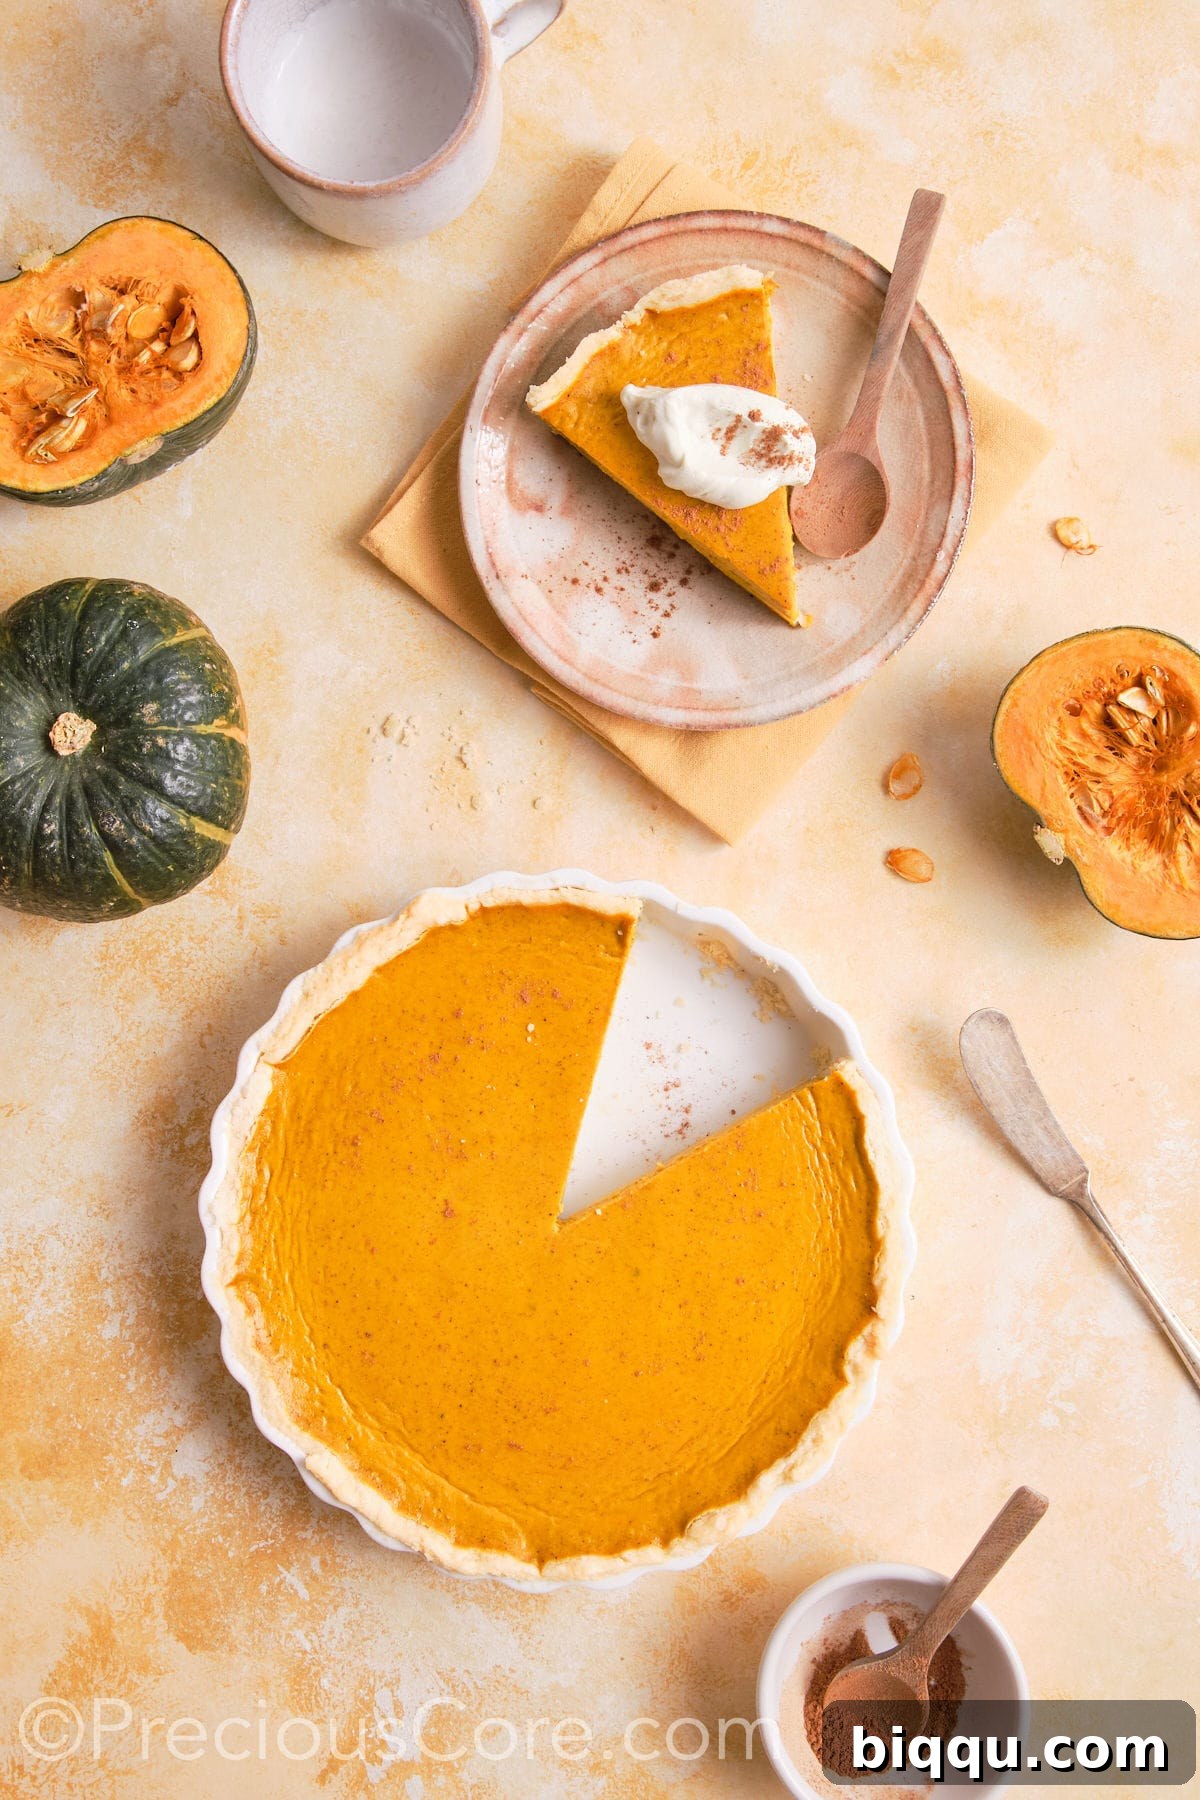
How to Make the Best Pumpkin Pie without Evaporated Milk
This is a remarkably simple and rewarding homemade pumpkin pie recipe. While I provide instructions for a delicious homemade pie crust, feel free to use a good quality store-bought crust for an even quicker preparation. My goal is for this straightforward recipe to become your new favorite, delivering a creamy, perfectly spiced pumpkin pie every time.
To begin crafting your delightful pumpkin pie without evaporated milk, start by preheating your oven to a precise 425 degrees Fahrenheit (220°C). As the oven heats, thoroughly grease your pie dish with butter, ensuring every curve and corner is coated. This simple step prevents sticking and helps achieve a beautiful, golden-brown crust. Once greased, set the dish aside, ready for its future role.
Crafting the Perfect Pie Crust
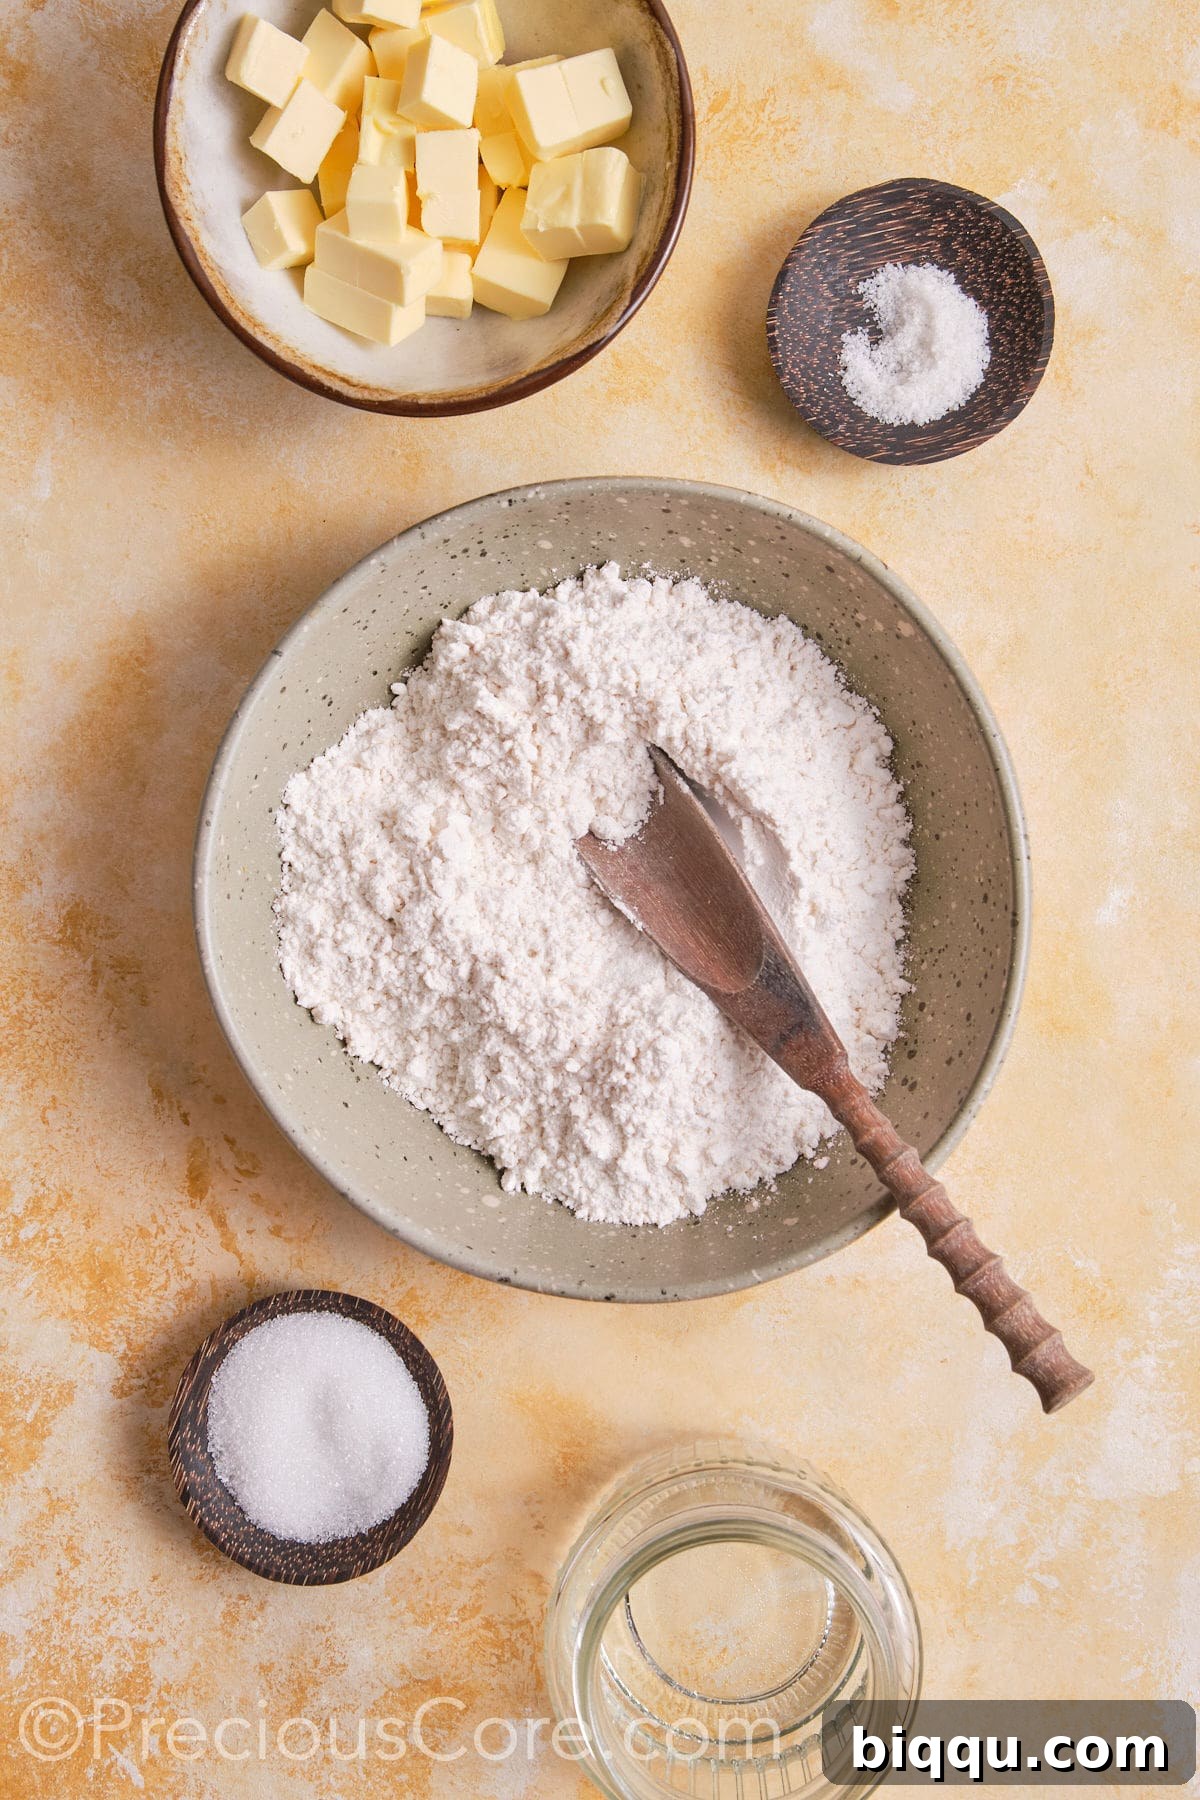
Step 1: Combine Dry Ingredients. In a spacious mixing bowl, introduce the all-purpose flour, sea salt, and granulated sugar. Use a whisk or your clean hands to thoroughly combine these dry ingredients, ensuring an even distribution. This foundational step is crucial for a consistent crust.
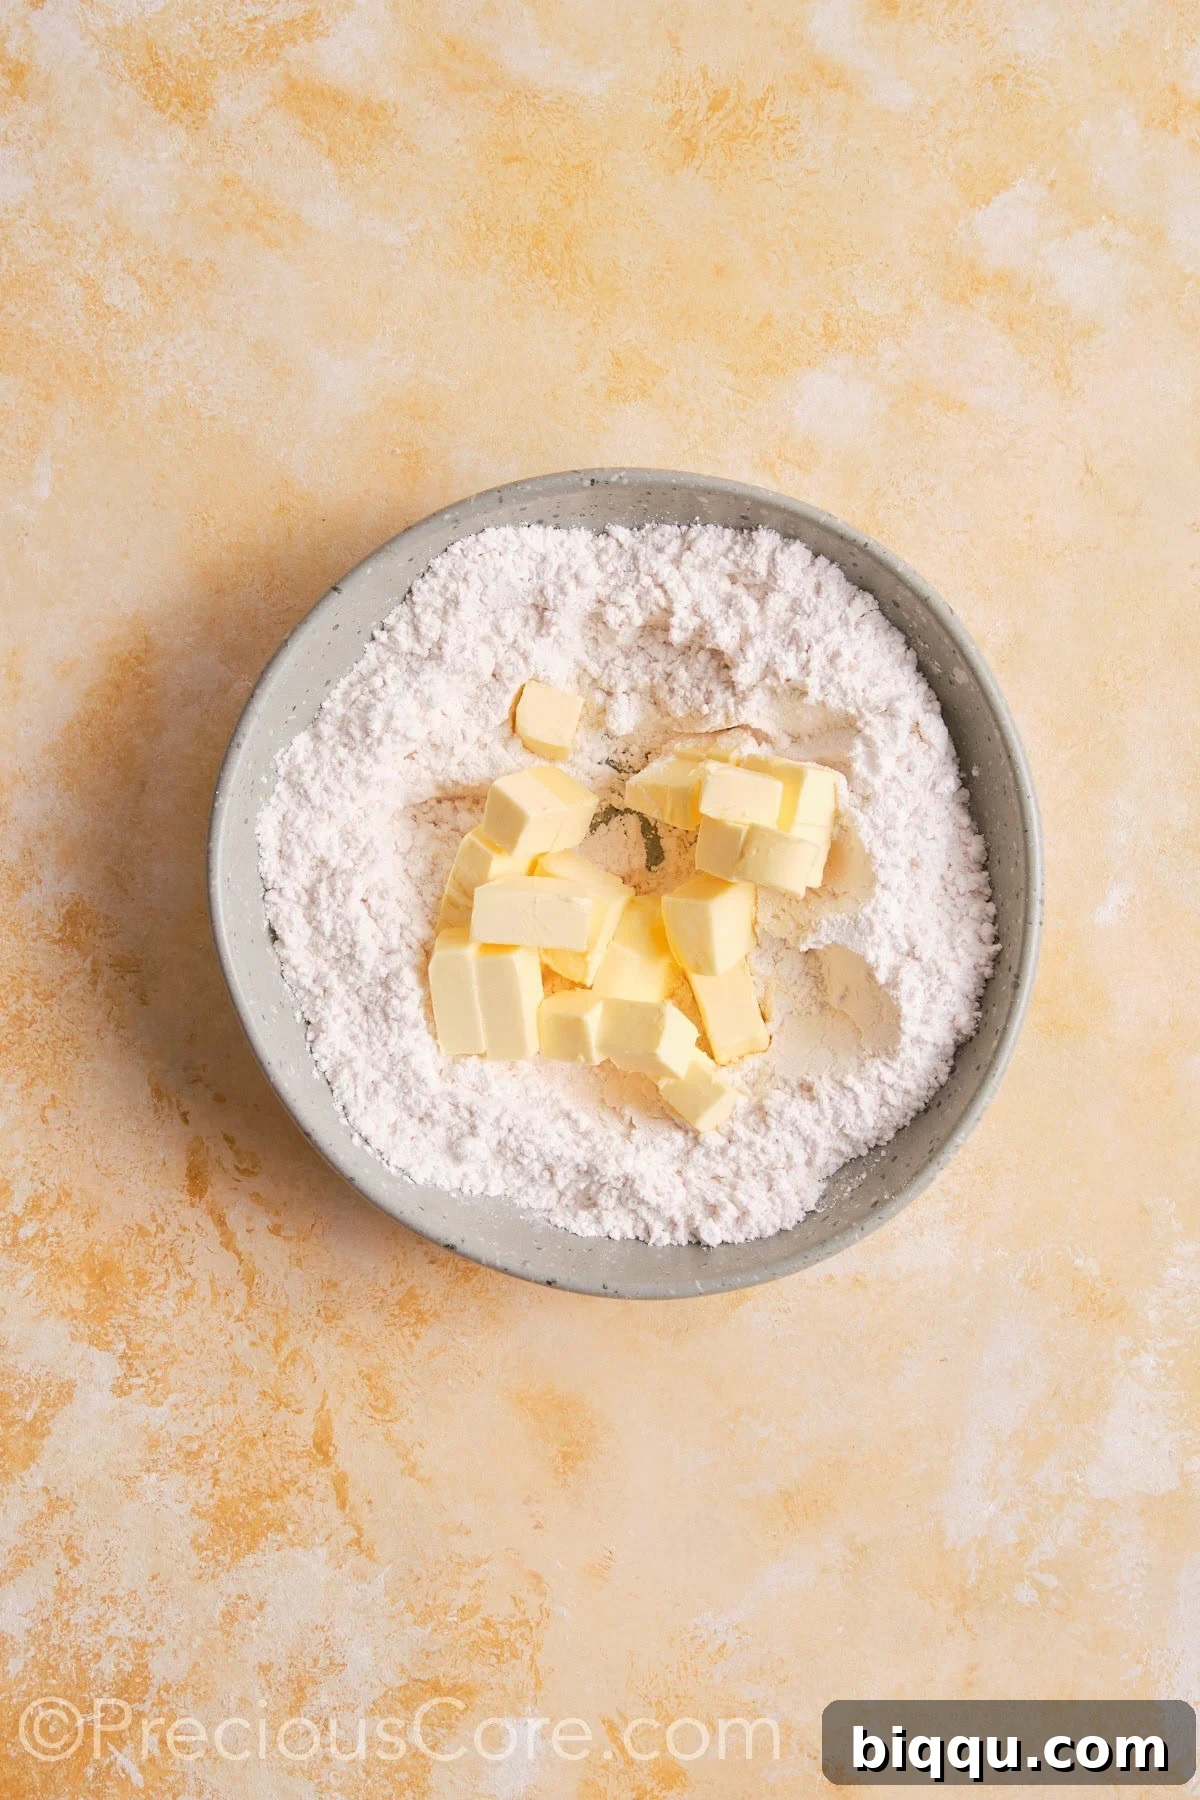
Step 2: Incorporate Chilled Butter. Carefully chop your chilled unsalted butter into small, 1-inch pieces. Add these pieces to the flour mixture. Using your fingertips or a pastry cutter, work the butter into the dry ingredients. The goal is to achieve a texture that resembles coarse crumbs, with some pea-sized butter pieces still visible. This technique is vital for a flaky crust.
Step 3: Form the Dough. Begin adding cold water gradually, one tablespoon at a time, mixing gently after each addition. The key is to mix just until the dough barely comes together. Overmixing can lead to a tough crust, so stop as soon as it forms a cohesive ball.
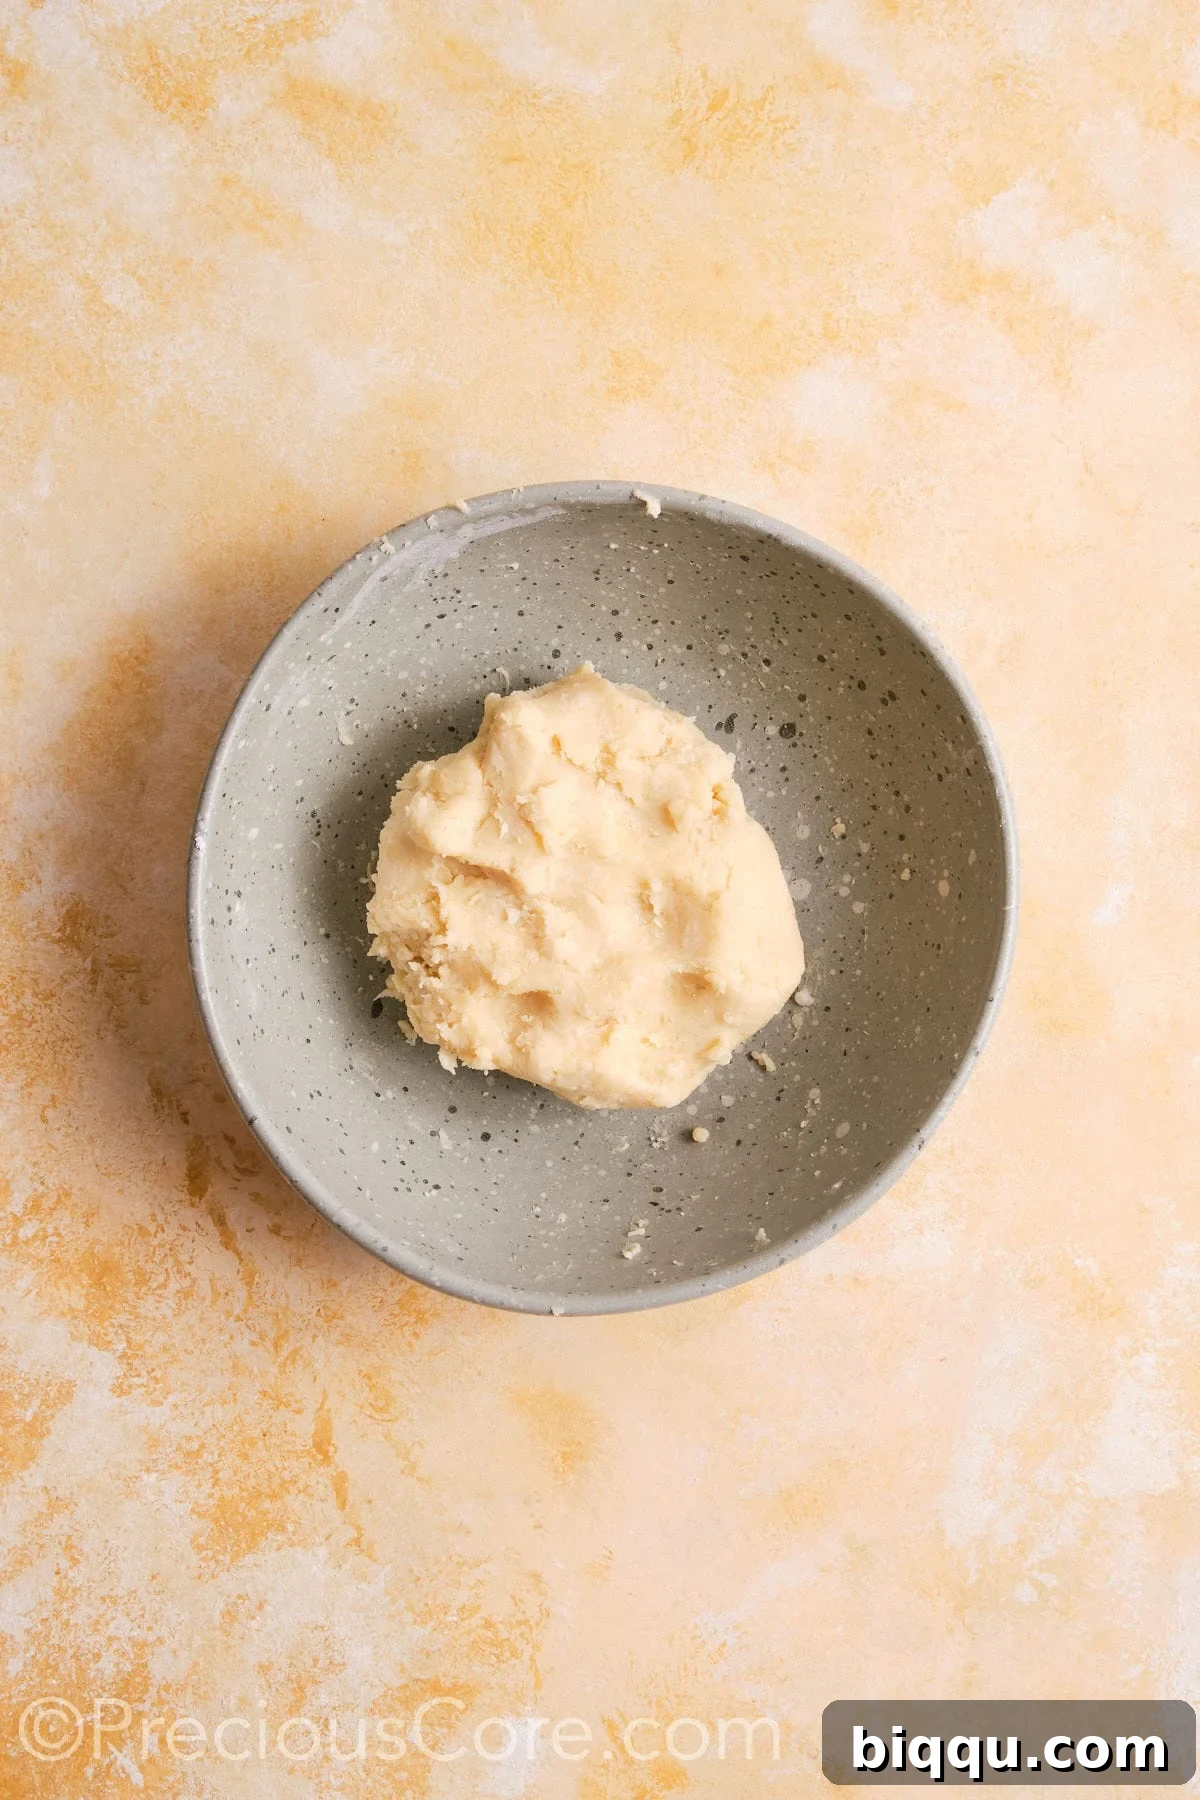
Step 4: Chill for Flakiness. Once the dough has formed, gently shape it into a flat disc or ball. Wrap it tightly in plastic wrap and refrigerate for a minimum of one hour. For best results and maximum flakiness, you can even prepare it the night before and let it chill overnight. This resting period allows the gluten to relax and the butter to firm up, resulting in a tender, flaky crust.
Preparing the Rich Pumpkin Filling
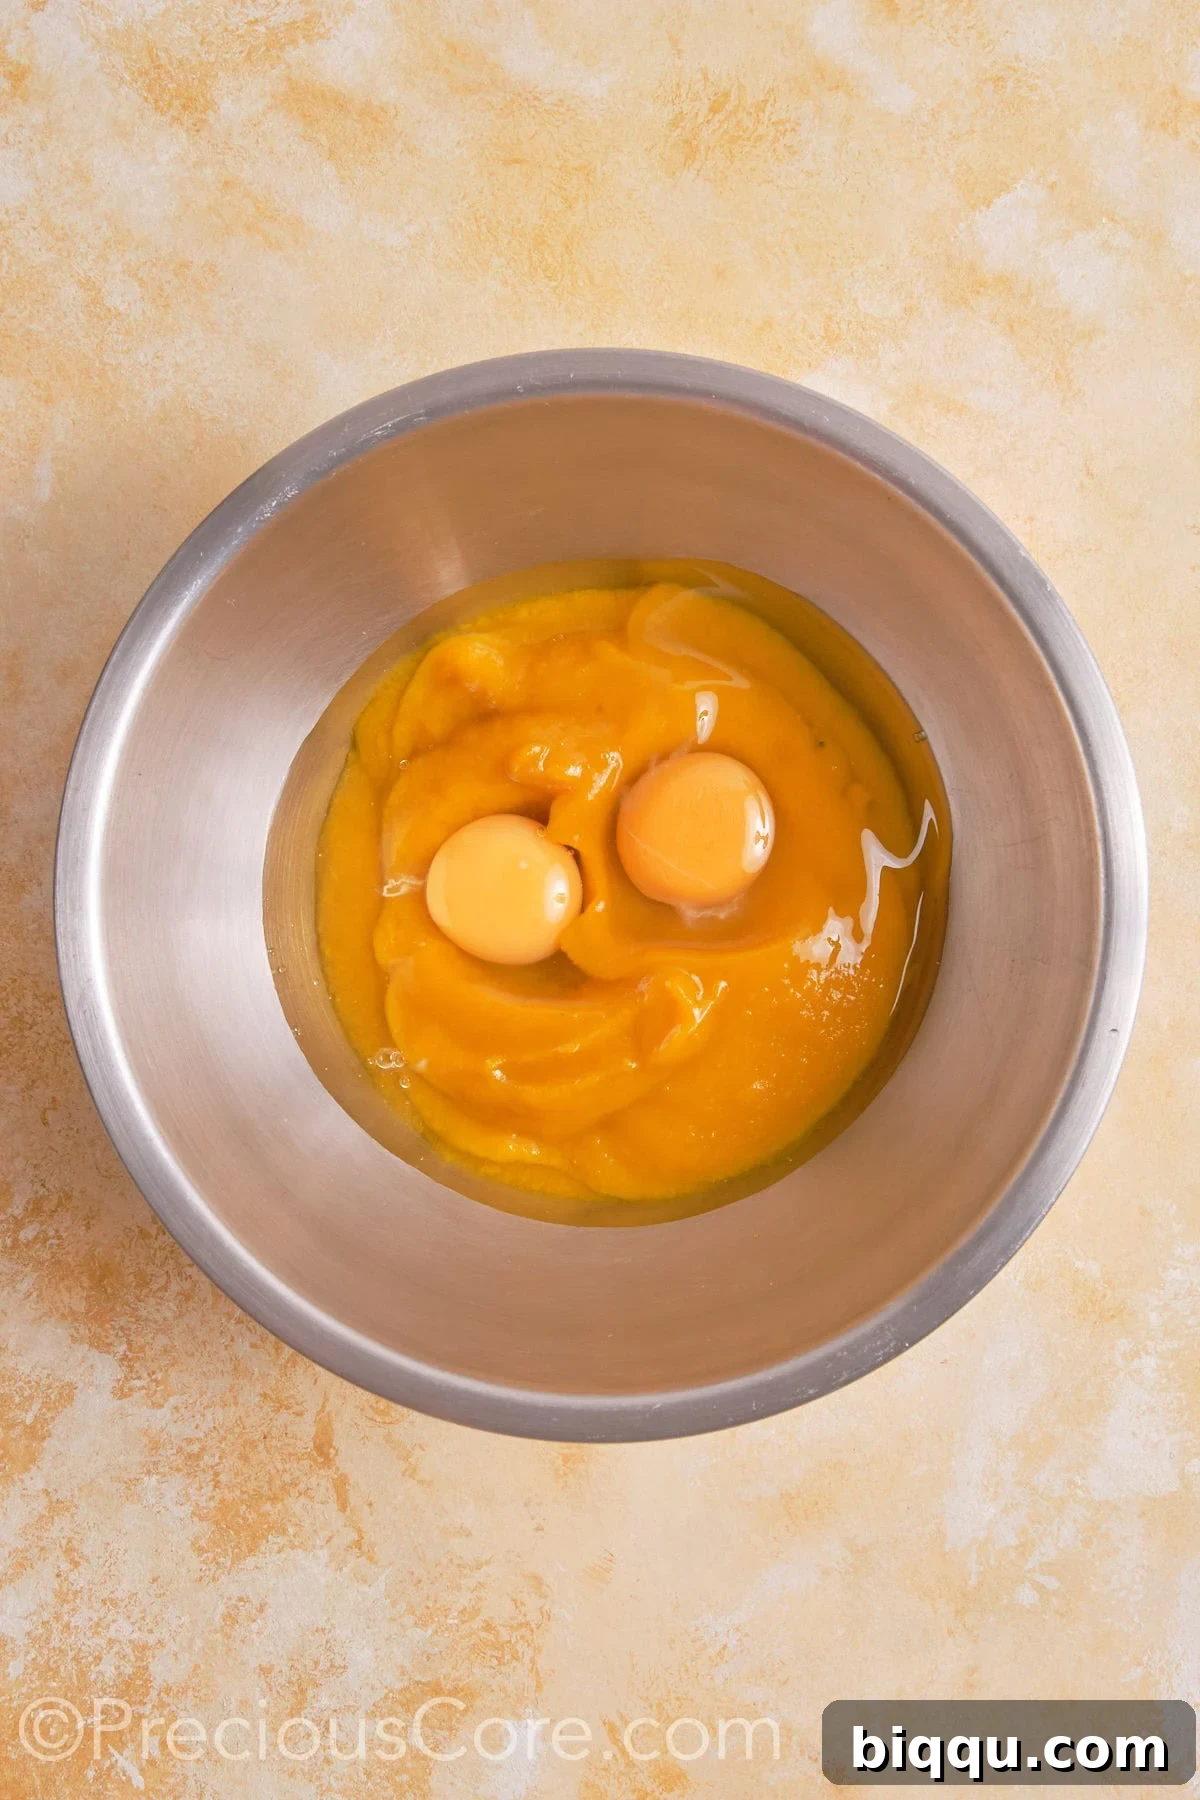
Step 1: Combine Eggs & Pumpkin. In a large mixing bowl, crack the large eggs and add the pumpkin puree. Whisk these two ingredients together vigorously until they are thoroughly combined and smooth. This creates a uniform base for the rest of your filling.
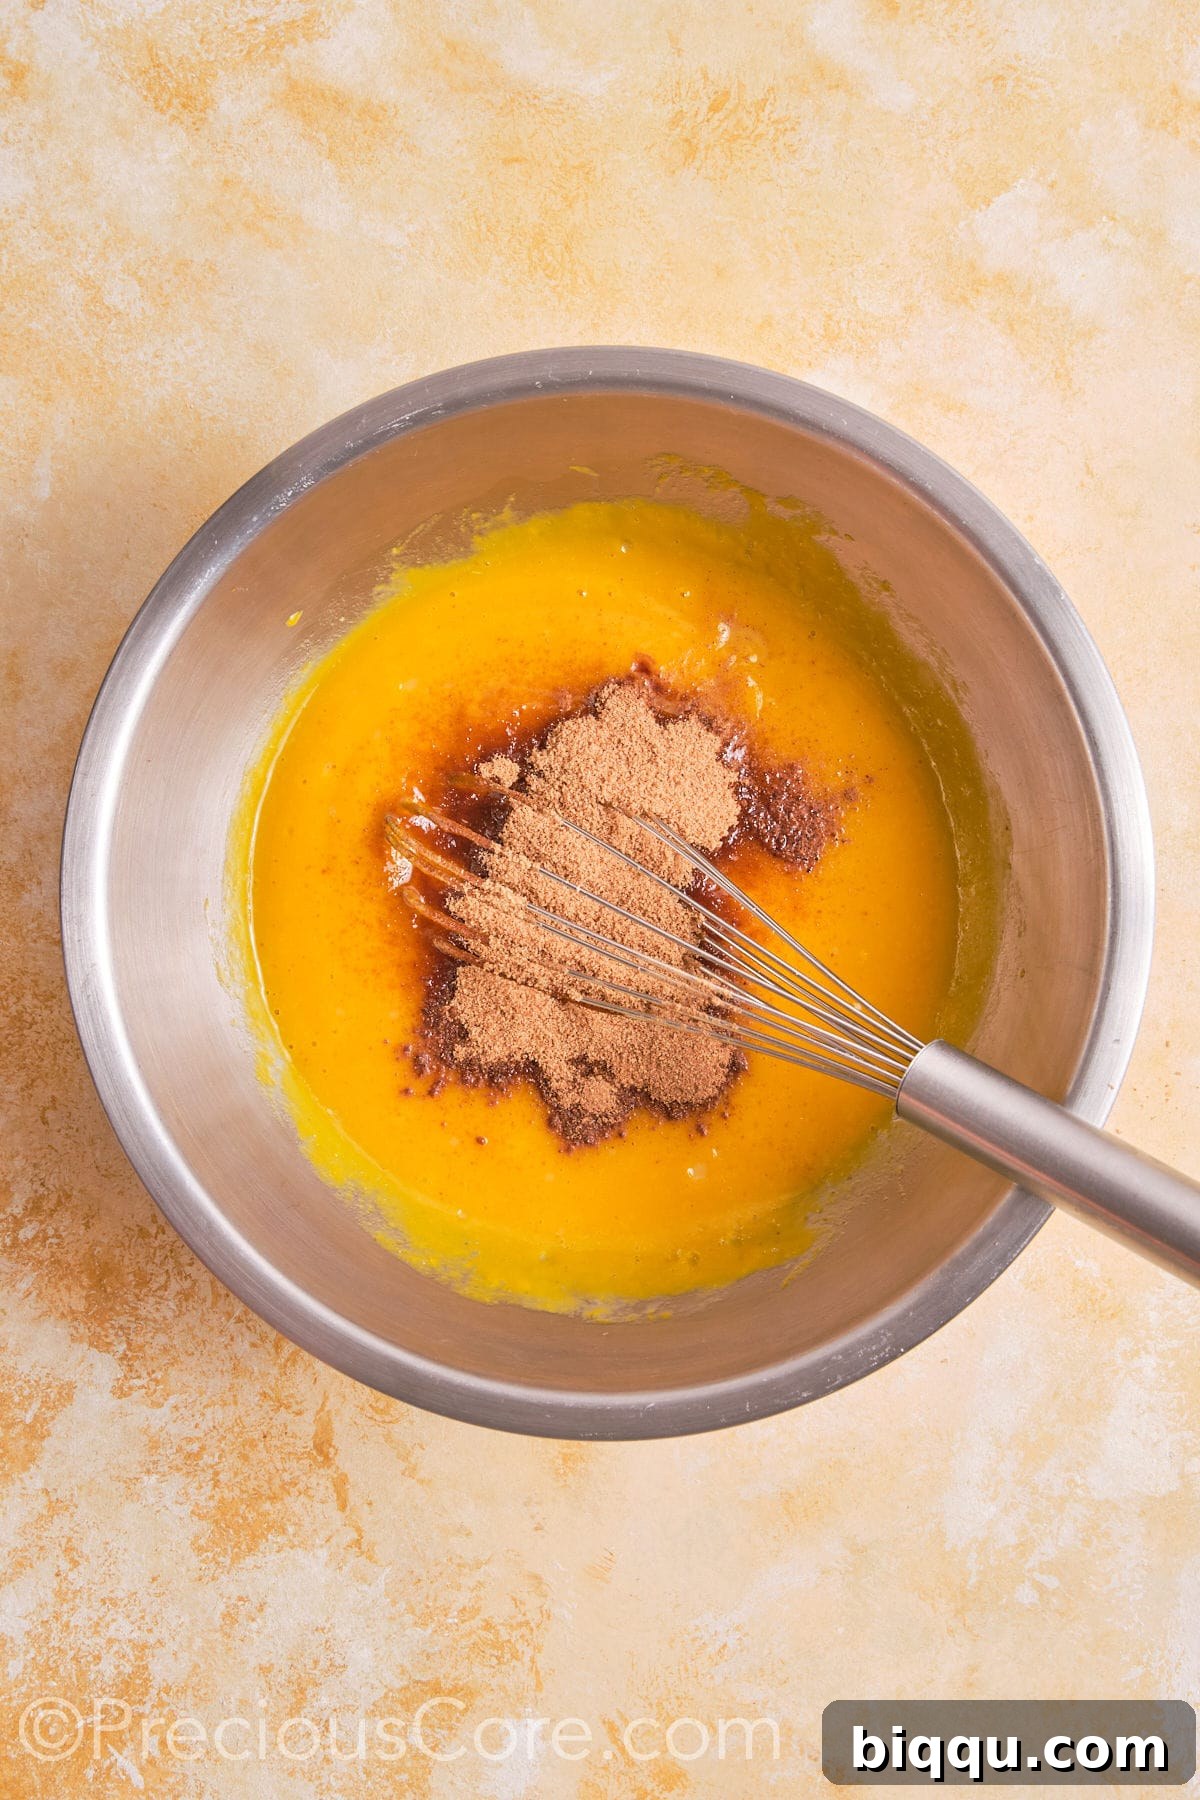
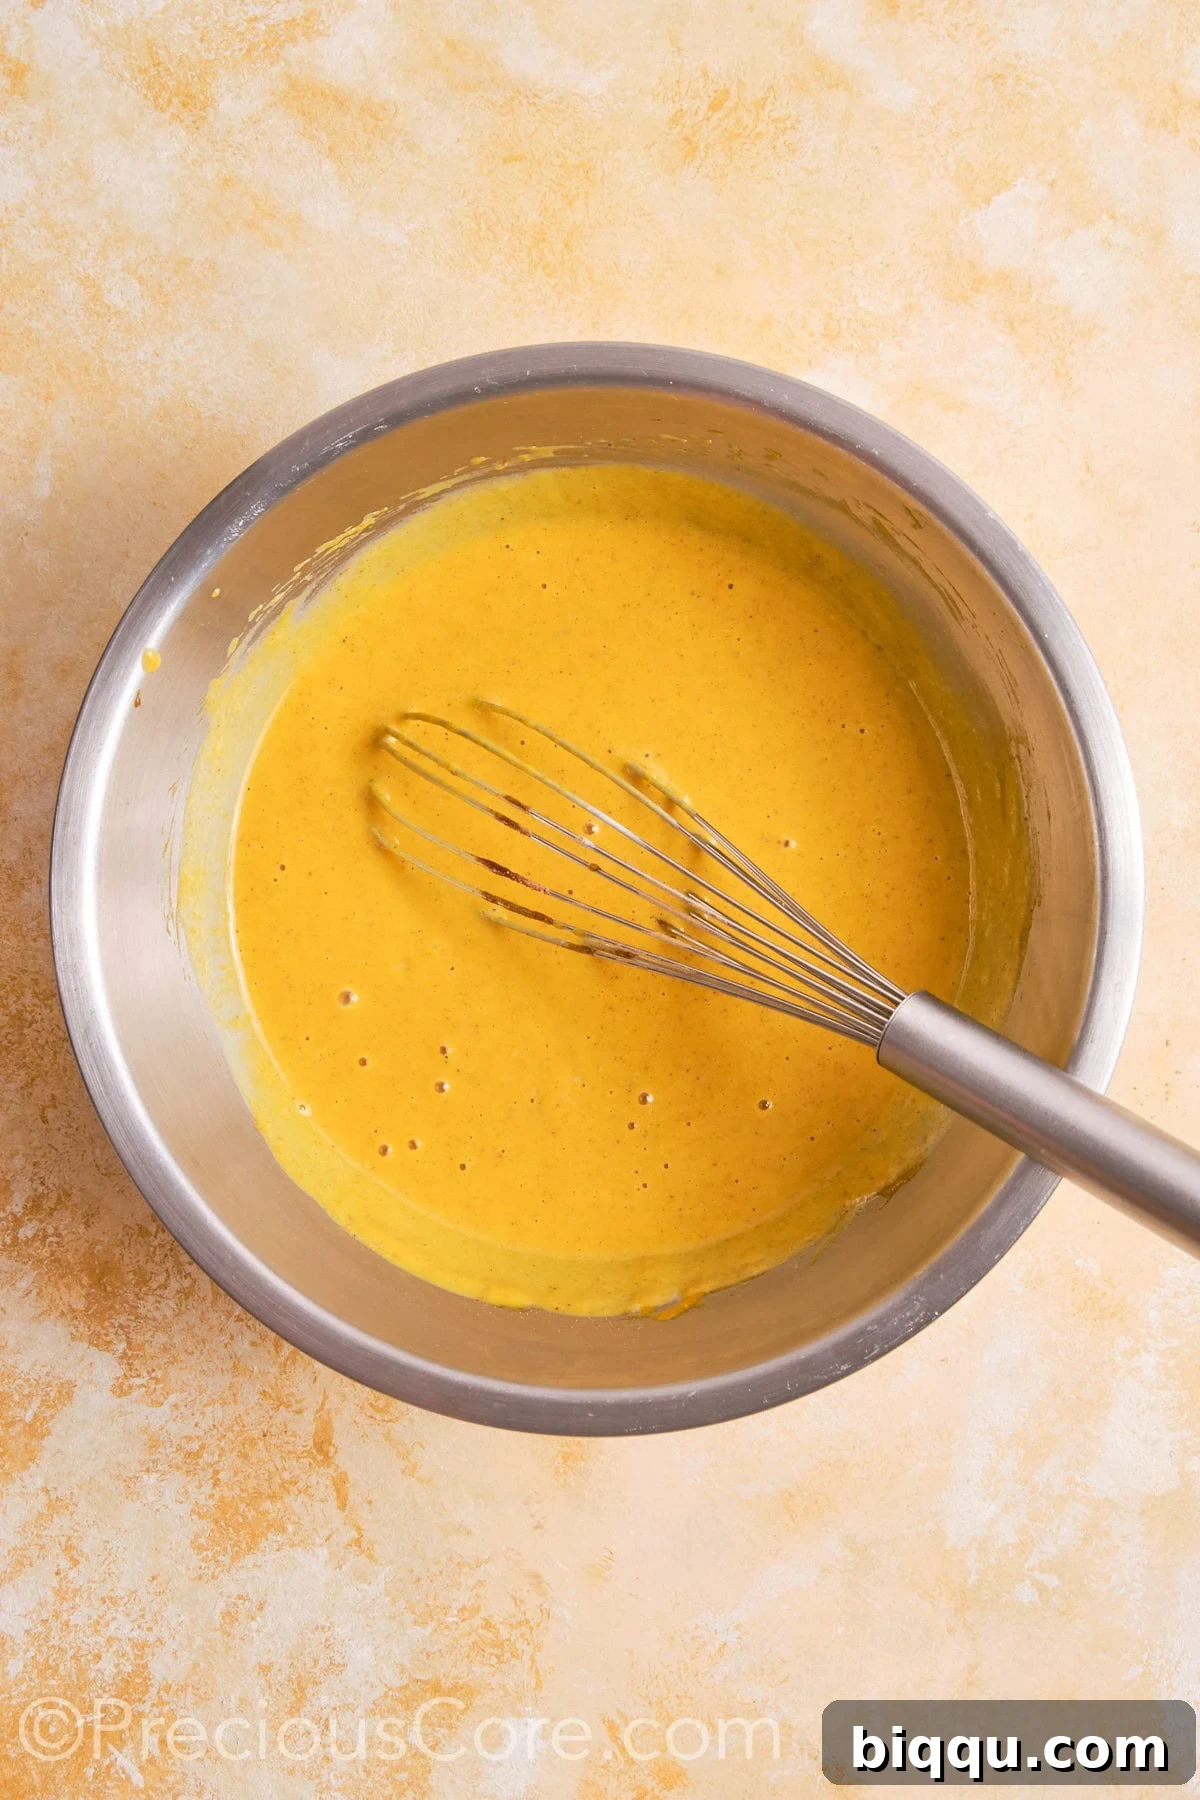
Step 2: Mix in Wet & Dry Ingredients. Now, add the heavy cream, vanilla extract, brown sugar, a pinch of salt, ground cinnamon, pumpkin pie spice, and ground nutmeg to the pumpkin and egg mixture. Using either a whisk or a blender for ultimate smoothness, blend all the ingredients until the mixture is completely uniform, lump-free, and beautifully aromatic. This careful blending ensures a perfectly smooth, creamy filling for your pie.
Assembling Your Masterpiece
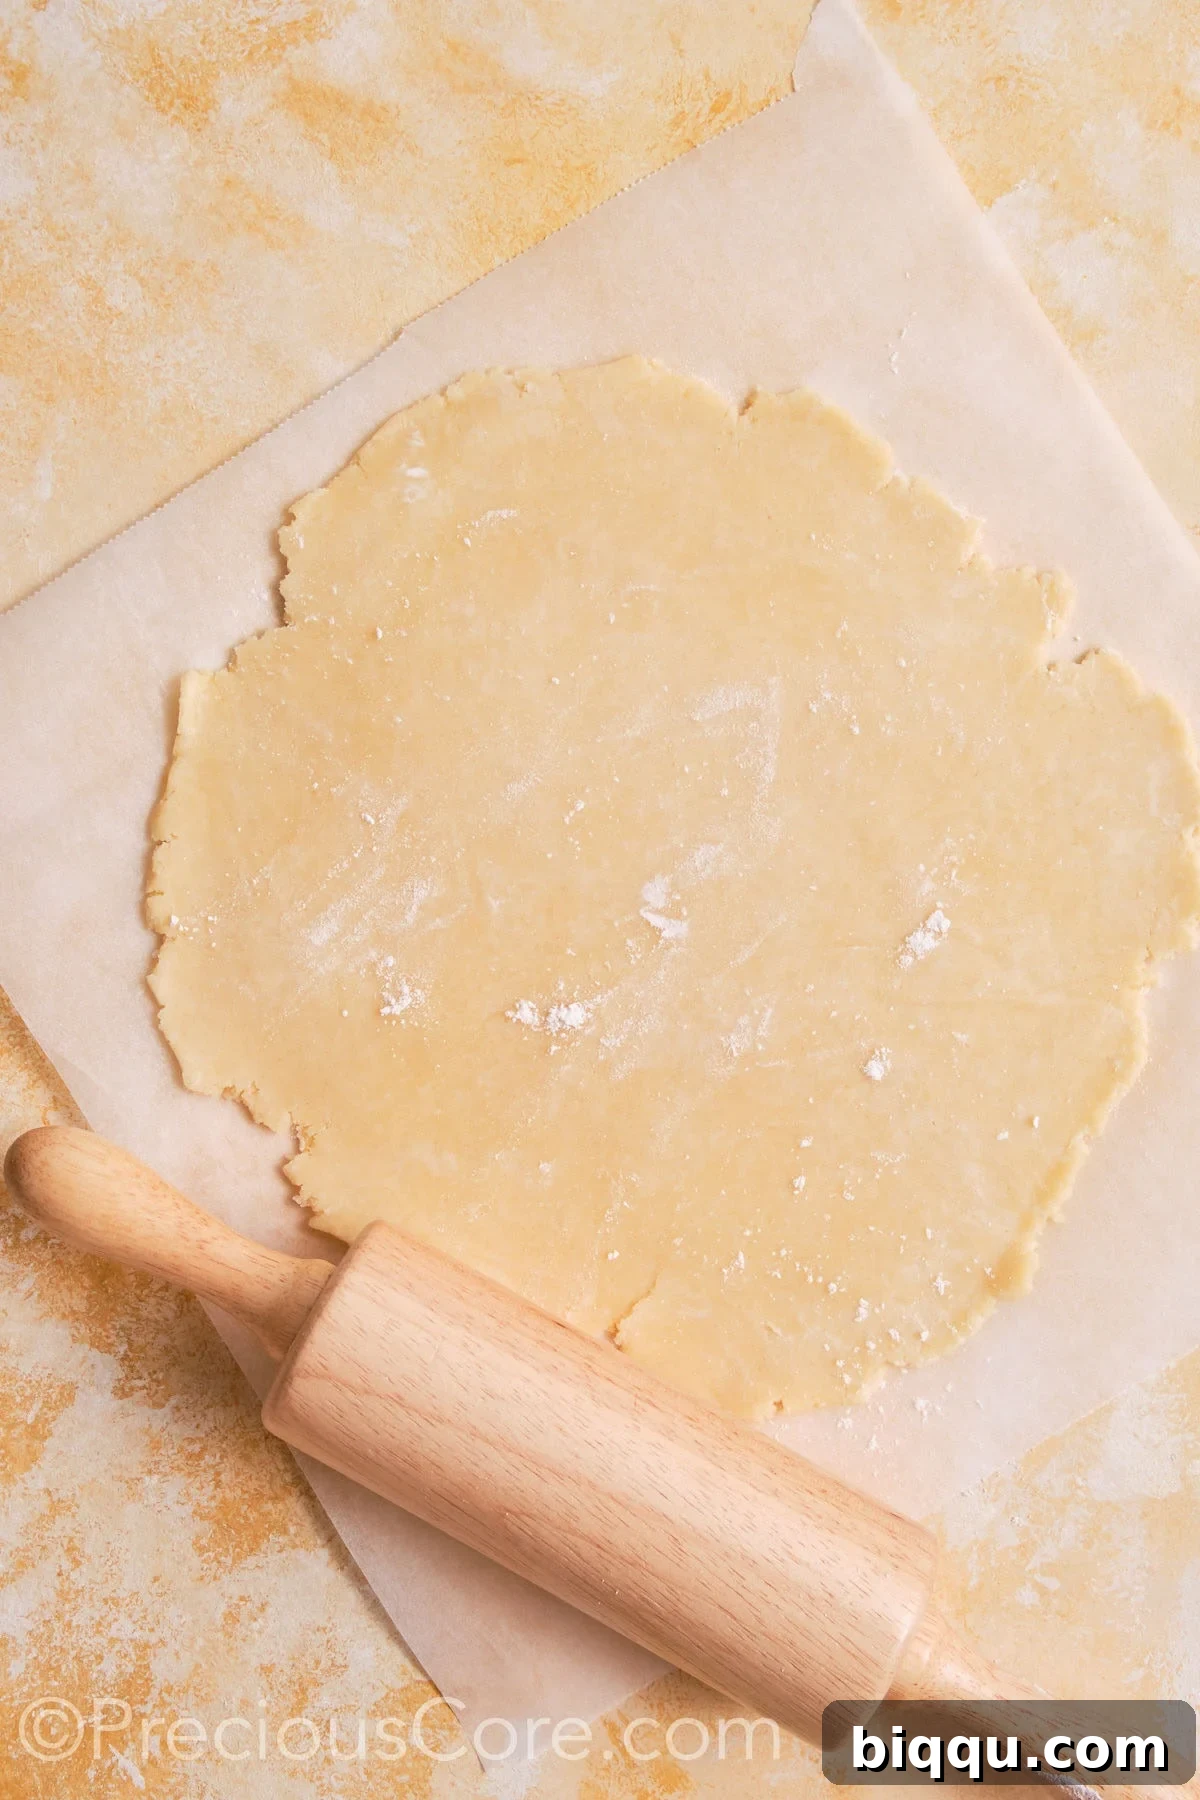
Step 1: Roll Out the Dough. Retrieve your chilled pie dough from the refrigerator. Place it onto a generously floured surface to prevent sticking. Using a rolling pin, carefully roll out the dough into a circular shape, roughly 12 inches in diameter, ensuring it’s slightly larger than your pie dish. Gently transfer the rolled-out dough into your greased pie dish, easing it into place without stretching.
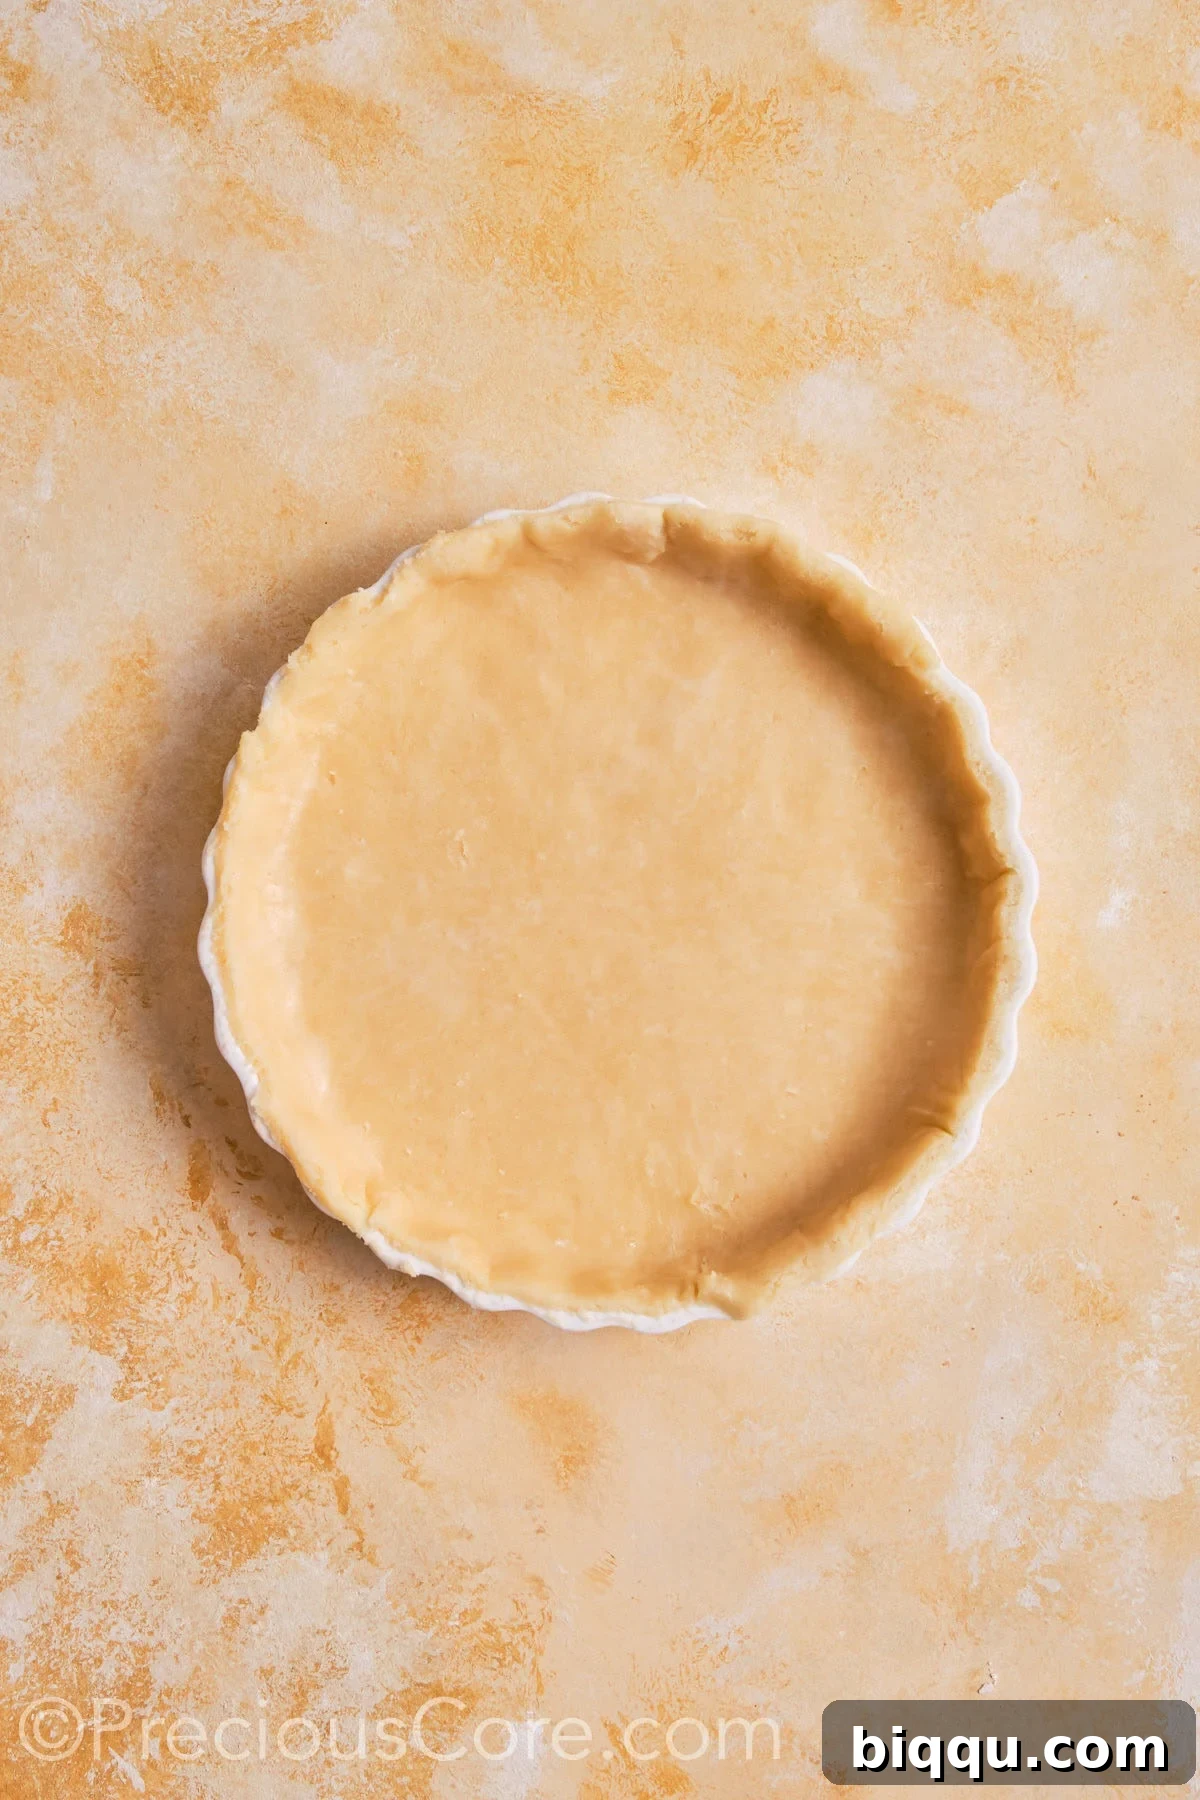
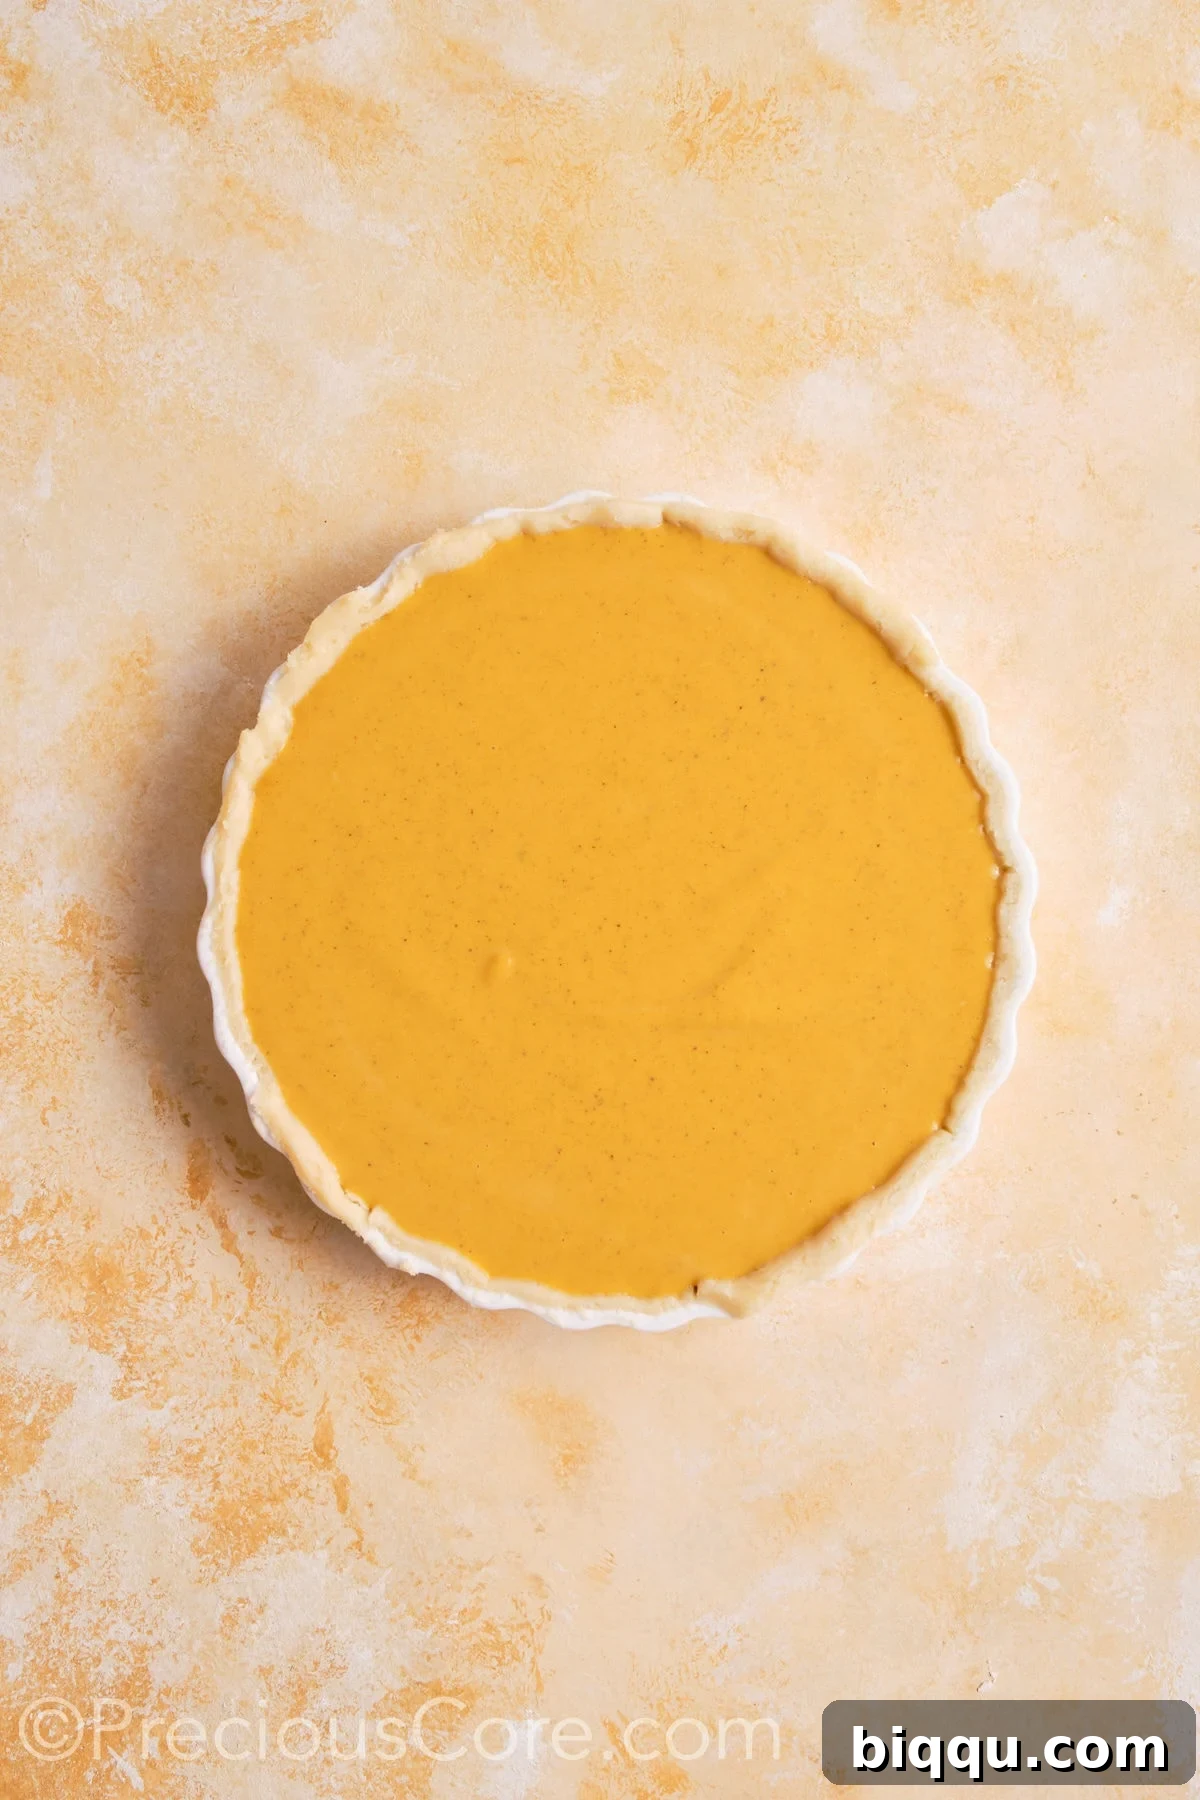
Step 2: Shape and Fill. Trim any excess dough around the edges, then crimp or flute the crust as desired for a decorative finish. Carefully pour the prepared pumpkin pie filling into the unbaked pie crust. Ensure the filling is evenly distributed.
Step 3: Bake to Perfection. Place the pie in your preheated 425°F (220°C) oven and bake for 15-20 minutes. This initial high heat helps set the crust and begin the baking process. After this time, reduce the oven temperature to 350°F (175°C) and continue baking for an additional 30-40 minutes, or until a knife inserted into the center of the pie comes out clean. The center might have a slight jiggle, which indicates it’s perfectly cooked and will firm up as it cools.
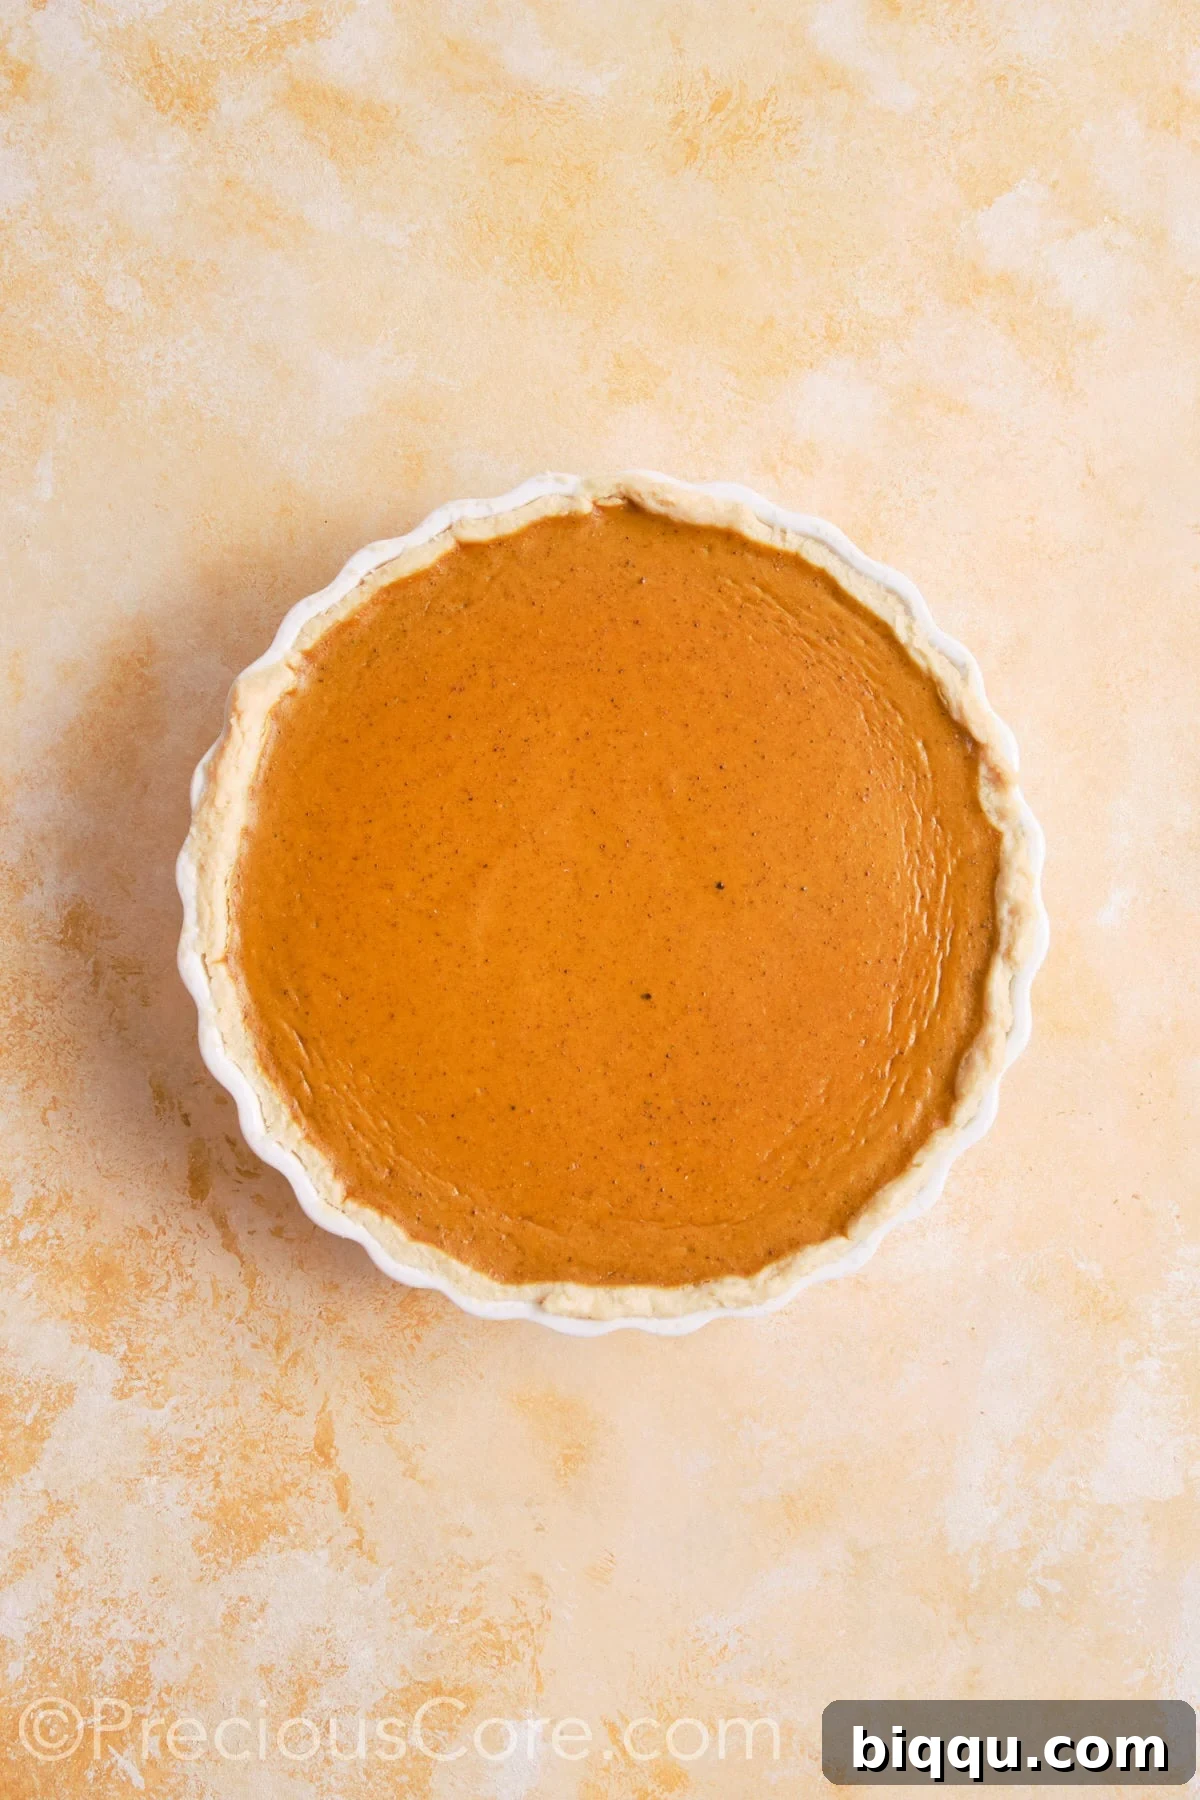
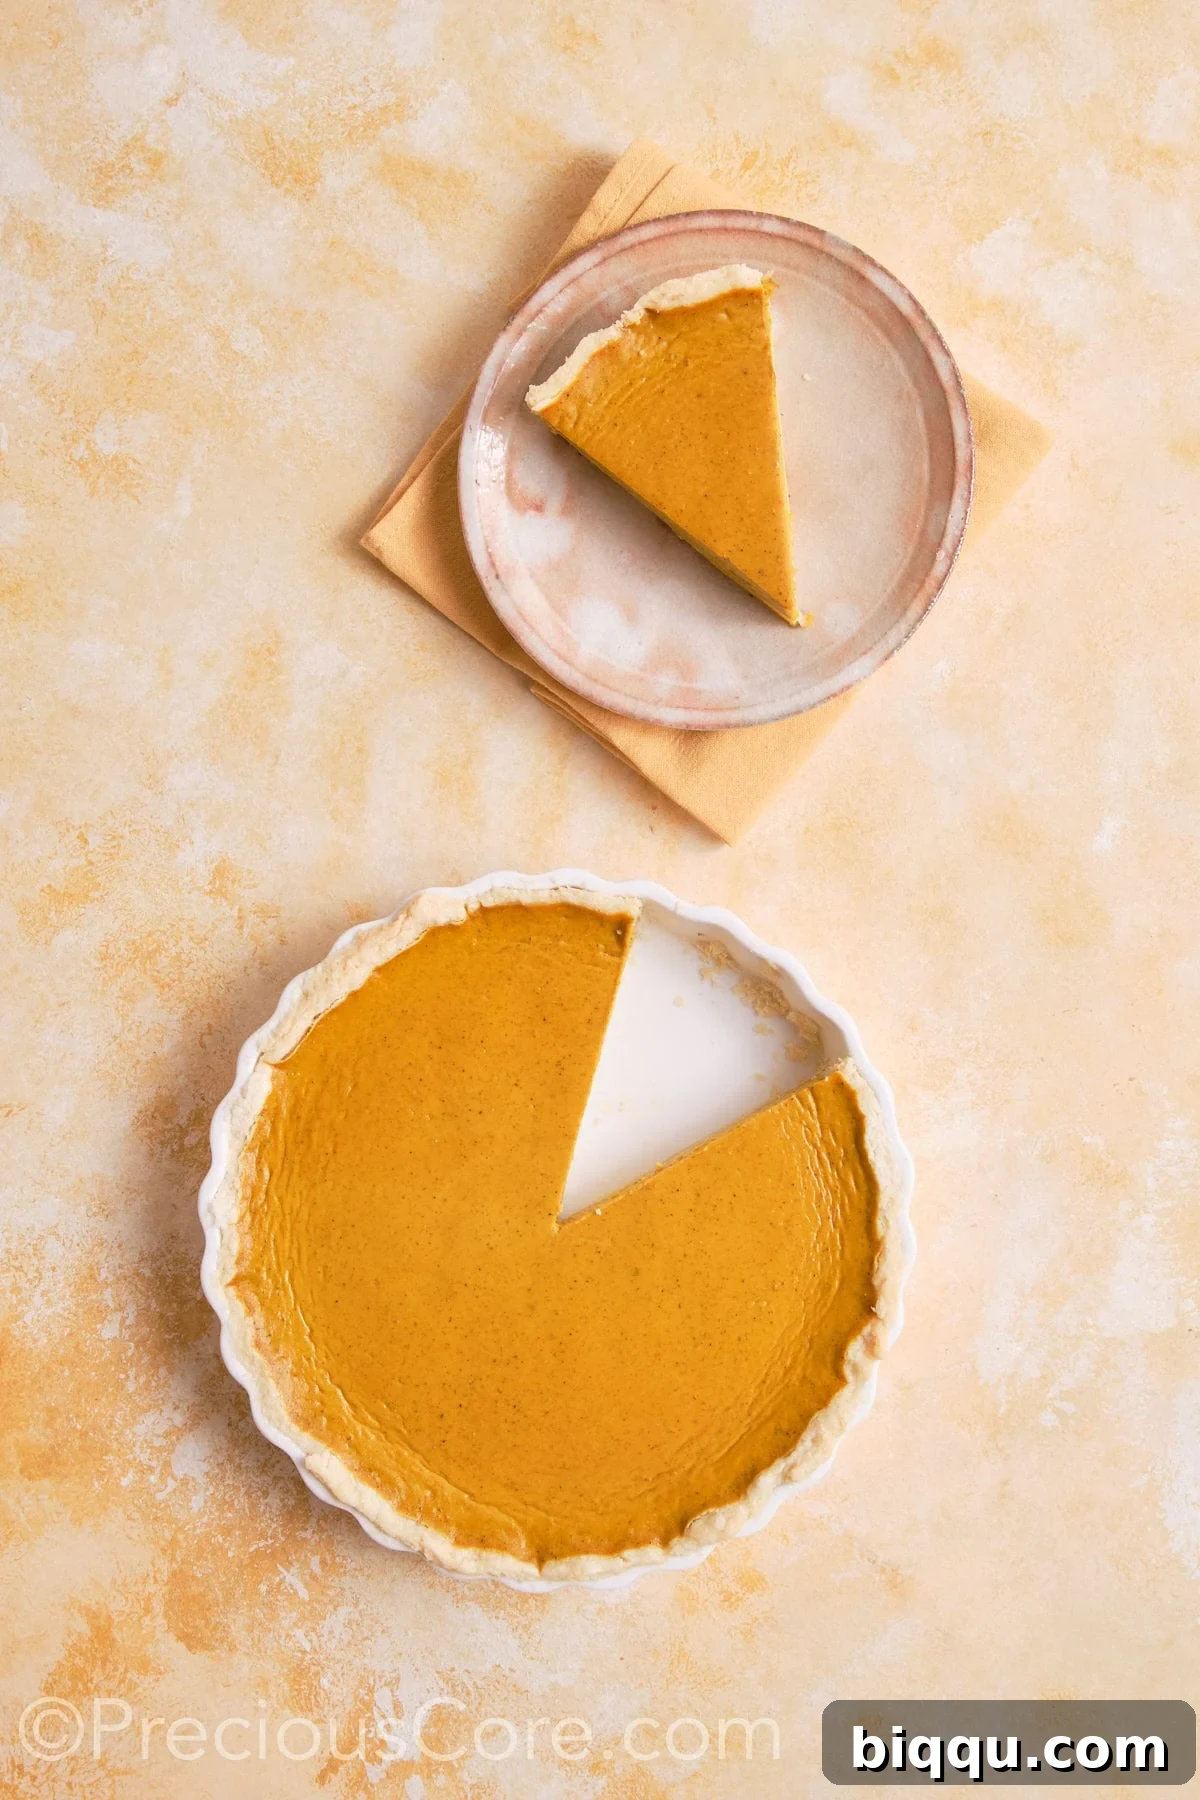
Step 4: Cool and Serve. Once baked, carefully remove the pie from the oven and transfer it to a wire rack. Allow it to cool completely for at least 2 hours at room temperature before slicing and serving. This cooling period is crucial for the filling to fully set. Alternatively, you can refrigerate it until you’re ready to enjoy this homemade treat.
Expert Tips for Perfect Pumpkin Pie
- Crust Convenience: While a homemade pie crust adds an unbeatable flavor and texture, don’t hesitate to opt for a good quality store-bought pie crust if you’re short on time. It’s a fantastic shortcut that still yields a delicious result for this recipe.
- Don’t Fear the Jiggle: It’s perfectly normal for the very center of the pumpkin pie to appear slightly jiggly even after the full baking time. This is a sign of a perfectly cooked custard. The residual heat will continue to cook the pie, and it will set completely as it cools, resulting in a smooth, creamy texture.
- Prevent Cracking: To avoid cracks on the surface of your pumpkin pie, be mindful of overbaking and sudden temperature changes. Overbaking can dry out the custard, leading to cracks. Additionally, try not to remove the pie from the oven too abruptly; allowing it to cool gradually can help prevent surface fractures.
- Consider Blind Baking: For an exceptionally crisp bottom crust, especially if your filling is very moist, you can blind bake (or par-bake) the pie crust for about 10-15 minutes before adding the pumpkin filling. This helps to prevent a soggy bottom and ensures an evenly baked crust.
- Shield Your Crust: If you notice the edges of your pie crust browning too quickly during baking, simply create a shield with aluminum foil. Loosely wrap the foil around the crust edges, leaving the center exposed, to protect it from over-browning while the filling finishes cooking.
How to Store Your Pumpkin Pie
Storing Leftovers: Should you find yourself with any delicious leftovers, simply cover the pie tightly with plastic wrap or transfer slices to an airtight container. It will keep beautifully in the refrigerator for up to 4 days, ready to be enjoyed again.
Freezing for Later: Yes, you can freeze pumpkin pie! To do so, ensure the pie is completely cooled. Wrap it tightly in several layers of plastic wrap, then an additional layer of aluminum foil. Place it in a freezer-safe bag or container to protect it from freezer burn. It can be frozen for up to 1 month. Thaw overnight in the refrigerator before serving.
Serving Suggestions
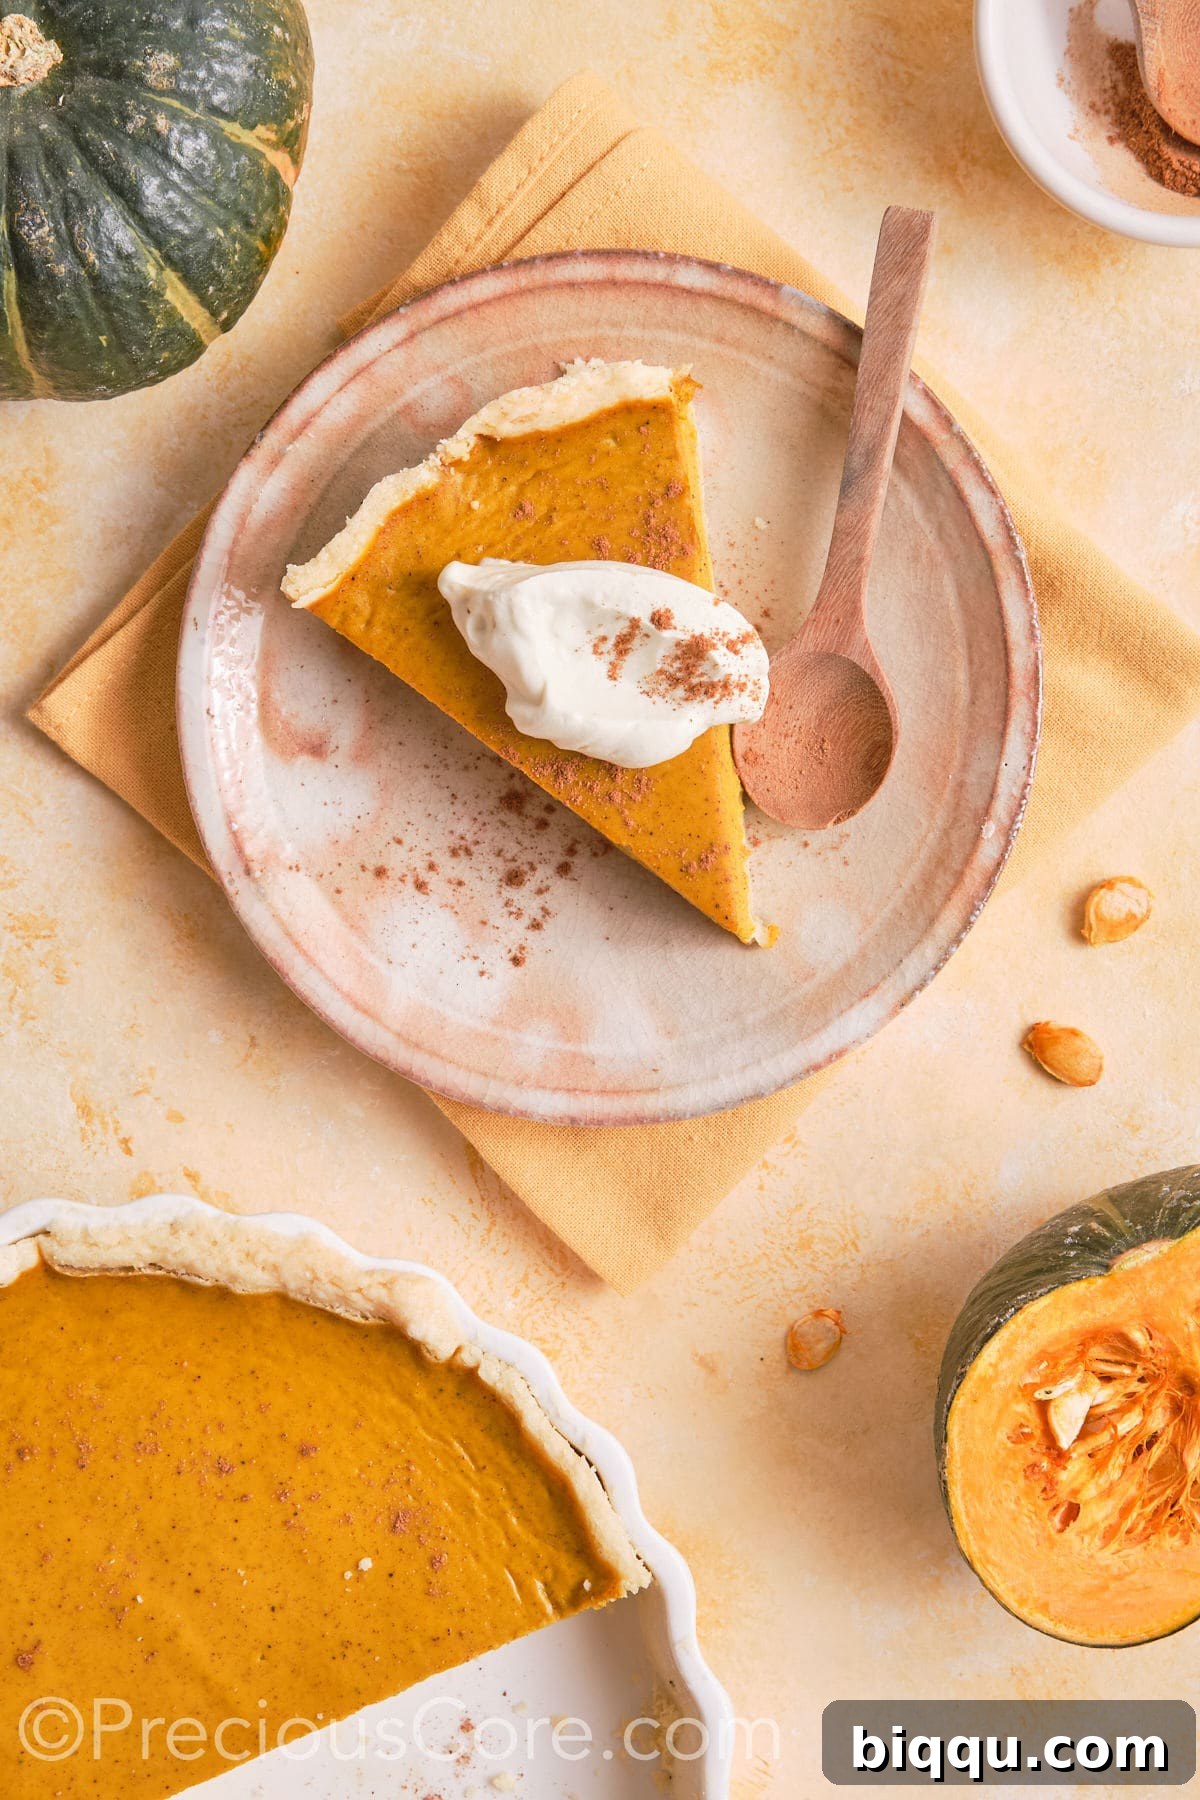
This rich and creamy pumpkin pie is the quintessential fall dessert, perfect on its own or elevated with delightful accompaniments. Serve it alongside other festive fall classics such as a succulent juicy roast turkey or a tender herb roasted duck if you’re preparing a Thanksgiving feast. Complete your meal with delectable sides like crispy fried carrots, warm garlic butter rolls, and fluffy rosemary garlic mashed potatoes. For an extra touch of indulgence, top each slice of pie with a dollop of fresh whipped cream, a sprinkle of cinnamon, or a scoop of vanilla bean ice cream.
More Thanksgiving Recipes to Savor
- Oven Baked Turkey Wings
- Baked Brie and Preserves
- Challah Dinner Rolls
- Sweet Potato Scones
- Southern Deviled Eggs
- Pumpkin Cake With Cream Cheese Frosting
Must-Try Pumpkin Recipes for Every Occasion
Pumpkin Chocolate Chip Pancakes
Pumpkin Roll Cake
Pumpkin Spice Doughnuts
Frequently Asked Questions About Pumpkin Pie
- Can I use fresh pumpkin instead of canned puree? Absolutely! If you prefer a truly homemade touch, you can certainly use fresh pumpkin puree. Simply roast a sugar pumpkin or pie pumpkin, scoop out the flesh, and blend it until smooth. Ensure it’s completely cooled and measured accurately for the best results.
- Why does my pumpkin pie crack on top? Cracking is most often caused by overbaking or a sudden change in temperature. When the pie bakes too long, the custard dries out and pulls apart. To prevent this, remove the pie from the oven when the edges are set, but the very center still has a slight jiggle. Also, avoid placing a hot pie directly into a cold refrigerator; let it cool gradually on a wire rack first.
- How can I tell when my pumpkin pie is done? The best way is the “knife test.” Insert a thin knife into the center of the pie, about 1 inch from the edge. If it comes out clean, your pie is ready. The very center might still look a bit soft, but it will firm up as it cools. An internal temperature of 175-180°F (80-82°C) is also a good indicator if you have a thermometer.
- Can I make this pie dairy-free? Yes, with a few substitutions! For the crust, use a plant-based butter alternative. For the filling, replace the heavy cream with full-fat canned coconut milk (ensure it’s well-chilled and you use the thick cream from the top of the can) or a rich, unsweetened almond milk. The texture might be slightly different but still delicious.
If you try this delightful recipe, please share your experience by leaving a star rating below. Your valuable feedback not only helps other bakers discover this recipe but also brings immense joy to me. Thank you for baking and sharing!
Pumpkin Pie No Evaporated Milk
Print Recipe
Ingredients
For the Pie Crust:
- 1 ¼ cups all-purpose flour
- ½ tsp sea salt
- 1 tbsp granulated sugar
- ½ cup unsalted butter, chilled and cut into 1-inch pieces
- 1 tablespoon cold water (plus more if needed)
For the Filling:
- 1 can (15 oz) or 2 cups pumpkin puree (not pumpkin pie filling)
- ½ cup heavy cream (or half & half for a lighter option)
- 4 tablespoons brown sugar
- 2 large eggs, room temperature
- 1 tsp vanilla extract
- 1 tsp ground cinnamon
- 2 tsp pumpkin pie spice
- ¼ tsp ground nutmeg
- Pinch of sea salt
Instructions
For the Homemade Pie Crust:
- In a large bowl, whisk together the flour, salt, and sugar until thoroughly combined.
- Add the cold, cubed butter to the dry ingredients. Using your fingers or a pastry cutter, work the butter into the flour until the mixture resembles coarse crumbs with some pea-sized pieces of butter remaining.
- Gradually add the cold water, one tablespoon at a time, gently mixing until the dough just begins to come together. Avoid overmixing to keep the crust tender.
- Shape the dough into a disc, wrap it tightly in plastic wrap, and refrigerate for at least 1 hour, or overnight.
For the Filling:
- In a large bowl, whisk the pumpkin puree and room temperature eggs together until well combined and smooth.
- Add the heavy cream, vanilla extract, brown sugar, salt, cinnamon, pumpkin pie spice, and nutmeg. Whisk everything together thoroughly until the mixture is smooth and all ingredients are fully blended.
To Assemble and Bake:
- Preheat your oven to 425°F (220°C) and grease a 9-inch pie dish with butter.
- On a lightly floured surface, roll out the chilled pie dough into a 12-inch circle. Carefully transfer the dough to the prepared pie dish, gently pressing it into the bottom and sides. Trim any excess dough and crimp the edges as desired.
- Pour the pumpkin pie filling into the unbaked pie crust.
- Bake the pumpkin pie for 15-20 minutes at 425°F (220°C).
- Reduce the oven temperature to 350°F (175°C) and continue baking for an additional 30-40 minutes, or until a knife inserted into the center of the pie (about 1 inch from the crust) comes out clean. The center may still have a slight jiggle.
- Remove the pie from the oven and let it cool completely on a wire rack for at least 2 hours before slicing and serving. For best results, refrigerate until ready to serve.