
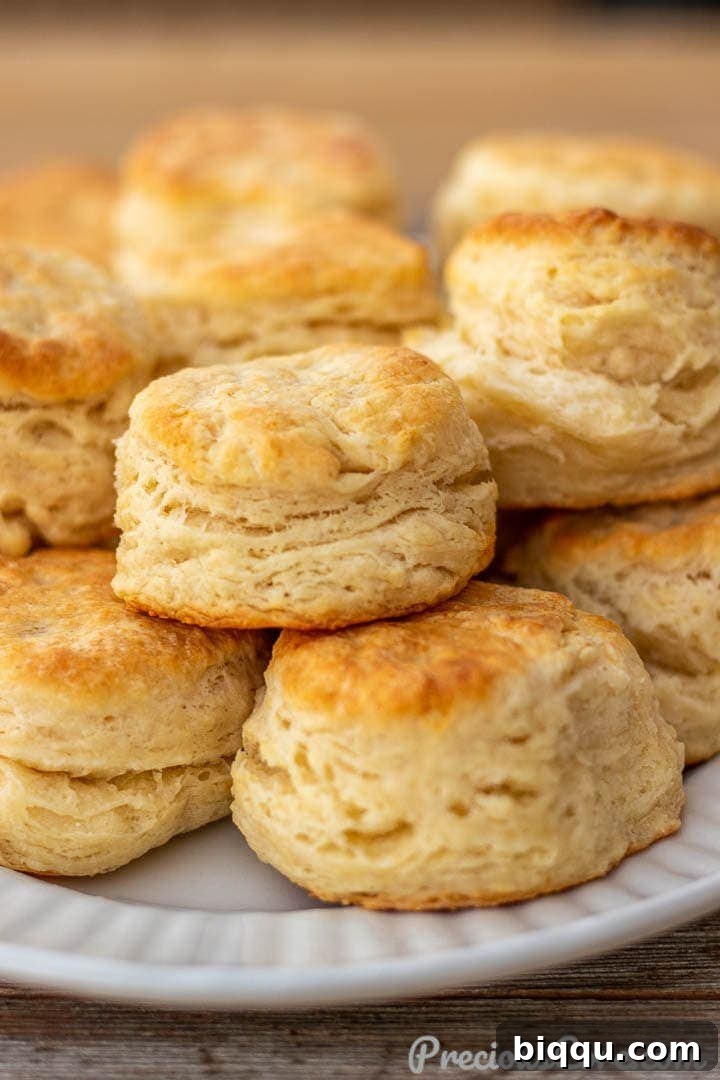
Homemade Buttermilk Biscuits: Flaky, Fluffy, and Perfectly Buttery
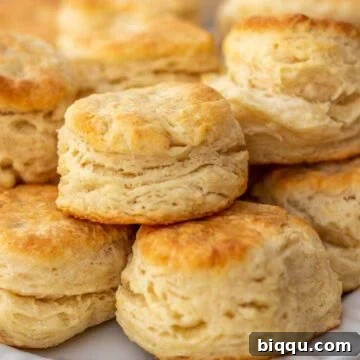
There’s nothing quite like the aroma of freshly baked biscuits filling your kitchen. These homemade buttermilk biscuits are a true classic, delivering flaky layers, a tender crumb, and a rich buttery flavor that simply melts in your mouth. Whether you’re serving them for a hearty breakfast, a delightful brunch, or as a comforting side dish with dinner, they are guaranteed to be a crowd-pleaser. With this foolproof recipe and all my best tips, you’ll be baking perfect biscuits every single time.
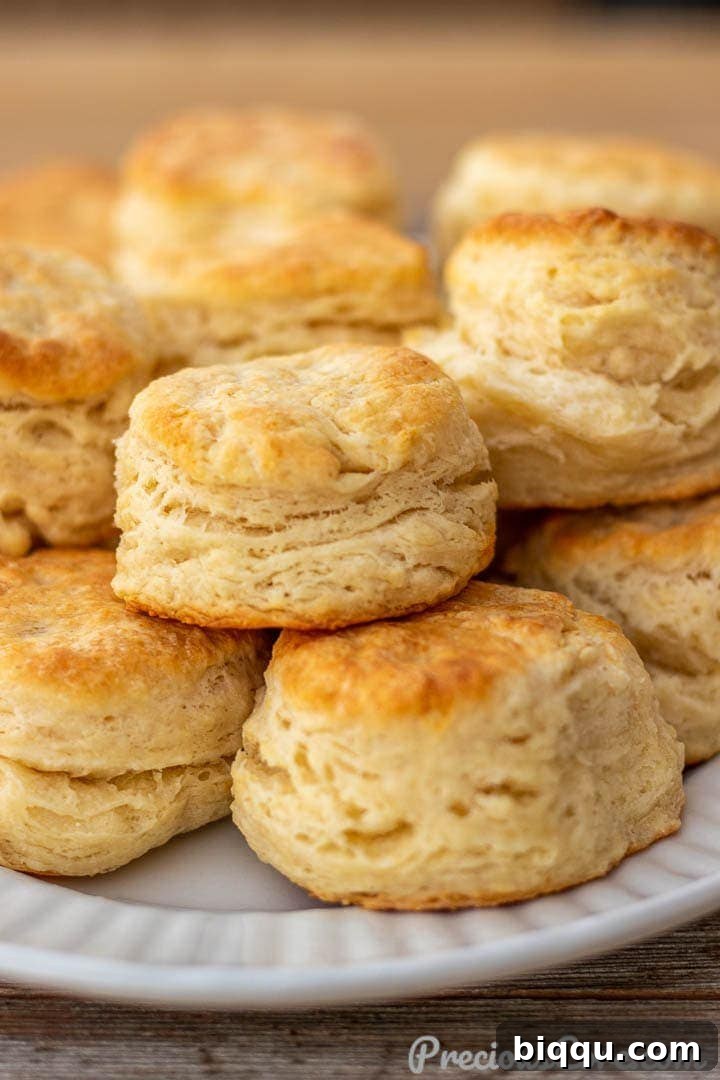
Why These Are the Best Buttermilk Biscuits You’ll Ever Make
Over the years, I’ve spent countless hours in my kitchen, perfecting the art of biscuit-making. I’ve tweaked, tested, and tasted, and I’m thrilled to finally share a recipe that truly stands out. These aren’t just any biscuits; they are consistently buttery, moist on the inside, with distinct flaky layers that are a hallmark of true Southern baking. You can enjoy them plain, slathered with softened butter, or topped with your favorite homemade jam, like our delightful Apricot Preserves or our refreshing Healthy Strawberry Jam.
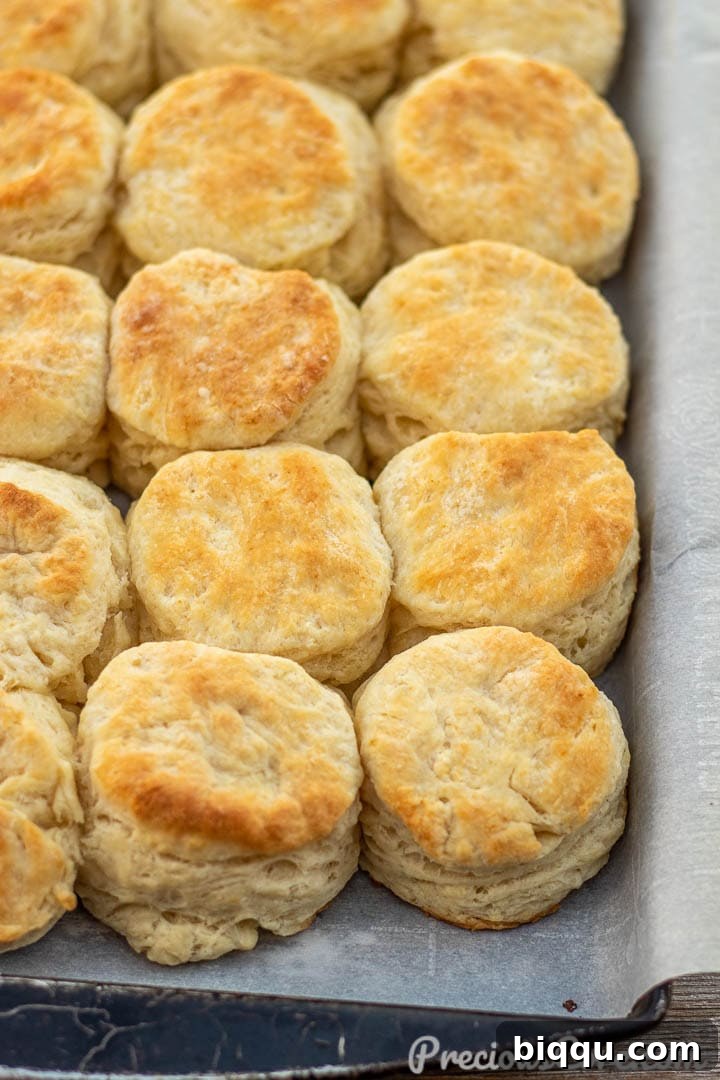
What makes these fluffy buttermilk biscuits truly remarkable is how incredibly easy they are to prepare. From start to finish, you can have a batch of warm, delicious biscuits on your table in just 30 minutes! As a busy parent, I can attest to how invaluable a quick and easy recipe is. These biscuits have become a regular feature at our breakfast table because they are so simple to whip up, even on the busiest mornings.
If you’re a biscuit enthusiast like me, don’t forget to explore our other fantastic biscuit recipes, including our incredibly simple 3 Ingredient Biscuits and our rich and tender Cream Cheese Biscuits.
Table of Contents
- The Magic of Buttermilk: Understanding Your Ingredients
- Step-by-Step Guide: How To Make Homemade Buttermilk Biscuits
- Expert Tips For The Flakiest, Fluffiest Biscuits
- Serving Suggestions and Variations
- Storage and Reheating Tips
- Frequently Asked Questions (FAQs)
- Favorite Tools For Homemade Biscuits
- Buttermilk Biscuits Recipe Card
The Magic of Buttermilk: Understanding Your Ingredients
Crafting the perfect buttermilk biscuit starts with understanding the role each ingredient plays. You don’t need a long list of fancy items; simple, quality ingredients are key to unlocking that authentic, comforting flavor and texture.
- Cold Butter: This is non-negotiable for flaky biscuits. Cold butter creates pockets of steam as it bakes, which results in those desirable layers. Avoid softened or melted butter at all costs.
- All-Purpose Flour: The foundation of your biscuit. Standard all-purpose or plain flour works perfectly. Ensure it’s fresh for the best results.
- Baking Powder and Baking Soda: These leavening agents work in tandem to give your biscuits their incredible rise and airy texture. The acidity in the buttermilk activates the baking soda, creating a chemical reaction that helps the biscuits puff up beautifully.
- Salt: Essential for balancing and enhancing all the flavors. Don’t skip it!
- Sugar: Just a hint of sugar is added. It won’t make your biscuits overtly sweet, but it subtly enhances the overall flavor profile and contributes to a lovely golden-brown crust.
- Cold Buttermilk: The star ingredient! Buttermilk contributes a tangy flavor, a tender crumb, and works with the baking soda for maximum rise. Using it cold is crucial, just like the butter, to prevent it from reacting too quickly with the leavening agents before baking.
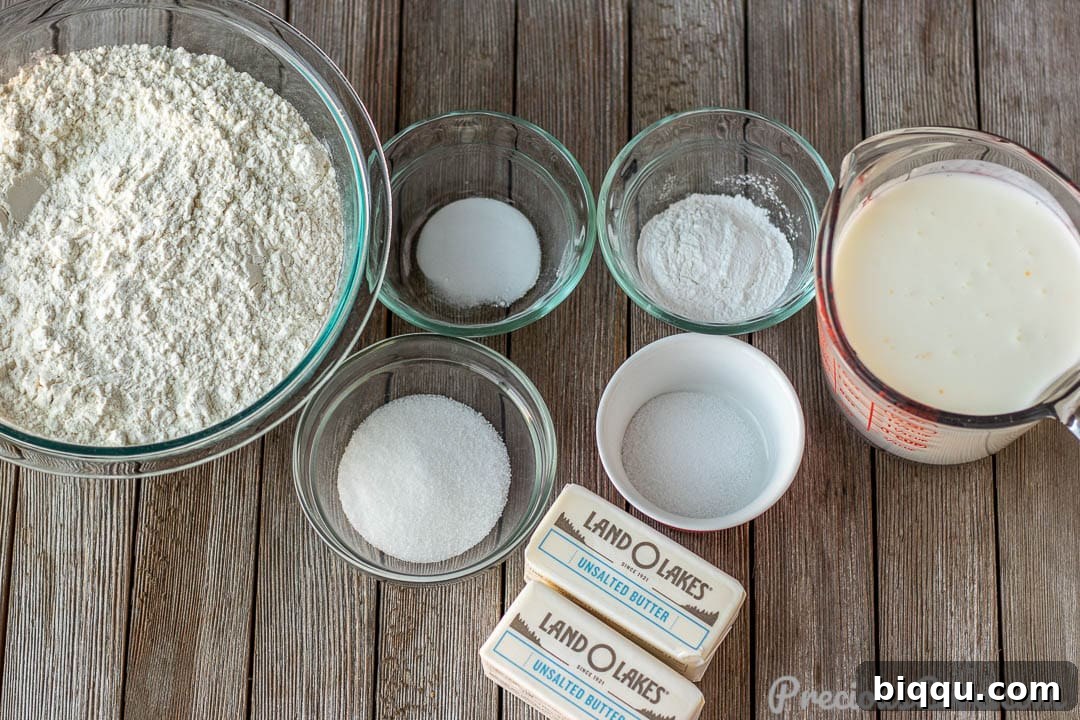
For the precise measurements of each ingredient, please refer to the detailed recipe card at the bottom of this post.
Step-by-Step Guide: How To Make Homemade Buttermilk Biscuits
Creating flaky, fluffy homemade biscuits might seem daunting, but it’s surprisingly simple when you follow these clear steps. Remember, the key is to keep everything cold and work quickly and lightly. The exact measurements are in the recipe card below, but here’s a breakdown of the process:
1. Prepare Your Butter
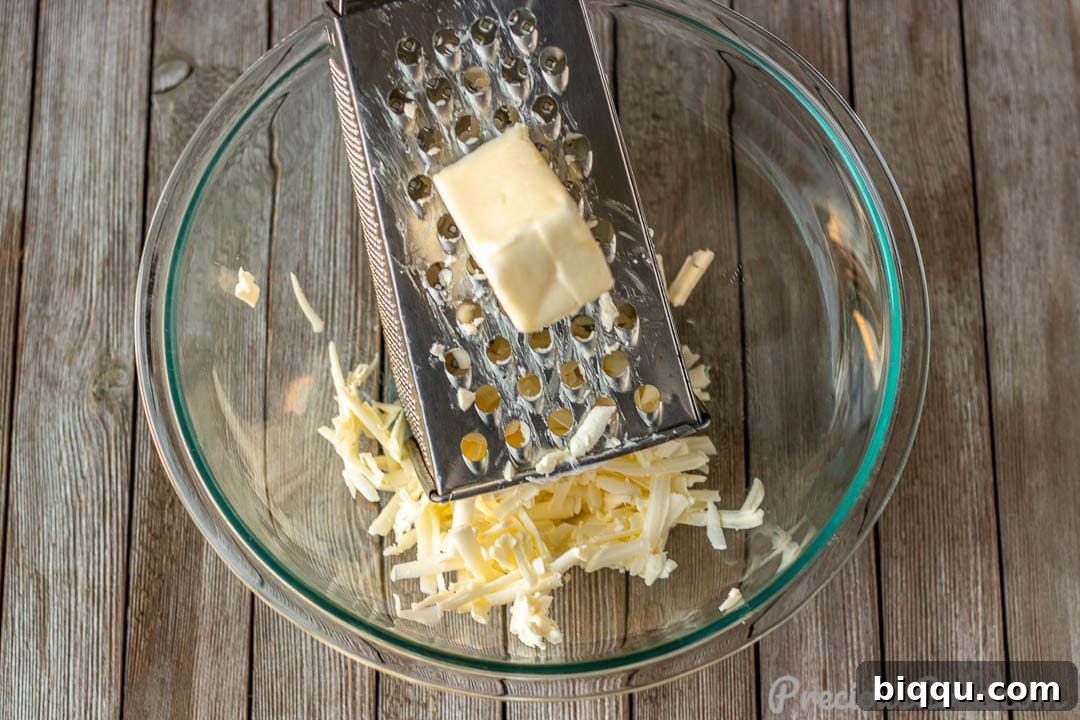
Begin by preheating your oven to 425°F (220°C) and lining a large baking sheet with parchment paper. This ensures your biscuits cook evenly and don’t stick. Then, using the shredding side of a box grater, grate your very cold butter directly into a large mixing bowl. Grating the butter is a fantastic technique that ensures the butter is evenly distributed and stays cold, creating those beautiful pockets for flakiness.
2. Combine Dry Ingredients with Butter
To the bowl with the grated butter, add your flour, baking powder, baking soda, salt, and sugar. Using your fingertips, gently mix these ingredients together until just combined. The goal is to coat the butter shreds with flour without melting the butter. You can also use a pastry blender or a food processor (with short pulses!) for this step if you prefer, until the mixture resembles coarse meal with pea-sized pieces of butter throughout.
3. Add Cold Buttermilk
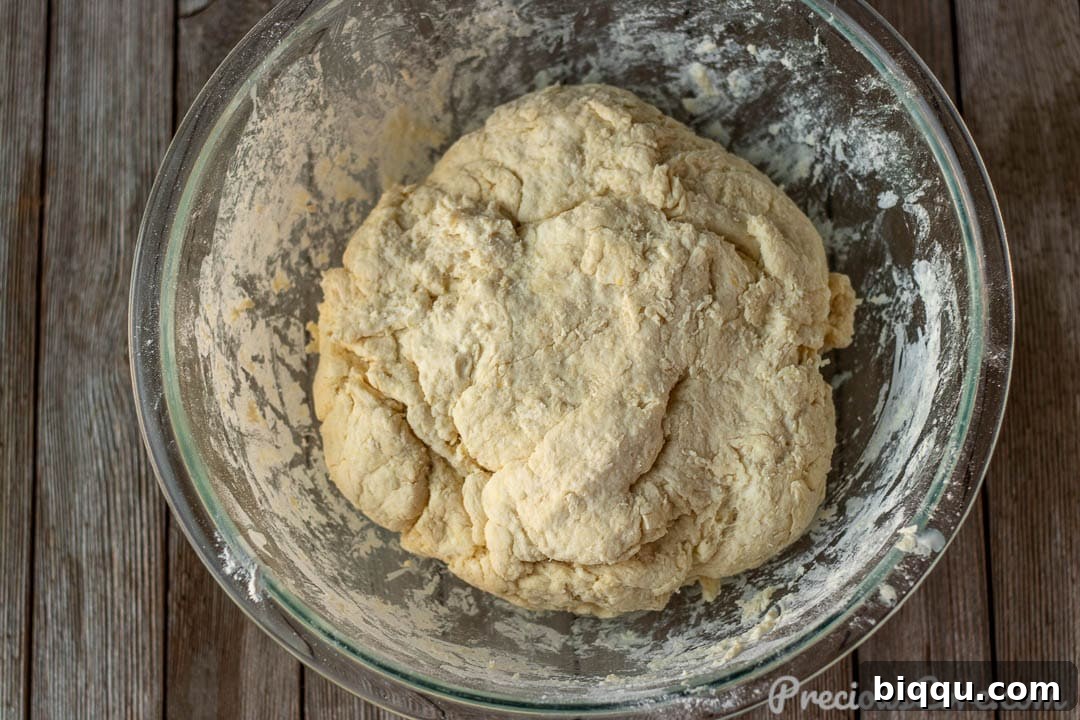
Pour the cold buttermilk into the flour and butter mixture. Stir gently with a spoon or your hands until a shaggy dough forms. Be careful not to overmix; just bring the ingredients together. The dough will still look a bit rough, and that’s exactly what you want.
4. Create Layers with Folding
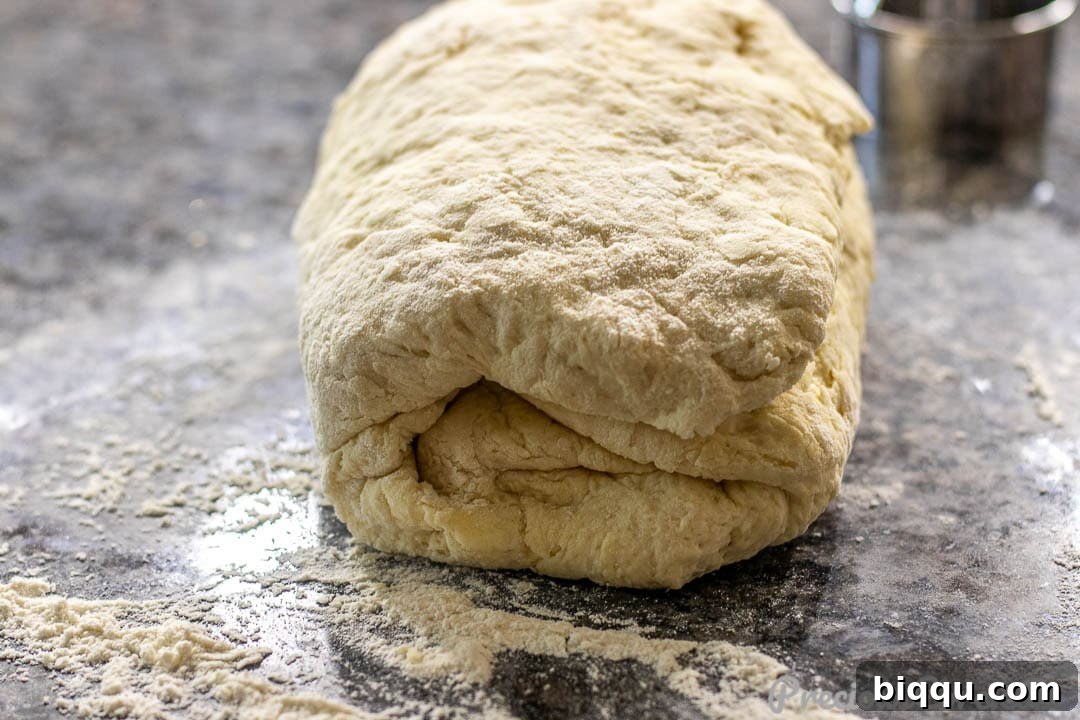
Lightly flour a clean work surface and transfer the biscuit dough onto it. Gently press the dough down or use a rolling pin to form it into a rectangle about half an inch thick. This is where the magic happens for those beautiful layers: fold the dough into thirds, like a letter. Turn the dough horizontally, and repeat the pressing/rolling and folding process two more times. In total, you should fold the dough three times. This layering technique traps the butter, ensuring maximum flakiness.
5. Cut Out Your Biscuits
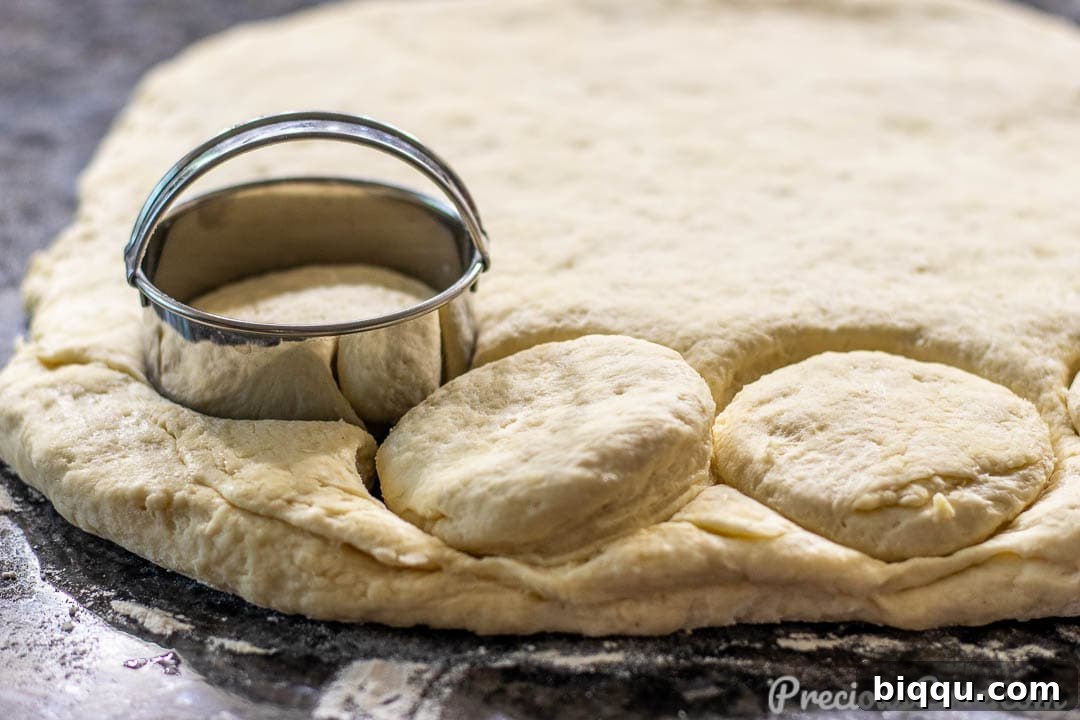
After the final fold, roll the dough into a uniform half-inch thick rectangle. Using a 2.5-inch biscuit cutter (or the rim of a glass or cup), cut out rounds from the dough. Press straight down firmly without twisting the cutter. Twisting can seal the edges of the biscuits, preventing them from rising properly.
6. Arrange and Bake
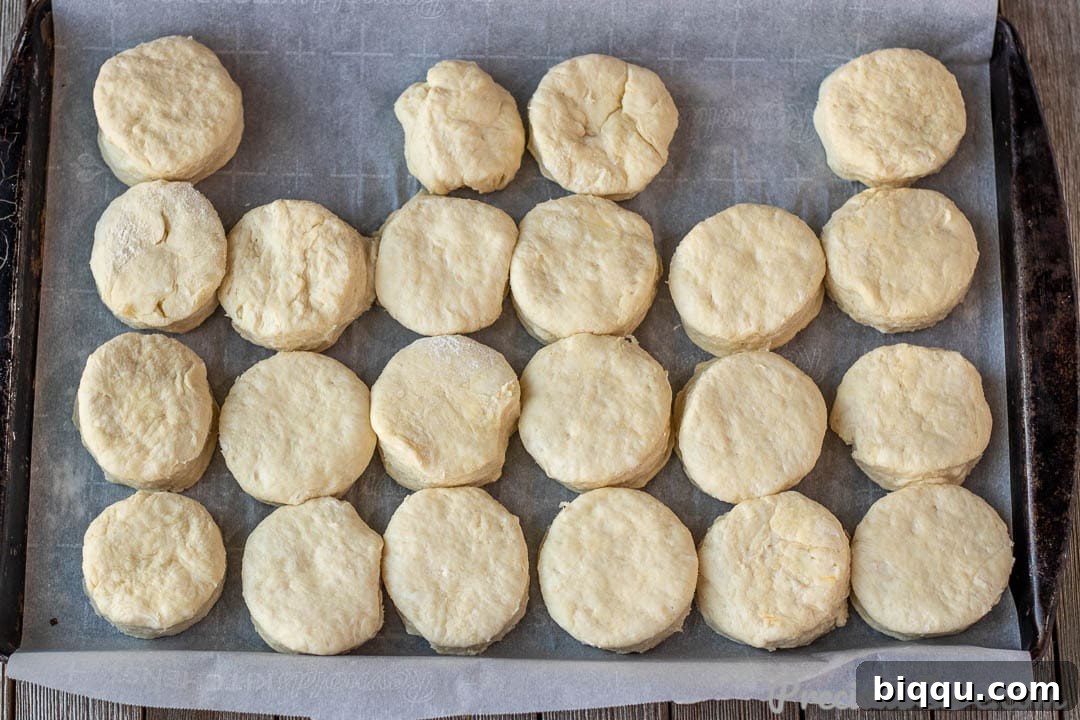
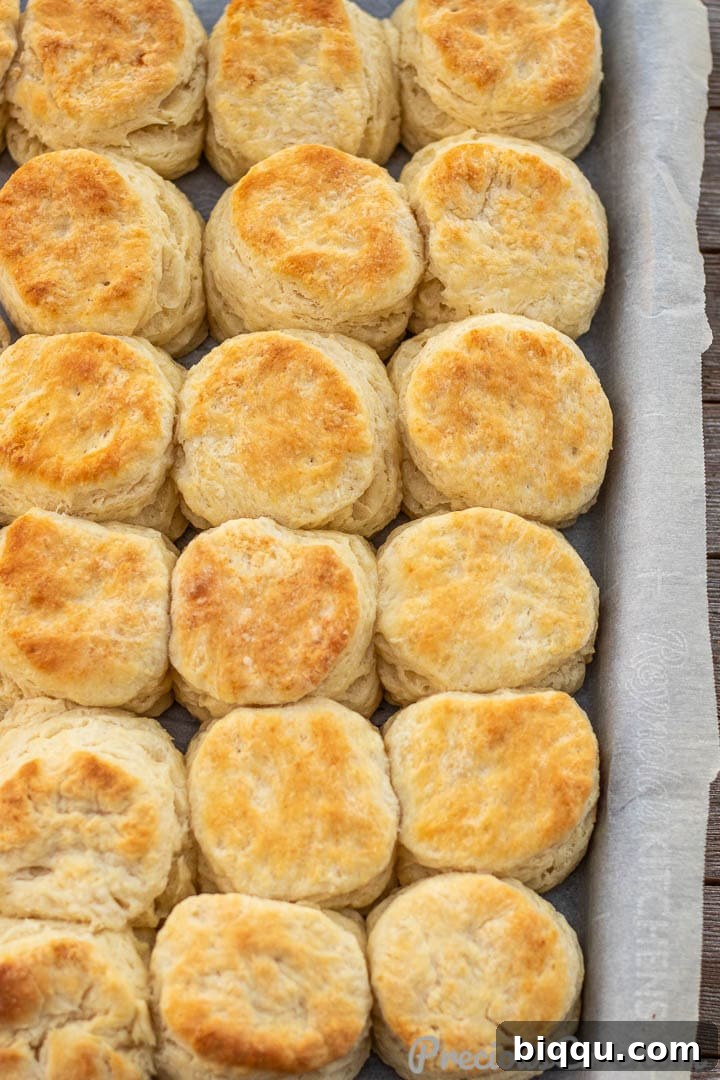
Carefully transfer the cut-out biscuits to your prepared baking sheet. Arrange them so they are lightly touching each other. This is another pro tip for higher rise, as they help each other steam and puff up in the oven. Bake in the preheated oven for about 12-15 minutes, or until the tops are golden brown and they’ve risen beautifully.
7. Serve Warm
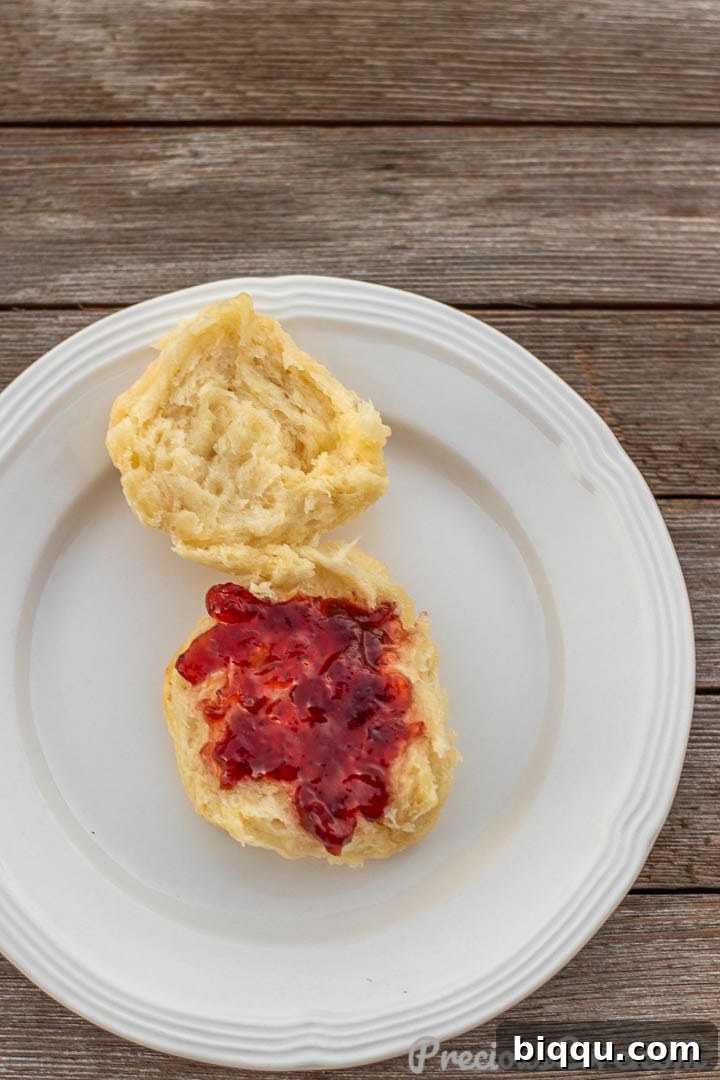
Once baked, remove the biscuits from the oven and serve them warm. They are incredibly versatile and delicious as a side dish, with savory gravies, or simply spread with butter and jam for a classic treat.
Looking for more delightful baked goods? Don’t miss this tasty recipe for Cornbread Without Buttermilk.
Expert Tips For The Flakiest, Fluffiest Biscuits
Achieving biscuit perfection is all about a few simple techniques. Follow these expert tips to ensure your homemade buttermilk biscuits turn out incredibly flaky, fluffy, and tender every single time:
- Keep Everything Cold: This is arguably the most crucial tip. Your butter and buttermilk should be as cold as possible. Cold ingredients prevent the butter from melting prematurely into the flour, which is essential for creating those coveted flaky layers. Don’t remove them from the fridge until you are literally about to use them.
- Grate the Butter: Instead of cutting butter into cubes, grating it on a box grater is a game-changer. It creates tiny, evenly sized pieces of butter that are easily incorporated into the flour mixture, ensuring a consistent flaky texture throughout. Alternatively, you can pulse cold butter cubes with flour in a food processor, but be very careful not to over-process. You want pea-sized pieces, not a paste.
- Do Not Overmix the Dough: Biscuit dough is not like bread dough. Overworking the dough develops the gluten too much, leading to tough, chewy biscuits instead of tender ones. Mix just enough until the ingredients are combined and a shaggy dough forms.
- Don’t Twist the Biscuit Cutter: When cutting out your biscuit rounds, press the cutter straight down firmly and lift it straight up. Twisting the cutter seals the edges of the dough, which can hinder the biscuits from rising to their full, lofty potential.
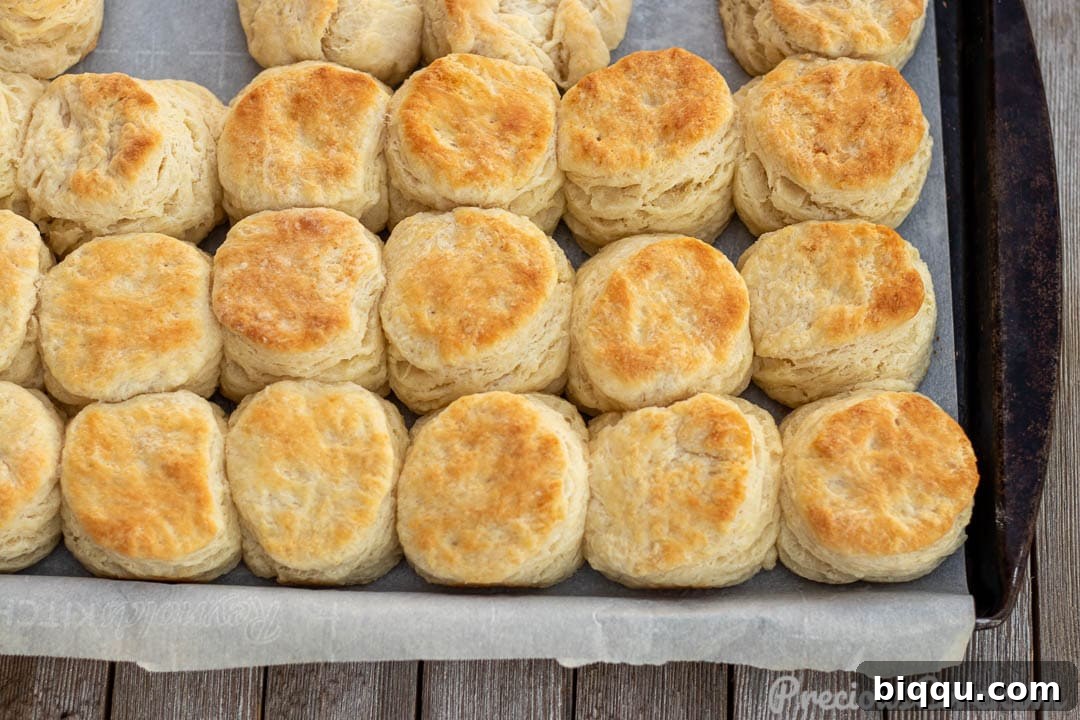
- Let Biscuits Touch on the Baking Sheet: Arrange your biscuits so they are lightly touching each other on the baking sheet. As they bake, they will support each other, helping them to rise taller and more evenly. This also results in softer sides.
- Use Real Buttermilk (or a Homemade Substitute): Genuine buttermilk provides an acidic kick that reacts with baking soda to create lift, and it also contributes to a unique tangy flavor and tender texture. If you don’t have store-bought buttermilk, you can easily make your own: pour 1 tablespoon of white vinegar or lemon juice into a liquid measuring cup, then fill the rest of the cup with regular milk (any fat percentage) until it reaches the 1-cup line. Let it sit for 5-10 minutes until it slightly curdles. This homemade version works wonderfully.
Serving Suggestions and Variations
These homemade buttermilk biscuits are incredibly versatile and can be enjoyed in countless ways. For a classic experience, serve them warm with a generous smear of butter and a dollop of your favorite jam or fruit preserves. They also pair wonderfully with savory dishes:
- Breakfast/Brunch: Serve with scrambled eggs, crispy bacon, sausage gravy, or alongside fresh fruit. They are also perfect for making breakfast sandwiches.
- Side Dish: Ideal with fried chicken, chili, stew, or a hearty soup. Their soft texture and buttery flavor complement many main courses.
- Sweet Variations: Dust with powdered sugar, drizzle with honey, or add a touch of cinnamon sugar to the dough before baking.
- Savory Add-ins: Experiment by folding in shredded cheddar cheese, chives, garlic powder, or finely chopped herbs into the dough for a savory twist.
Storage and Reheating Tips
If you happen to have any leftover biscuits (a rare occurrence!), proper storage will help keep them fresh. Store cooled biscuits in an airtight container or zip-top bag at room temperature for up to 2-3 days, or in the refrigerator for up to a week. To reheat, place them in a preheated oven at 300°F (150°C) for about 10-15 minutes, or microwave for 30-45 seconds per biscuit until warm and soft. For best results, reheating in the oven helps maintain their crispy exterior and flaky interior.
Frequently Asked Questions (FAQs)
Can I freeze buttermilk biscuits?
Yes, you can! You can freeze either unbaked or baked biscuits. For unbaked biscuits, cut out the rounds and place them on a baking sheet to freeze until solid, then transfer to an airtight freezer bag for up to 1-2 months. Bake from frozen, adding a few extra minutes to the baking time. For baked biscuits, allow them to cool completely, then freeze in an airtight container for up to 2 months. Reheat as directed above.
What if I don’t have buttermilk?
As mentioned in the tips, you can easily make your own DIY buttermilk. For every 1 cup of buttermilk needed, add 1 tablespoon of white vinegar or lemon juice to a measuring cup, then fill the rest with regular milk (dairy or non-dairy) and let it sit for 5-10 minutes until it slightly curdles. This acidity is key for the biscuits’ rise and tenderness.
Why are my biscuits tough?
Tough biscuits are usually a sign of overworking the dough. Too much handling develops the gluten in the flour, which leads to a chewy rather than tender texture. Mix just until combined and handle the dough as little as possible.
Can I use self-rising flour?
Yes, you can! If using self-rising flour, you’ll need to omit the baking powder, baking soda, and salt from the recipe, as these are already included in self-rising flour. The amount of self-rising flour will be the same as all-purpose flour. You might still want to add a pinch of salt to taste.
Craving more biscuit goodness? Explore my popular cream cheese biscuits and incredibly simple 3-ingredient biscuits recipes!
Favorite Tools For Homemade Biscuits
- High-Quality Biscuit Cutters (I highly recommend a 2.5-inch cutter for perfect biscuit size.)
- Reliable Measuring Cups and Spoons Set
- Non-Stick Parchment Paper
- A sturdy box grater for grating cold butter.
- A large mixing bowl.
- A rolling pin.
If you make this recipe, please consider leaving a star rating below. Your feedback helps others discover and enjoy this recipe, and I truly love hearing from you! Thank you!
Want to save this recipe?
Enter your email below and we’ll send the recipe straight to your inbox!
Buttermilk Biscuits
15
15
30
21 biscuits
Rate
Print Recipe
Ingredients
- 1 cup unsalted butter (226 grams) cold
- 4 cups all-purpose flour (500 grams) plus more for work surface
- 4 teaspoons baking powder
- 1/2 teaspoon baking soda
- 1 teaspoon salt
- 2 tablespoons sugar
- 2 cups buttermilk (500 ml) cold
Instructions
-
Preheat oven to 425 degrees F (220°C). Line a large baking sheet with parchment paper.
-
Grate cold butter into a large bowl using the shredding side of a box grater.
-
Add the flour, baking powder, baking soda, salt, and sugar to the bowl with the butter.
-
Mix with fingertips to combine everything until the butter is coated with flour and the mixture resembles coarse meal with pea-sized pieces of butter. Do not overmix.
-
Add the cold buttermilk and mix gently with a spoon or your hands until a shaggy dough forms. Do not knead the dough. Lightly flour a working surface and transfer dough to it.
-
Create Layers. Press the dough down or roll it to be about half an inch thick then fold it into thirds (like a letter). Turn the dough horizontally and press down or roll again to half an inch thick. Fold in thirds again. Repeat this process one more time. In all, you should fold the dough 3 times to create layers.
-
After the final fold, roll out the dough to a uniform half an inch thick rectangle.
-
Cut out circles from the dough with a 2.5-inch biscuit cutter or a cup with sharp ends. Press straight down firmly without twisting or moving the cutter. This will help the biscuits rise better!
-
Place the cut-out biscuits on the prepared baking tray, making sure the biscuits lightly touch each other.
-
Place in the preheated oven and bake for about 12-15 minutes until golden brown on top and risen.
-
Serve warm with jam, butter, gravy, or as a side dish.
Notes
Do not knead the dough. Biscuit dough should not be kneaded like bread dough, as this can lead to tough biscuits.
Don’t twist the cutter. Do not twist the biscuit cutter or cup when cutting the dough. Twisting seals the edges of the dough, preventing the biscuits from rising properly.
Let the biscuits touch. When placing the biscuits on the baking sheet, ensure they lightly touch each other. This helps them rise higher and creates softer sides.
Nutrition
Calories: 183kcal |
Carbohydrates: 21g |
Protein: 3g |
Fat: 10g |
Saturated Fat: 6g |
Polyunsaturated Fat: 0.5g |
Monounsaturated Fat: 2g |
Trans Fat: 0.4g |
Cholesterol: 26mg |
Sodium: 243mg |
Potassium: 59mg |
Fiber: 1g |
Sugar: 2g |
Vitamin A: 308IU |
Calcium: 77mg |
Iron: 1mg
Additional Info
Breakfast
American, Southern
183
Tried this recipe?
Mention @preciouscore or tag #PreciousCore!
*This post contains affiliate links.