
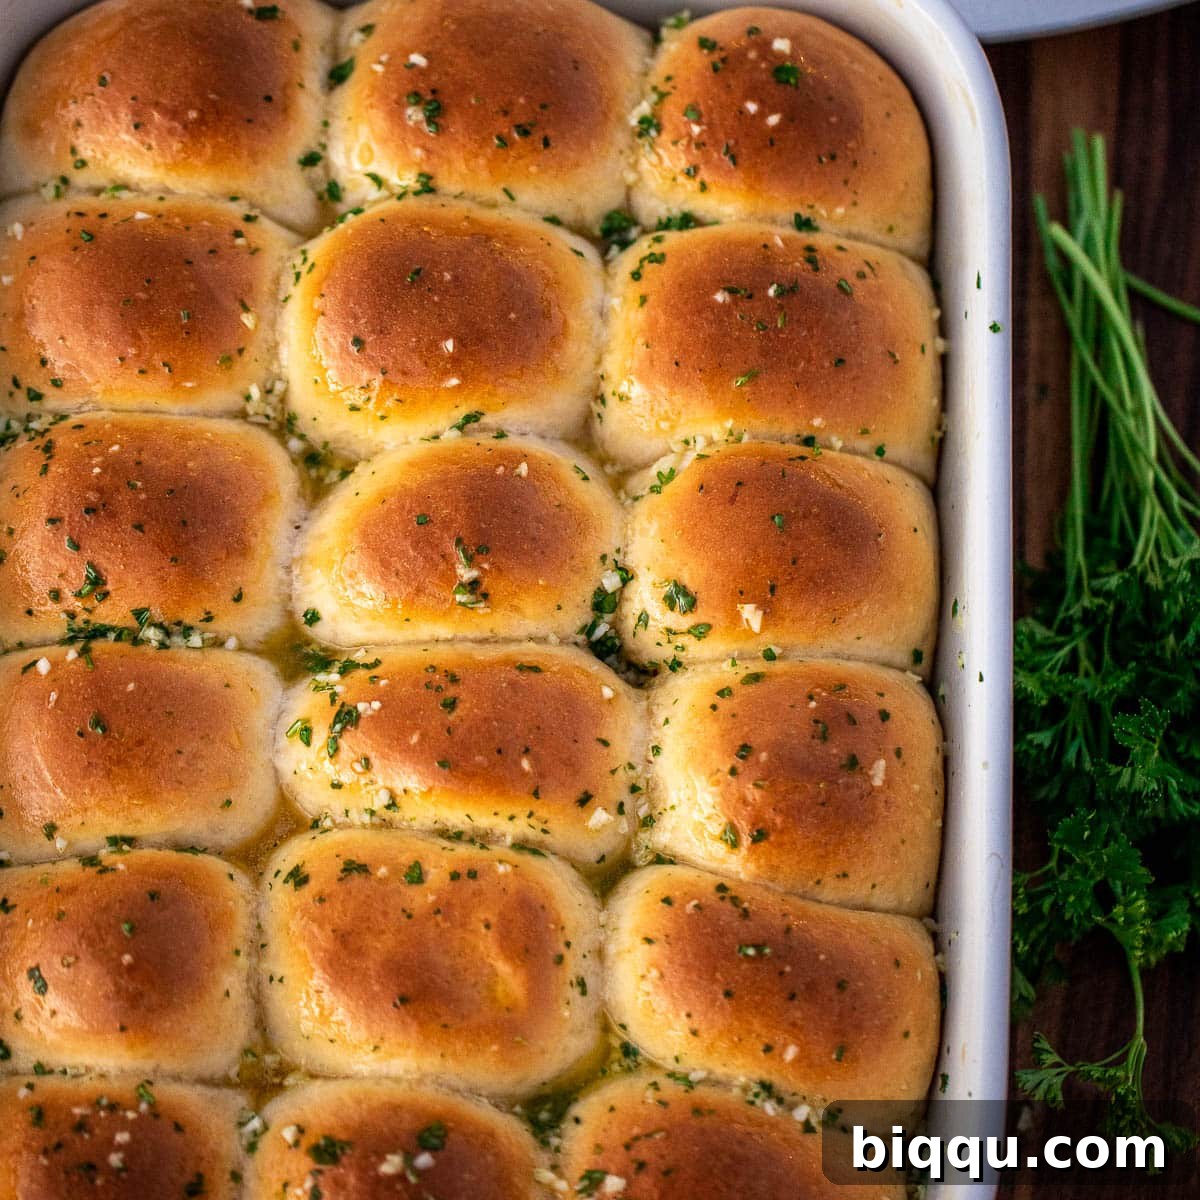
These Garlic Butter Rolls are an absolute sensation, offering everything you could ever desire in a homemade bread! They boast a wonderfully soft, almost brioche-like texture, are incredibly buttery throughout, and are crowned with an irresistible garlic herb butter topping. They truly are the perfect side dish for any special occasion, from Thanksgiving and Christmas to Easter, or simply to elevate your weeknight dinner.
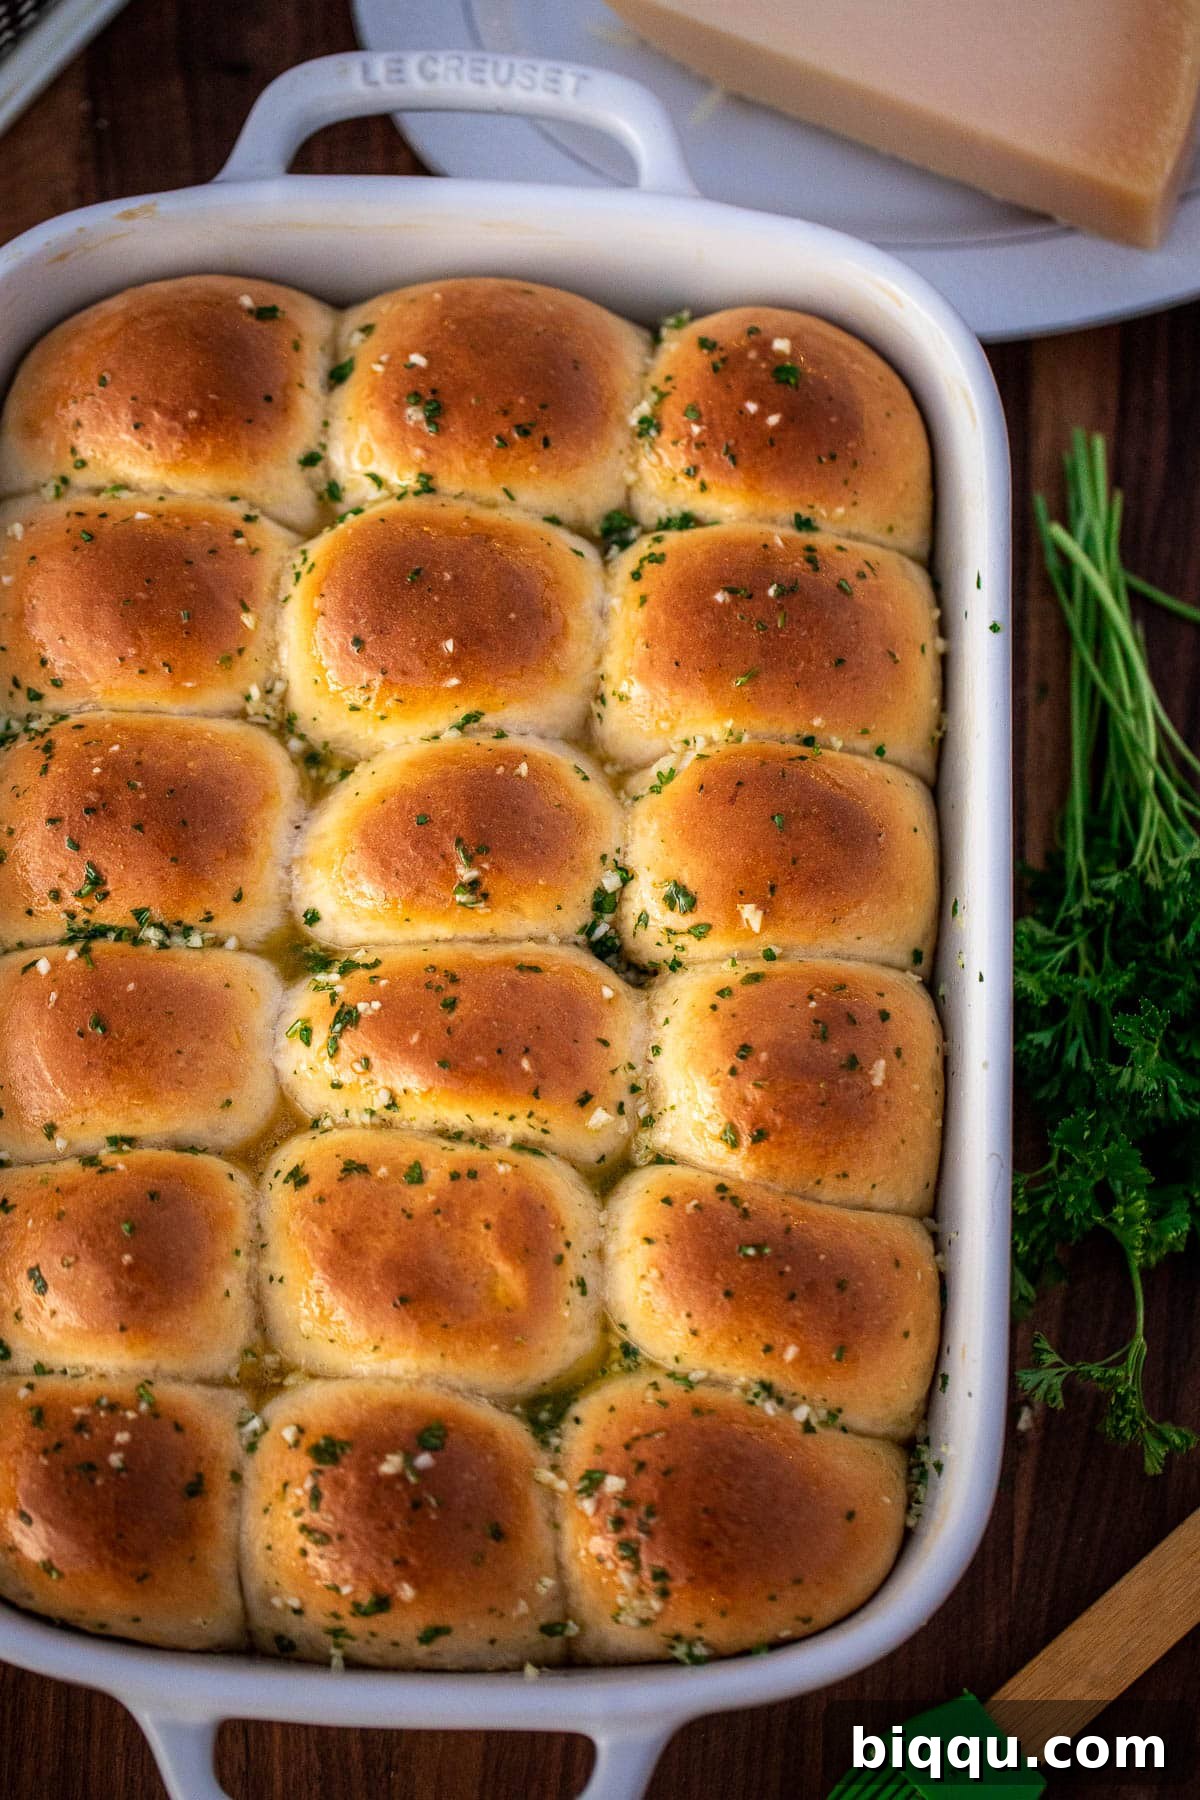
Prepare to impress everyone at your table by including these show-stopping dinner rolls in your next meal. For those who love homemade bread, be sure to also explore my easy dinner rolls recipe, ready in just one hour, or my delightful sweet dinner rolls, and even my incredible Strawberry Cinnamon Rolls for a sweeter treat.
Imagine serving these heavenly garlic butter dinner rolls alongside a succulent herb roasted chicken and creamy buttermilk mashed potatoes for an unbelievably delicious and comforting meal!
Table of Contents
- The Ultimate Garlic Butter Rolls!
- Why These Garlic Butter Rolls Are The Best
- Essential Ingredients for Garlic Butter Rolls
- Step-by-Step Guide: How To Make Garlic Butter Rolls
- Creative Variations for Your Rolls
- Recommended Equipment for Baking
- Make Ahead Tips for Convenience
- Serving Suggestions
- Storage and Reheating Tips
- Frequently Asked Questions
- More Holiday Recipes
- Garlic Butter Rolls Recipe Card
The Ultimate Garlic Butter Rolls!
When I describe these rolls as “show-stopping,” I truly mean it. These Garlic Butter Rolls are so incredibly delicious that when I last baked a batch, my husband devoured a truly astonishing amount! Their rich, buttery flavor combined with a texture that’s both incredibly soft and fluffy – possibly the fluffiest rolls I’ve ever made – makes them utterly addicting and bursting with garlicky goodness.
Why These Garlic Butter Rolls Are The Best
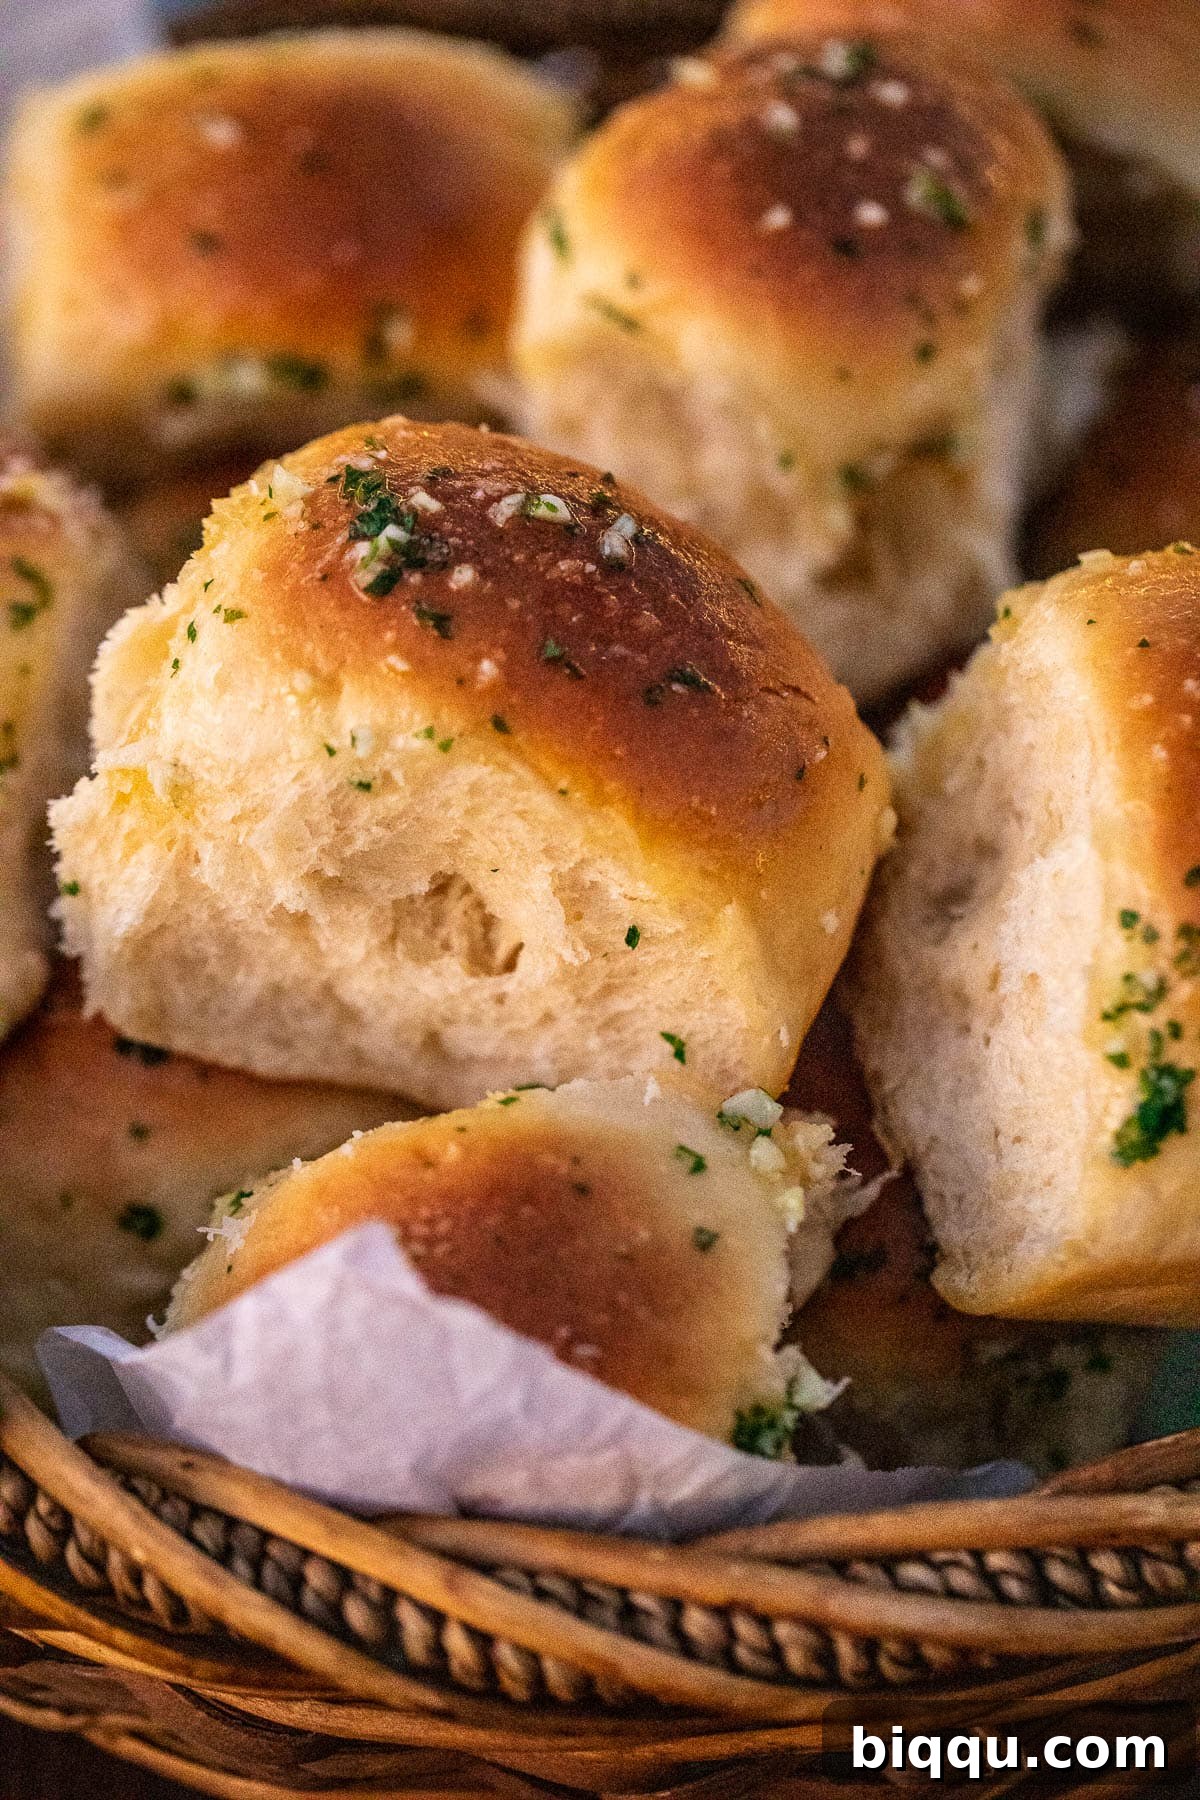
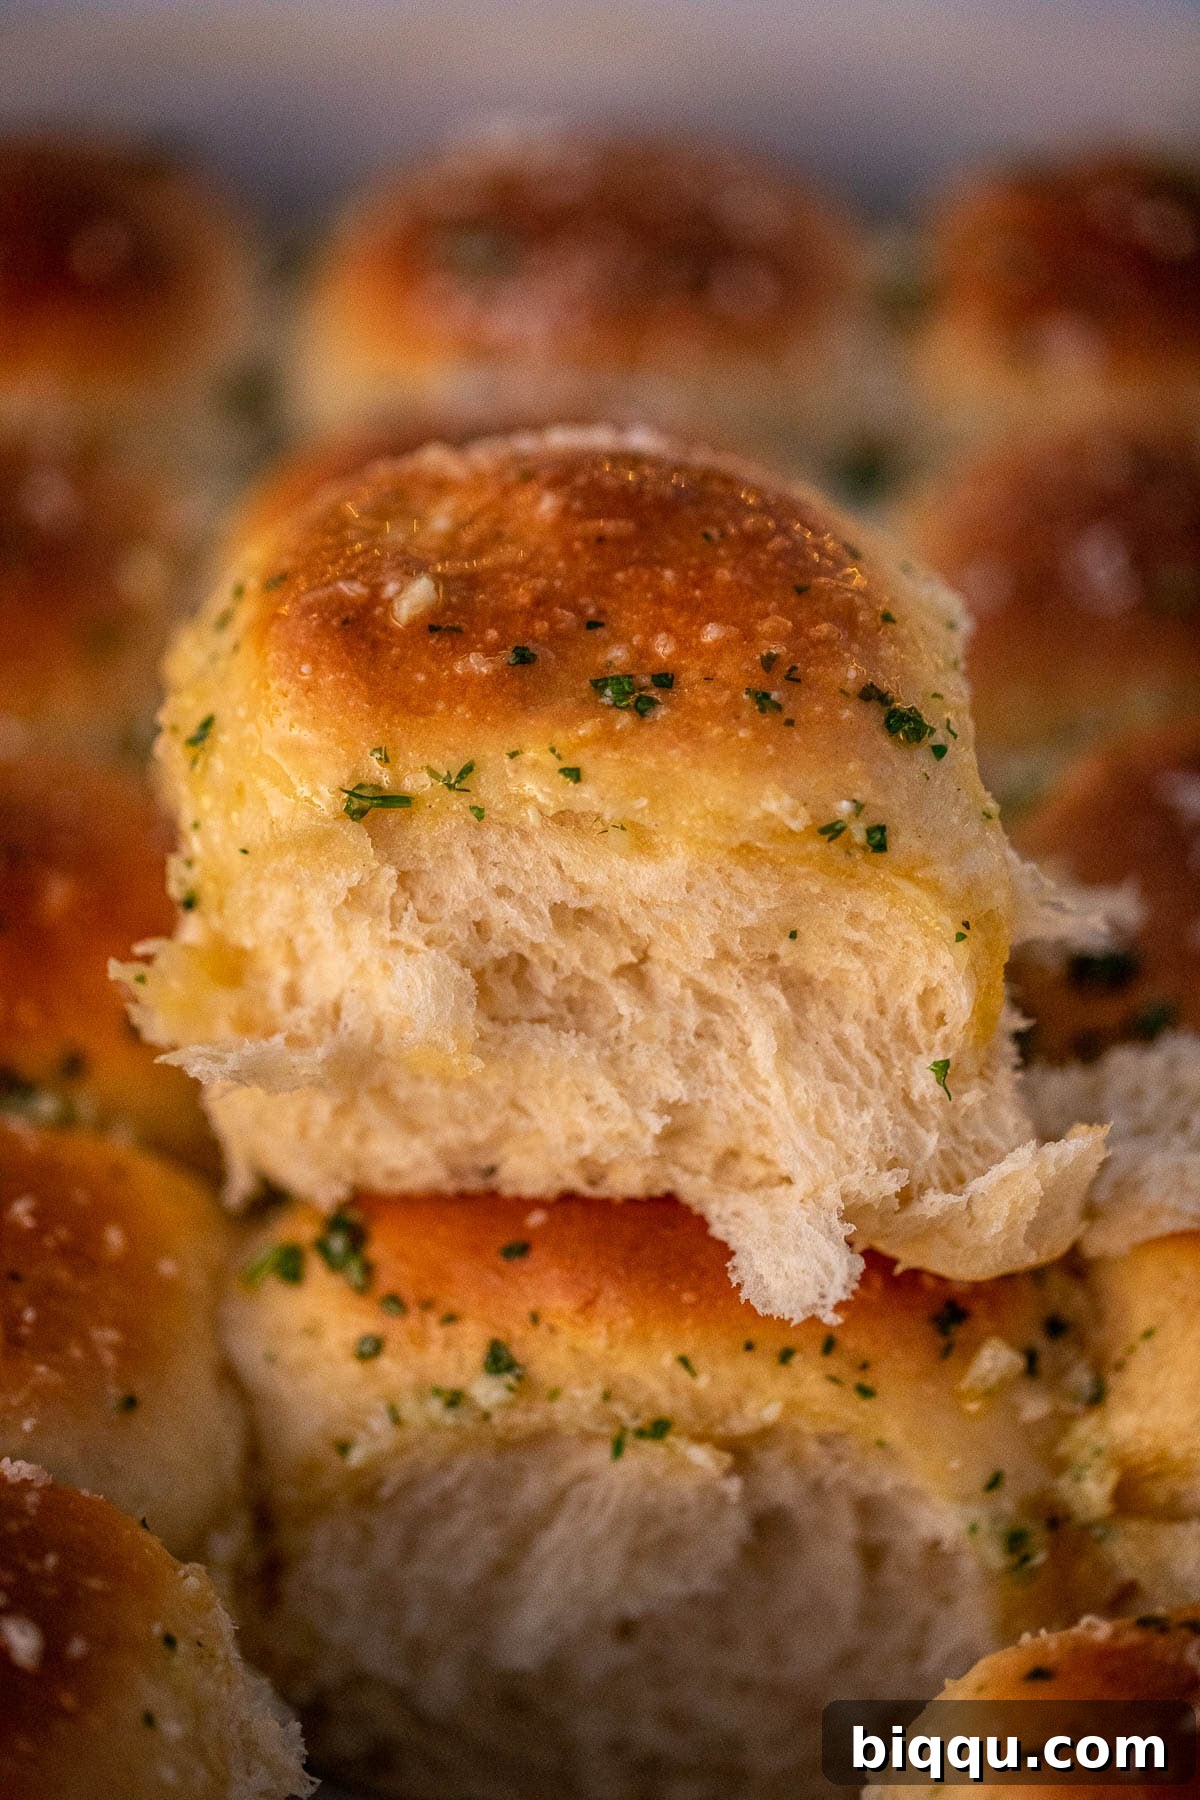
This recipe is an adaptation of my tried-and-true easy dinner rolls, but I’ve elevated it to new heights. The secret lies in incorporating additional butter directly into the dough, which transforms the bread into something exquisitely soft, mimicking the luxurious texture of brioche. This extra richness makes every bite a melt-in-your-mouth experience.
But the magic doesn’t stop there. After baking, a generous brushing of a simple yet potent garlic butter and fresh parsley mixture imbues the rolls with an incredible depth of flavor. This final touch is what truly takes these dinner rolls to the next level of deliciousness, making them unforgettable. They’re not just rolls; they’re a celebration of flavor and texture, guaranteed to be a highlight on any table.
Essential Ingredients for Garlic Butter Rolls
Crafting the perfect garlic butter rolls starts with selecting the right ingredients. Here’s a detailed look at what you’ll need for both the tender dinner rolls and the flavorful garlic butter topping.
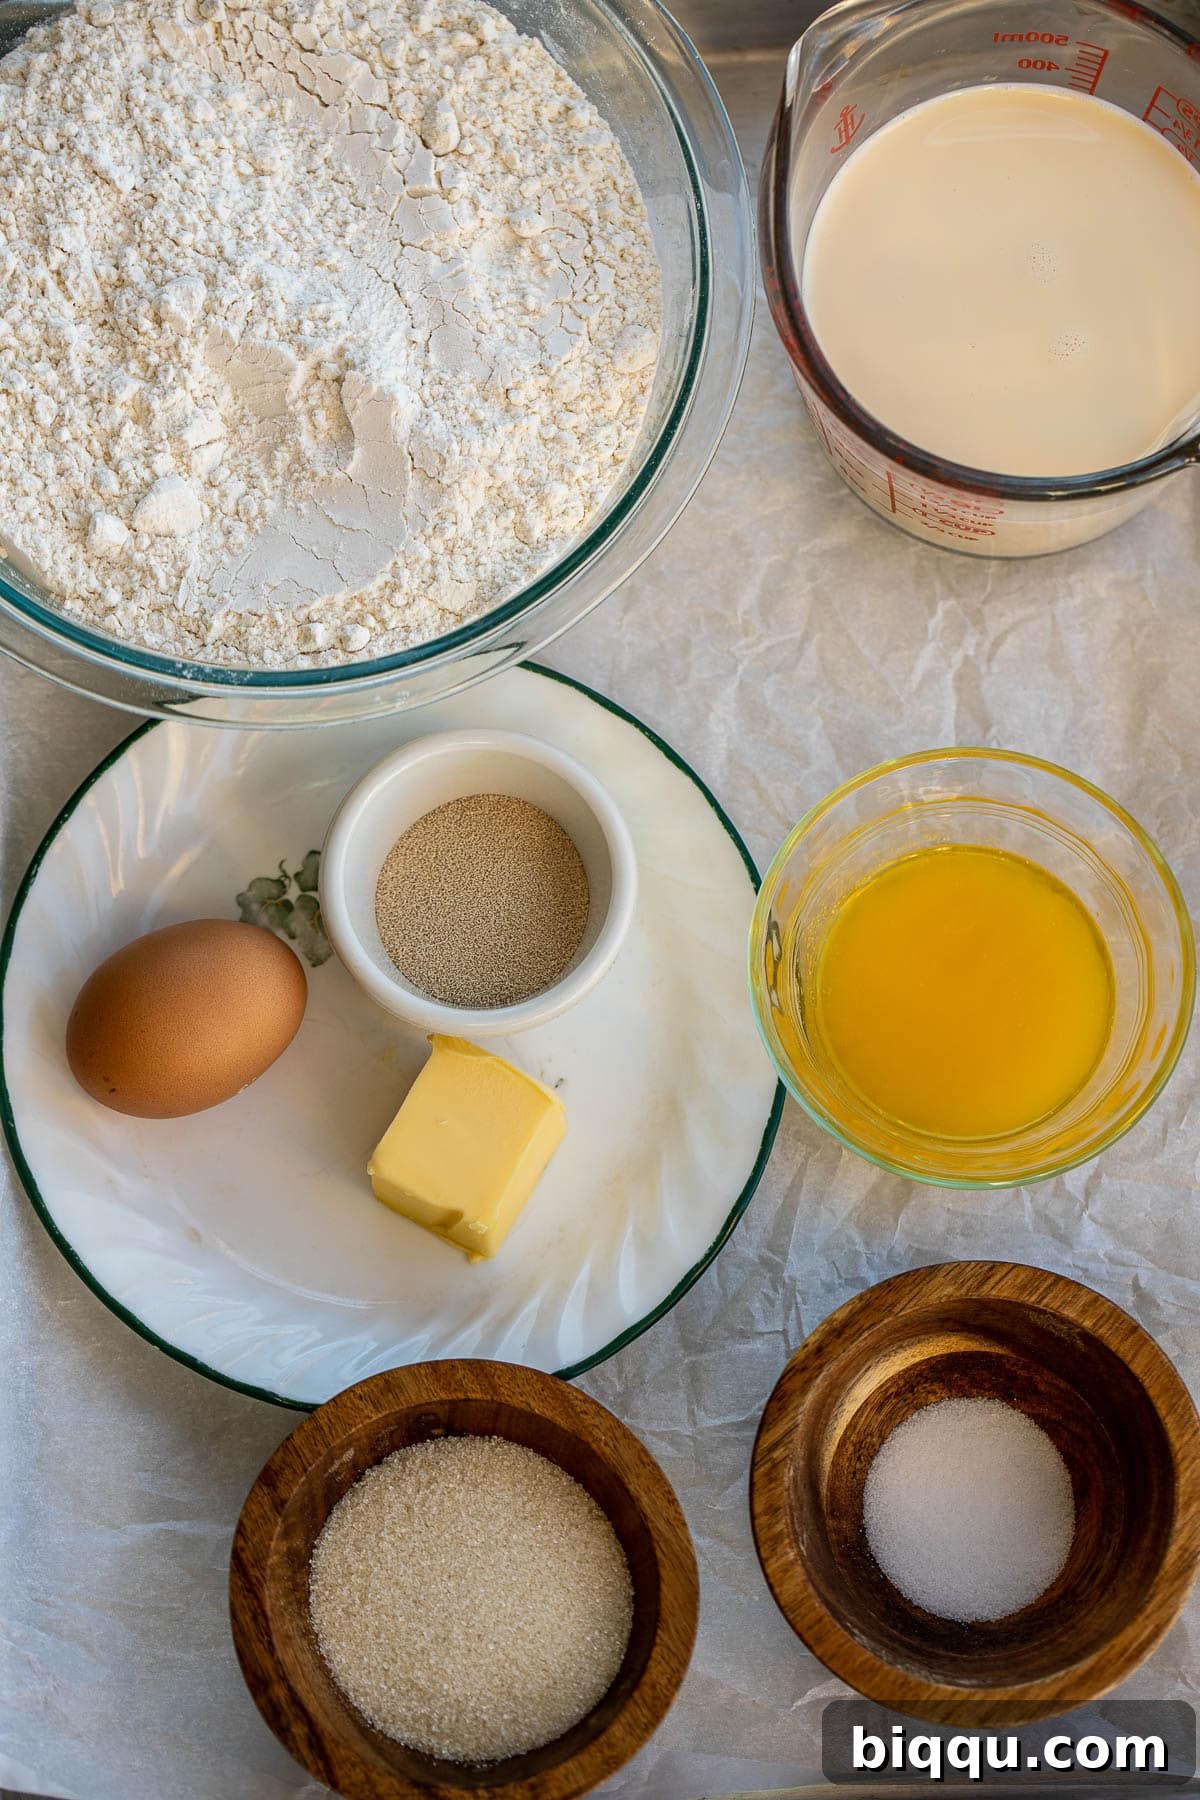
For the Soft Dinner Rolls, You’ll Need:
- Flour: You can use either all-purpose flour or bread flour. Bread flour, with its higher protein content, will give your rolls a slightly chewier, more structured crumb, while all-purpose flour yields a wonderfully tender result. Both work beautifully.
- Salt: Essential for balancing the flavors and enhancing the taste of the bread. Don’t skip it!
- Sugar: Not just for sweetness, sugar feeds the yeast, helping it activate and ensuring a good rise. It also contributes to the beautiful golden-brown crust.
- Instant Yeast or Rapid-Rise Yeast: These types of yeast are incredibly convenient as they don’t require proofing beforehand. They significantly quicken the bread-making process, allowing for just one rise, making this recipe perfect for busy schedules.
- Butter: Quality matters here! Using good quality unsalted butter, like Kerrygold, will make a noticeable difference in the richness and flavor of your rolls. We use both melted butter for the dough and softened butter added gradually for that brioche-like texture.
- Egg: A large egg, at room temperature, adds richness, tenderizes the crumb, and gives the rolls a lovely golden hue.
- Evaporated Milk: I particularly love evaporated milk for its concentrated flavor and richness, which contributes to an incredibly tender and moist crumb. However, if you don’t have it, regular whole milk or even 2% milk can be substituted, though the flavor profile might be slightly different.
For the Flavorful Garlic Butter to Brush Over Dinner Rolls:
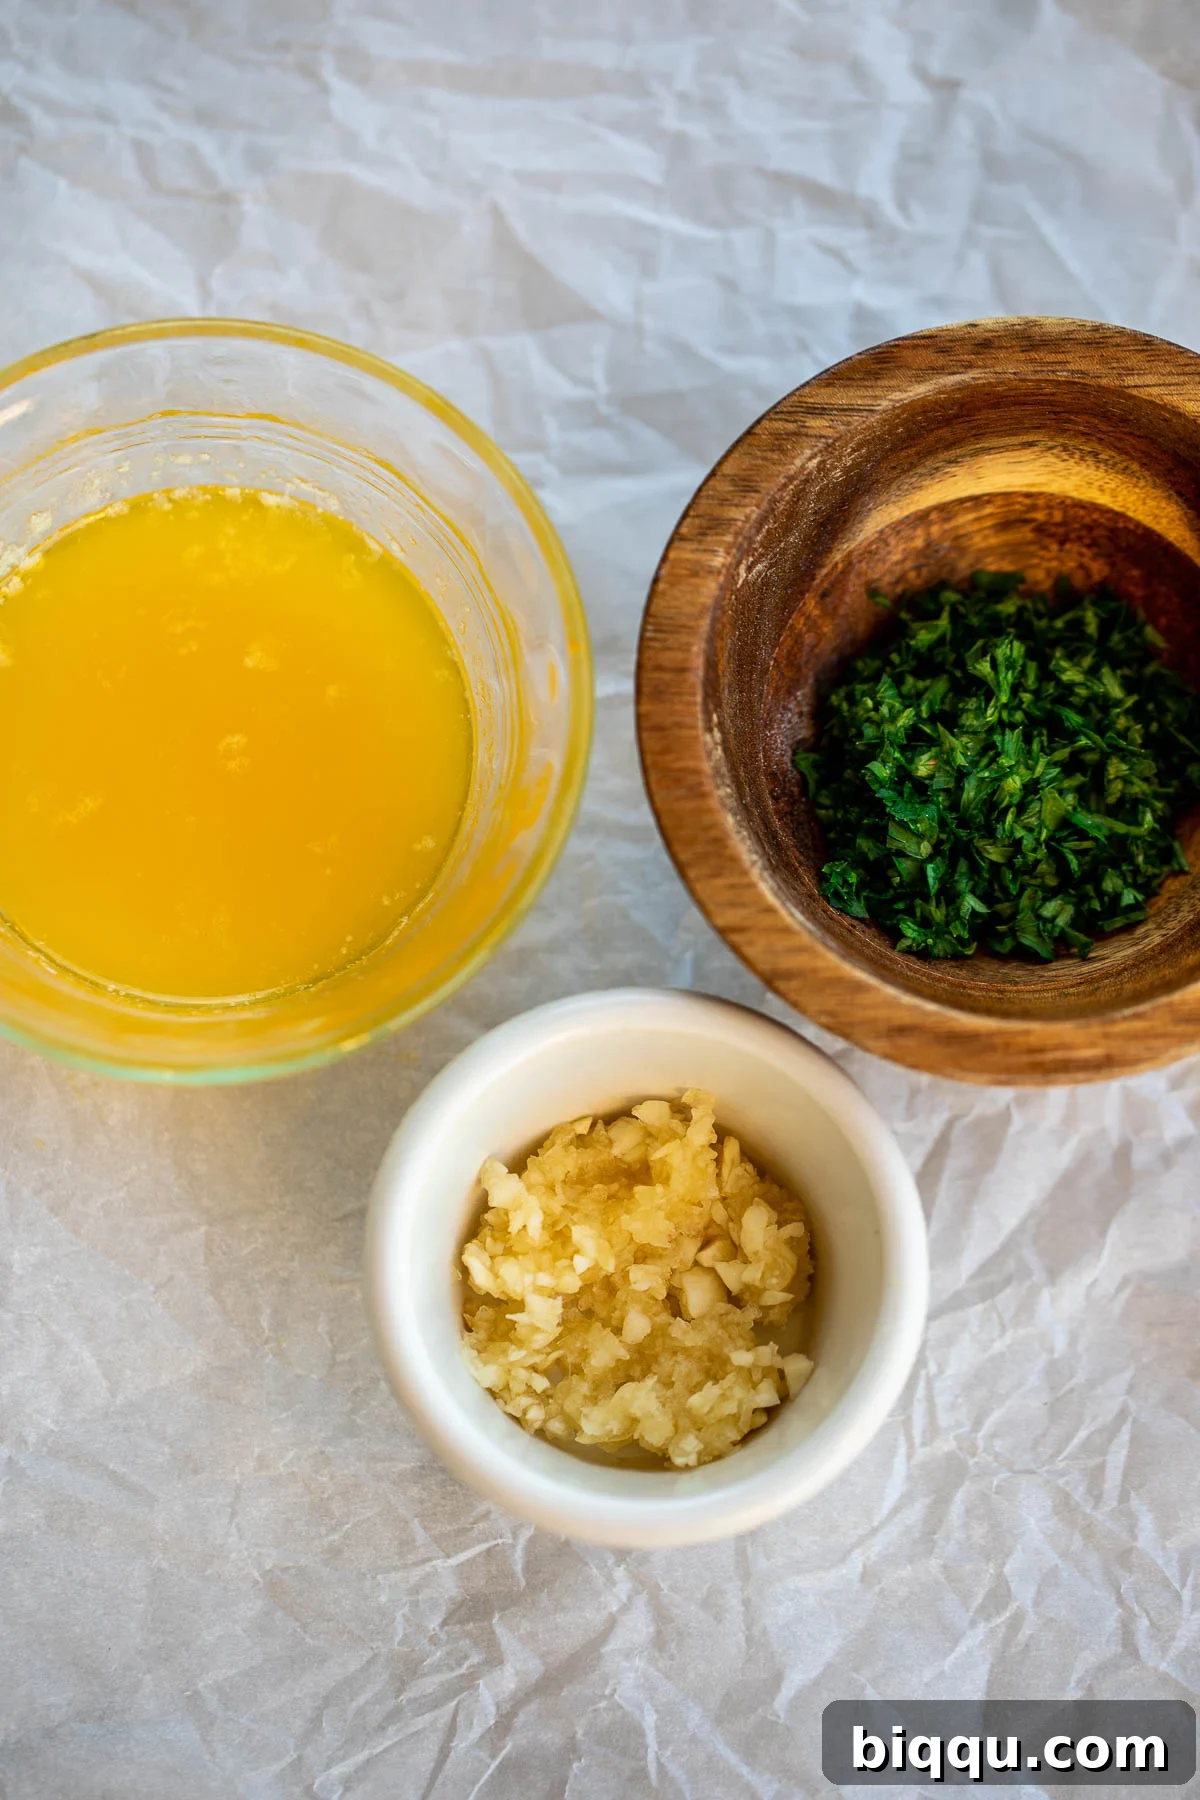
- Minced Garlic: Freshly minced garlic is key for that vibrant, aromatic flavor. The more fresh, the better!
- Melted Butter: Unsalted butter, melted, serves as the perfect vehicle for the garlic and herbs, ensuring an even coating and a rich finish.
- Minced Parsley: Freshly minced parsley adds a bright, herbaceous note and a pop of color. If fresh isn’t available, you can substitute with dried parsley, using a slightly smaller amount (e.g., 2 teaspoons dried for 1 tablespoon fresh).
For precise quantities, please refer to the detailed recipe card at the end of this article.
Step-by-Step Guide: How To Make Garlic Butter Rolls
Making these glorious Garlic Butter Rolls is simpler than you might think. Follow these clear, easy steps to achieve perfect, fluffy rolls every time!
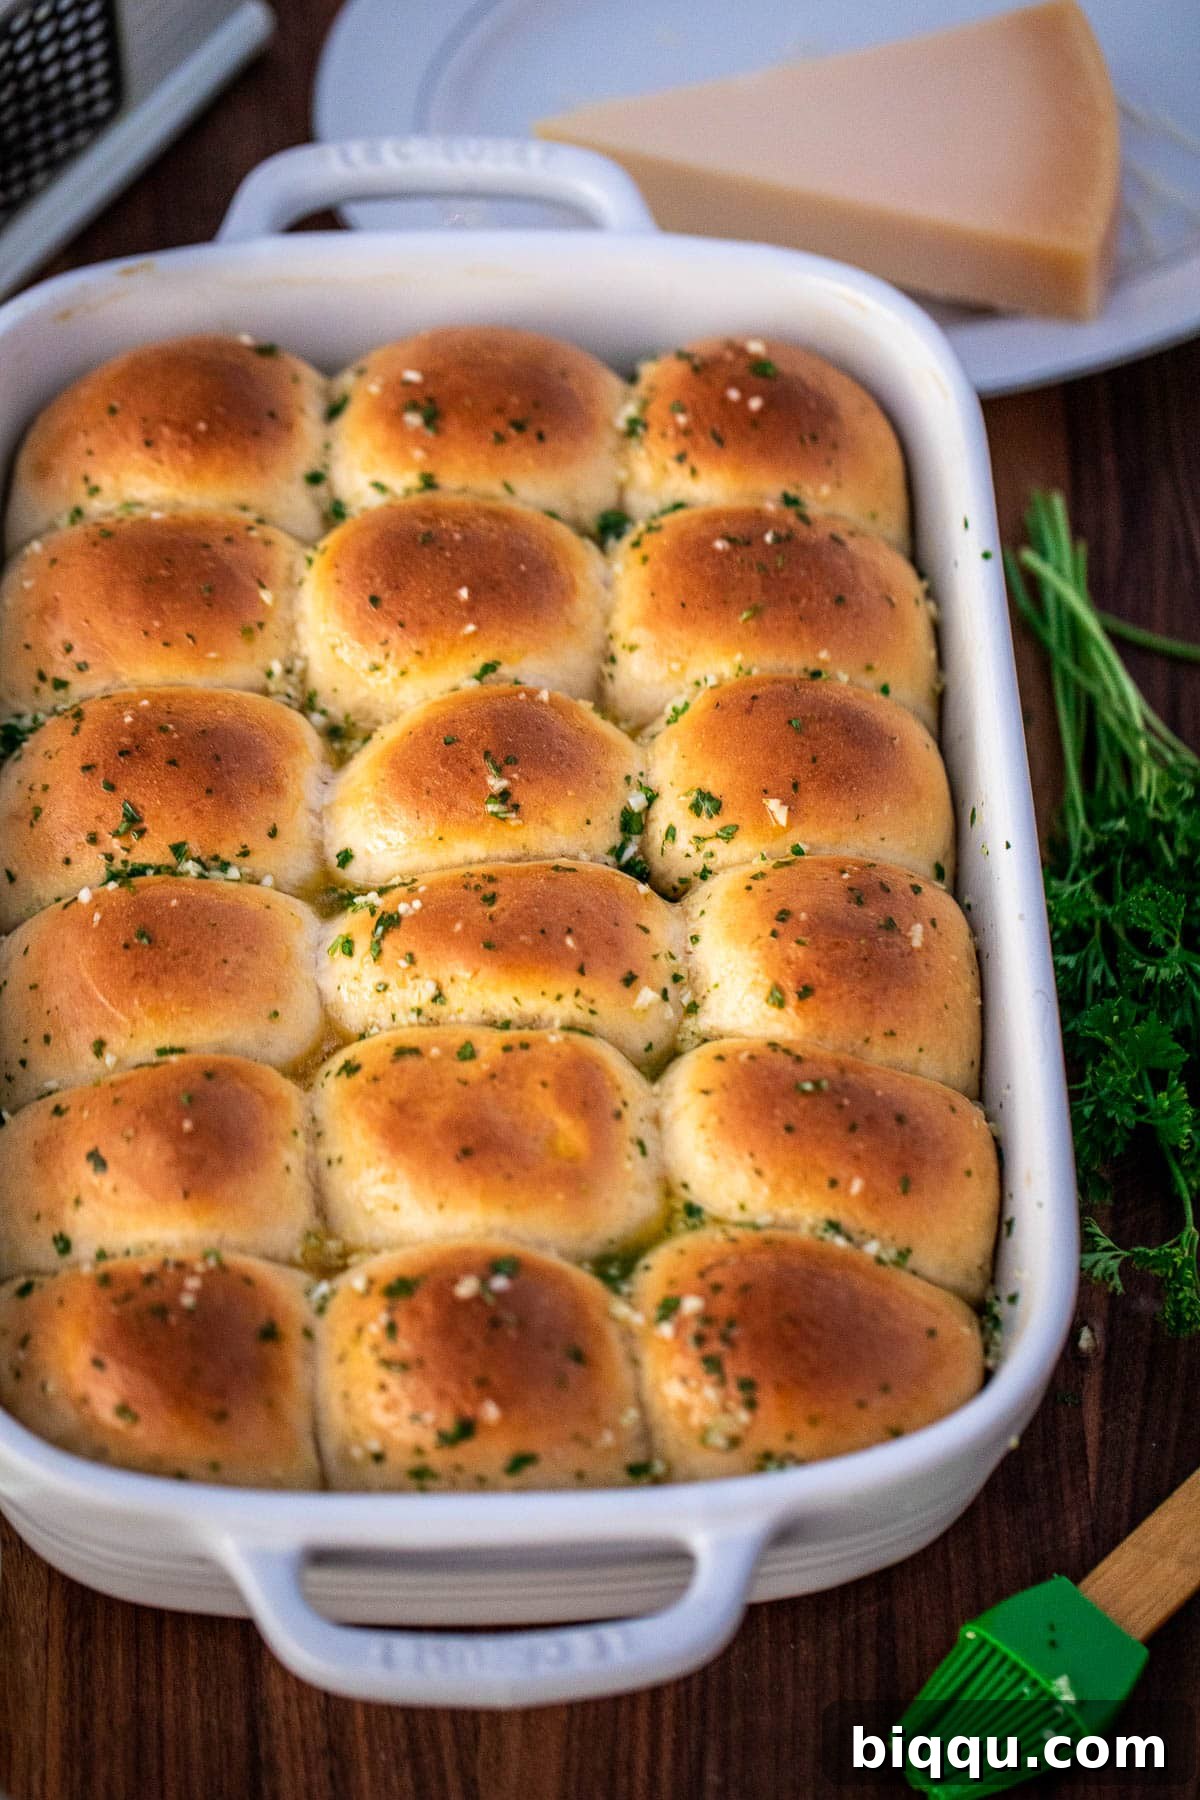
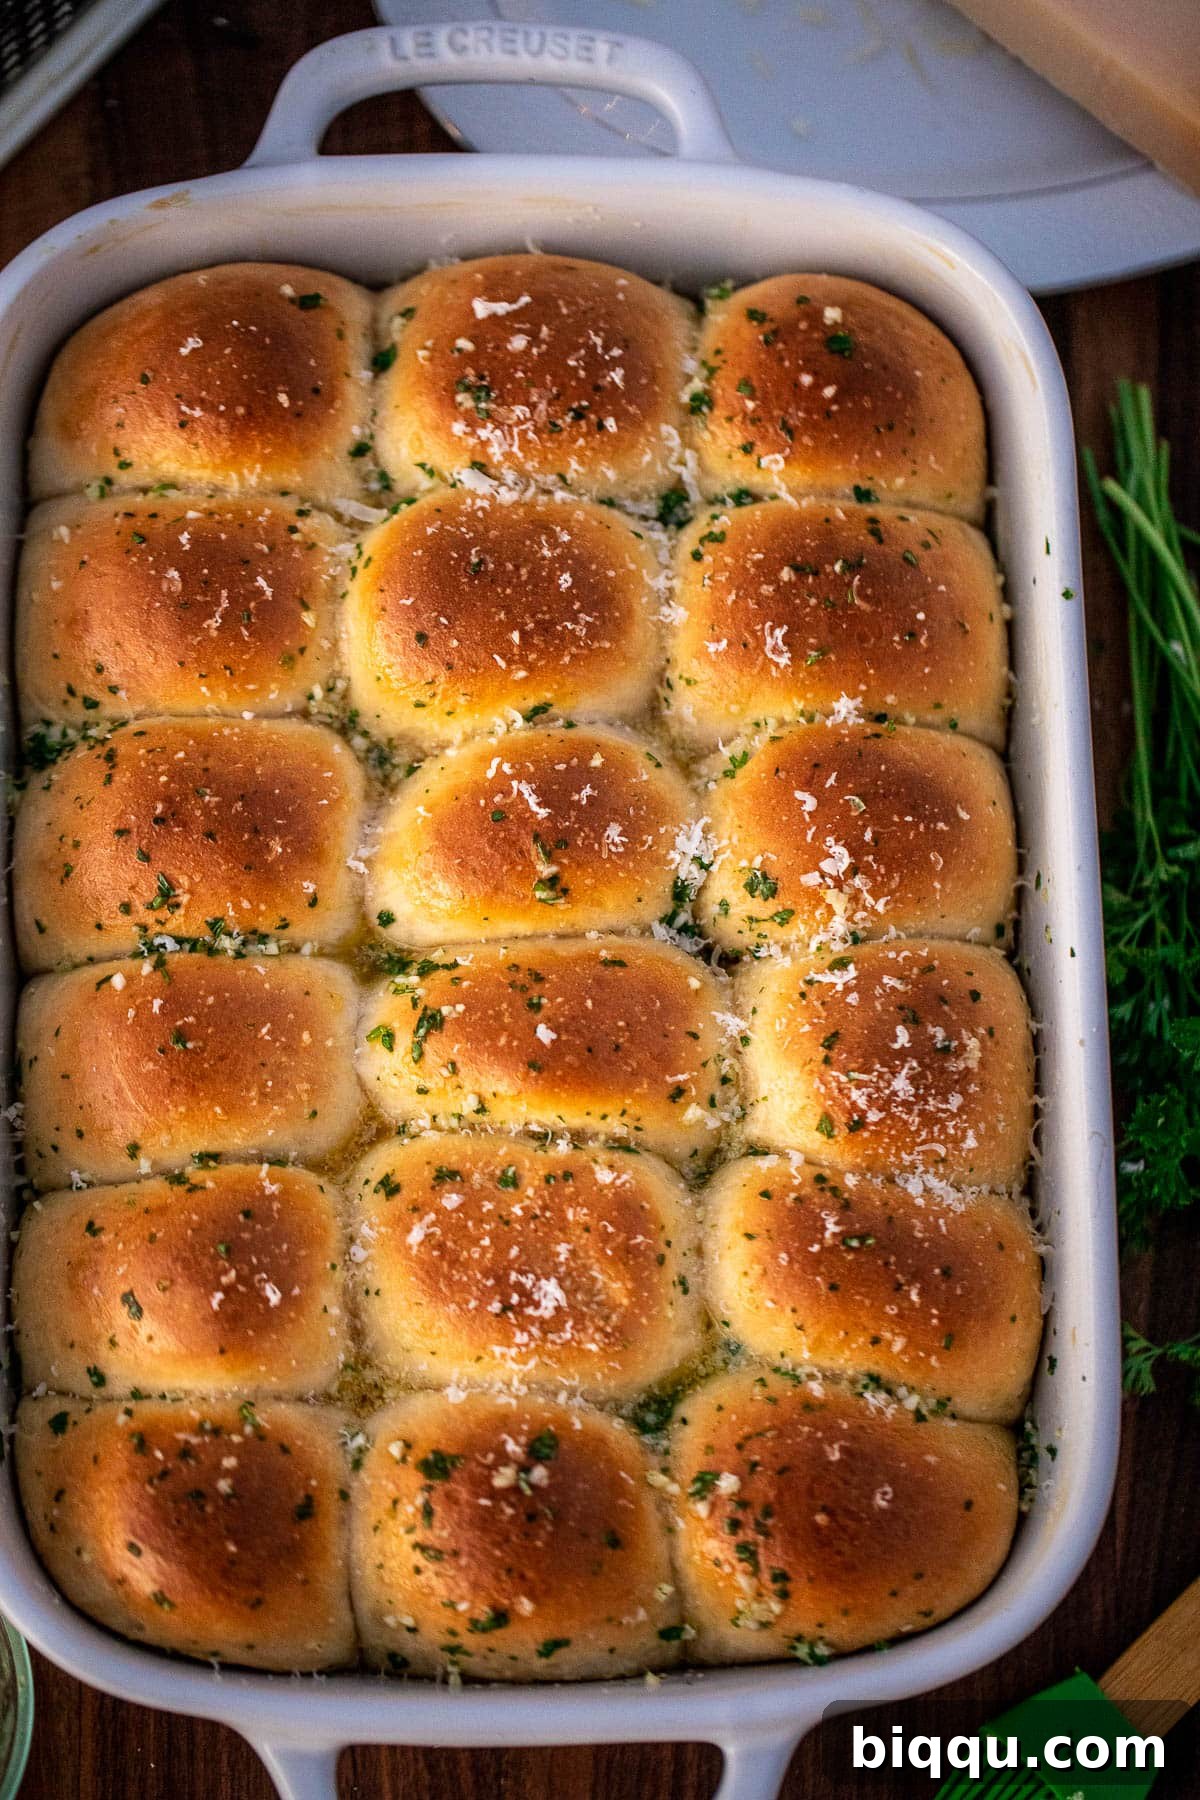
Expert Tip: For an extra layer of savory flavor and a hint of saltiness, consider grating fresh Parmesan cheese over your rolls immediately after brushing them with the garlic butter. I’ve made these rolls both with and without Parmesan, and both versions are absolutely delicious! It’s simply a matter of personal preference, but the cheese adds a delightful gourmet touch.
These rolls are also phenomenal when served with a hearty dish like this insanely good Beef Stew Without Wine.
Creative Variations for Your Rolls
While these garlic butter rolls are perfect as is, you can easily customize them to suit your taste or complement different meals. Here are some delightful variations to try:
- Different Herbs: Expand on the classic parsley by adding other fresh, finely minced herbs to your garlic butter. Rosemary and thyme are excellent choices, offering earthy and fragrant notes that are particularly lovely during the holiday season. A blend of Italian herbs would also be fantastic.
- Add More Cheese: Beyond a simple sprinkle, you can fold grated cheese directly into the dough for a cheesy interior, or mix it into the garlic butter before brushing. Nutty and salty cheeses like Parmesan or Asiago cheese are ideal, but a sharp cheddar or provolone could also be a delicious addition.
- Bread Flour for Texture: As mentioned, using bread flour instead of all-purpose flour will impart a more significant structure and elasticity to your bread due to its higher protein content. This results in a slightly chewier, more substantial roll. While all-purpose flour works perfectly for a tender roll, bread flour offers a different, equally satisfying texture.
- Spicy Kick: For those who love a bit of heat, consider adding a pinch of red pepper flakes to your garlic butter mixture. Start with a small amount and adjust to your preference.
- Sweet & Savory Glaze: Instead of just garlic butter, try a honey garlic butter. Mix a teaspoon of honey into the melted garlic butter for a subtle sweet counterpoint to the savory garlic.
- Everything Bagel Seasoning: For a trendy and flavorful topping, sprinkle a generous amount of everything bagel seasoning over the rolls after brushing with garlic butter. It adds fantastic texture and a medley of savory flavors.
If you’re looking for a quicker bread option, remember to check out my easy dinner rolls which are ready in one hour!
Recommended Equipment for Baking
Having the right tools can make the process of baking these delicious Garlic Butter Rolls even more enjoyable and efficient. Here are a few pieces of equipment that I find incredibly helpful:
- Stand Mixer: While you can absolutely knead the dough by hand, a stand mixer with a dough hook attachment makes the process remarkably easy and hands-free. It ensures thorough mixing and kneading, resulting in a perfectly developed, elastic dough. An inexpensive kitchen mixer can still get the job done wonderfully.
- 9×13 Inch Baking Dish or a Cookie Sheet: A standard 9×13 inch baking dish is ideal for baking 18 rolls snugly together, which helps them rise evenly and stay moist. Alternatively, a large cookie sheet or half sheet pan lined with parchment paper also works well if you prefer rolls with slightly crisper edges.
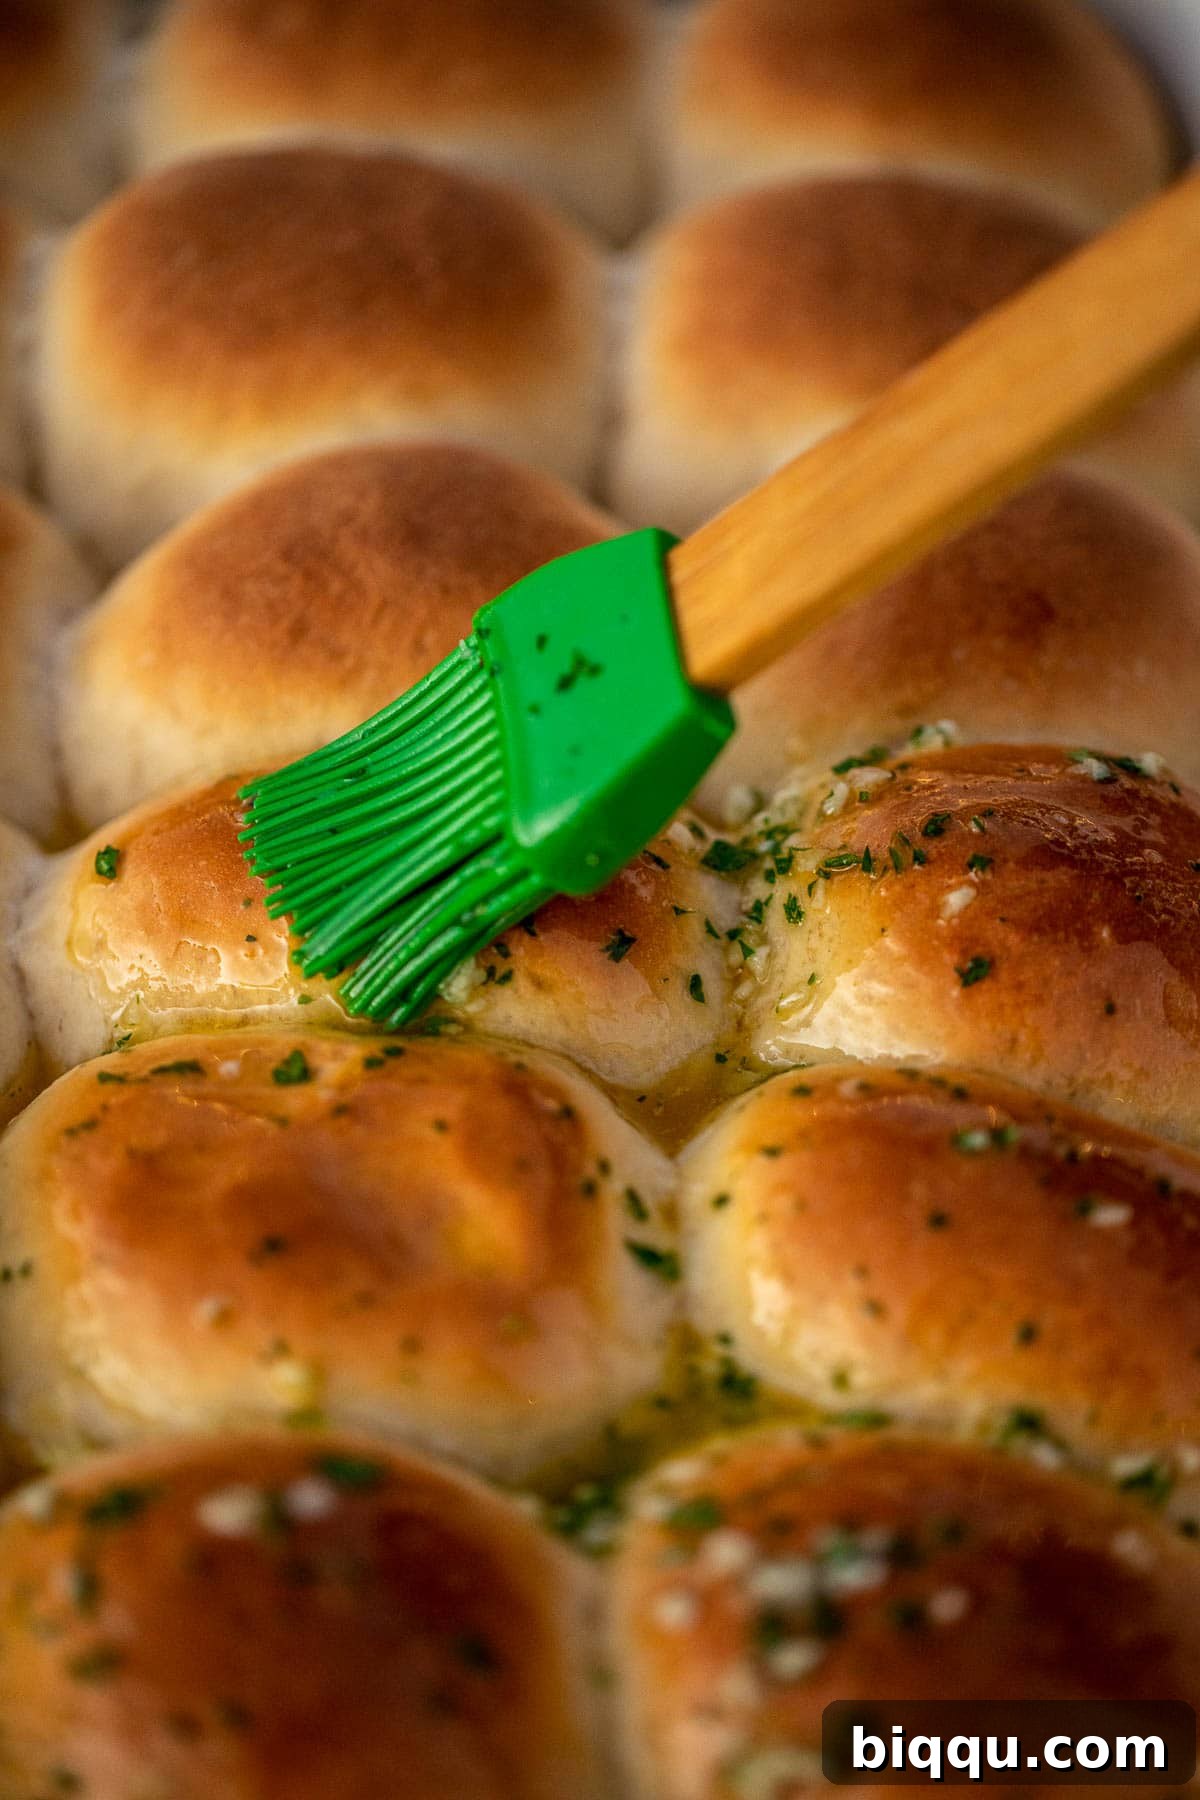
- Basting Brush: A good quality basting brush is essential for evenly coating your hot rolls with the melted garlic butter. It ensures every part of the roll gets infused with that wonderful garlicky flavor. Silicone brushes are easy to clean and heat-resistant.
- Kitchen Scale (Optional but Recommended): For perfectly uniform rolls, a kitchen scale allows you to divide the dough into equally weighted pieces. This ensures consistent baking times and a professional presentation.
- Instant-Read Thermometer (Optional): While not strictly necessary, an instant-read thermometer can help you verify the temperature of your milk for yeast activation and confirm when your rolls are fully baked (internal temperature should be around 200-210°F or 93-99°C).
Make Ahead Tips for Convenience
These Garlic Butter Rolls are fantastic for meal prepping or preparing ahead of a big gathering. Here’s how you can make them in advance:
To prepare these rolls ahead of time, simply follow the recipe instructions up to the point of shaping the rolls. After shaping the dough into individual balls and placing them in your greased baking dish, cover the dish tightly with plastic wrap. Instead of letting them rise at room temperature, transfer the covered dish to the refrigerator.
The cold temperature of the fridge will significantly slow down the yeast activity, allowing the rolls to undergo a slow, overnight rise. The next morning, or whenever you’re ready to bake, remove the dish from the fridge and let it sit at room temperature for about 30-60 minutes while your oven preheats. This allows the dough to warm up slightly, reactivating the yeast for a better final rise in the oven.
Keep in mind that cold dough may take a bit longer to bake through compared to dough that has risen at room temperature. Always check for a golden-brown exterior and ensure they are cooked through. This make-ahead method is a fantastic way to enjoy freshly baked rolls without the morning rush!
Serving Suggestions
These versatile Garlic Butter Rolls are perfect for almost any meal. Here are some serving ideas to inspire you:
- Holiday Feasts: They are an indispensable addition to any holiday spread, pairing beautifully with roasted turkey, ham, or prime rib.
- Soups and Stews: Their fluffy texture and savory flavor make them an ideal accompaniment for hearty beef stew, creamy tomato soup, or a robust chili.
- Pasta Dishes: Use them to soak up delicious sauces from lasagna, spaghetti, or a rich Alfredo pasta. They’re a step up from traditional garlic bread!
- BBQ and Grilled Meals: Serve alongside grilled chicken, steaks, or ribs. The buttery rolls provide a comforting contrast to smoky, savory meats.
- Breakfast or Brunch: While savory, they can be enjoyed with scrambled eggs and bacon, or even alongside a fresh fruit salad for a unique brunch experience.
- Just as a Snack: Sometimes, a warm garlic butter roll right out of the oven is a perfect snack on its own, perhaps with a little extra butter or a sprinkle of flaky sea salt.
Storage and Reheating Tips
To keep your Garlic Butter Rolls fresh and delicious, follow these storage and reheating recommendations:
- Room Temperature: Once cooled, store leftover rolls in an airtight container or a resealable plastic bag at room temperature for up to 2-3 days. This helps maintain their softness.
- Refrigeration: While not strictly necessary, if you want to extend their freshness for an extra day or two, you can refrigerate them. However, refrigeration can sometimes make bread dry out faster, so bring them to room temperature before reheating.
- Freezing Baked Rolls: For longer storage, baked and cooled rolls can be frozen for up to 2-3 months. Wrap them tightly in plastic wrap, then place them in a freezer-safe bag or container. Thaw at room temperature before reheating.
- Freezing Dough: You can also freeze the unbaked dough after the first rise. Form the balls, arrange them on a baking sheet, and freeze until solid. Then transfer to a freezer bag. When ready to bake, place frozen dough balls in a greased baking dish, cover, and let them thaw and rise at room temperature until doubled in size (this can take 4-6 hours), then bake as usual.
- Reheating:
- Oven: The best way to reheat is in a preheated oven at 300°F (150°C) for 5-10 minutes, or until warmed through and soft again. You can lightly tent them with foil to prevent over-browning.
- Microwave: For a quick reheat, microwave individual rolls for 10-20 seconds. Be careful not to overheat, as they can become chewy.
Frequently Asked Questions
Here are answers to some common questions about making these irresistible garlic butter rolls:
- Can I use active dry yeast instead of instant yeast? Yes, you can. If using active dry yeast, you’ll need to “proof” it first. Dissolve the yeast and a pinch of sugar in the warm milk (make sure the milk is between 105-115°F / 40-46°C) and let it sit for 5-10 minutes until foamy. Then proceed with the recipe, adding the foamy yeast mixture to the dry ingredients.
- What if my dough isn’t rising? Several factors can cause this. Ensure your yeast is fresh (check the expiration date). The milk temperature is crucial: too hot will kill the yeast, too cold won’t activate it. Also, make sure your rising spot is warm and draft-free.
- Can I knead the dough by hand? Absolutely! While a stand mixer is convenient, hand-kneading works just as well. Knead the dough on a lightly floured surface for about 8-10 minutes until it’s smooth, elastic, and passes the “windowpane test” (you can stretch a small piece thin enough to see light through it without tearing).
- How do I know when the rolls are fully baked? The rolls should be golden brown on top. For a precise check, an instant-read thermometer inserted into the center of a roll should register between 200-210°F (93-99°C).
- Can I make these rolls dairy-free? You could attempt to substitute plant-based milk (like almond or soy milk) and dairy-free butter. However, the texture and flavor might vary, as evaporated milk and dairy butter contribute significantly to the richness.
More Holiday Recipes
- Herb Roasted Turkey
- Buttermilk Mashed Potatoes
- Baked Turkey Drumsticks
- Cinnamon Rolls With Cream Cheese Frosting
- Baked Turkey Wings
Garlic Butter Rolls Recipe
Rating: 5 out of 5 stars (based on 1 vote)
These rolls are SO soft and fluffy and brushed in the end with a delicious garlic herb butter. Why have regular dinner rolls when you can have GARLIC BUTTER ROLLS? Insanely delicious and perfect for everyday dinners or the holidays. Plus so easy to make as you only need to let the rolls rise once!
Prep Time: 30 mins
Cook Time: 20 mins
Rise Time: 1 hr
Total Time: 1 hr 50 mins
Servings: 18 rolls
Ingredients
For the Rolls:
- 4 cups all-purpose flour or bread flour
- 1 teaspoon salt
- 3 tablespoons sugar
- 1 tablespoon instant yeast (or 1 0.25 oz sachet)
- 1 ½ cups evaporated milk (from a 12 ounce can)
- 3 tablespoons unsalted butter, melted
- 1 large egg, room temperature
- 2 tablespoons unsalted butter, softened
For the Garlic Butter:
- 3 large cloves garlic, finely minced
- 3 tablespoons unsalted butter, melted
- 1 tablespoon minced parsley (substitute with 2 teaspoons of dried parsley)
- Grated parmesan (optional)
Instructions
- Prepare pan. Grease a 9 by 13 inch baking dish with butter or cover a cookie sheet or half sheet pan with parchment paper.
- Heat milk. Place the milk into the microwave and heat for about 45 seconds until it reaches 110-115°F (43-46°C). Stir the milk after heating to ensure even temperature.
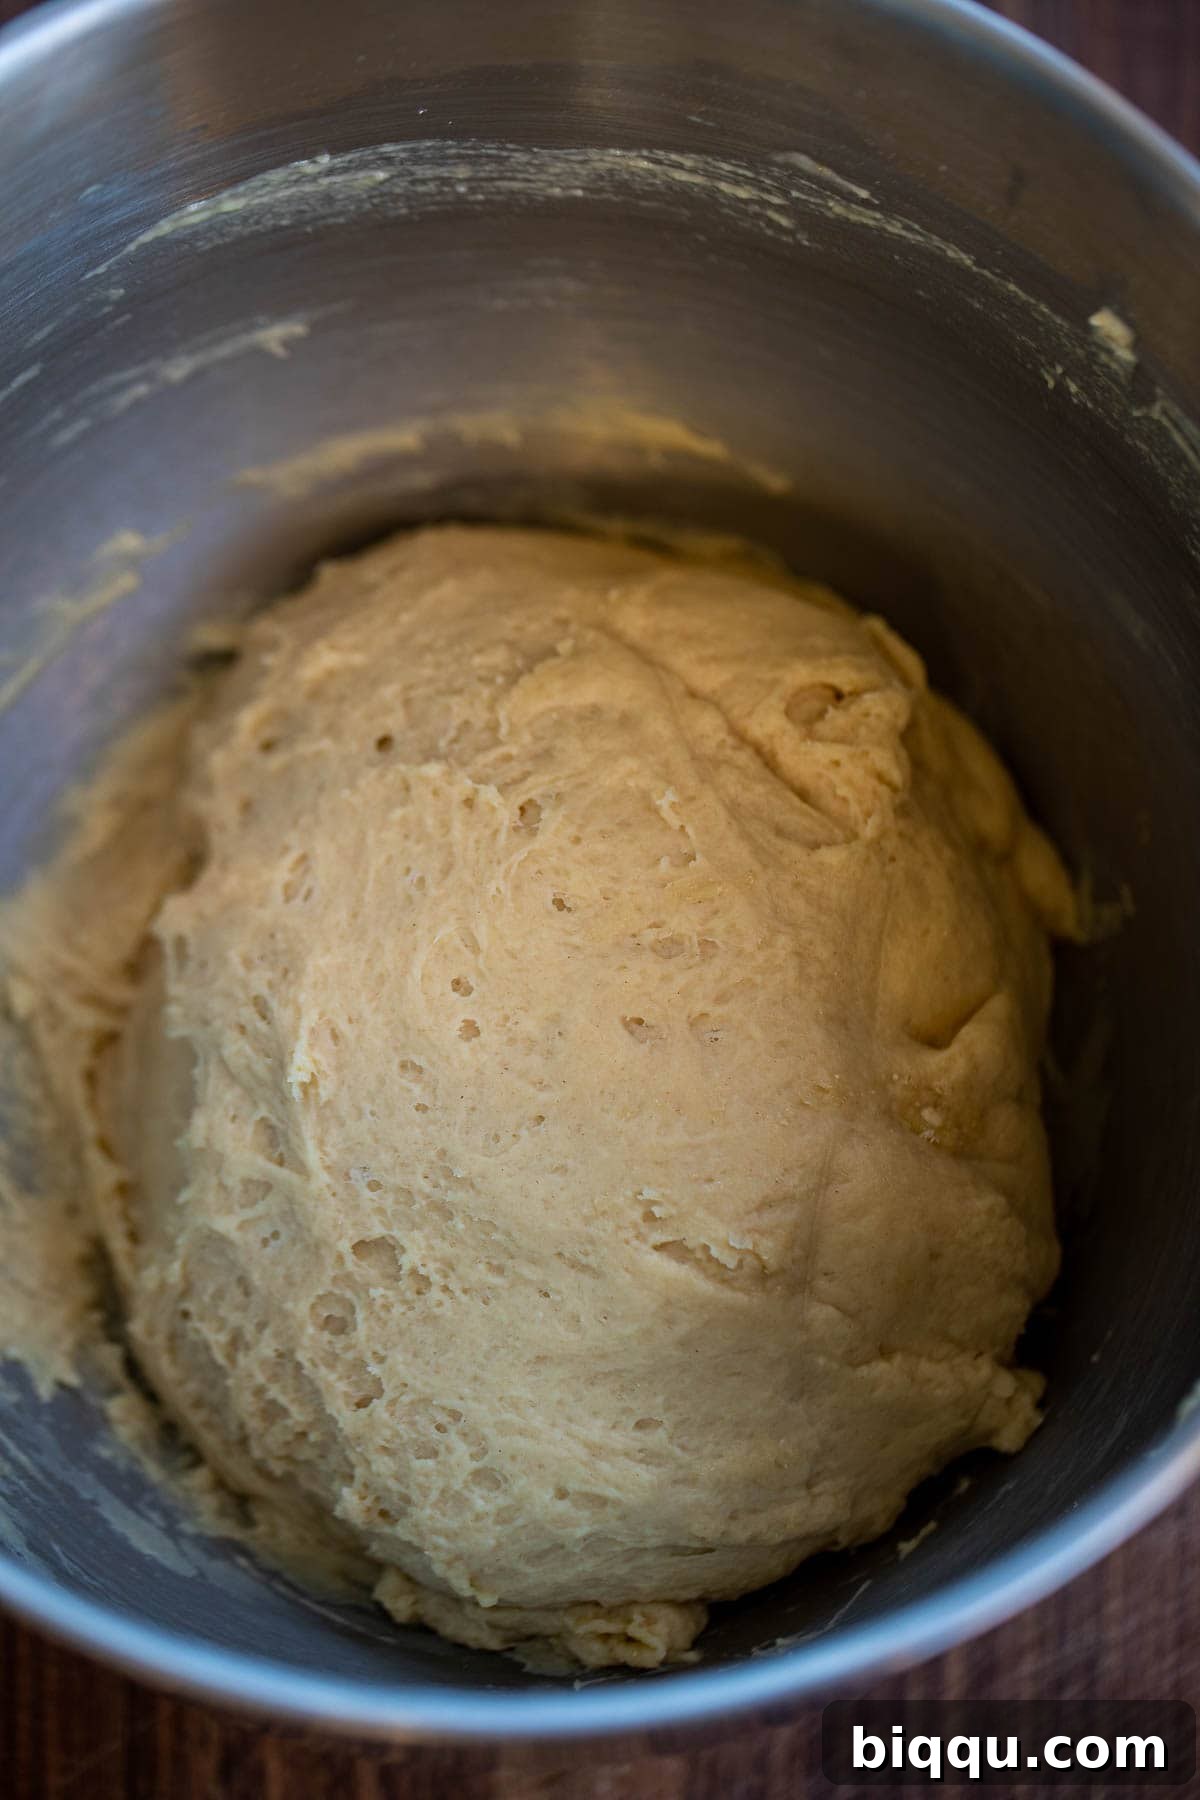
- Make dough. To the bowl of a stand mixer (or a large mixing bowl if kneading by hand), add all ingredients for the rolls except the 2 tablespoons of softened butter. The 3 tablespoons of melted butter should go into the dough at this stage. Using the dough hook attachment on low speed, mix all the ingredients to form a cohesive dough.
- Add extra butter to dough. Gradually add the remaining two tablespoons of softened unsalted butter to the dough, one tablespoon at a time. Ensure each tablespoon is fully incorporated into the dough before adding the next. Continue mixing/kneading until the dough is smooth and elastic (about 5-7 minutes in a stand mixer).
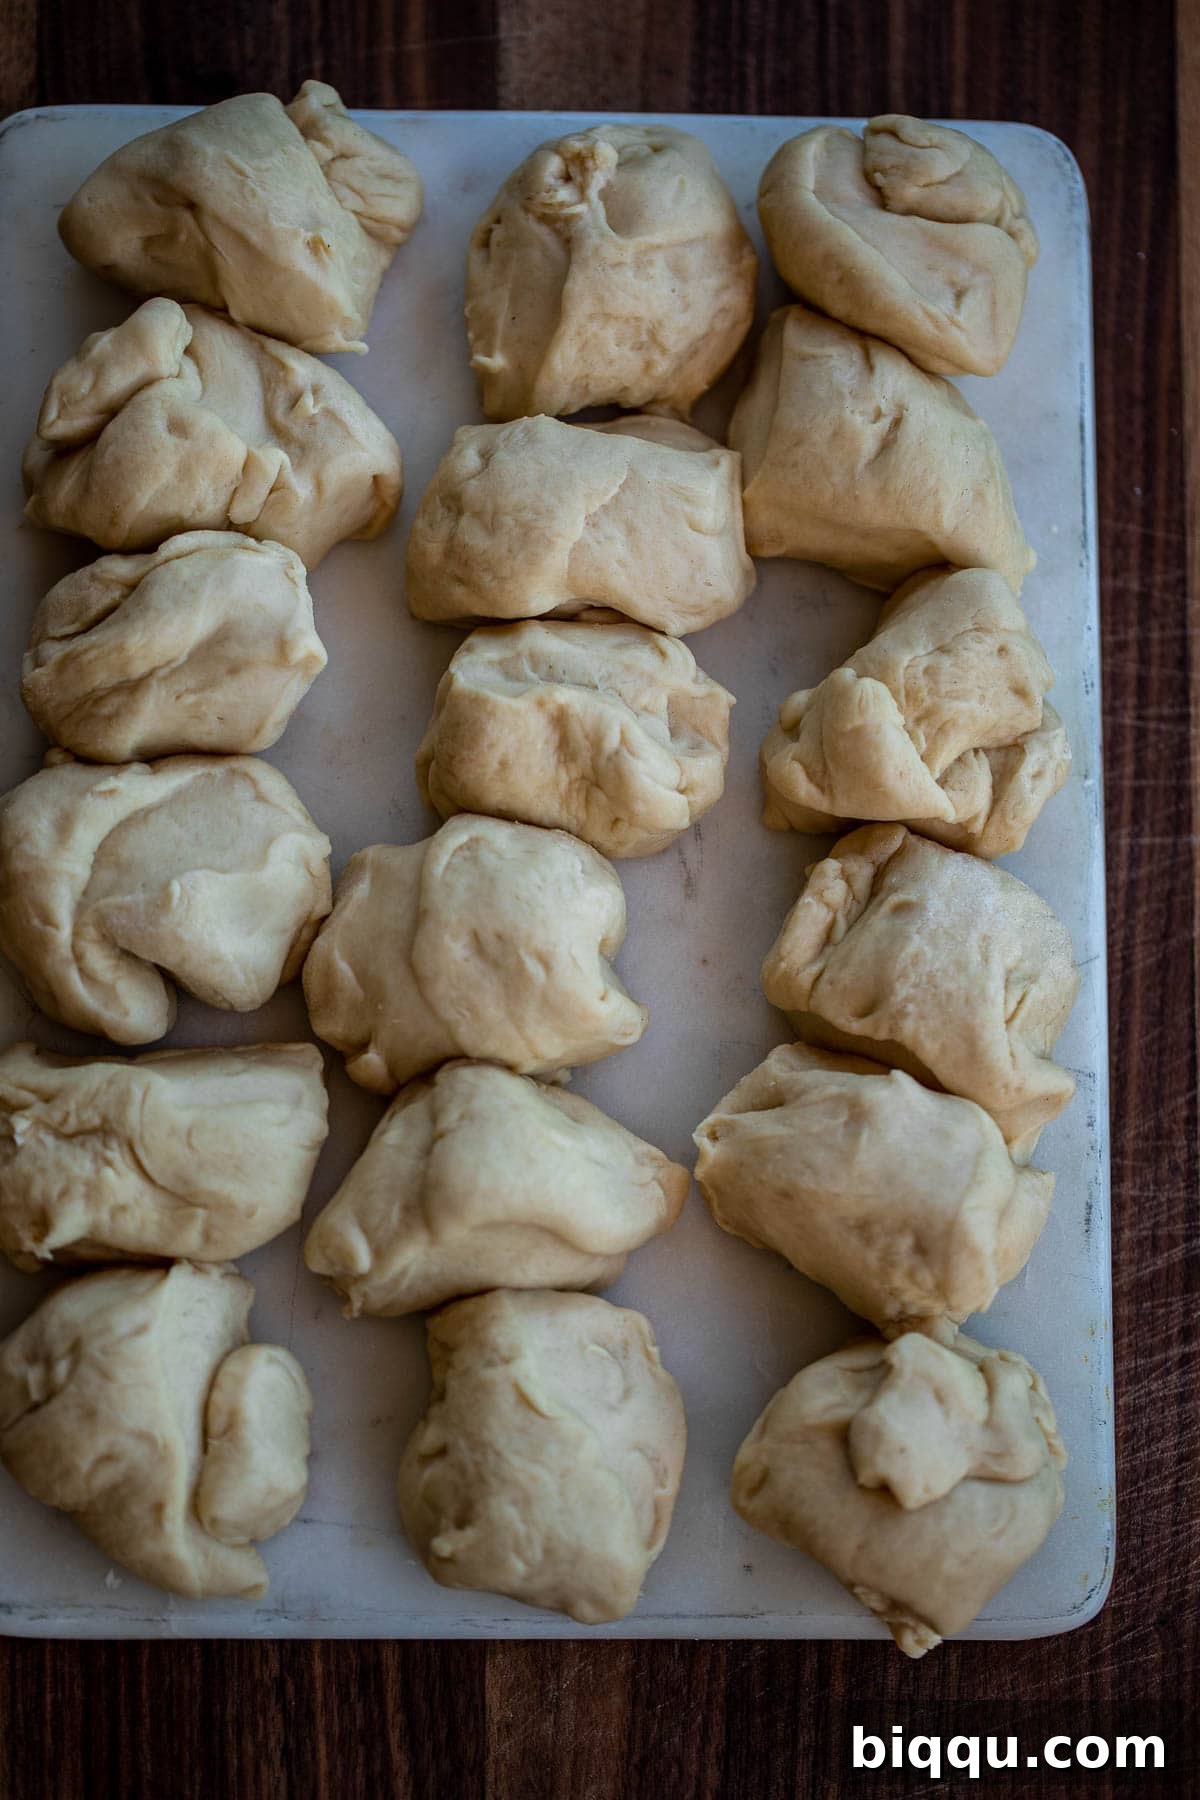
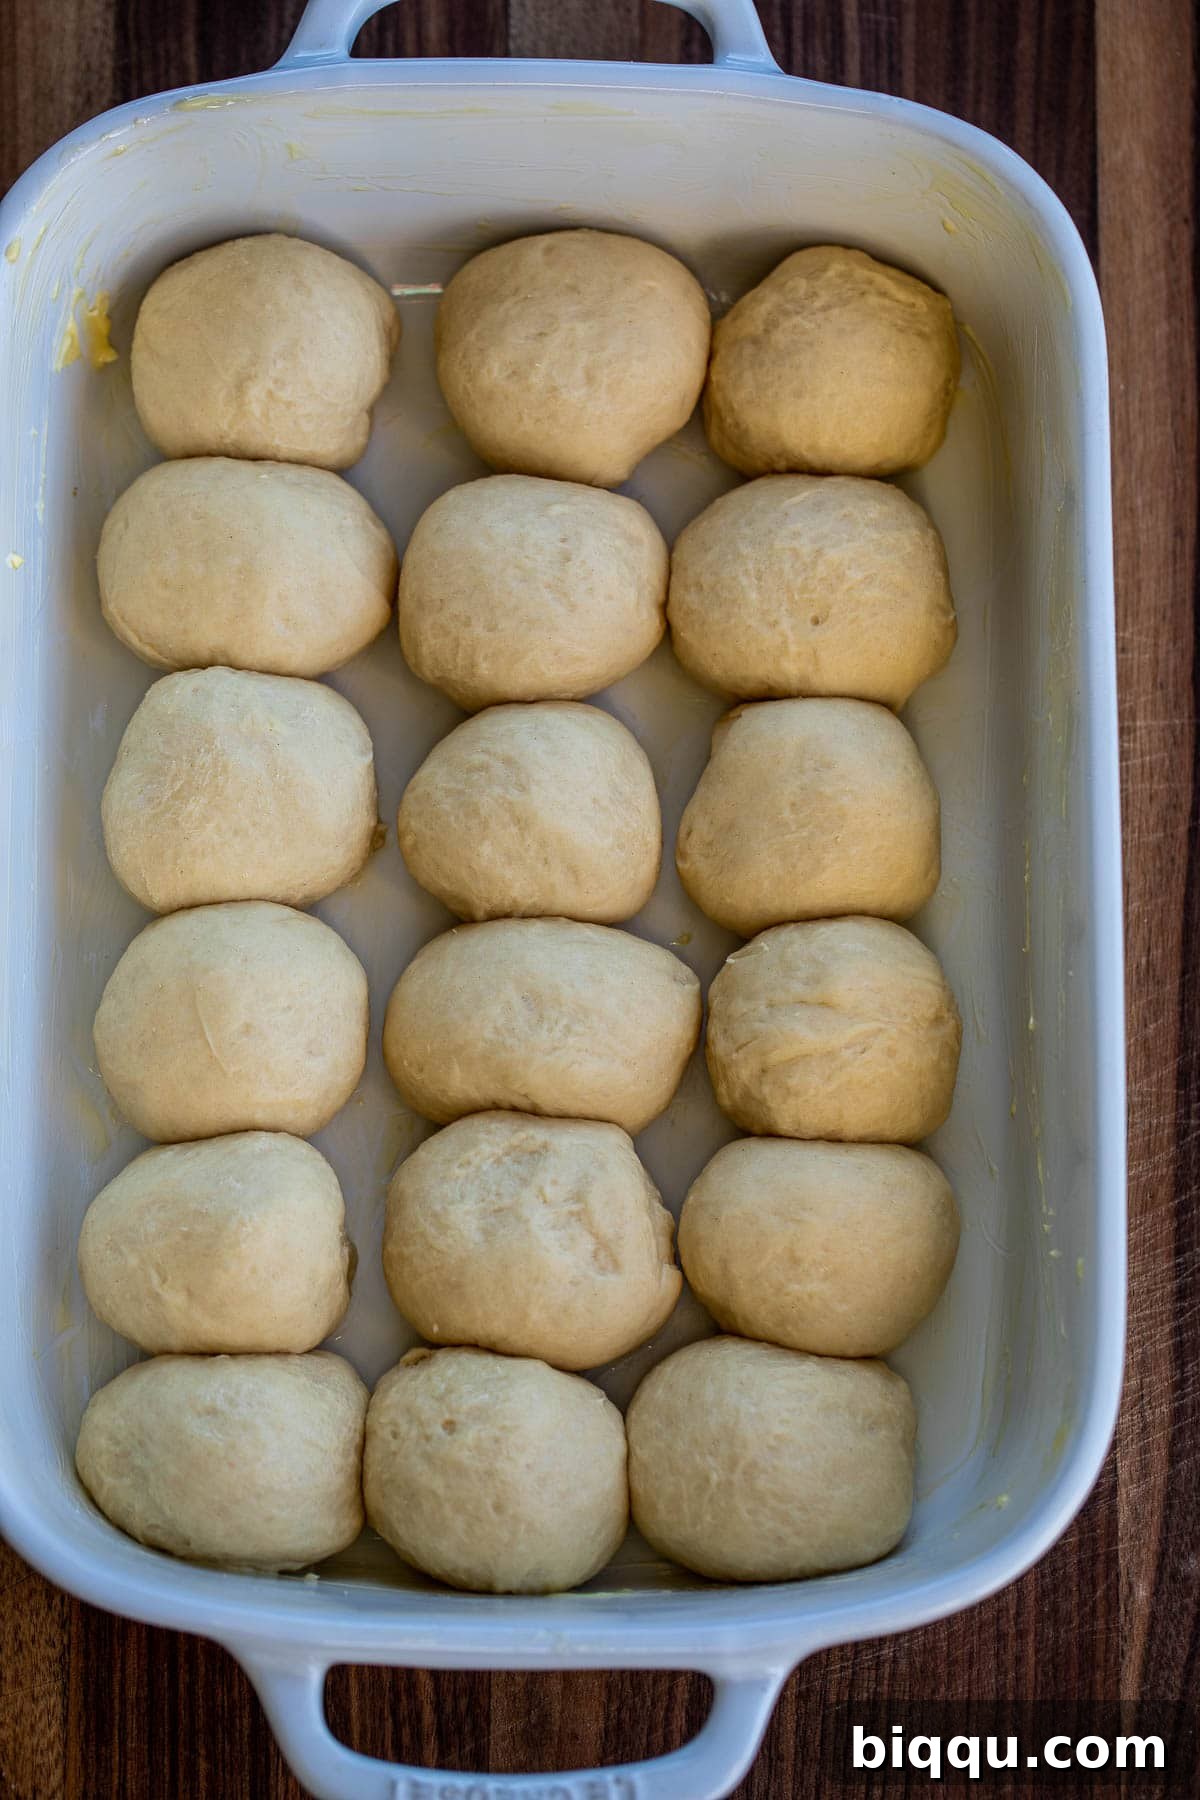
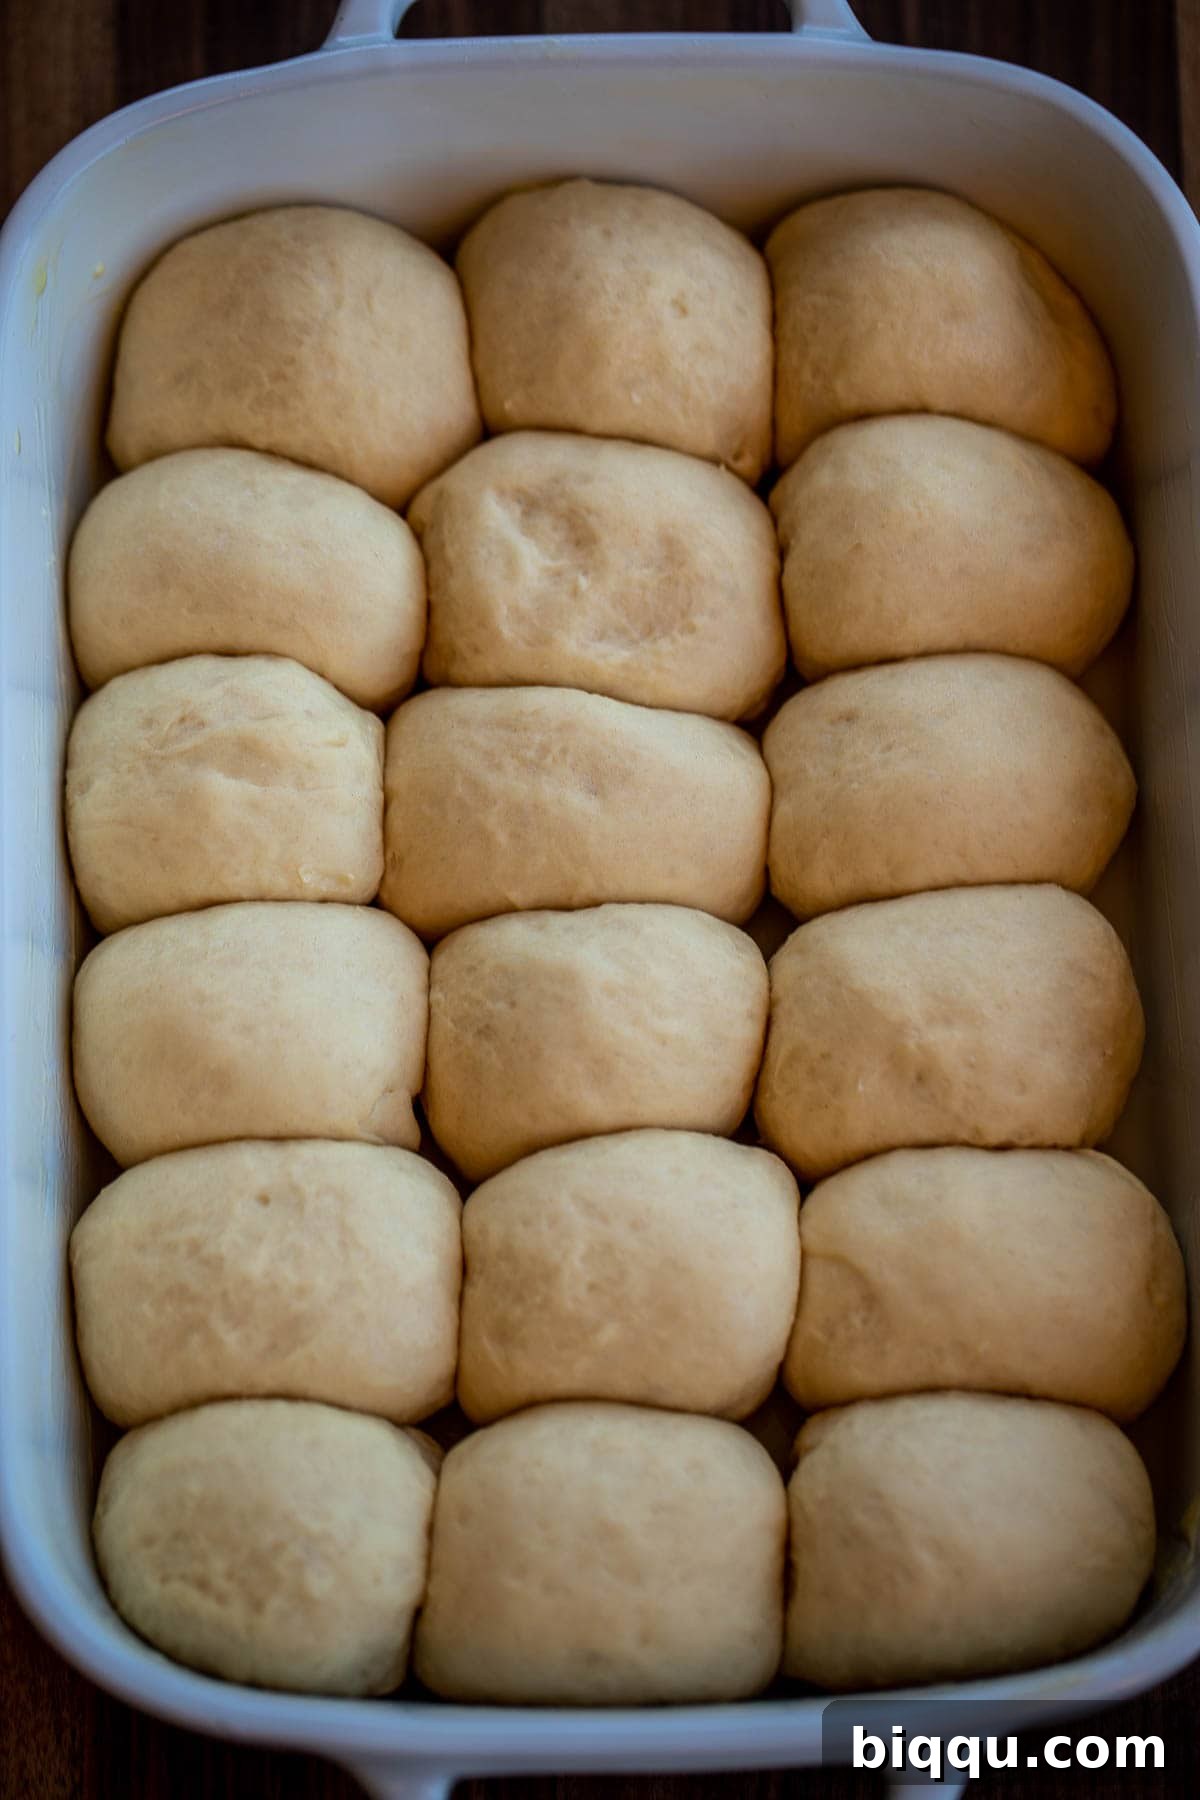
- Shape dough. Lightly flour a working surface and place the dough on it. Divide the dough into 18 equal pieces. A good way to start is by cutting the dough into 3 equal pieces, then cutting each of those 3 pieces into 6 equal portions. For exact sizing, use a kitchen scale (each piece should be roughly 50-55g). Roll each dough piece into a smooth ball and arrange them in the prepared greased 9 by 13 inch baking dish or on a baking sheet.
- Let dough rise. Cover the rolls with a clean kitchen towel and place them in a warm, draft-free spot to rise for one hour, or until they have doubled in size.
- Preheat oven. While the dough rises, preheat your oven to 350° Fahrenheit (180° Celsius).
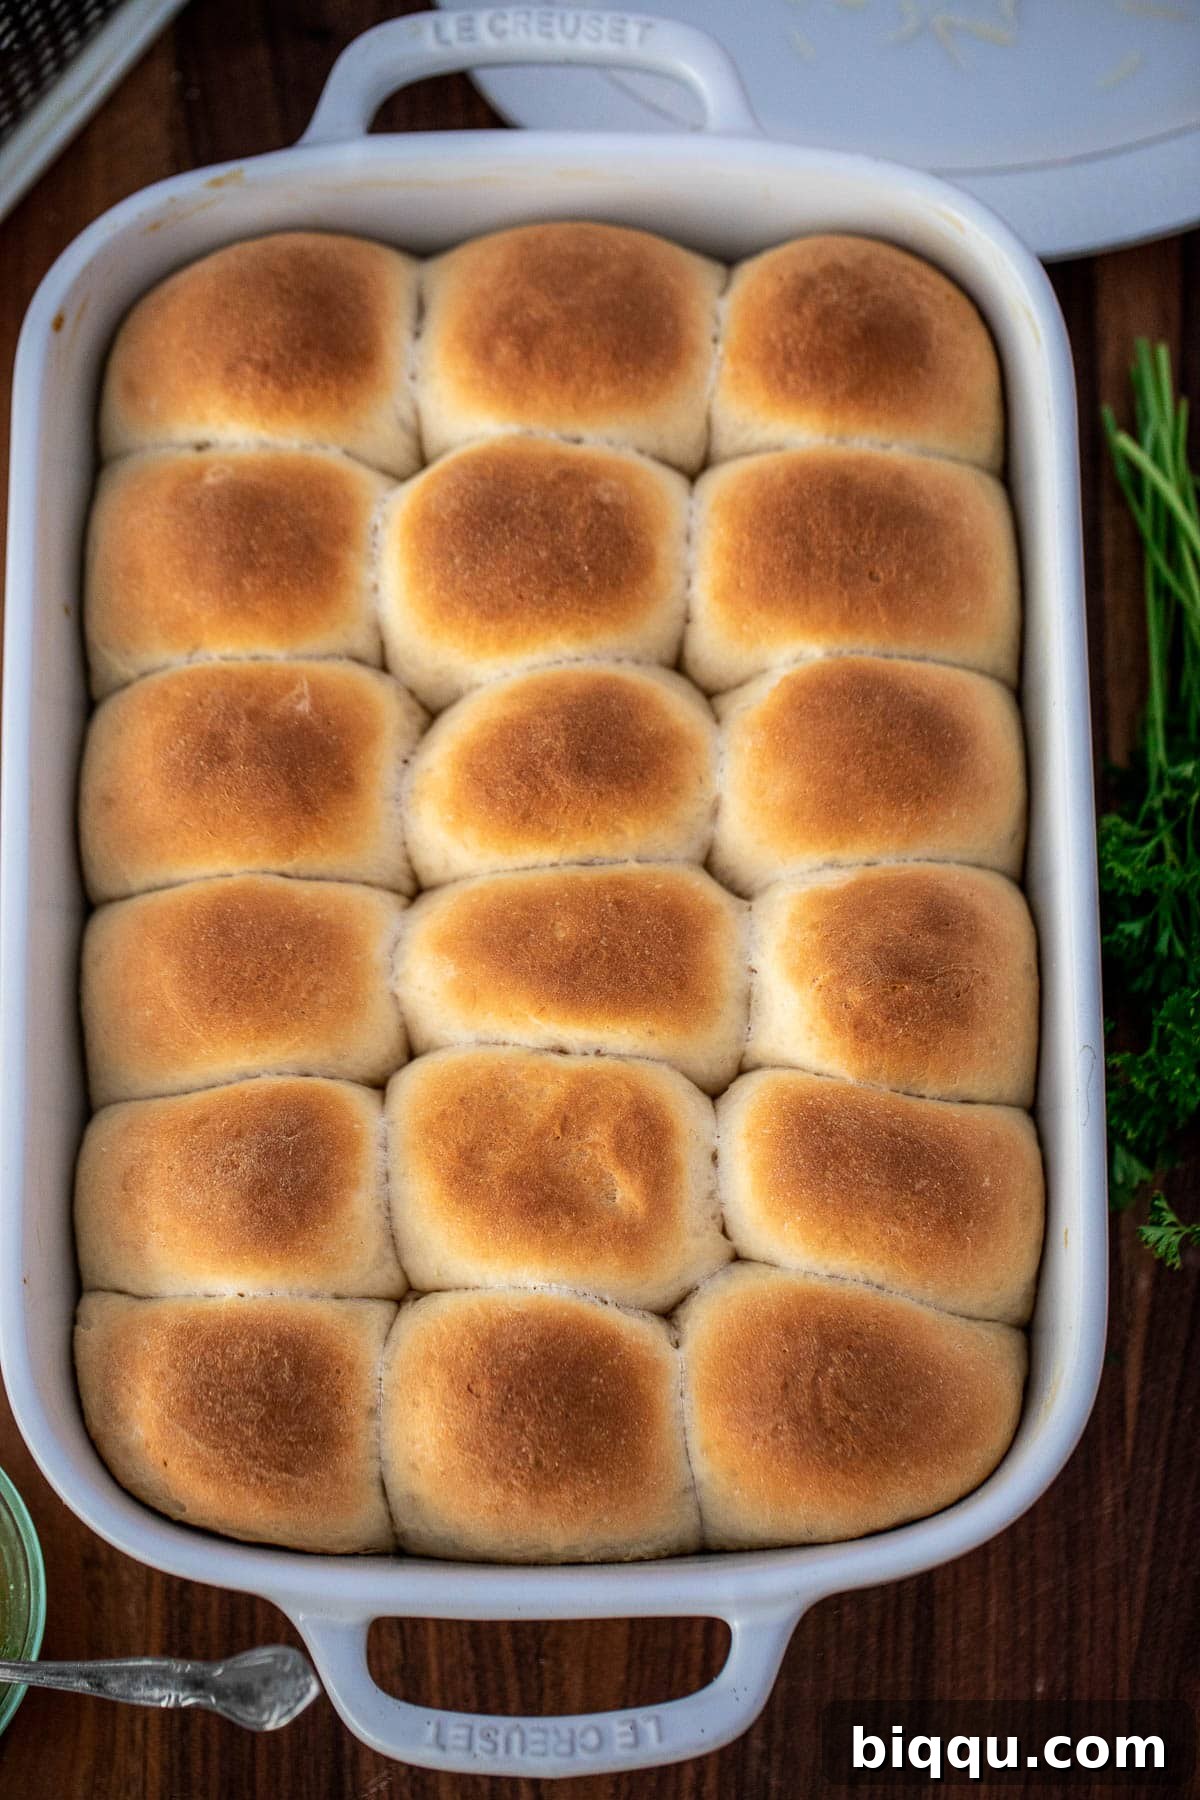
- Bake rolls. Place the risen rolls into the preheated oven and bake for 20 minutes, or until they are golden brown on top and thoroughly cooked through.
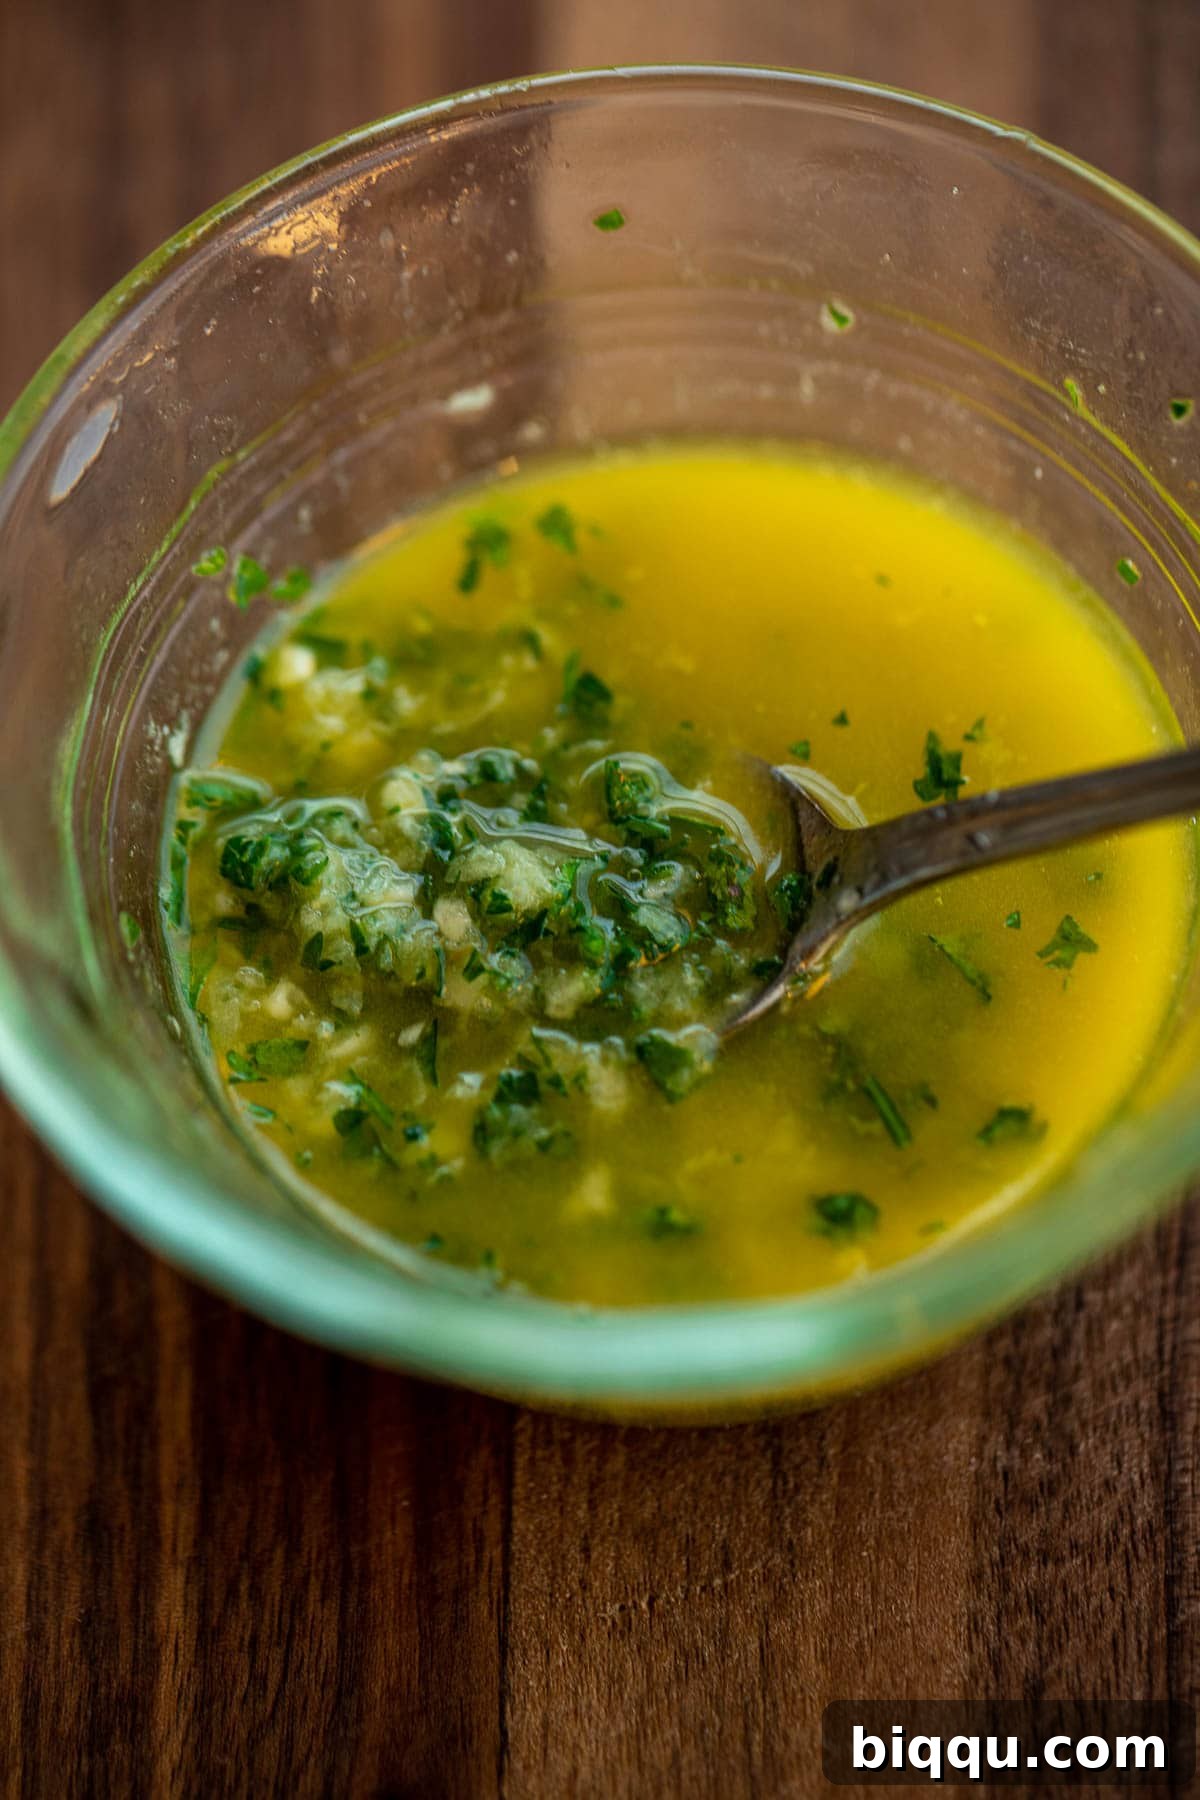
- Make garlic butter. While the rolls bake, in a small bowl, combine the finely minced garlic, melted butter, and minced parsley. Stir well.
- Brush with garlic butter. Immediately upon removing the hot rolls from the oven, generously brush them with the prepared garlic butter mixture. If desired, sprinkle some freshly grated Parmesan cheese over the rolls at this stage.
- Serve. Serve the rolls warm, either plain or slathered with extra butter, as a perfect accompaniment to your favorite main dishes.
Notes
- 1. Cheese: The Parmesan cheese on top is optional, but highly recommended if you enjoy an extra savory kick. This recipe tastes great both with and without it.
- 2. Make Ahead: To prepare these rolls in advance, make the dough, shape the rolls, and let them rise overnight in the refrigerator. The next morning, remove them from the fridge, let them sit at room temperature for 30-60 minutes while your oven preheats, then bake as directed. Note that cold dough may take slightly longer to bake.
- 3. Bread Flour: If available, using bread flour will give your rolls more structure and elasticity due to its higher protein content, resulting in a slightly chewier crumb. All-purpose flour, however, yields a wonderfully tender result and works perfectly.
Nutrition
Calories: 174 kcal | Carbohydrates: 26g | Protein: 5g | Fat: 6g | Saturated Fat: 3g | Polyunsaturated Fat: 0.4g | Monounsaturated Fat: 1g | Trans Fat: 0.2g | Cholesterol: 23mg | Sodium: 159mg | Potassium: 109mg | Fiber: 1g | Sugar: 5g | Vitamin A: 271IU | Vitamin C: 1mg | Calcium: 69mg | Iron: 1mg
Additional Info
Course: Side Dish
Cuisine: American
Calories: 174 per roll
Mention @preciouscore or tag #PreciousCore!