
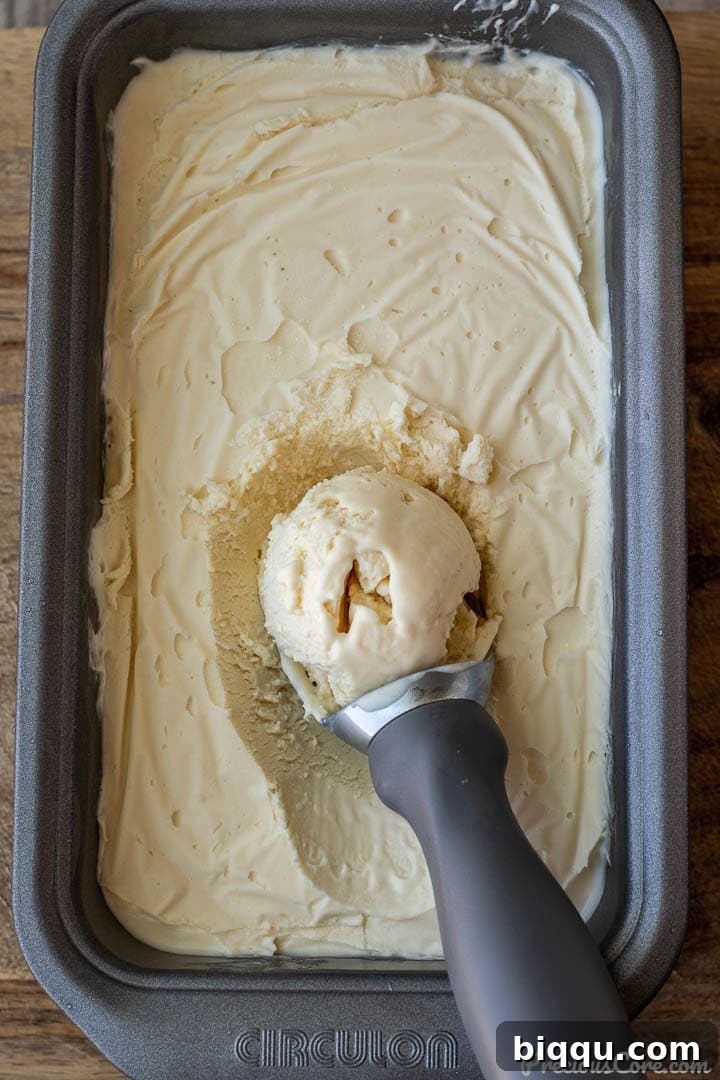
Craving a delightful frozen treat but don’t own an expensive ice cream maker? Imagine indulging in incredibly rich, velvety homemade vanilla ice cream that practically makes itself. This revolutionary recipe simplifies the entire process, requiring just three basic ingredients and absolutely no churning. Forget the hassle of traditional methods or the need for specialized equipment; with only about 15 minutes of active preparation, you can create a dessert far superior to any store-bought option. Get ready to experience the pure joy of creamy, sweet, vanilla perfection, made effortlessly right in your own kitchen!
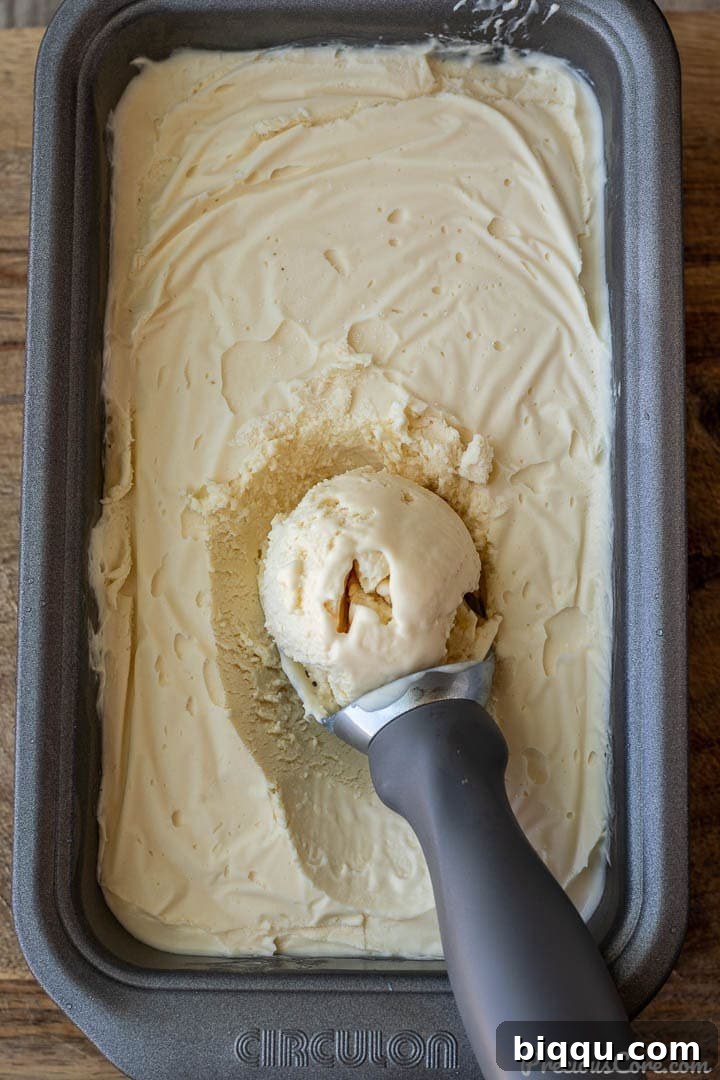
Prepare to fall in love with the ultimate comfort dessert. This no-churn vanilla ice cream is so irresistibly delicious, you’ll find yourself reaching for spoon after spoon. It offers a depth of flavor and a luscious texture that simply cannot be matched by commercially produced varieties. Skip the crowded grocery aisles and the long ingredient lists; all you need are a few staples to whip up this amazing treat.
Why You’ll Love This Easy Vanilla Ice Cream Recipe
This simple vanilla ice cream recipe isn’t just easy; it’s a game-changer for anyone who adores homemade desserts. Here’s why it’s destined to become a staple in your kitchen:
- Unbelievably Creamy Texture: Achieves a perfect, smooth consistency without any ice crystals, making every bite pure bliss.
- Perfectly Sweetened: Uses sweetened condensed milk for just the right level of sweetness, eliminating the need for additional sugar.
- Rich Vanilla Flavor: Highlights the classic, comforting taste of pure vanilla, offering a truly aromatic experience.
- Incredibly Refreshing: The ideal cool-down treat for warm days or a delightful ending to any meal.
- Effortless Preparation: No cooking, no eggs, and no complex machinery means less time in the kitchen and more time enjoying!
- Budget-Friendly: Made with only three core ingredients, it’s a cost-effective way to enjoy premium ice cream at home.
Homemade Vanilla Ice Cream Without a Machine: The No-Churn Magic
Traditional vanilla ice cream often starts with a custard base, meticulously cooked with egg yolks, milk, and sugar, then slowly churned in an ice cream machine until it reaches a frozen, creamy state. This process, while rewarding, can be time-consuming and requires specific equipment.
Our recipe, however, is a brilliant “shortcut” version that completely bypasses these traditional steps. There are no eggs to temper, no cooking on a medium saucepan, and no need for a fine-mesh strainer. That’s right: it’s a truly no-cook, no-churn ice cream that yields spectacularly creamy results! The genius behind this method lies in the combination of cold heavy whipping cream and sweetened condensed milk.
When heavy cream is whipped, it incorporates air, creating a light, airy base. Sweetened condensed milk, being thick and sugary, prevents large ice crystals from forming during freezing, which is typically the job of churning in a machine. This unique synergy results in an incredibly smooth, scoopable texture that mimics the finest churned ice cream. It’s an ingenious culinary trick that makes homemade ice cream accessible to everyone, regardless of their equipment!
What’s more, this simple no-churn technique serves as an excellent foundation for endless flavor experimentation. Once you master the vanilla base, you can easily adapt it to create other delicious varieties like chocolate ice cream, mango ice cream, or even a delightful strawberry swirl. Let your imagination guide you as you recreate your favorite ice cream shop flavors right at home using this versatile method.
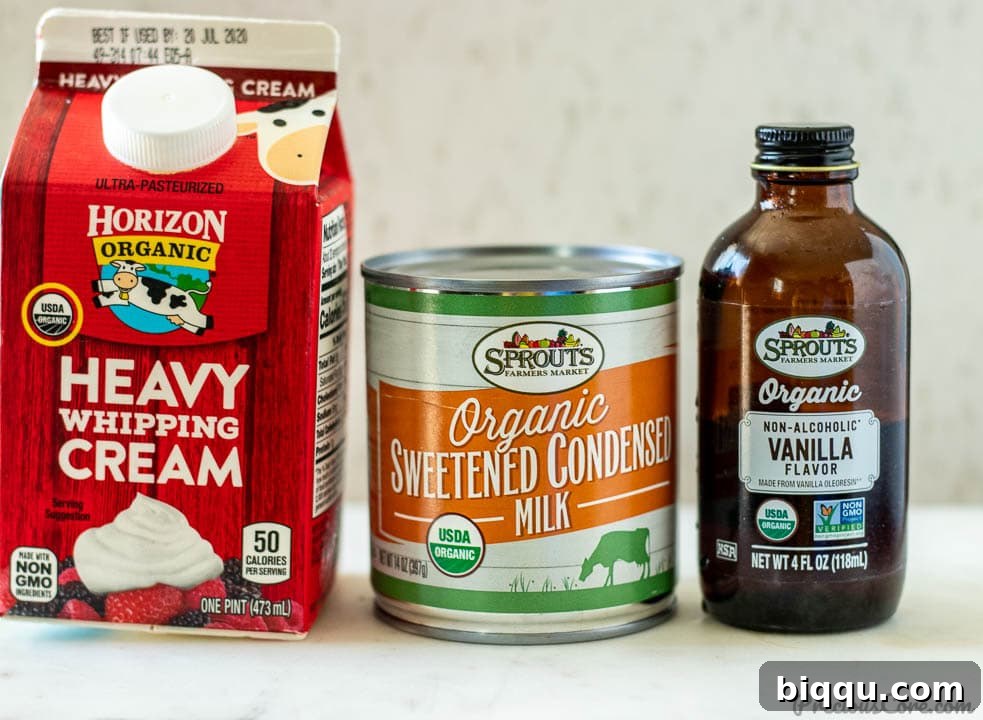
Essential Homemade Vanilla Ice Cream Ingredients
Don’t be intimidated if this is your first venture into making ice cream. This recipe is designed for simplicity and incredible results. You truly only need three core ingredients for this easy homemade vanilla ice cream. Quality matters, so choose the best you can find to let their flavors shine:
1. Heavy Whipping Cream: This is the backbone of our creamy, no-churn ice cream. Also known simply as heavy cream, it’s a dairy product with a high fat content (typically 36% or more). This high fat percentage is crucial for creating the rich, luxurious texture that makes good ice cream so satisfying. When whipped, the fat molecules trap air, resulting in a light, fluffy base that freezes beautifully without becoming icy. Ensure it’s very cold, straight from the fridge, for optimal whipping performance.
2. Sweetened Condensed Milk: This ingredient serves two vital purposes: it provides all the necessary sweetness, eliminating the need for granulated sugar, and it contributes to the signature creamy texture. Sweetened condensed milk is essentially cow’s milk from which water has been removed, and a significant amount of sugar has been added. Its rich, thick, and silky consistency helps prevent the formation of large ice crystals during freezing, ensuring a smooth, scoopable final product with that nostalgic, old-fashioned vanilla ice cream taste.
3. Pure Vanilla Extract: The star flavor of our vanilla ice cream! Using a high-quality, pure vanilla extract (not imitation) is paramount for a truly exceptional taste. Pure vanilla extract, derived from real vanilla beans, offers a complex, aromatic, and warm flavor profile that imitation versions simply can’t replicate. For an extra gourmet touch, consider using vanilla bean paste or scraping the seeds from a fresh vanilla pod directly into the mixture. This will infuse an even deeper vanilla essence and add beautiful black specks throughout your ice cream, signaling its homemade authenticity.
Below, you will find the precise quantities for these ingredients, along with valuable nutrient information to help you manage your dietary needs. If you’re following a specific diet, knowing the nutrient data allows you to enjoy this treat responsibly by determining the perfect portion size for you.
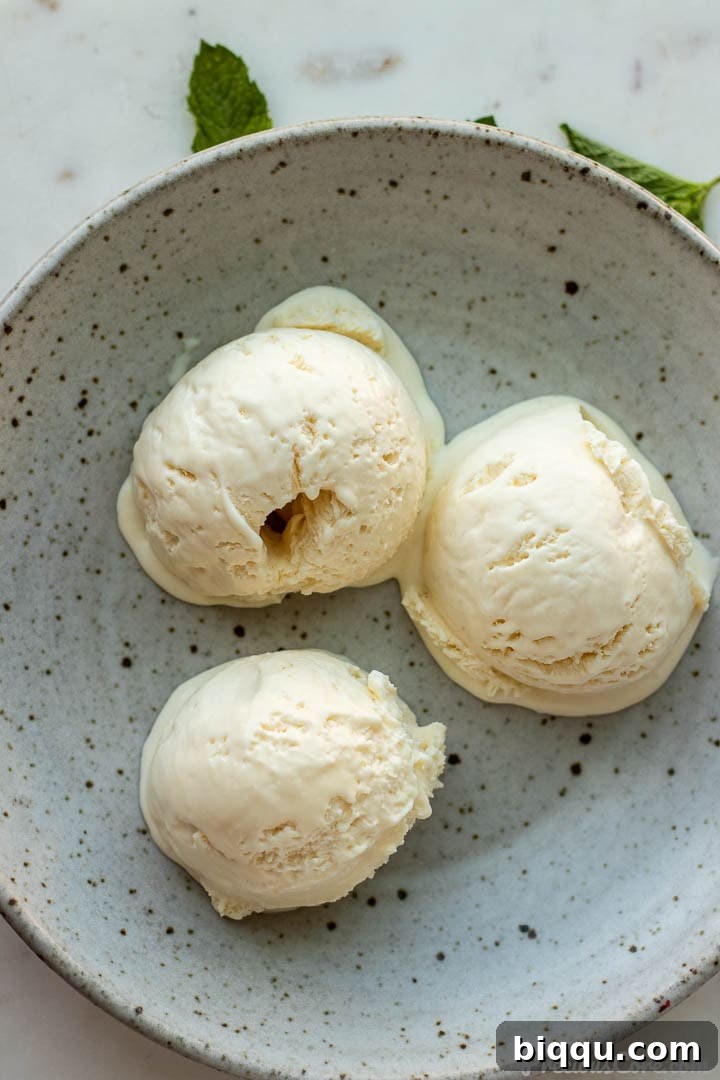
Simple Steps: How To Make Homemade Vanilla Ice Cream
Creating this delicious homemade vanilla ice cream is incredibly straightforward. Follow these simple steps for a perfect frozen dessert every time:
- Whip the Cream: Begin by pouring very cold heavy whipping cream into a large mixing bowl. Using an electric beater, beat the cream on medium-high speed until stiff peaks form. This means when you lift the beaters, the peaks hold their shape firmly.
- Combine Ingredients: Gently fold in the sweetened condensed milk and the pure vanilla extract into the whipped cream.
- Mix Until Smooth: Continue to whip everything together, albeit briefly, until the mixture is fully combined and smooth. Be careful not to overmix at this stage.
- Prepare for Freezing: Carefully pour the creamy mixture into a loaf pan or any other freezer-safe container. Ensure the top is leveled.
- Cover and Freeze: Cover the pan tightly with plastic wrap, making sure the plastic wrap directly touches the surface of the ice cream mixture. This helps prevent ice crystals from forming on top.
- Chill to Perfection: Place the covered pan in the freezer for at least 7 hours, or ideally, overnight, until the ice cream is completely firm.
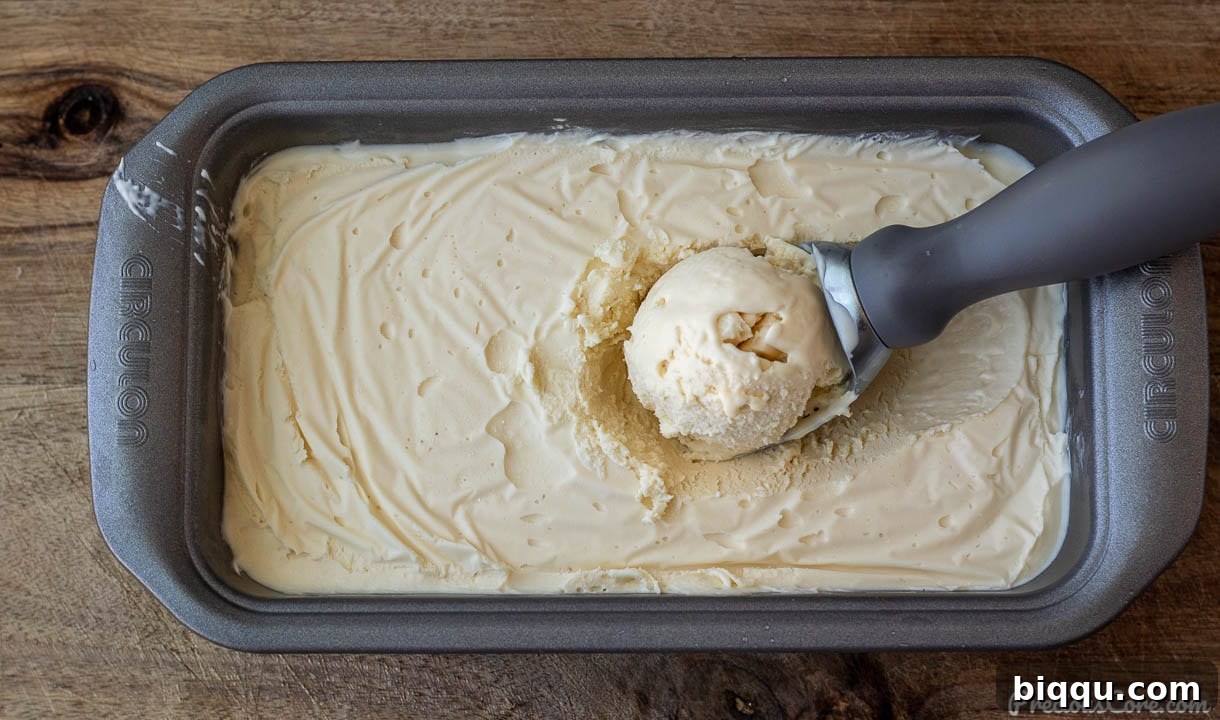
- Scoop and Serve: Once frozen, let the ice cream sit at room temperature for a few minutes to soften slightly, then scoop generously and savor your incredible homemade treat!
Delicious Variations and Toppings for Your Vanilla Ice Cream
While this vanilla ice cream is utterly delightful on its own, it also serves as a perfect canvas for creative additions and toppings. My favorite way to serve it for special occasions is to set up an elaborate ice cream bar, allowing everyone to customize their perfect dessert. Here are some fantastic ideas for mix-ins and garnishes to elevate your sweet treat:
- Decadent Dessert Sauces: Drizzle generously with warm caramel sauce, rich hot fudge, or even a melted peanut butter sauce for an extra layer of flavor and indulgence.
- Chocolatey Additions: Sprinkle in chocolate chips (mini or regular), chocolate chunks, or shavings. You can even chop up your favorite chocolate bar for a rustic, satisfying crunch. For a different twist, try white chocolate chips or dark chocolate curls.
- Fresh Fruit Medley: Brighten up your ice cream with a variety of fresh fruits. Sliced bananas, juicy strawberries, plump blueberries, ripe raspberries, or diced mango add natural sweetness, color, and a refreshing contrast.
- Nutty Crunch: Add a delightful texture with chopped nuts like pecans, walnuts, almonds, or peanuts. A sprinkle of toasted coconut flakes also provides a wonderful tropical twist.
- Candy & Cookie Crumbles: Crush up your favorite cookies (Oreos, chocolate chip, shortbread) or candies (M&M’s, butterfingers, heath bars) for playful mix-ins or crunchy toppings.
- Marshmallows & Sprinkles: Mini marshmallows or a colorful assortment of sprinkles can add a whimsical touch, especially if you’re serving children or making an ice cream sundae.
- Flavor Infusions (Mix-ins): During the last step of mixing, gently fold in a swirl of fruit preserves, a spoonful of coffee extract, a dash of almond extract, or a drizzle of peppermint extract for a unique flavor profile.
- Elevate with Corn Syrup (Optional): For an even silkier smooth texture and a subtle extra sweetness, a small amount of corn syrup can be added to the mixture before freezing. It helps keep the ice cream softer and less prone to crystallization.
- Tangy Cream Cheese Swirl (Optional): For an intriguing tangy twist, whip a few tablespoons of softened cream cheese into the heavy cream before adding the condensed milk. This creates a slightly cheesecake-like flavor that is surprisingly delicious.
- Serve in Cones: A classic and beloved way to enjoy ice cream! Waffle cones or sugar cones make for a fun and edible serving vessel that kids and adults alike will adore.
Expert Tips for the Best Vanilla Ice Cream
Achieving perfect no-churn ice cream is simple, but a few key tips can elevate your results from good to absolutely phenomenal:
- Always Use Cold Heavy Whipping Cream: This is perhaps the most crucial tip. Your heavy whipping cream must be thoroughly chilled, ideally straight from the refrigerator. Room-temperature cream will struggle to form stiff peaks, resulting in a less airy and ultimately less creamy ice cream. Proper whipping of cold cream incorporates enough air to create stability, making stabilizers like xanthan gum completely unnecessary.
- Avoid Over-Whipping the Cream: Once stiff peaks have formed, stop beating immediately. Continuing to beat the cream beyond this point will cause it to separate and eventually turn into butter. You’re looking for firm peaks that hold their shape but are still smooth and creamy.
- Taste and Adjust the Mixture: Before pouring the mixture into the pan for freezing, take a small taste. Your taste buds are your best guide! If you desire a stronger vanilla presence, add a little more vanilla extract. If the mixture seems excessively sweet (some brands of sweetened condensed milk can be sweeter than others), a tiny pinch of salt can help balance and offset the sweetness, enhancing the overall flavor profile.
- Choose the Right Freezing Container: A standard loaf pan (approximately 9×5 inches) is ideal for freezing this ice cream. Its shape and size provide a large surface area for easier scooping once frozen. For ultimate protection against ice crystals and freezer burn, consider investing in specialized airtight ice cream containers. These are designed to keep air out and maintain the ice cream’s smooth texture.
- Plan Ahead for Optimal Firmness: While 7 hours is the minimum freezing time, for the absolute best results, especially if you’re making this for an event or gathering, I highly recommend freezing it overnight. This ensures the ice cream is thoroughly set and perfectly firm, allowing for effortless scooping and maximum enjoyment.
- Patience is a Virtue When Scooping: If your ice cream is rock solid straight out of the freezer, don’t force it. Let it rest at room temperature for 5-10 minutes (or longer if it’s deeply frozen) until it’s just soft enough to scoop smoothly. This allows for easier serving and preserves the creamy texture.
Frequently Asked Questions About Homemade Vanilla Ice Cream
Traditional vanilla ice cream typically involves a cooked custard base, meaning it often includes egg yolks, granulated sugar, milk (whole, raw, or skim), heavy cream, and vanilla. However, this special no-churn recipe simplifies the ingredient list dramatically. Our version focuses on achieving maximum creaminess and flavor with just three core components: heavy whipping cream, sweetened condensed milk, and pure vanilla extract.
Several factors contribute to soft, scoopable homemade ice cream. In traditional recipes, sugar and sometimes corn syrup are used to lower the freezing point and prevent excessive hardness. For this no-churn recipe, the key is the high fat content of the heavy cream and the unique properties of sweetened condensed milk. The fat in the heavy cream creates a rich, smooth base, while the sugar in the condensed milk helps to keep the ice cream from freezing into a rock-hard block. Additionally, the air incorporated during whipping the heavy cream also contributes to a lighter, softer texture.
Broadly, there are two primary types of vanilla ice cream: classic (or Philadelphia-style) vanilla and French vanilla. Classic vanilla, like the recipe presented here, typically relies on a base of cream, milk, sugar, and vanilla without eggs. It tends to be lighter in color and allows the pure dairy and vanilla flavors to shine. French vanilla, on the other hand, is distinguished by its use of an egg yolk-based custard, which gives it a richer, denser texture and a distinct yellowish hue. Both are incredibly delicious, but offer slightly different flavor and textural experiences.
Watch How To Make Easy Vanilla Ice Cream
Seeing is believing! For a complete visual guide, watch me demonstrate how to make this incredibly easy vanilla ice cream recipe in the video below. Don’t forget to SUBSCRIBE to my YouTube Channel so you never miss out on delicious new recipes and helpful cooking tips!
Subscribe to my channel
Subscribe
More Ice Cream Recipes You’ll Love!
If you’ve fallen in love with this homemade vanilla ice cream, you’re in for a treat! Explore more delightful ice cream creations that are just as easy and satisfying:
Mango Ice Cream
No-Churn Coconut Ice Cream
No-Churn Strawberry Ice Cream
Homemade Chocolate Ice Cream
Watermelon Ice Cream
We love hearing from you! If you make this fantastic recipe, please leave a star rating below and share your experience. Your feedback helps others discover and enjoy this delicious treat!
Want to save this recipe for later? Simply bookmark this page or print it out! You won’t want to forget how easy it is to make this incredible homemade vanilla ice cream.
Homemade Vanilla Ice Cream
15
7
15
10
Rate
Print Recipe
Equipment
-
Electric hand mixer or stand mixer with whisk attachment
-
Large mixing bowl
-
Loaf pan or other freezer-safe container
Ingredients
- 2 cups heavy whipping cream (500 ml) (must be very cold)
- 14 oz sweetened condensed milk (300 ml)
- 2 tablespoons pure vanilla extract
Instructions
-
Pour very cold heavy whipping cream into a large mixing bowl. Beat using an electric mixer until stiff peaks form.
-
Add the sweetened condensed milk and pure vanilla extract to the whipped cream. Gently beat until the mixture is smooth and well combined.
-
Pour the ice cream mixture into a loaf pan or chosen freezer-safe container. Smooth the top evenly. Cover tightly with plastic wrap, ensuring the plastic wrap touches the surface of the mixture to prevent ice crystals.
-
Freeze for at least 7 hours, or preferably overnight, until completely firm.
-
Before serving, let the ice cream sit at room temperature for a few minutes to soften slightly for easy scooping. Enjoy your delightful homemade vanilla ice cream!
Notes
2. It is essential to use only cold heavy whipping cream for this recipe. If your cream is not sufficiently chilled, it may not whip properly to stiff peaks, which is crucial for the ice cream’s creamy texture.
Nutrition
Calories: 297kcal
|
Carbohydrates: 23g
|
Protein: 4g
|
Fat: 21g
|
Saturated Fat: 13g
|
Polyunsaturated Fat: 1g
|
Monounsaturated Fat: 5g
|
Cholesterol: 67mg
|
Sodium: 63mg
|
Potassium: 196mg
|
Sugar: 23g
|
Vitamin A: 806IU
|
Vitamin C: 1mg
|
Calcium: 144mg
|
Iron: 0.1mg
Additional Info
Tried this recipe?
Mention @preciouscore or tag #PreciousCore!