
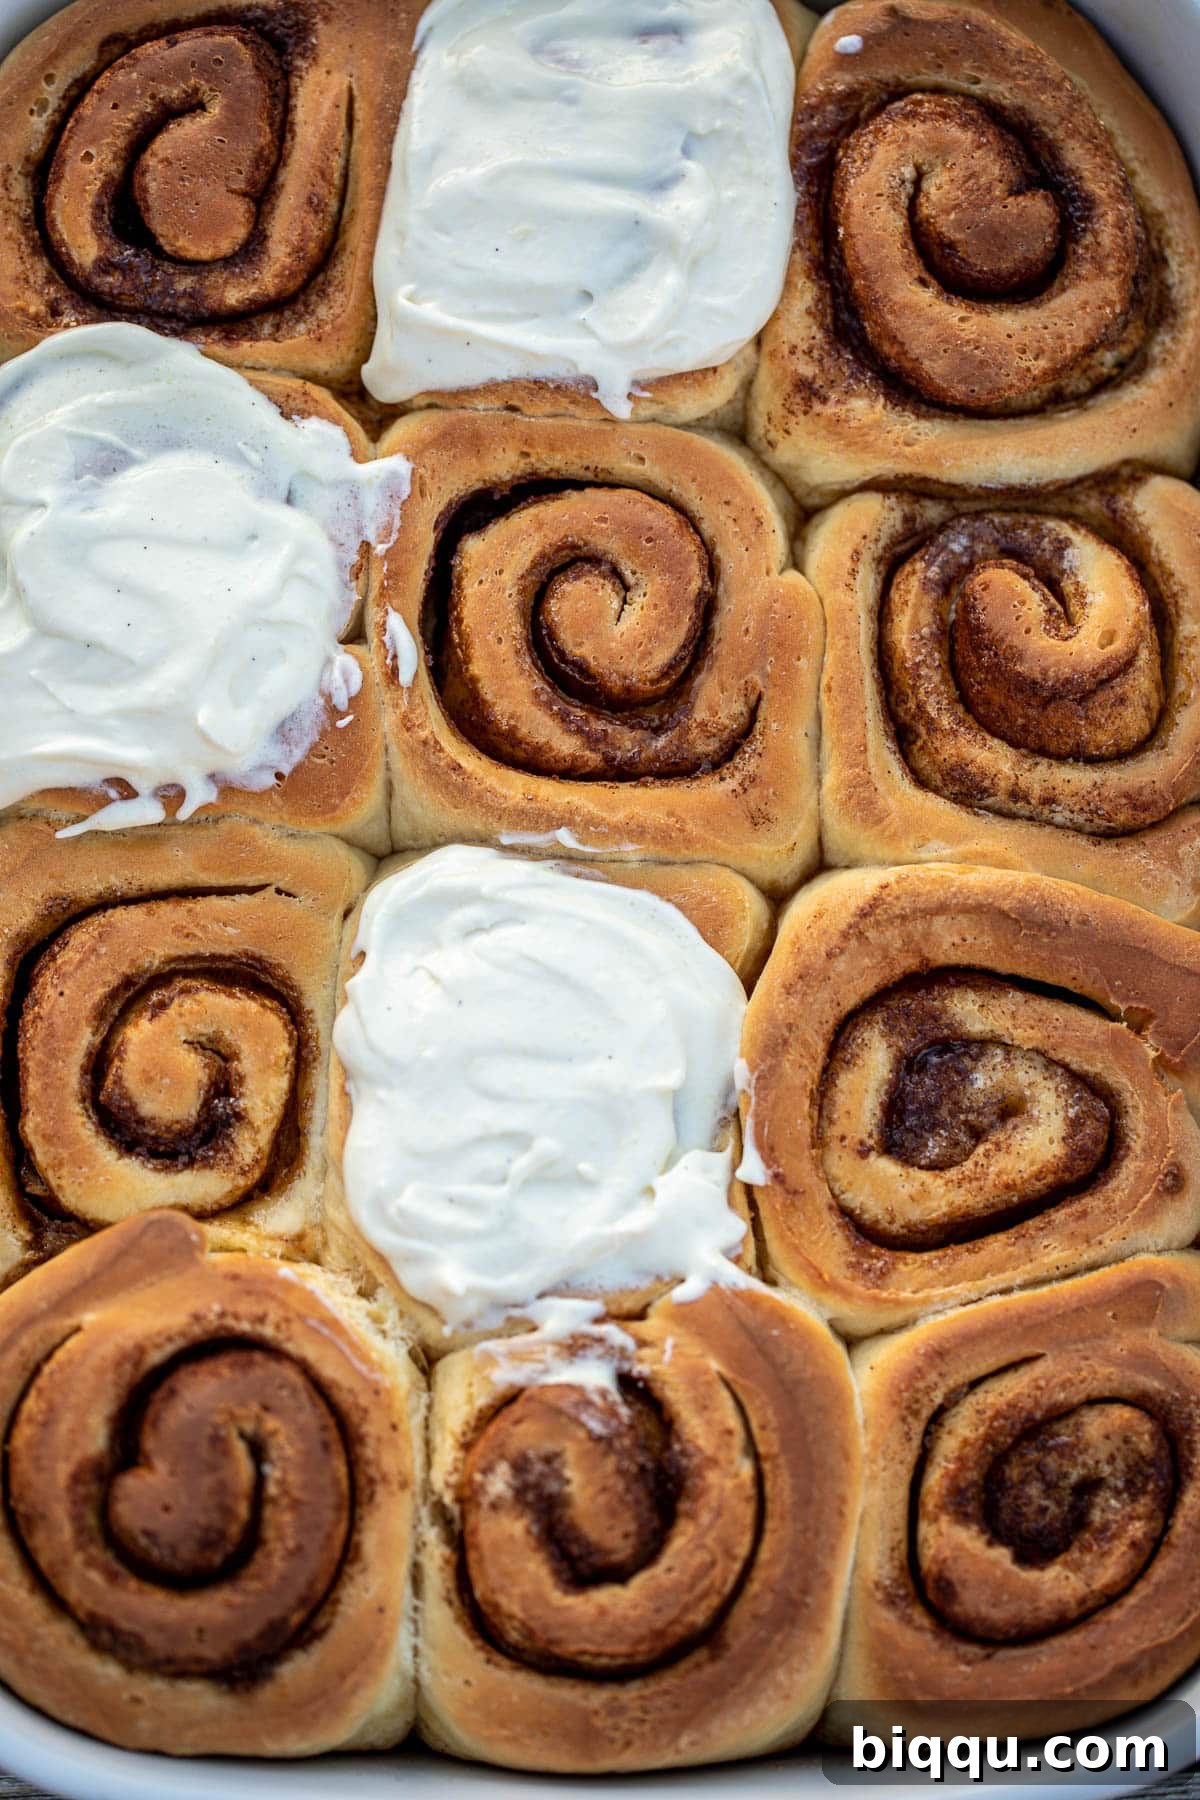
Prepare to experience a cinnamon roll like no other! My **Cinnamon Rolls With Cream Cheese Frosting** transcend all expectations, delivering a taste and texture far superior to anything you’ve ever bought. Forget Cinnabon; this homemade delight is in a league of its own!
Imagine a cloud-like, pillowy dough, infused with the comforting warmth of aromatic cinnamon spice. Each roll is then generously crowned with an utterly irresistible, whipped cream cheese frosting that melts in your mouth. This isn’t just a dessert; it’s a symphony of flavors and textures, striking the perfect balance of sweetness, fragrant spice, delightful tanginess, and rich creaminess.
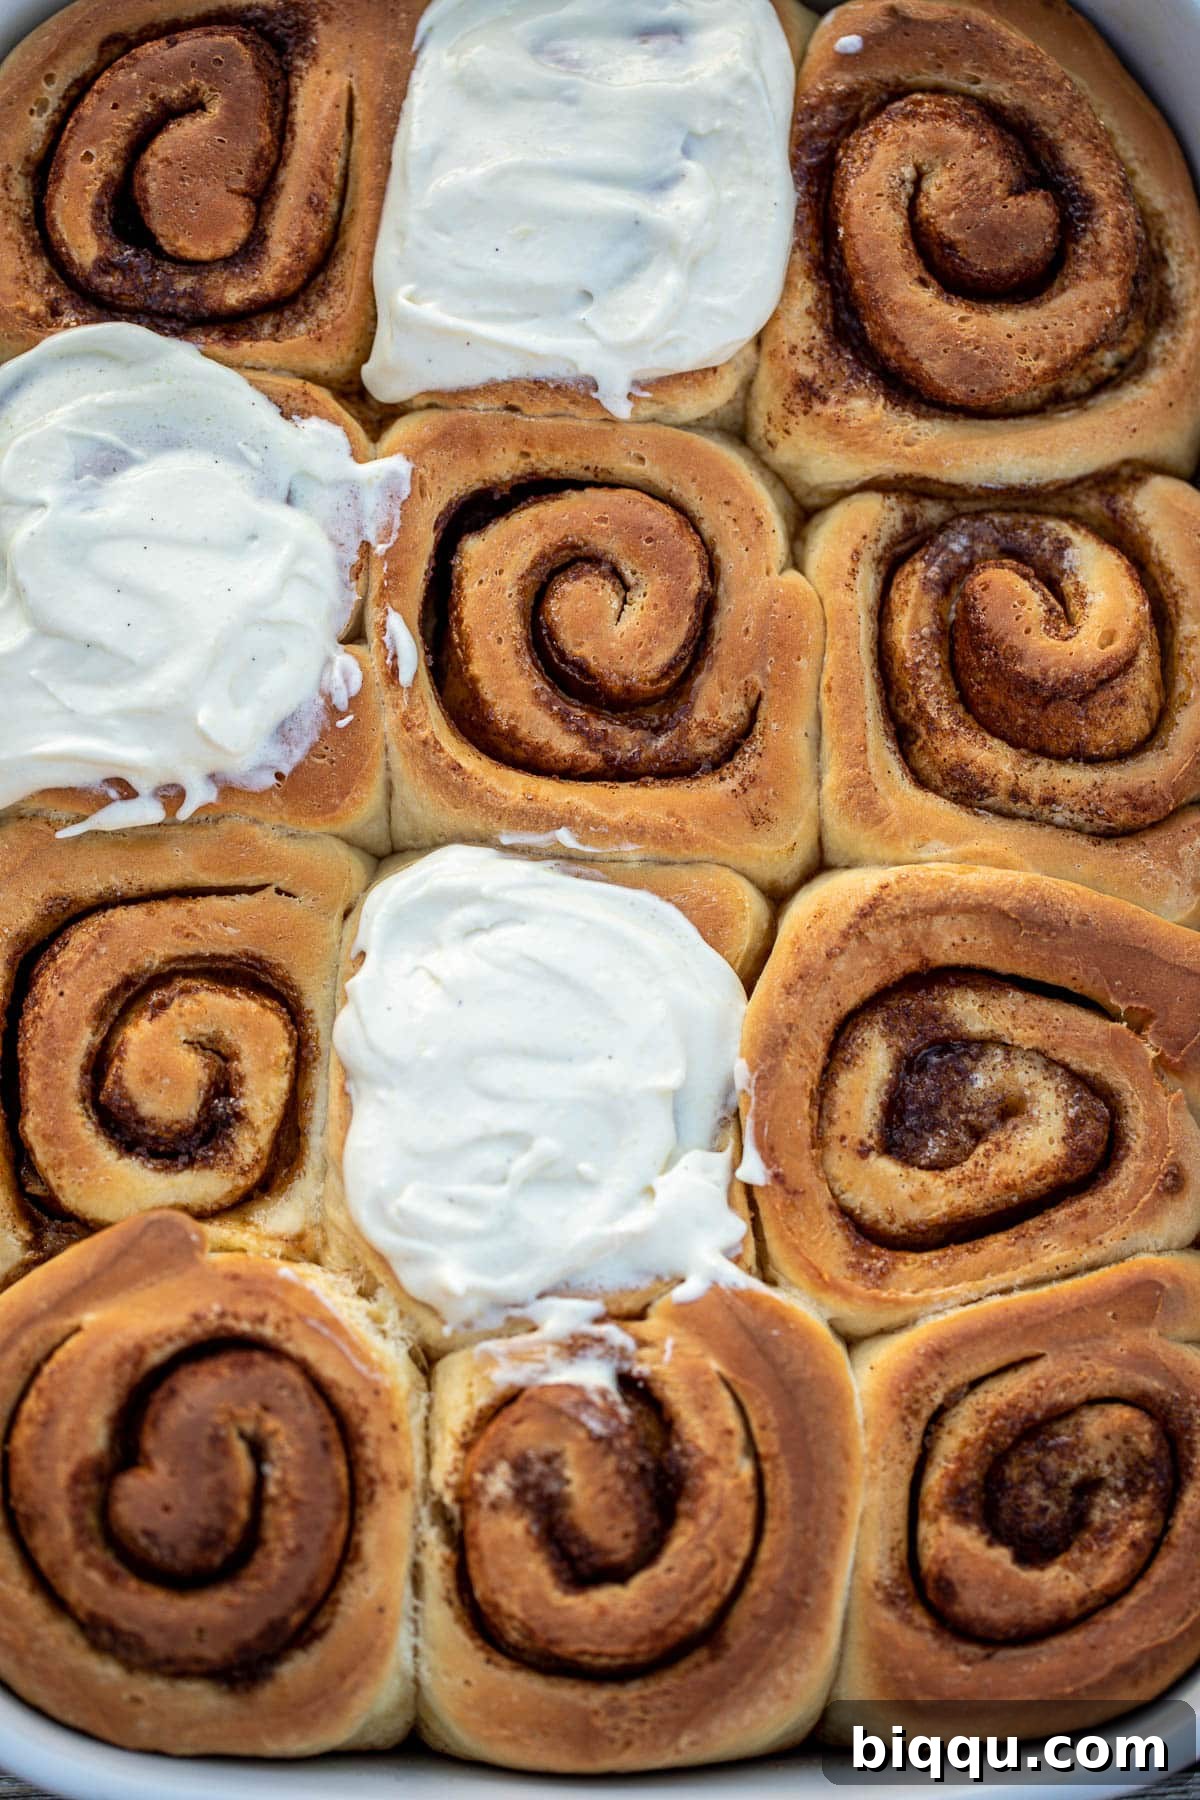
After countless batches and continuous refinement, I am thrilled to share my perfected and updated cinnamon rolls recipe with you. This tried-and-true recipe is ideal for special occasions like Thanksgiving, Christmas, and Easter, yet it’s simple enough to whip up whenever a craving for truly exceptional cinnamon rolls strikes.
These fluffy rolls are a firm favorite in my household. My children adore them, my husband frequently requests them to share with his colleagues, and my friends can’t stop raving about them! Once you try this recipe, it will undoubtedly become a cherished addition to your regular baking rotation.
Looking for more delightful holiday recipes? Be sure to explore my Pumpkin Cake With Cream Cheese Frosting, my all-time favorite Hot Cross Buns, and this stunning Pineapple Upside Down Pound Cake. If you’re a connoisseur of sweet rolls, you won’t want to miss my irresistible Strawberry Cinnamon Rolls and the comforting Cinnamon Rolls With Apple Pie Filling!
Table of Contents
- Why This Recipe Works
- Ingredients For Cream Cheese Frosting Cinnamon Rolls
- Step-by-Step Guide: How To Make Cinnamon Rolls With Cream Cheese Frosting
- Recipe Frequently Asked Questions
- Delicious Cinnamon Roll Variations
- Cinnamon Rolls Expert Tips
- More Great Breakfast Recipes
- Watch How To Make Cinnamon Rolls
- What To Serve With Cinnamon Rolls
- More Dessert Recipes
- Cinnamon Rolls With Cream Cheese Frosting Recipe Card
Why This Recipe Works: Your Path to Cinnamon Roll Perfection
There’s a reason why this recipe has become a beloved classic among my friends and family. It consistently delivers cinnamon rolls that are not just good, but truly the best you’ll ever bake. Here’s why this recipe stands out:
- Effortlessly Easy to Follow: I’ve meticulously crafted and refined these instructions for maximum clarity and simplicity. Even if you’re new to baking or have never worked with yeast before, this recipe is designed to be beginner-friendly and incredibly approachable. Each step is detailed, ensuring your journey to homemade cinnamon rolls is smooth and successful.
- Unbelievably Fluffy Rolls: The secret to these irresistibly fluffy, melt-in-your-mouth rolls lies in a special technique: incorporating a tablespoon of softened butter into the dough at the very end of the kneading process. This method saturates the dough with buttery goodness, creating a brioche-like texture that’s incredibly soft and rich. These rolls are so delightful, they’re truly delicious even without any frosting!
- Perfectly Balanced Cream Cheese Frosting: And then there’s the frosting – a sublime whipped cream cheese creation that hits all the right notes. Unlike overly sweet frostings that can overpower, mine offers a delicate sweetness that allows the lovely tanginess of the cream cheese and a subtle hint of vanilla extract to shine through. It’s the ultimate creamy, tangy, and sweet finish that perfectly complements the warm spice of the rolls.
Almost everyone who tries these cinnamon rolls with cream cheese frosting asks for the recipe. They are, quite simply, perfection. Welcome to your new favorite baking adventure!
Essential Ingredients for Your Cream Cheese Frosting Cinnamon Rolls
Crafting the perfect cinnamon rolls starts with selecting high-quality ingredients. Here’s a detailed look at what you’ll need for each component, along with helpful tips for the best results:
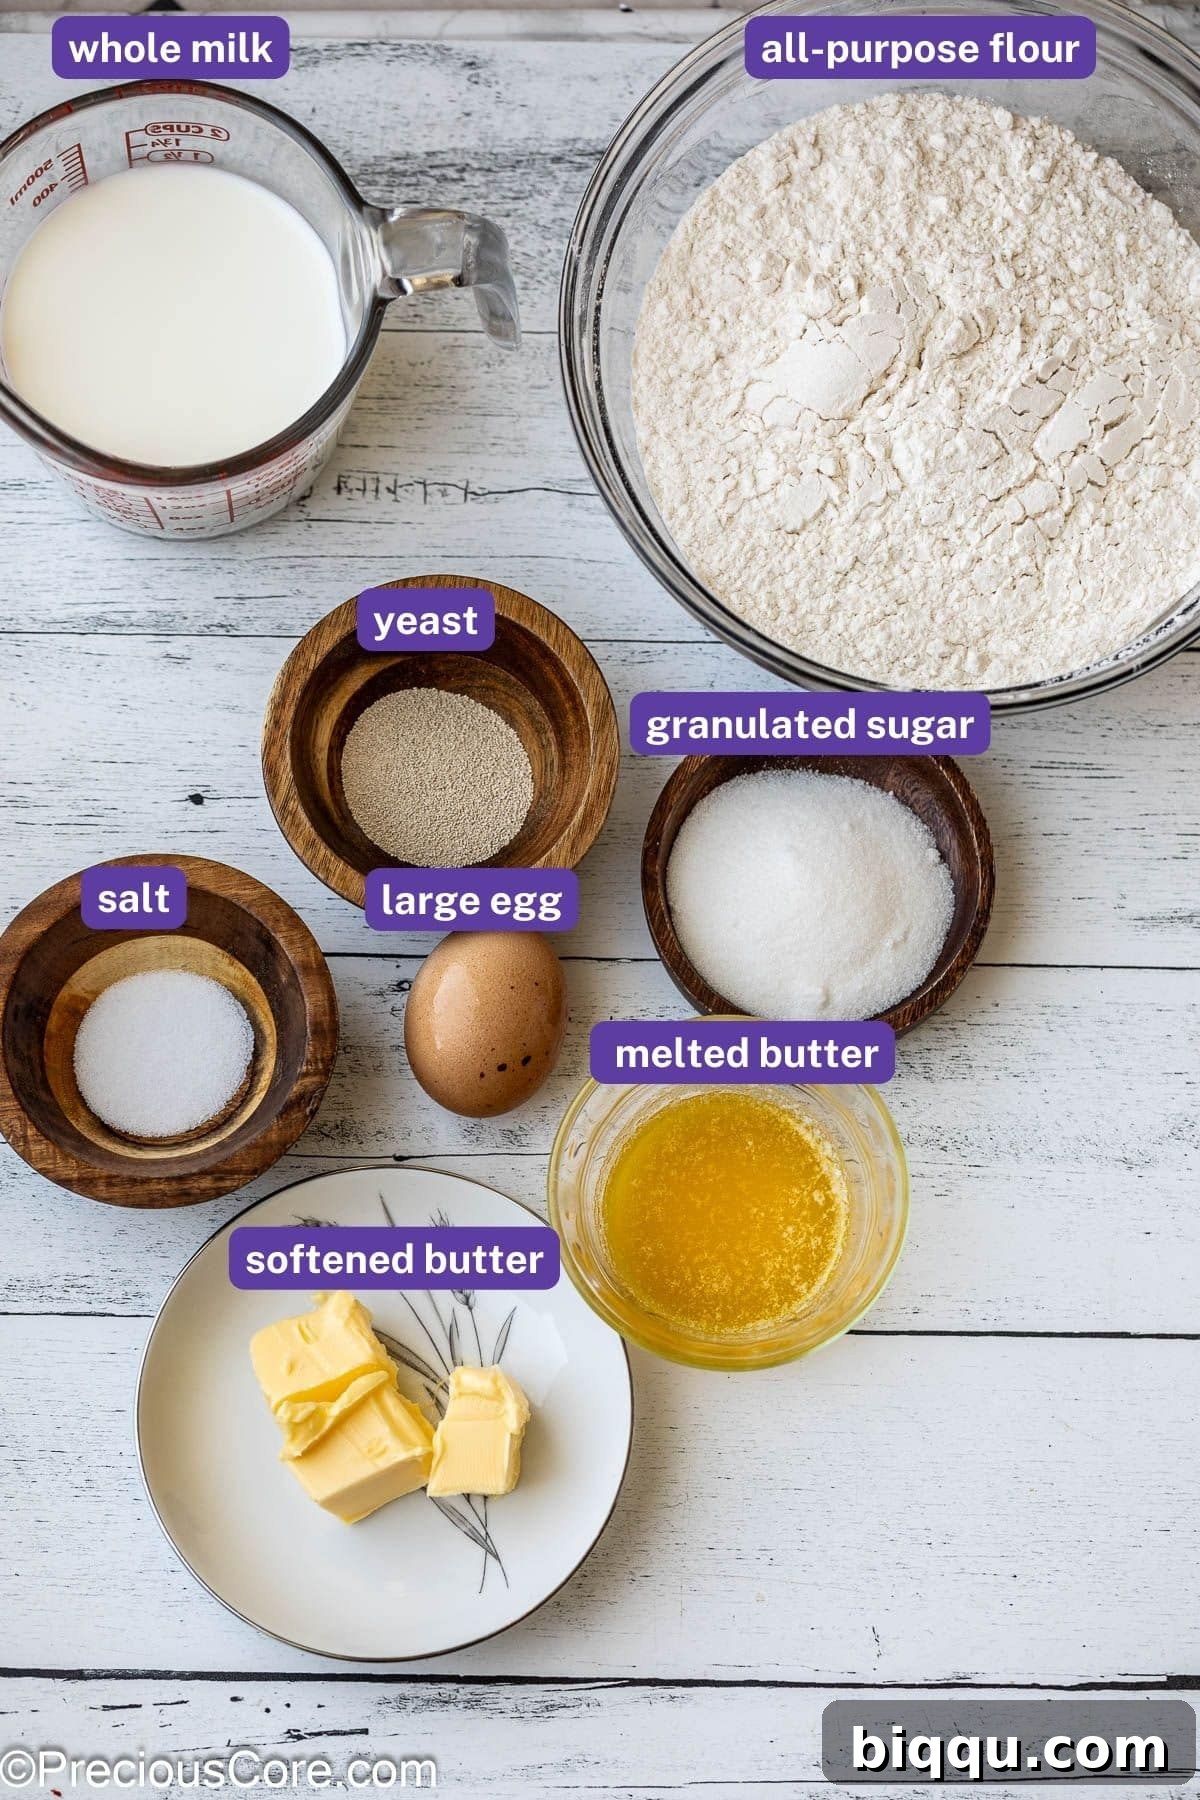
For the Irresistible Dough:
- Whole Milk: The foundation of rich, tender rolls. Whole milk provides extra fat, contributing to a softer, more flavorful dough. For an even richer texture, you can substitute whole milk with evaporated milk. If whole milk isn’t available, 2% milk will also work, though the rolls might be slightly less rich.
- Instant Yeast or Active Dry Yeast: This is the magic ingredient that makes your dough rise, creating those coveted fluffy rolls. Both instant and active dry yeast work beautifully in this recipe and can be used interchangeably. Ensure your yeast is fresh and active for optimal rising.
- Unsalted Butter: Essential for both rich flavor and a wonderfully soft dough texture. I highly recommend using good quality unsalted butter, like Kerrygold, for superior taste. Make sure it’s melted for easy incorporation into the dough.
- Egg: A single large egg adds significant richness to the dough, improves its structure, and contributes to a beautiful golden-brown crust. Ensure your egg is at room temperature before adding it to the mixture for better emulsification.
- Granulated Sugar: You’ll need just enough sugar to subtly sweeten the dough, balancing the yeast and providing food for it to activate properly.
- Salt: A crucial ingredient that balances all the flavors in the dough and controls yeast activity. Do not skip the salt – it makes a noticeable difference in the overall taste of your cinnamon rolls.
- All-Purpose/Plain Flour: The primary structural component of your dough. Use high-quality all-purpose flour for the best texture. You’ll also need a little extra for dusting your work surface.
- Softened Butter (for dough enrichment): This is the secret to brioche-like fluffiness! A tablespoon of softened butter kneaded in at the end significantly enhances the dough’s texture.
- Additional Softened Butter (for prep): Needed to butter your mixing bowl for rising and to grease your baking pan, preventing sticking and adding a subtle richness to the crust.
For the Aromatic Cinnamon Filling:
- Butter: Again, a high-quality, rich-flavored butter truly makes a difference here. My top pick is Kerrygold (though not sponsored, I genuinely love their product!). It’s crucial that the butter is softened to room temperature, making it effortlessly spreadable across the dough.
- Brown Sugar: Provides a deep, caramelized flavor and a beautiful rich brown color to the filling. Both dark brown sugar and light brown sugar work wonderfully, each adding its own nuanced sweetness.
- Ground Cinnamon: The star of the show! Use good quality ground cinnamon for the most fragrant and authentic flavor. Don’t be shy – these are *cinnamon* rolls, after all. (See the “Variations” section below for alternative spice ideas!)
For the Irresistible Cream Cheese Frosting:
- Cream Cheese: For the best results, use full-fat block cream cheese. Avoid those sold in tubs, as they often contain more water and stabilizers, resulting in a runnier frosting. Ensure it’s softened to room temperature for a smooth, lump-free frosting.
- Butter: Adds a lovely butteriness to the frosting and helps to temper the cream cheese’s tang, creating a perfectly balanced flavor profile. Like the cream cheese, it should be at room temperature.
- Powdered Sugar: Also known as confectioners’ sugar, it provides the sweetness and smooth texture for the frosting.
- Vanilla Extract: A good quality vanilla extract will elevate your frosting, adding depth and warmth. I highly recommend using homemade vanilla extract if you have it for an intensely good flavor.
For the complete, precise list of ingredients with exact measurements, please refer to the recipe card located further down the page.
Top Tip for Softened Butter: Softened butter is absolutely essential for both the dough and the frosting in this recipe. If you’re short on time and need to soften butter quickly, check out this helpful guide on how to quickly soften butter.
Step-by-Step Guide: How To Make Cinnamon Rolls With Cream Cheese Frosting
Creating these heavenly cinnamon rolls is a rewarding process. Follow these detailed steps to achieve bakery-quality results right in your own kitchen:
- 1. Activate the Yeast Mixture: Begin by gently warming your whole milk until it’s comfortably warm to the touch (ideally between 110°F – 115°F). You can do this in a small pot on medium heat or for about 60 seconds in the microwave. Pour the warm milk into a large mixing bowl (if kneading by hand), the bowl of a stand mixer, or the bowl of a bread machine. Sprinkle the active dry or instant yeast over the milk, along with one tablespoon of granulated sugar. Stir lightly to combine, then let this mixture rest for 5 to 10 minutes. During this time, the yeast should become foamy and creamy on the surface, indicating it’s active and ready to work its magic.
- 2. Prepare and Knead the Dough: To your activated yeast mixture, add the remaining 2 tablespoons of granulated sugar, the melted butter, the room temperature egg, salt, and half of the all-purpose flour. Mix these ingredients thoroughly using a wooden spoon, a stand mixer with a dough hook on low speed, or a bread machine set to its dough cycle. Once combined, gradually add the remaining flour until a soft, shaggy dough forms. Increase the speed to medium (for a stand mixer) and knead for about 5-7 minutes until the dough becomes smooth, elastic, and pulls away from the sides of the bowl. If kneading by hand, transfer the dough to a lightly floured surface and knead for 8-10 minutes, dusting with tiny bits of flour only as needed. The dough should remain slightly sticky; this stickiness is key to achieving truly soft and fluffy rolls. Finally, incorporate one tablespoon of softened butter and continue kneading on medium speed until the butter is fully absorbed and the dough is supple and smooth.
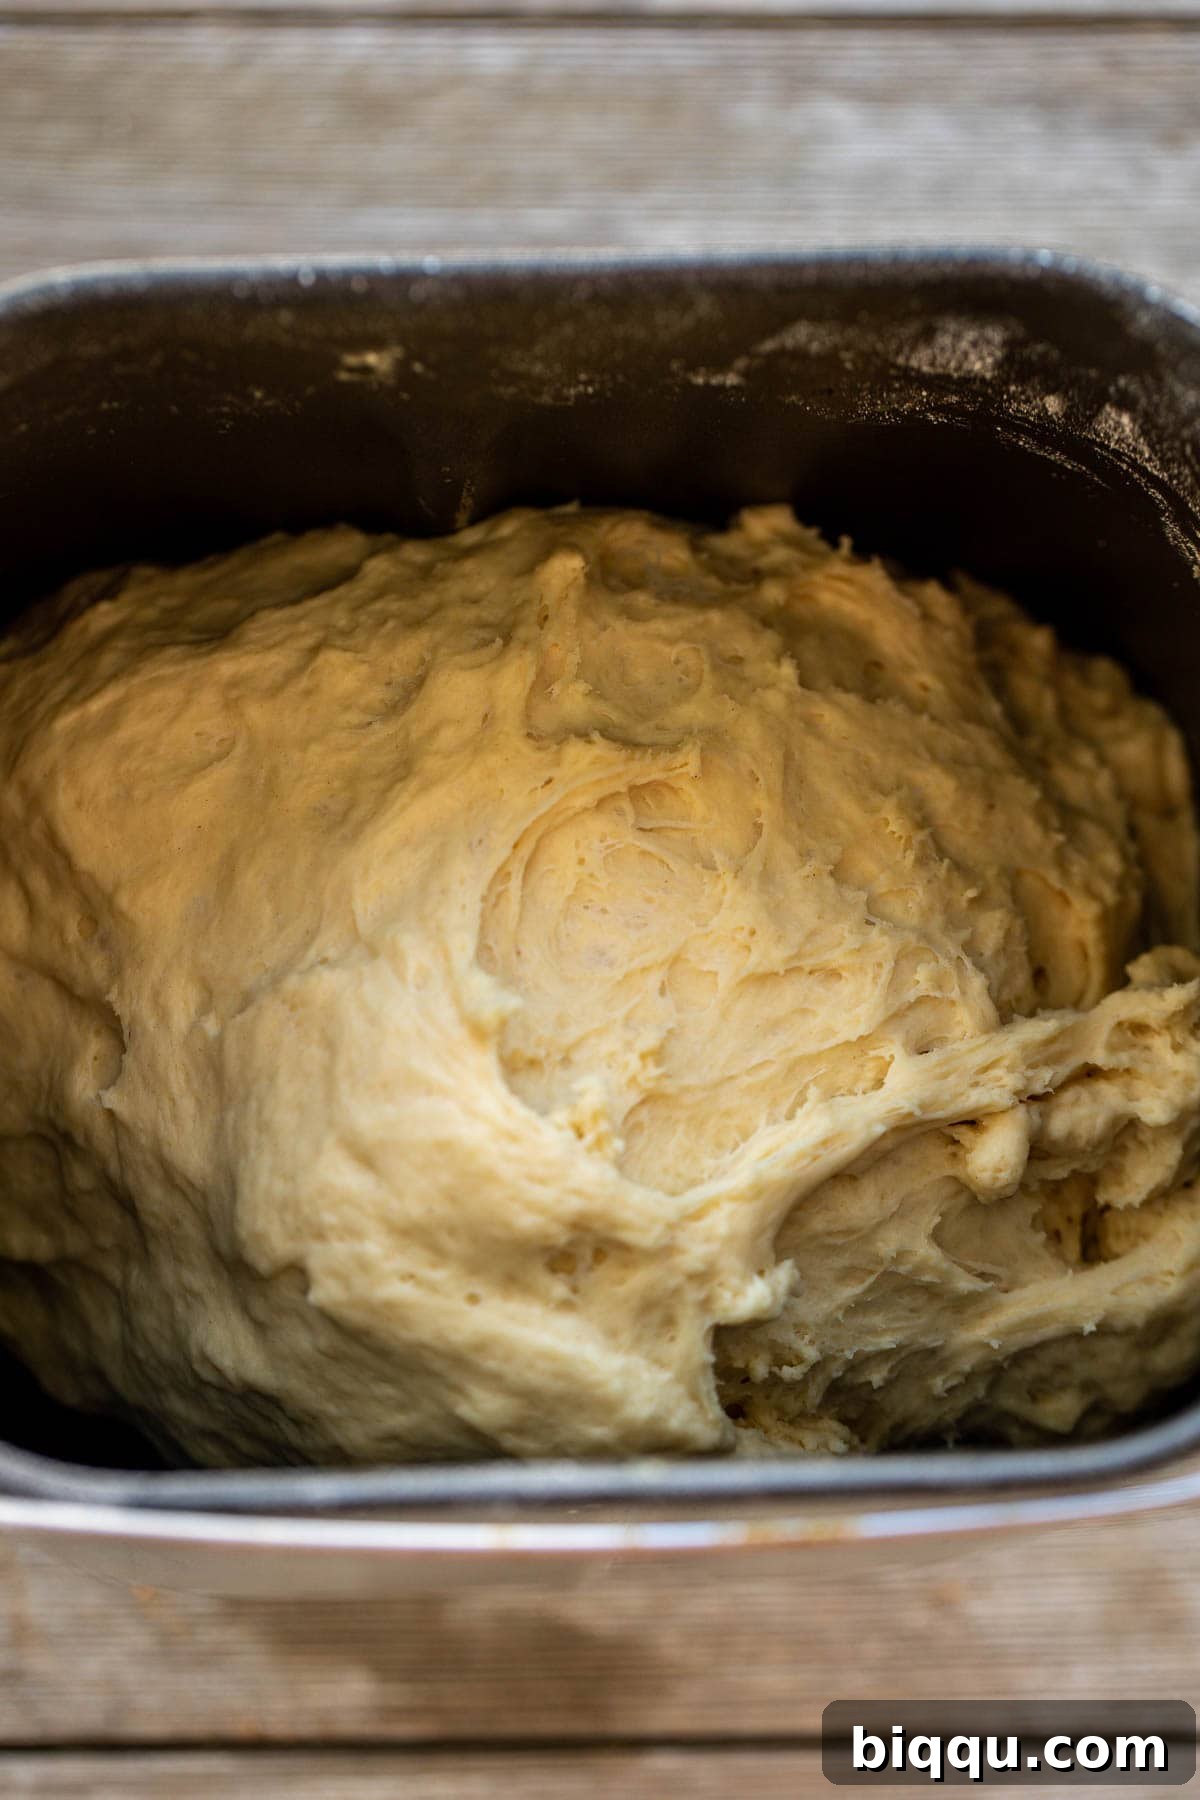
- 3. First Rise (Proofing the Dough): Lightly butter a large clean mixing bowl. Transfer the kneaded dough into this bowl, turning it once or twice to ensure all sides are lightly coated with butter. This prevents the dough from sticking as it rises. Cover the bowl with plastic wrap or a clean kitchen towel and place it in a warm, draft-free spot to rise. The ideal temperature for rising is around 75-80°F (24-27°C). A great trick is to turn your oven on for just 2 minutes, then turn it off and place the covered dough inside. Alternatively, you can simply use the oven with the light on (oven off). Let the dough rise until it has doubled in size, which typically takes about 1 hour, depending on the warmth of your environment.
- 4. Prepare Your Baking Dish: While your dough is undergoing its first rise, take a moment to butter a 9×13 inch baking dish generously. This ensures your cinnamon rolls won’t stick and contributes to a beautiful golden crust.
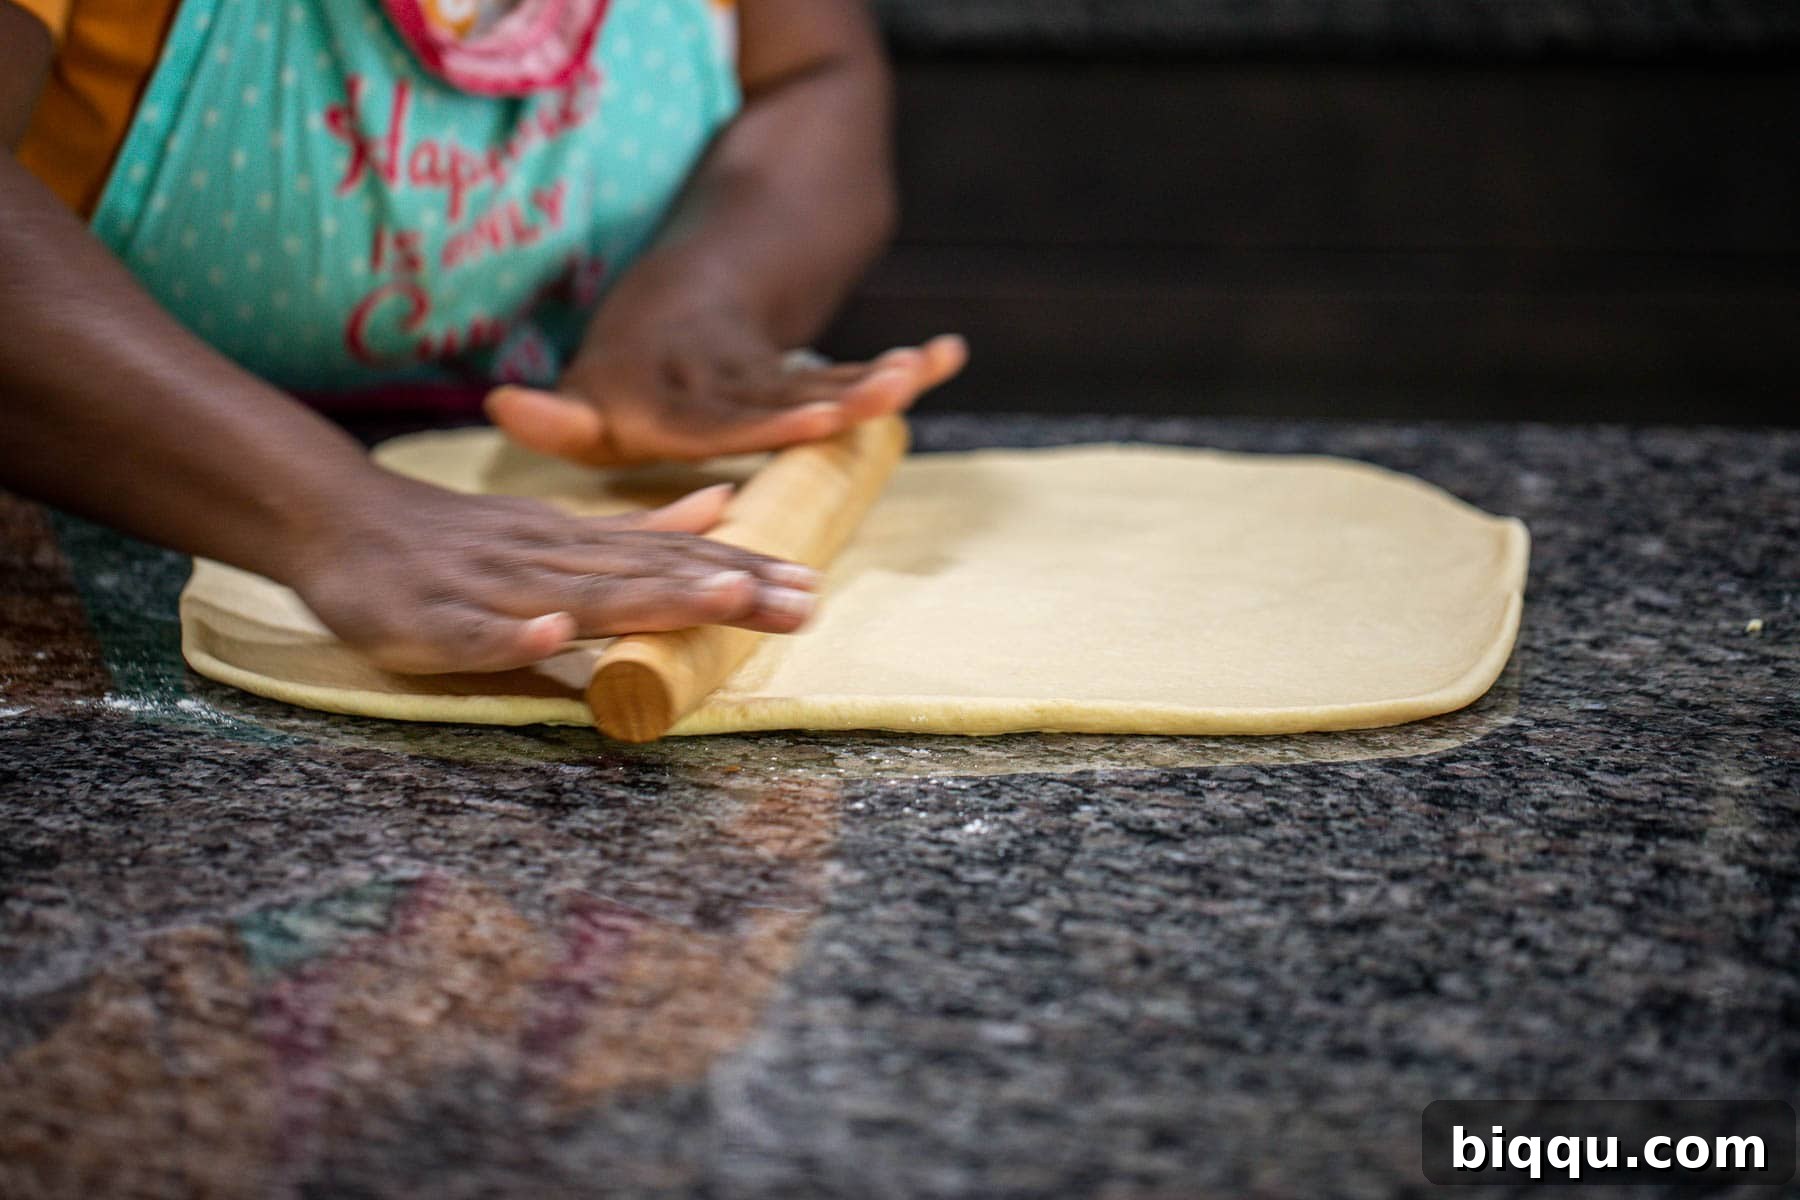
- 5. Roll Out the Dough: Once the dough has proudly doubled in size, gently punch it down in the center to release the accumulated air. Transfer the dough to a lightly floured clean working surface. Using your hands, gently shape the dough into a rough rectangle. Then, use a rolling pin to carefully roll the dough into an even 10×18 inch rectangle. Aim for a consistent thickness across the entire rectangle to ensure uniform rolls and even baking.
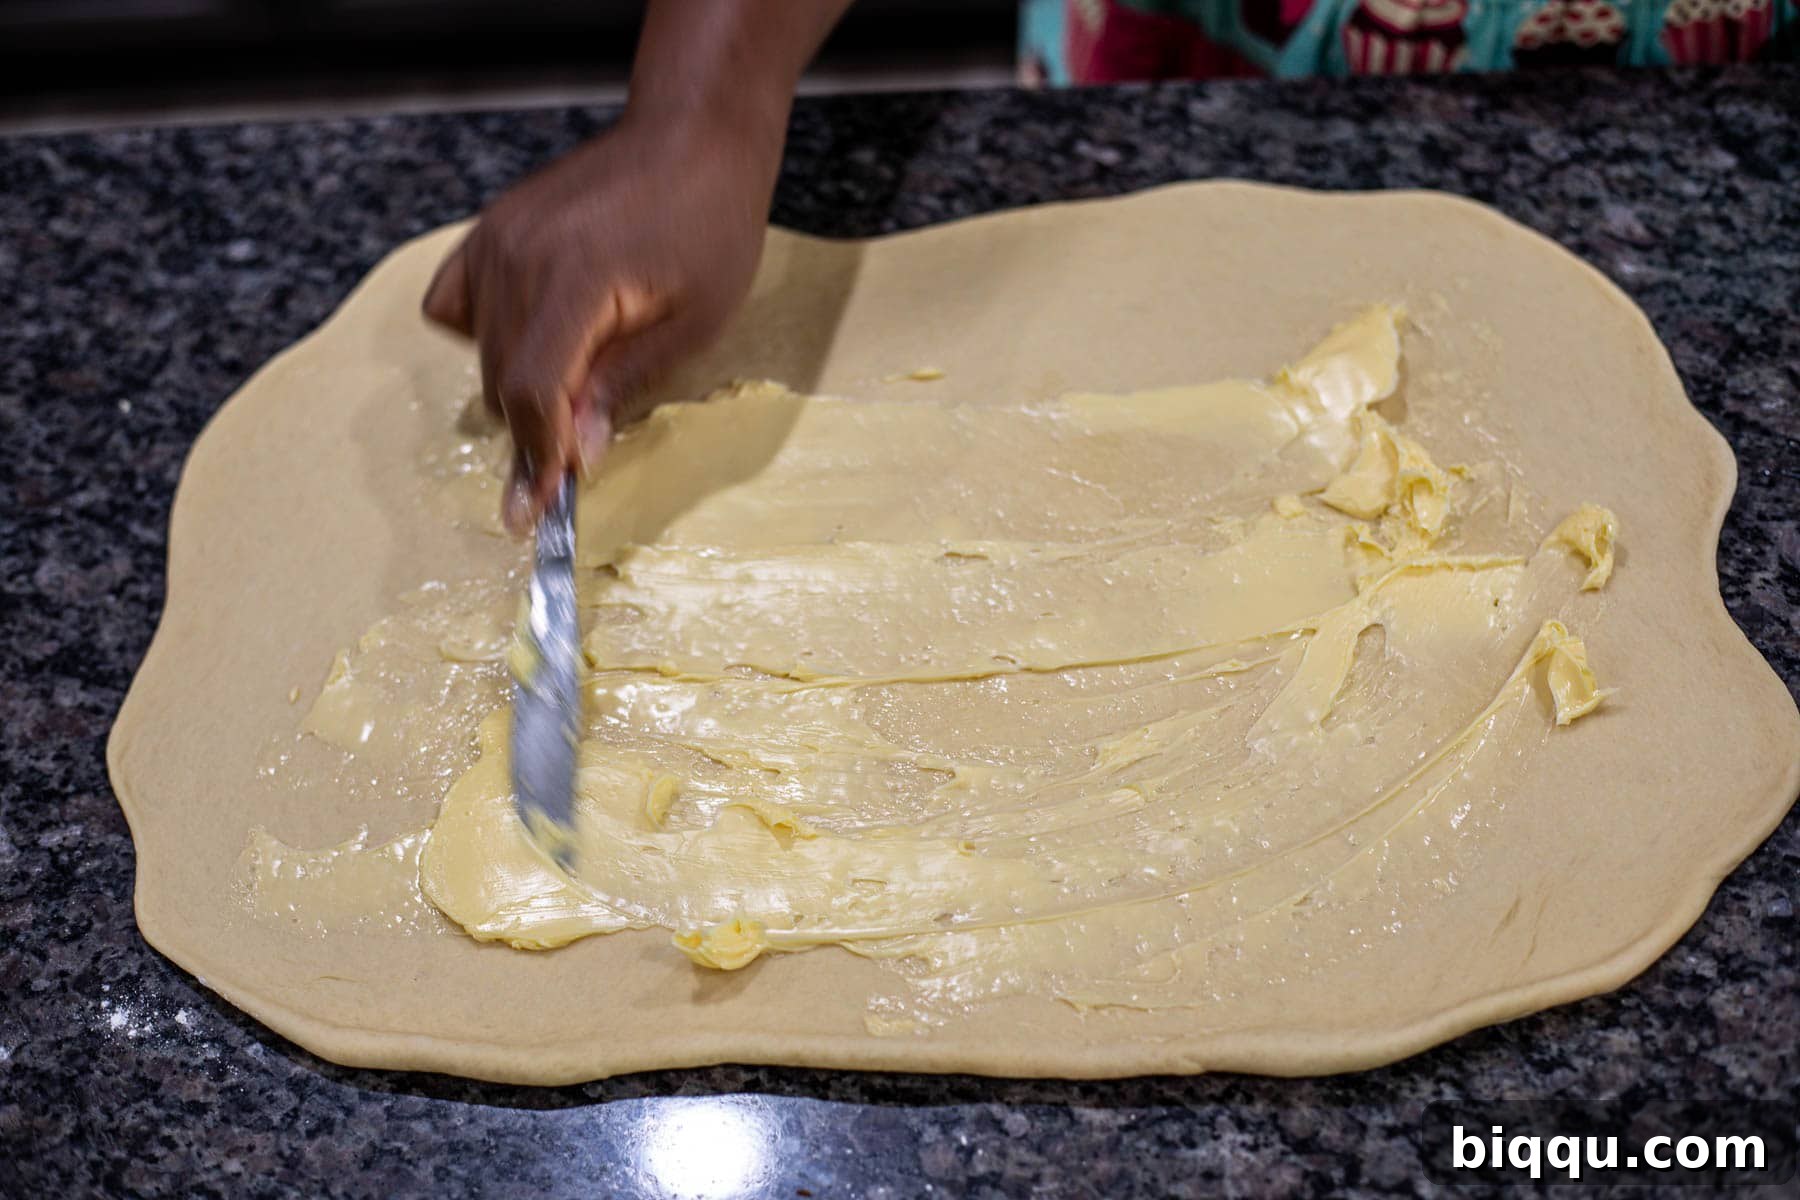
- 6. Spread the Softened Butter: Evenly dot the surface of the rolled-out dough with the softened butter designated for the filling. Using a butter knife or an offset spatula, carefully spread the butter across the entire surface of the dough, making sure to leave a small, clean 1-inch border along one of the longer edges. This border will help seal the roll.
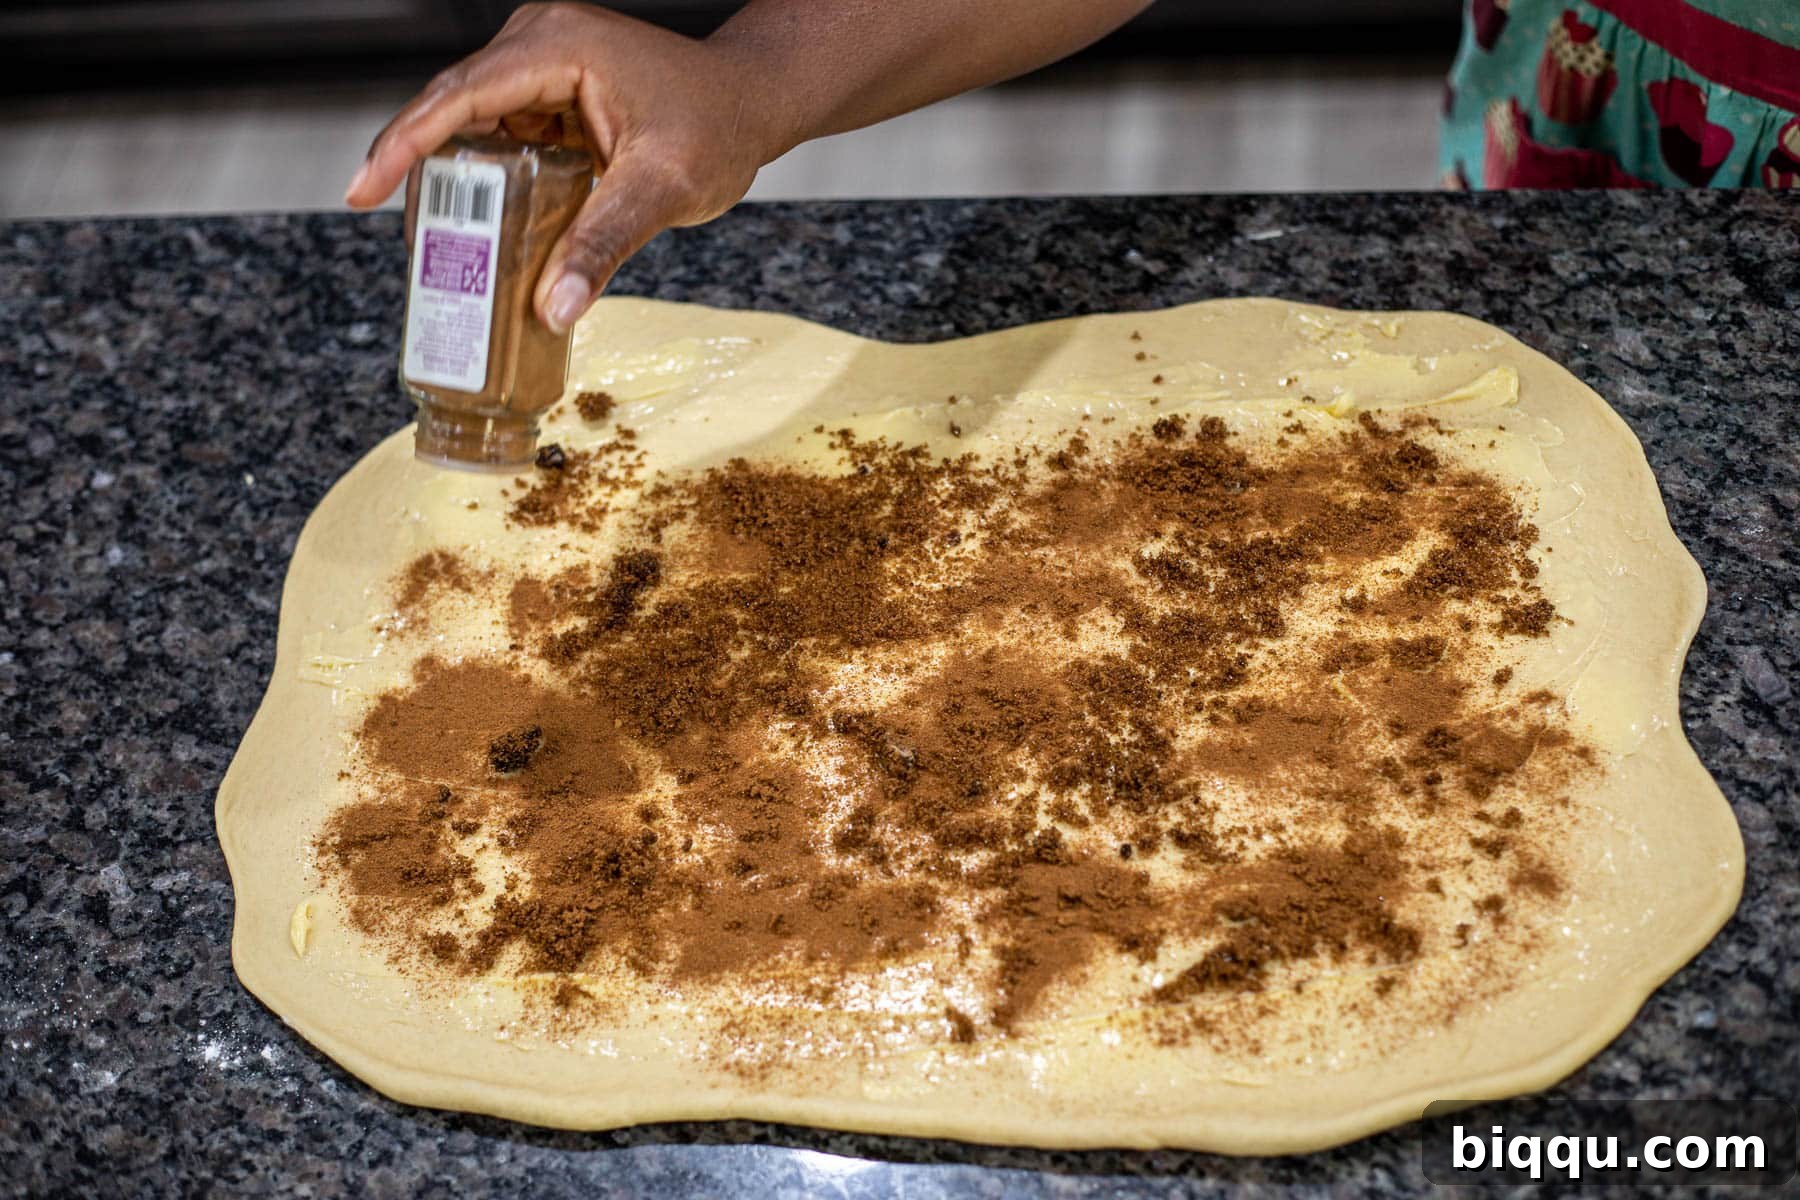
- 7. Sprinkle with Cinnamon-Sugar Filling: Generously and evenly sprinkle the brown sugar over the butter-coated dough. Follow with a thorough dusting of ground cinnamon, ensuring every part of the buttered surface (except for that 1-inch border) is covered. This creates the rich, fragrant core of your cinnamon rolls.
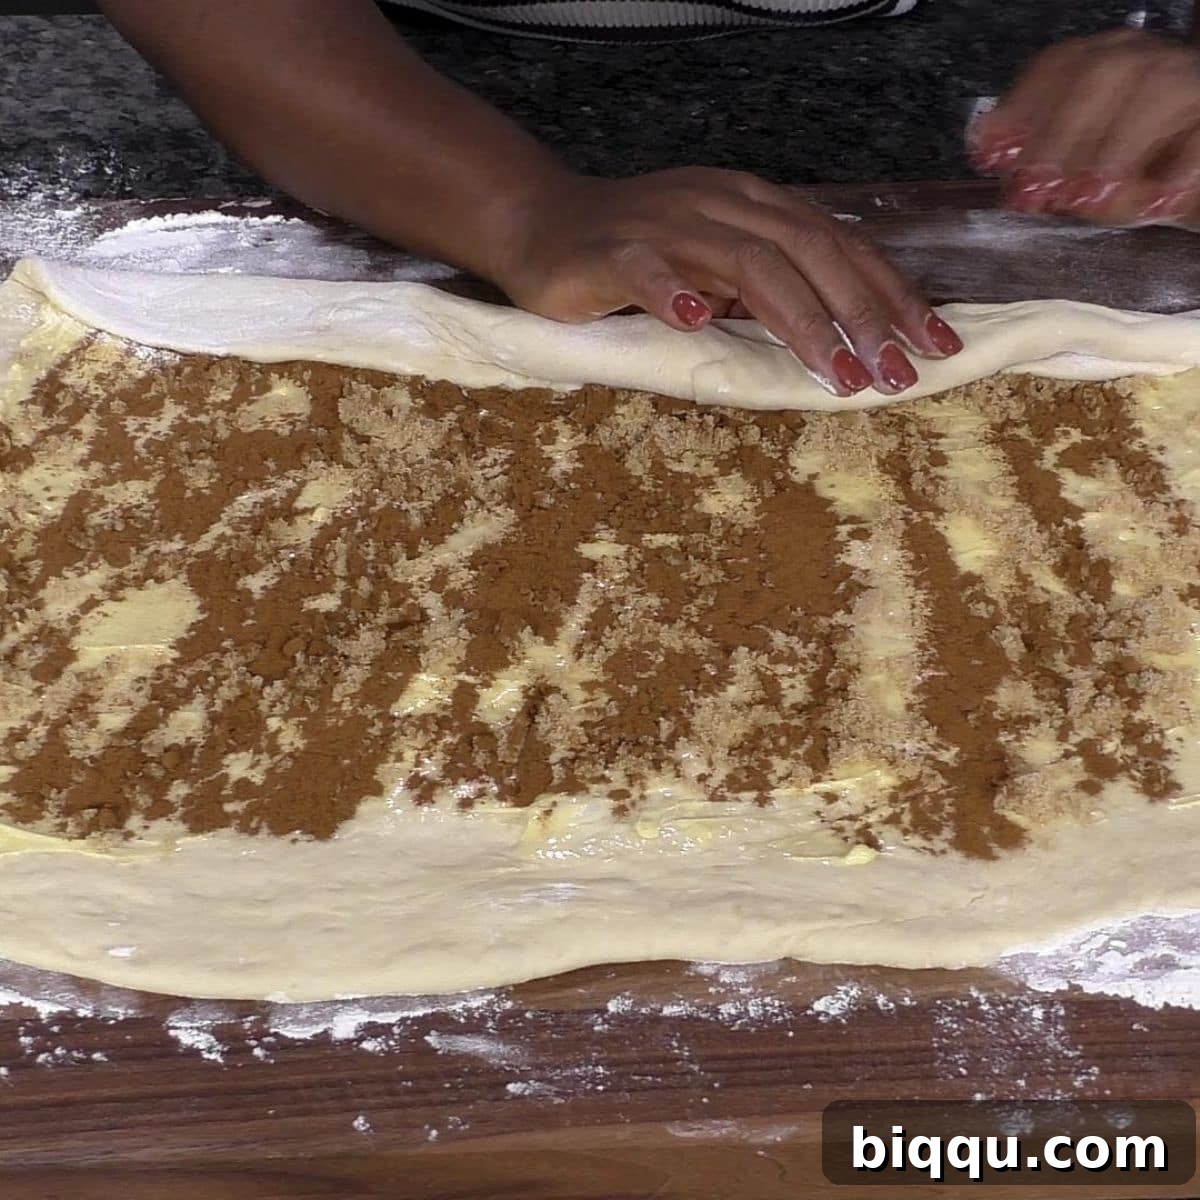
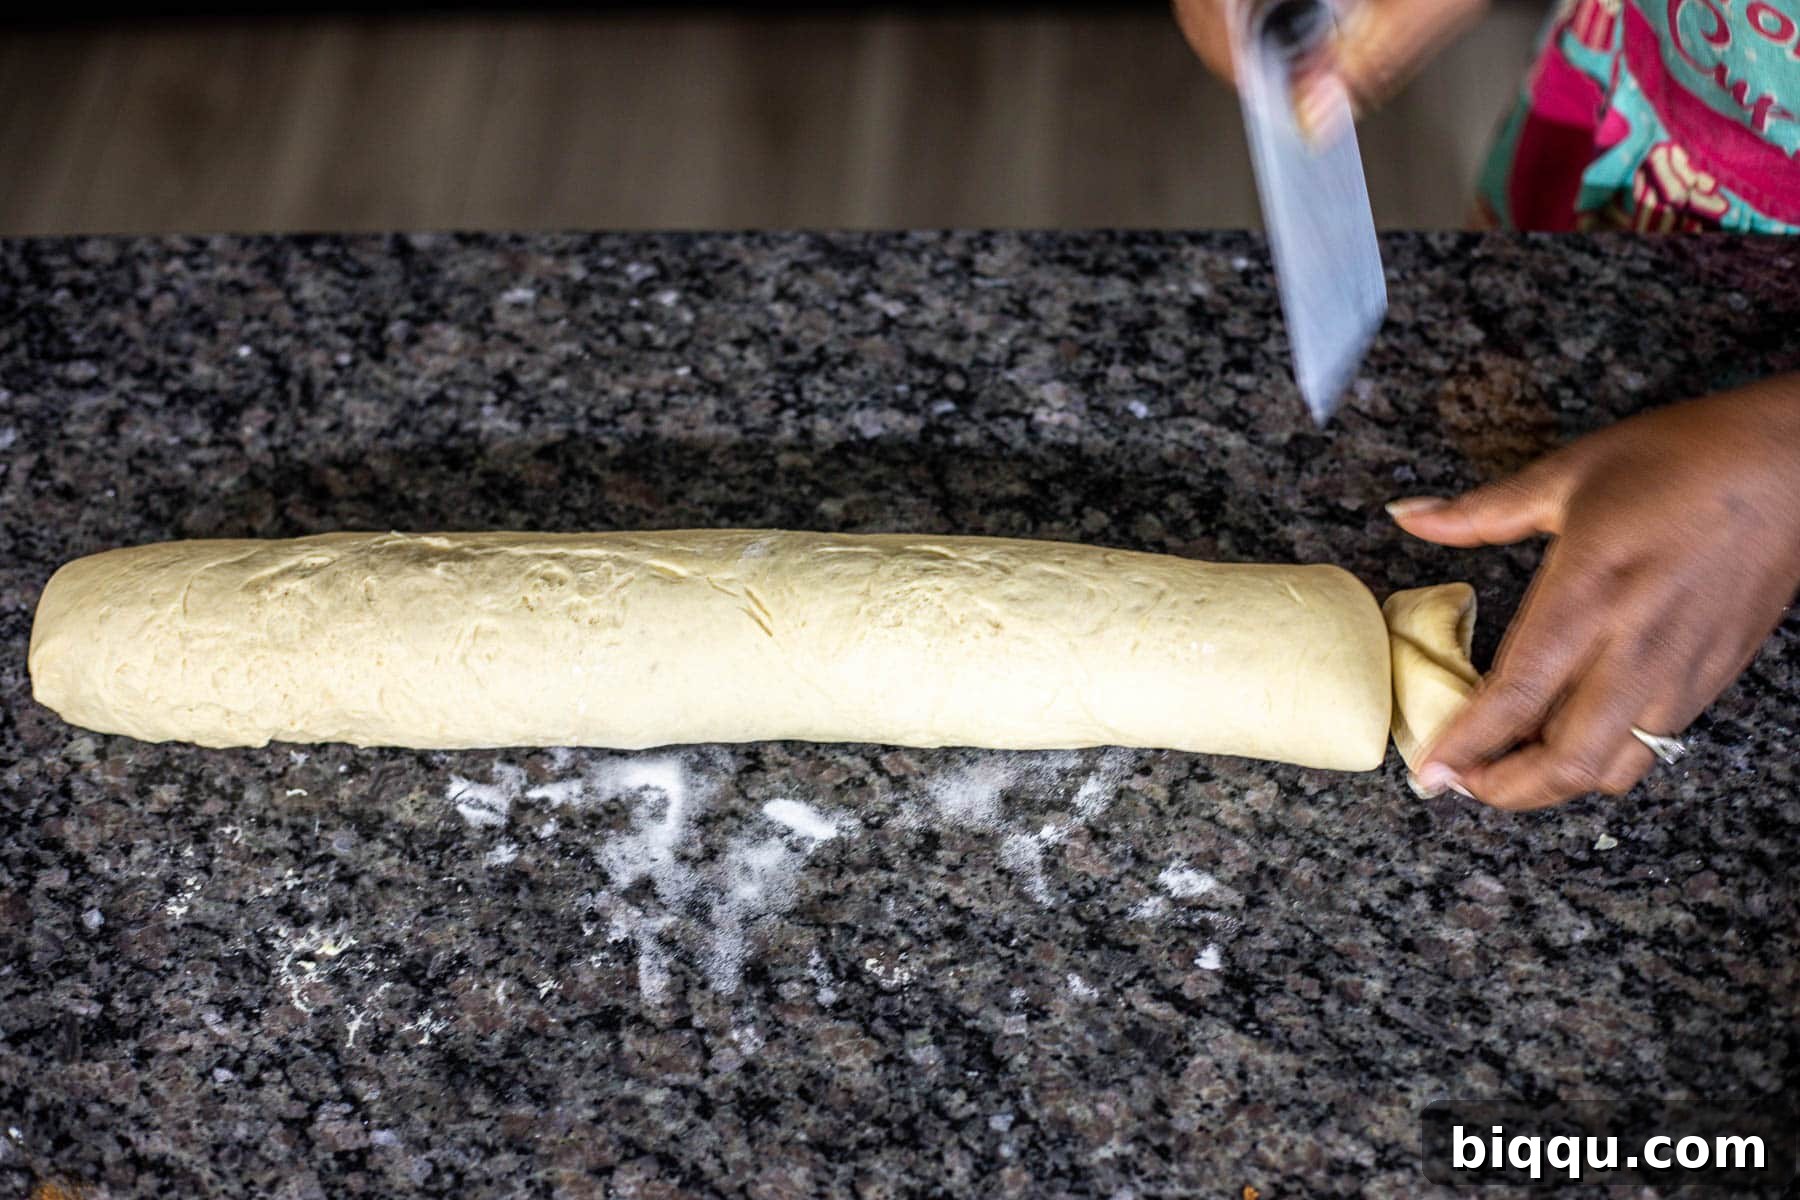
- 8. Roll and Trim the Dough: Starting from the longer edge opposite the 1-inch clean border, carefully and tightly roll the dough into a log. A tighter roll ensures more beautiful, defined spirals in your baked rolls. Once rolled, use a sharp knife or a dough scraper to trim about ½ inch off each end of the log. This creates neat, even edges for your rolls. Don’t discard these trimmed ends; you can bake them off separately as a little treat!
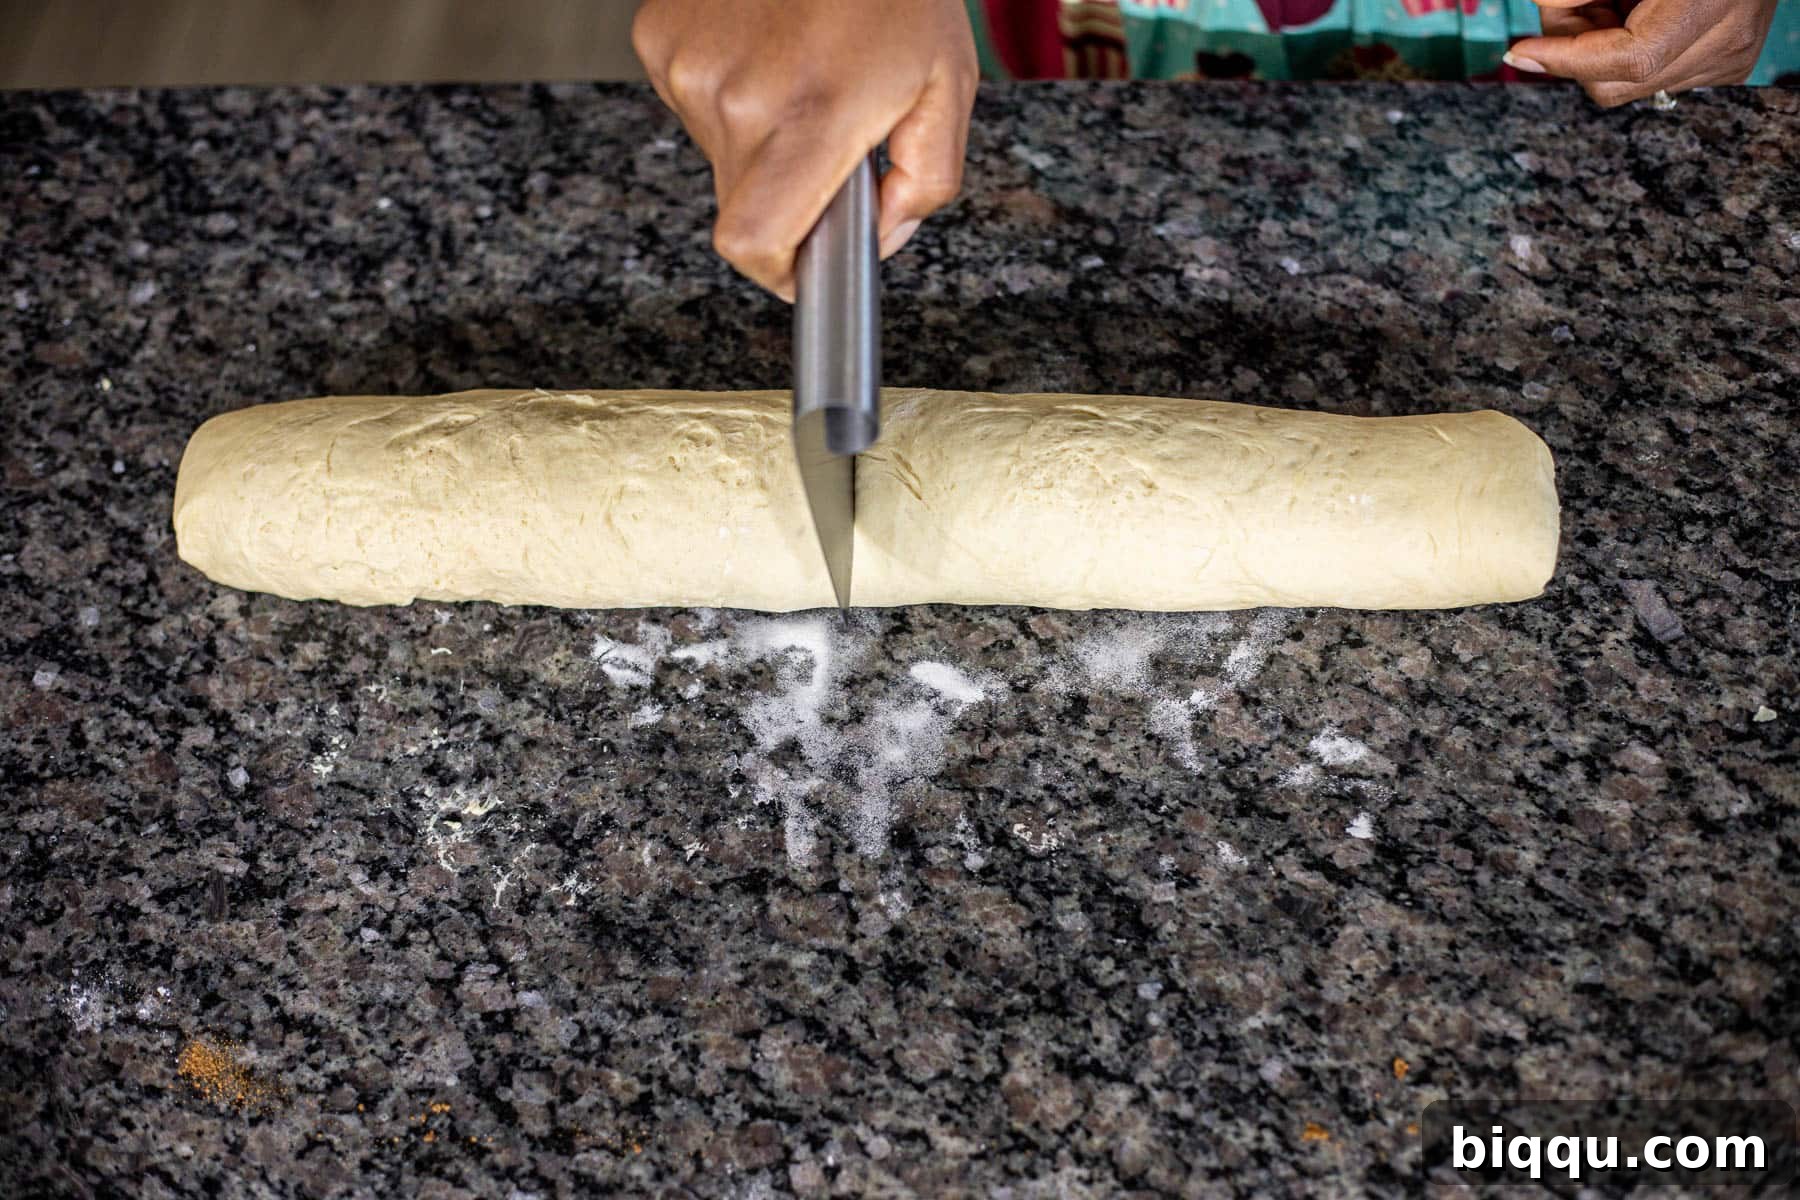
- 9. Cut the Log into Rolls: With your log trimmed, it’s time to divide it into individual cinnamon rolls. To achieve 12 equal pieces, first cut the log exactly in half. Then, cut each of those halves in half again, creating four equal sections. Finally, cut each of these four sections into three equal pieces, resulting in 12 perfectly sized rolls. For slightly smaller rolls, you could cut the dough into 16 pieces using a similar method.
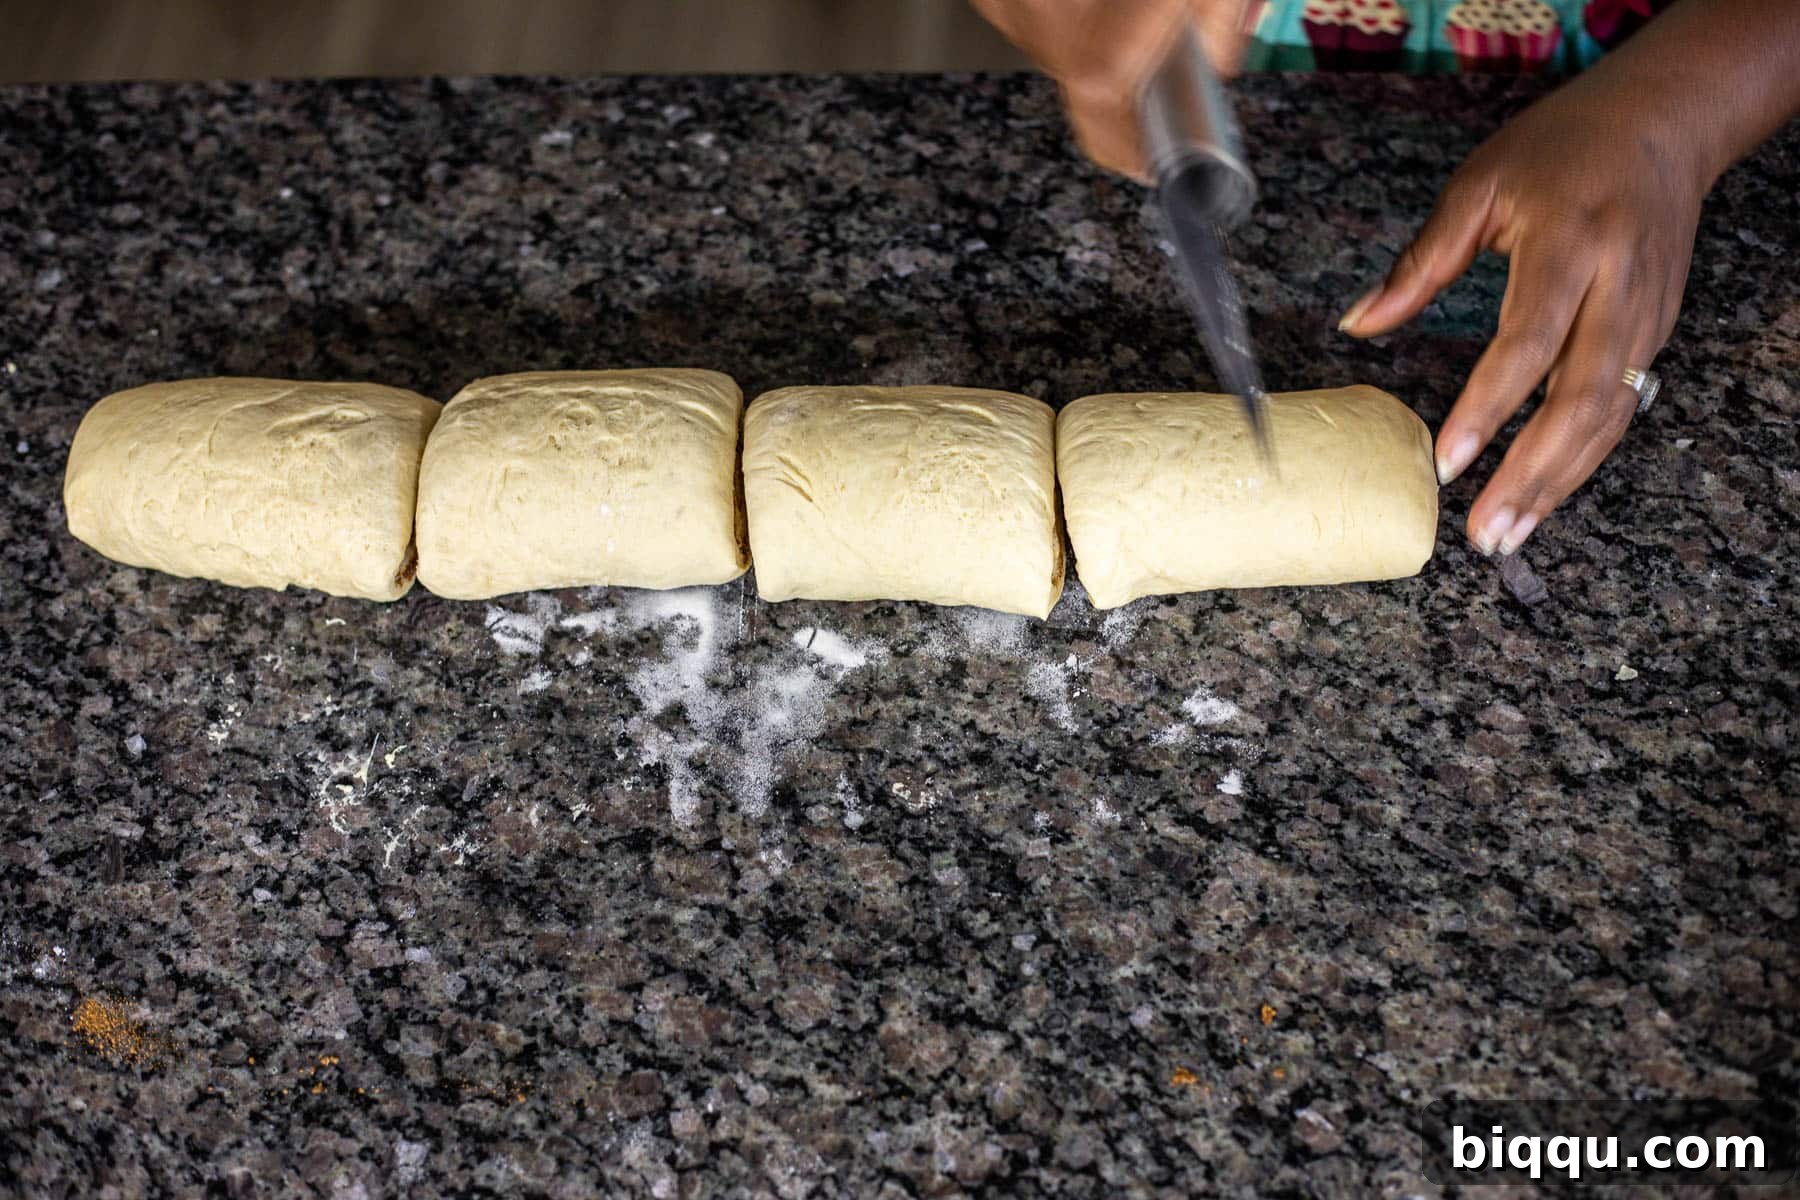
Cutting Tip: For exceptionally clean cuts and to avoid squishing your beautifully rolled dough, you can also use unflavored dental floss! Simply slide a piece of floss under the log, cross the ends over the top, and pull to slice through.
- 10. Arrange Rolls in Baking Dish: Carefully transfer each cut cinnamon roll into your prepared 9×13 inch buttered baking dish.
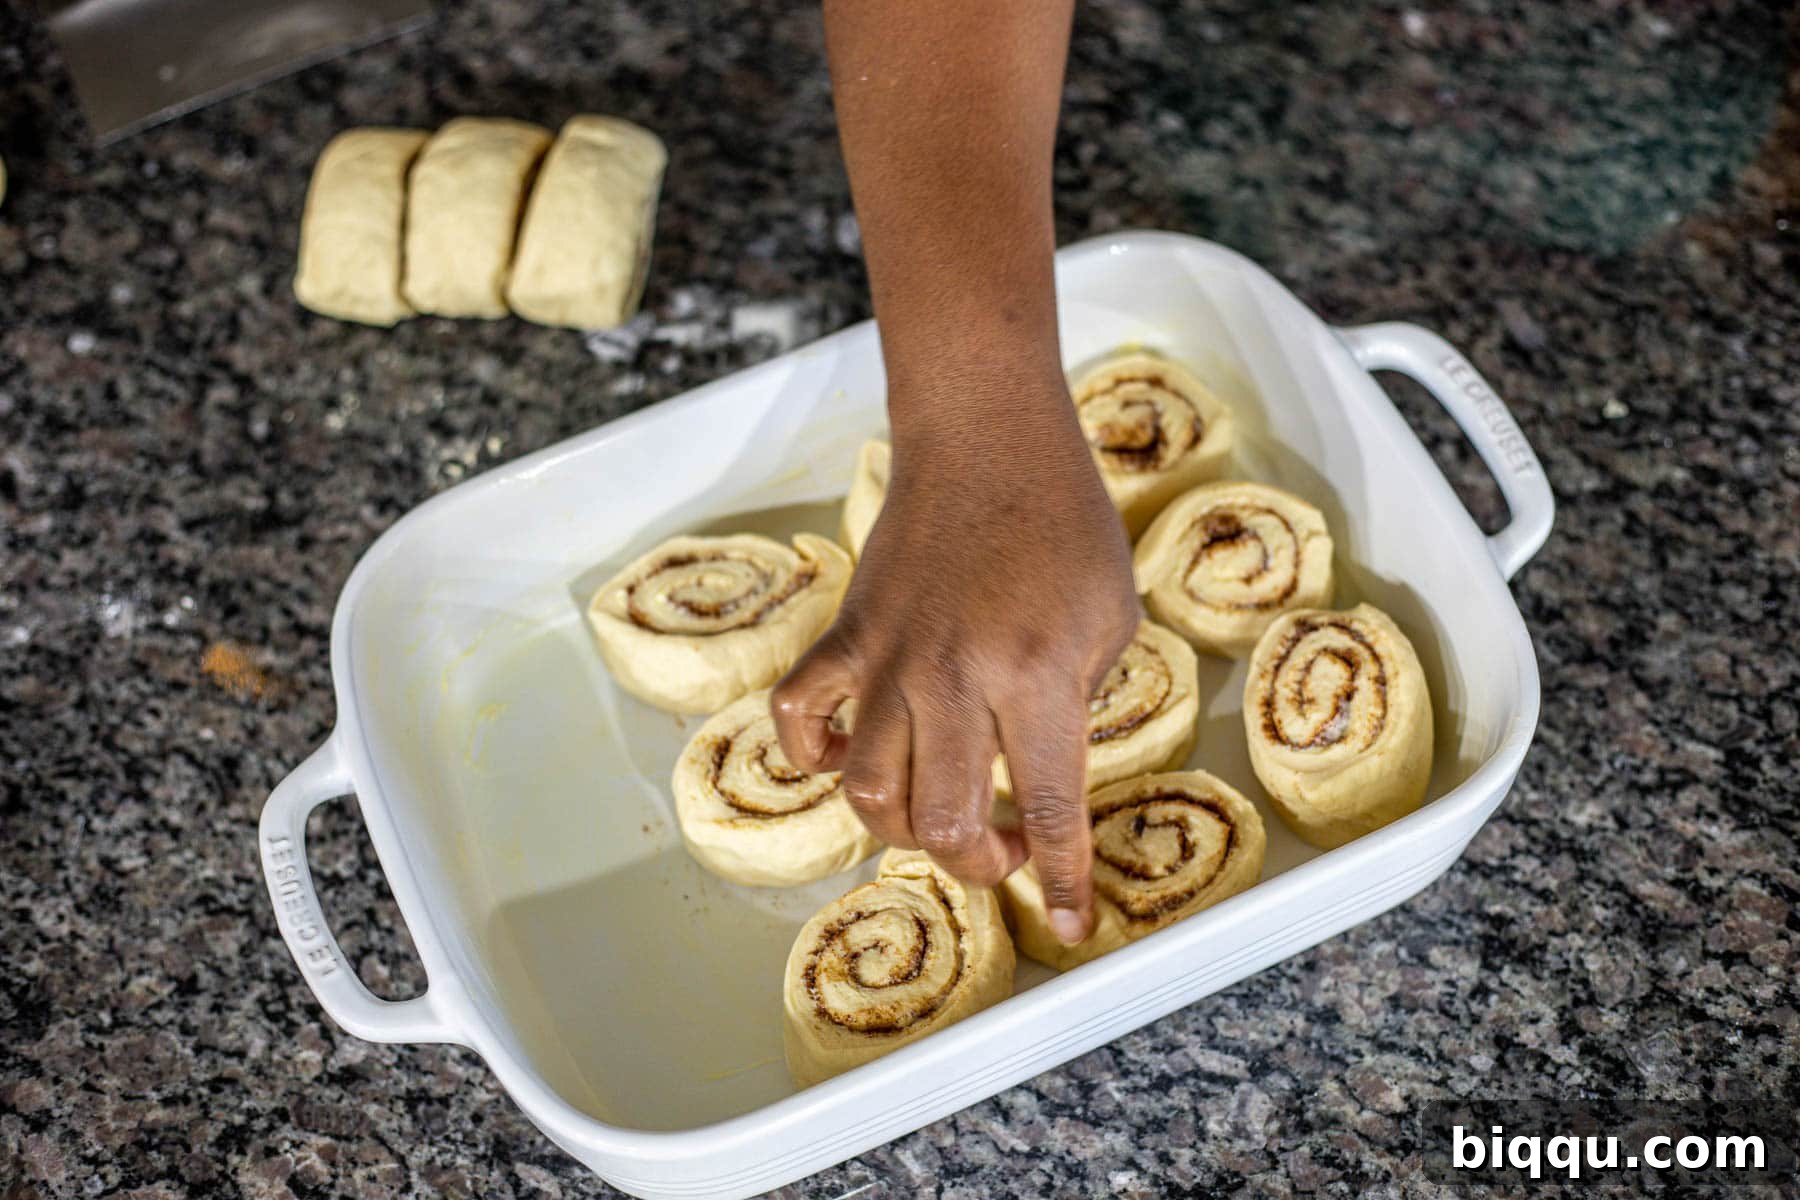
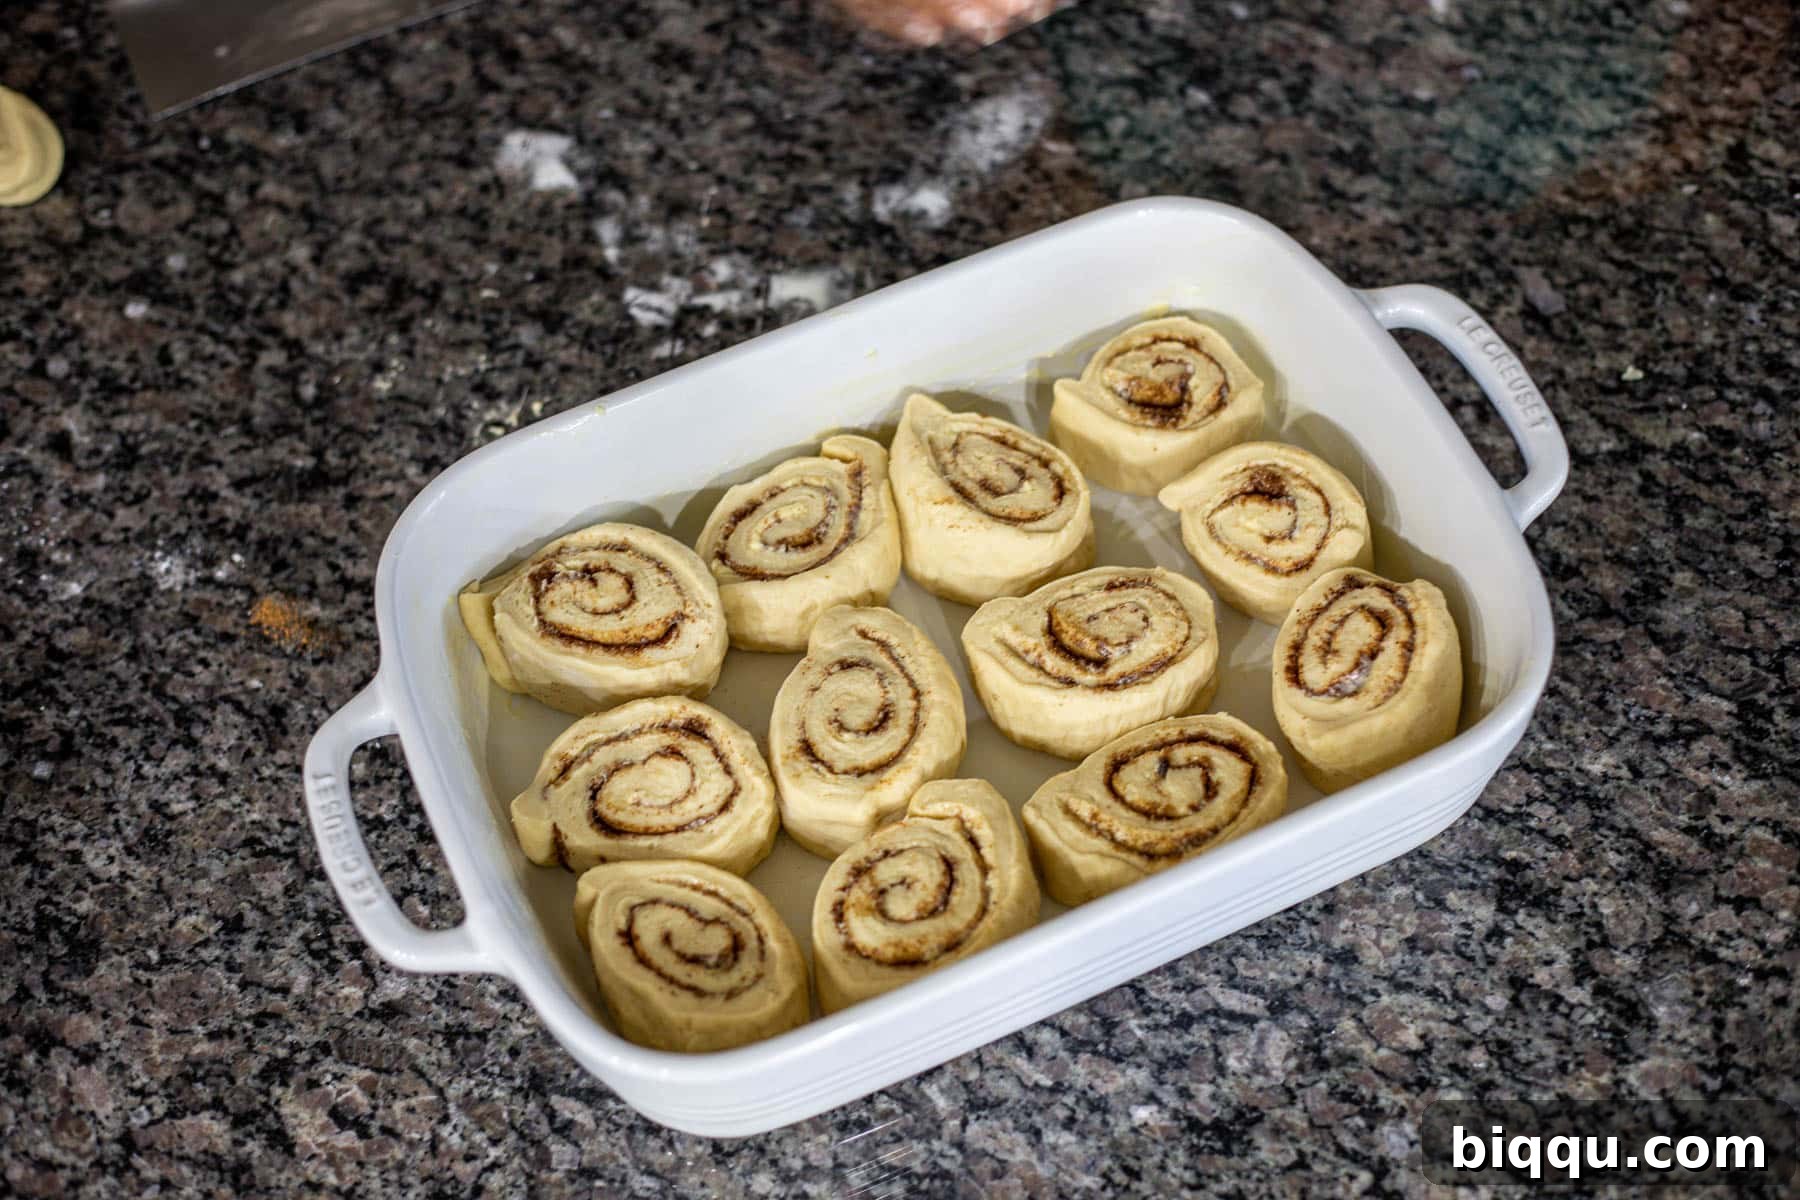
Spacing for Success: When placing the rolls into the baking dish, ensure you leave a little space between each one. This allows them adequate room to expand and rise during their second proofing, leading to perfectly fluffy results.
- 11. Second Rise (Proofing in Pan): Cover the baking dish with a clean kitchen towel or plastic wrap. Place the rolls back in a warm, draft-free spot for their second rise, which typically takes about 30 minutes. The rolls should visibly increase in size and appear puffy, often touching each other in the pan, indicating they are ready for baking. You can use the same oven trick (oven off, light on) to speed up this process.
- 12. Preheat Oven and Bake: While your rolls are finishing their second rise (or immediately after removing them from the oven if they were rising there), preheat your oven to 350°F (175°C). Once preheated and the rolls have adequately risen, place the baking dish into the oven. Bake for 20 to 25 minutes, or until the tops are beautifully golden brown and the edges feel firm to the touch, ensuring they are cooked through and no longer doughy in the center.
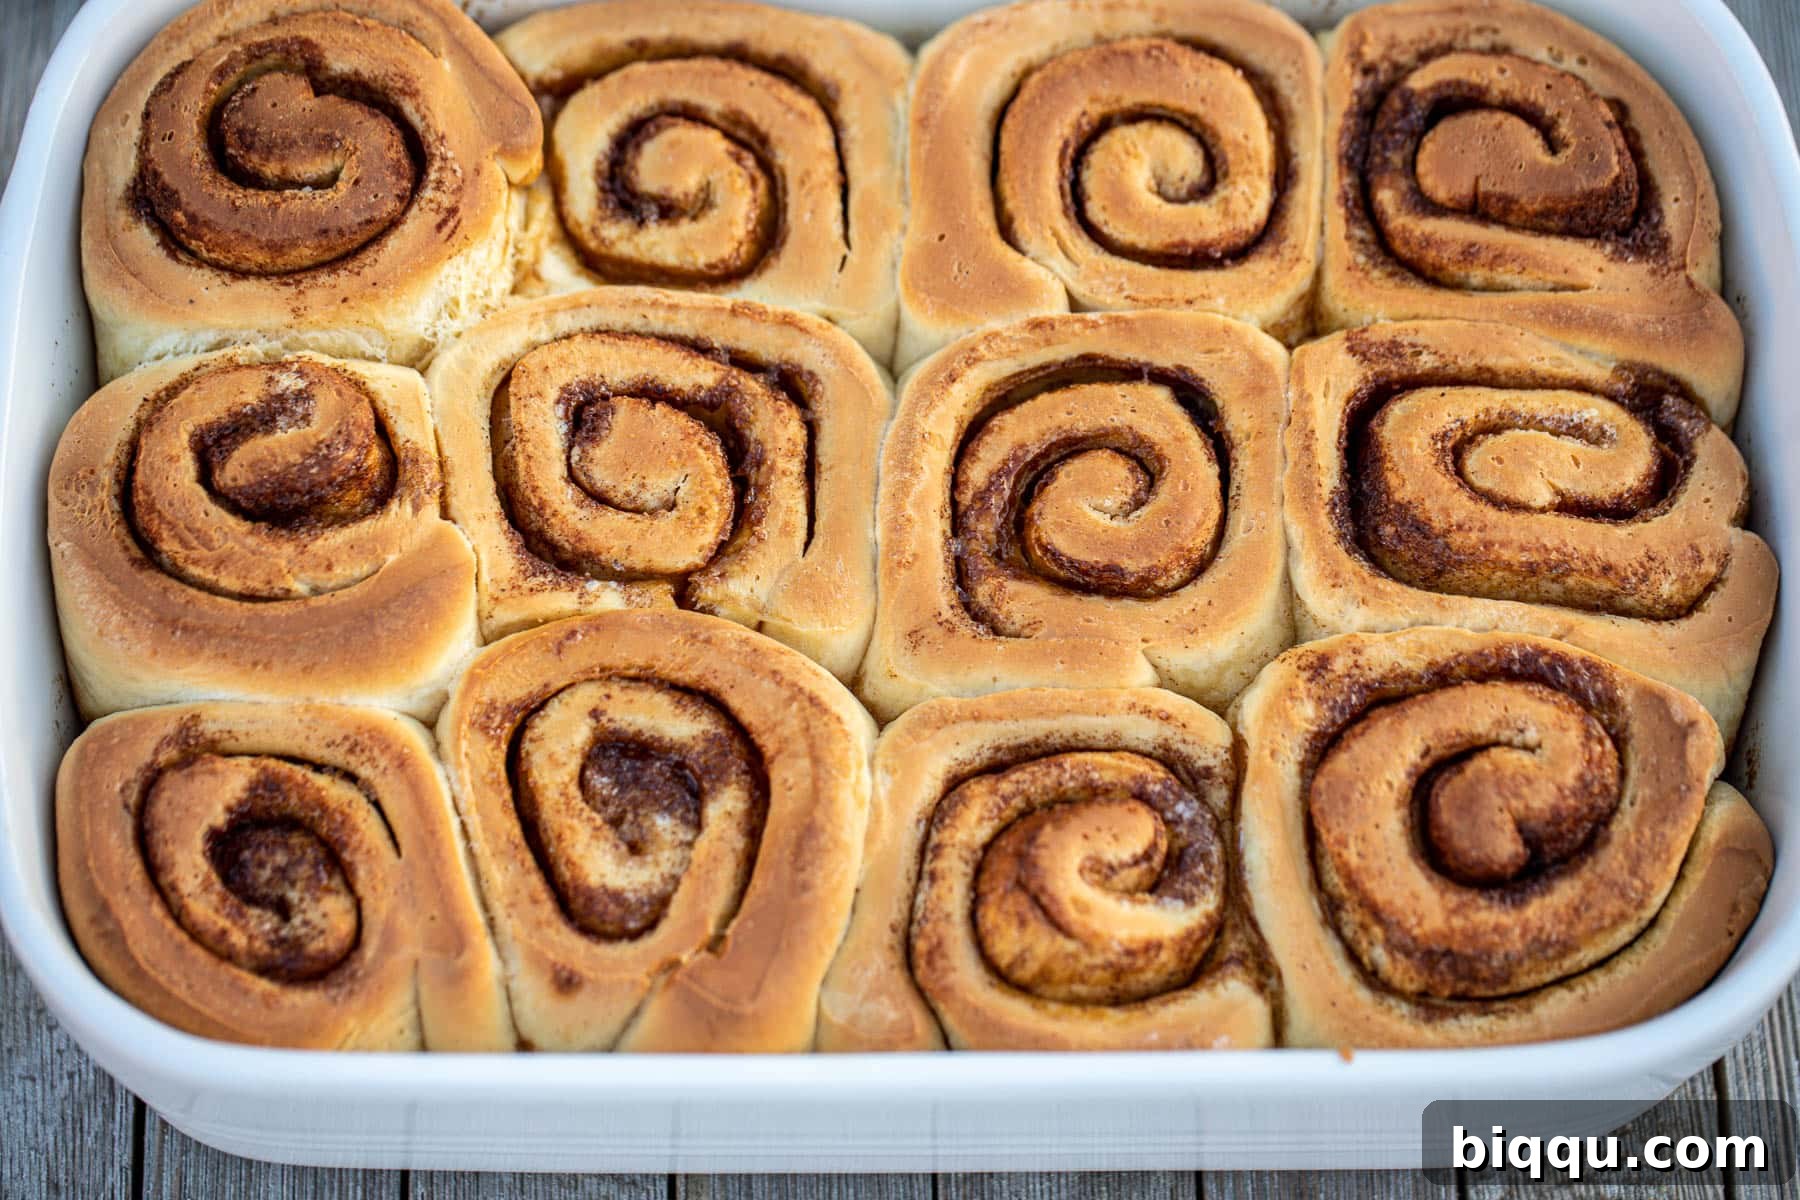
- 13. Prepare the Whipped Cream Cheese Frosting: While the cinnamon rolls are baking, or just as they come out of the oven, combine all the ingredients for the cream cheese frosting (softened cream cheese, softened butter, powdered sugar, and vanilla extract) in a medium mixing bowl. Using an electric handheld mixer or a stand mixer with the whisk attachment, beat on low speed until just combined, then increase to medium speed. Continue whipping until the frosting is incredibly smooth, fluffy, and visibly light and aerated.
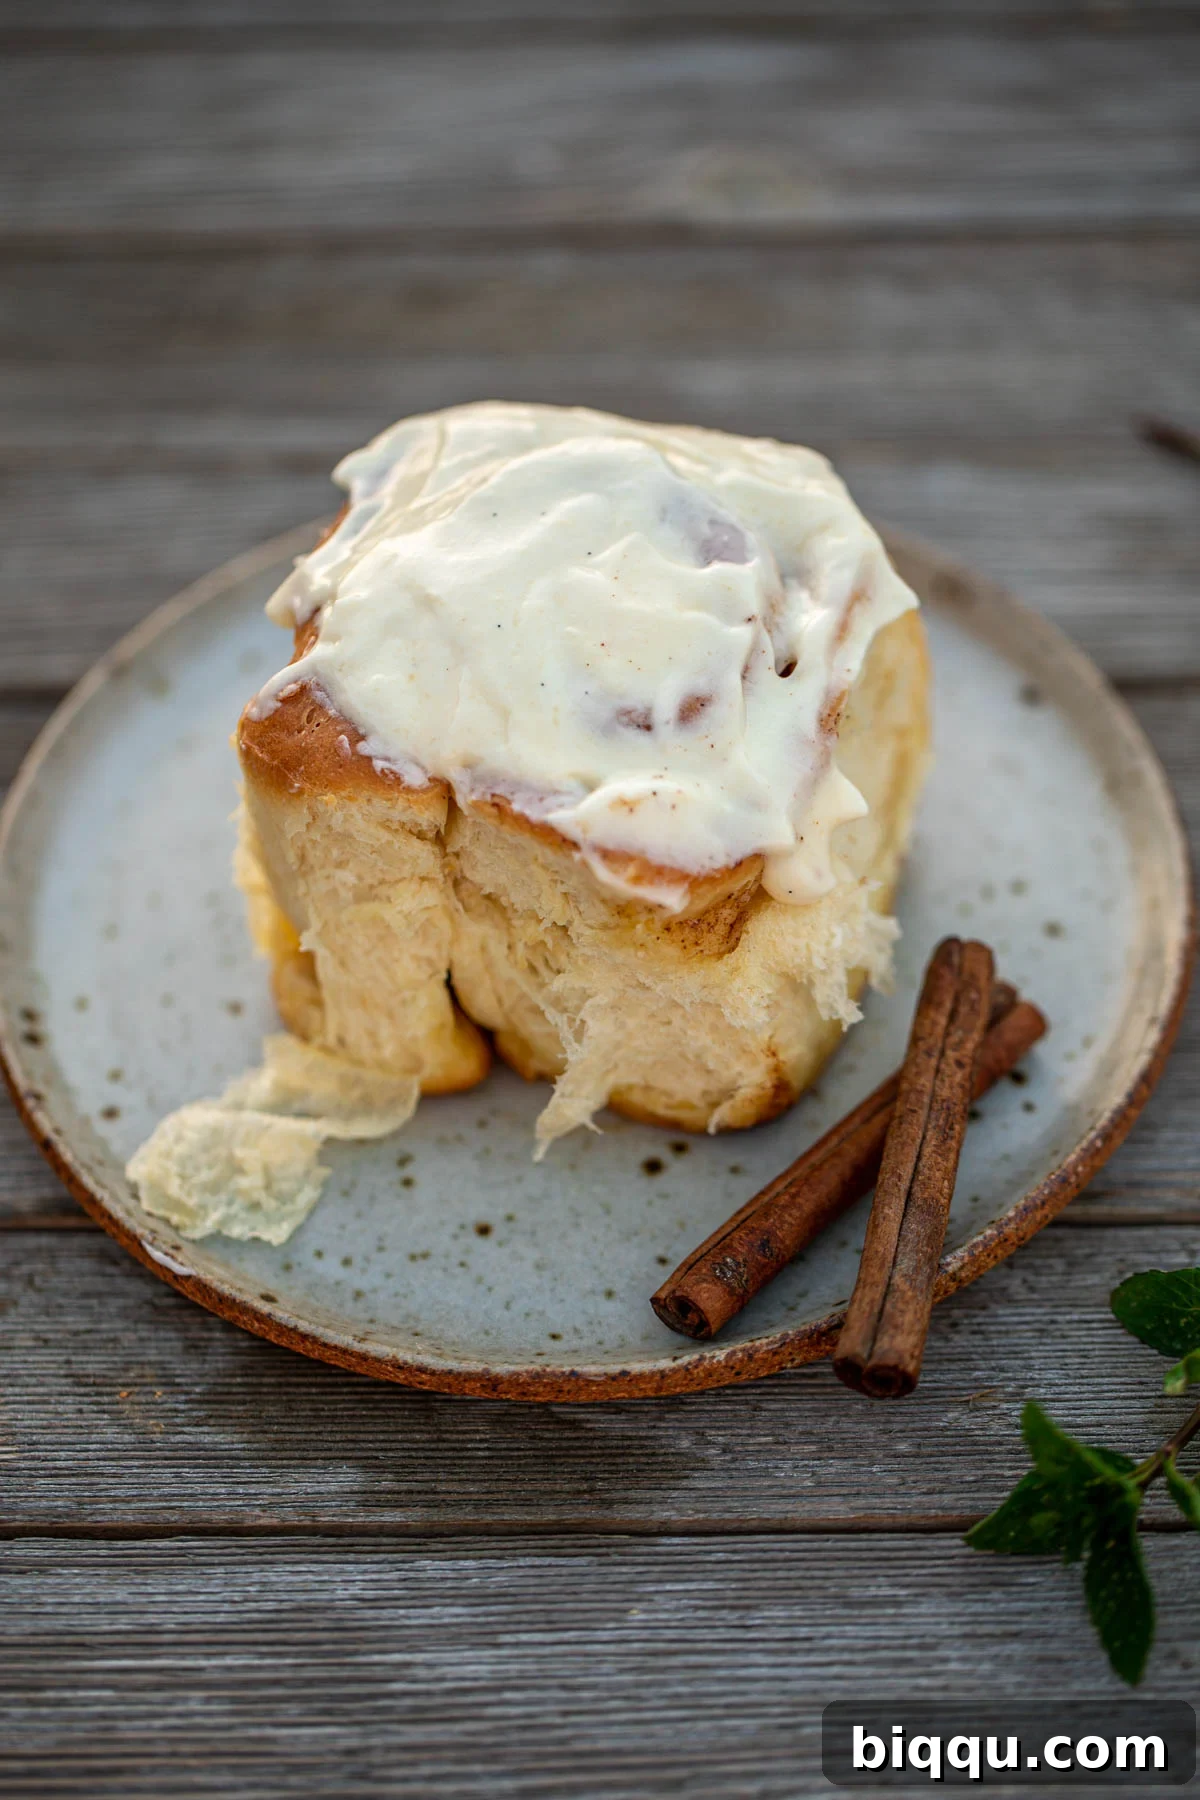
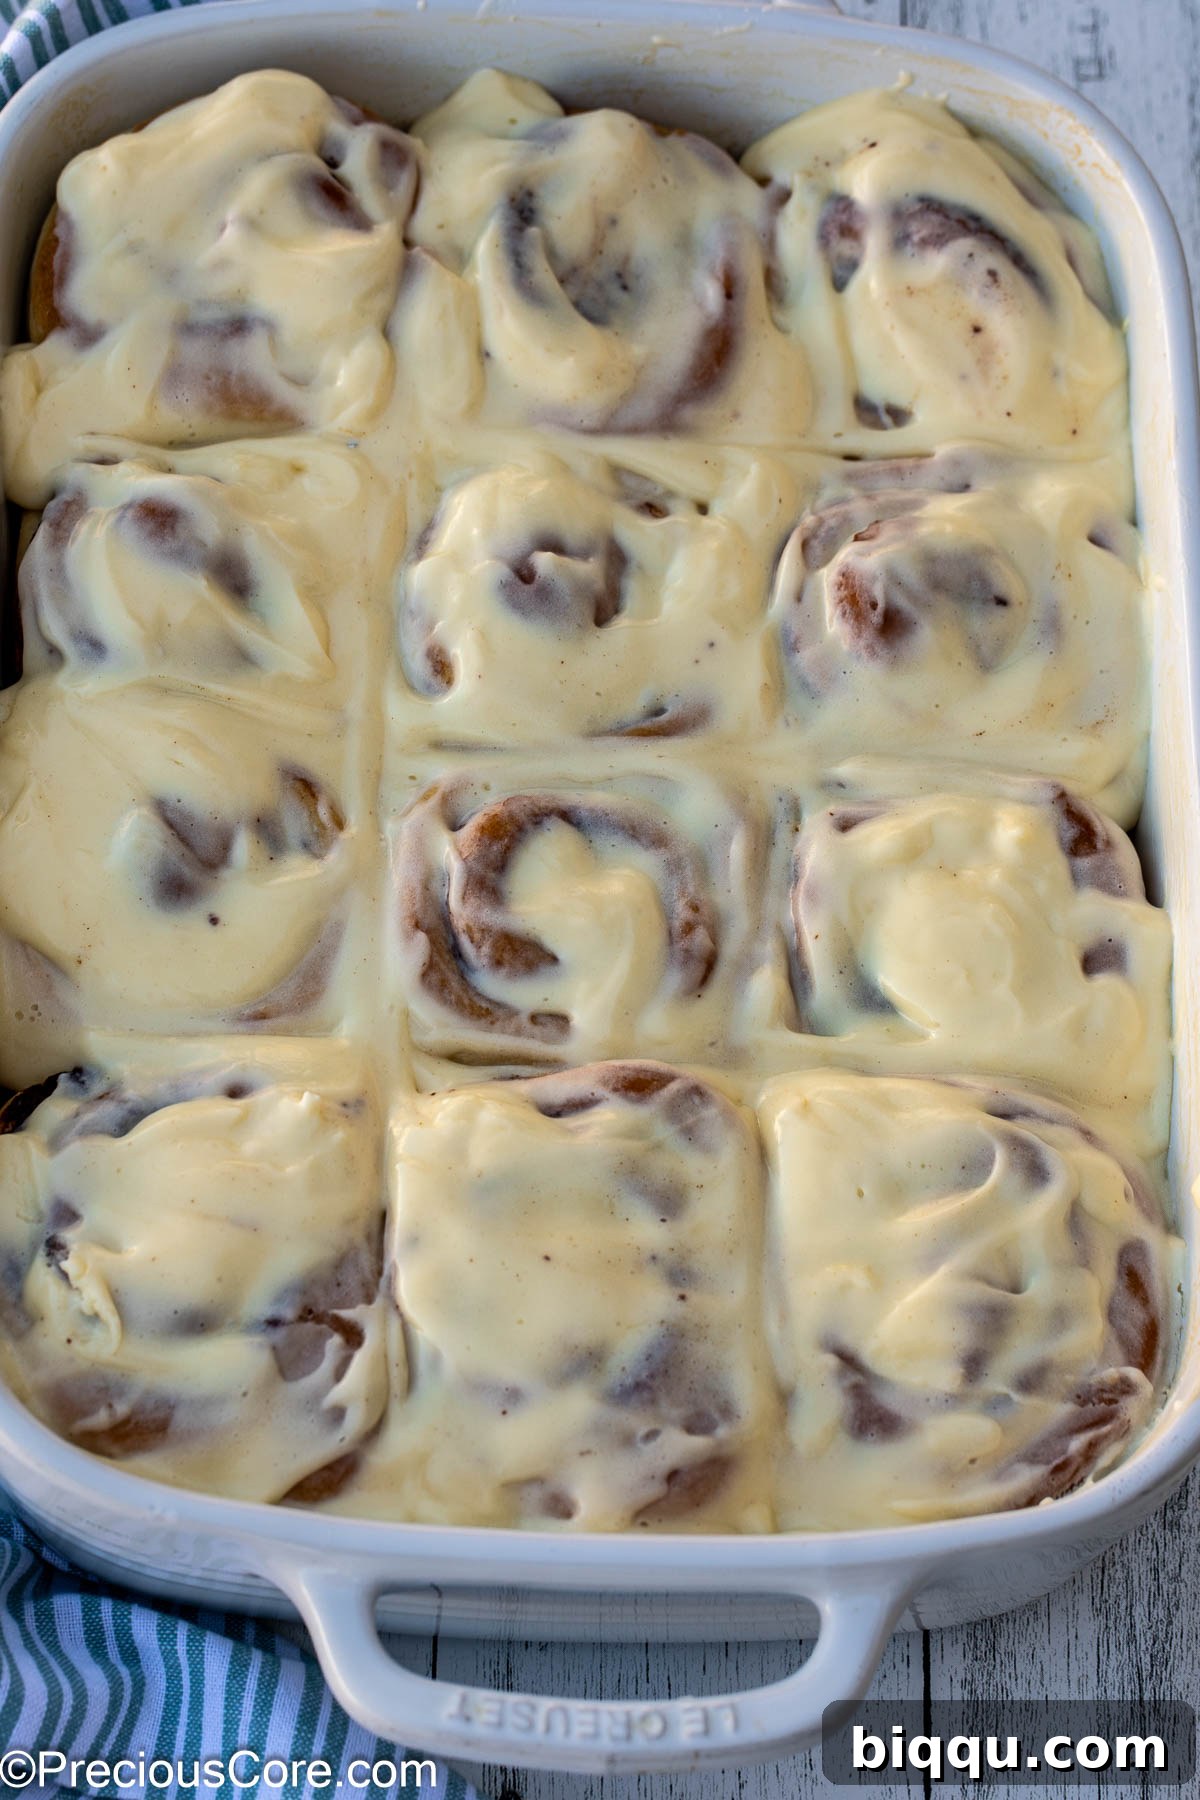
- 14. Frost and Serve Warm: As soon as the freshly baked, golden-brown cinnamon rolls emerge from the oven, generously spread the whipped cream cheese frosting evenly over the warm rolls. The heat from the rolls will slightly melt the frosting, allowing it to gracefully seep into every delectable crevice. This creates an unparalleled level of moisture and flavor. Serve these glorious cinnamon rolls immediately while they are still warm for a truly heavenly experience!
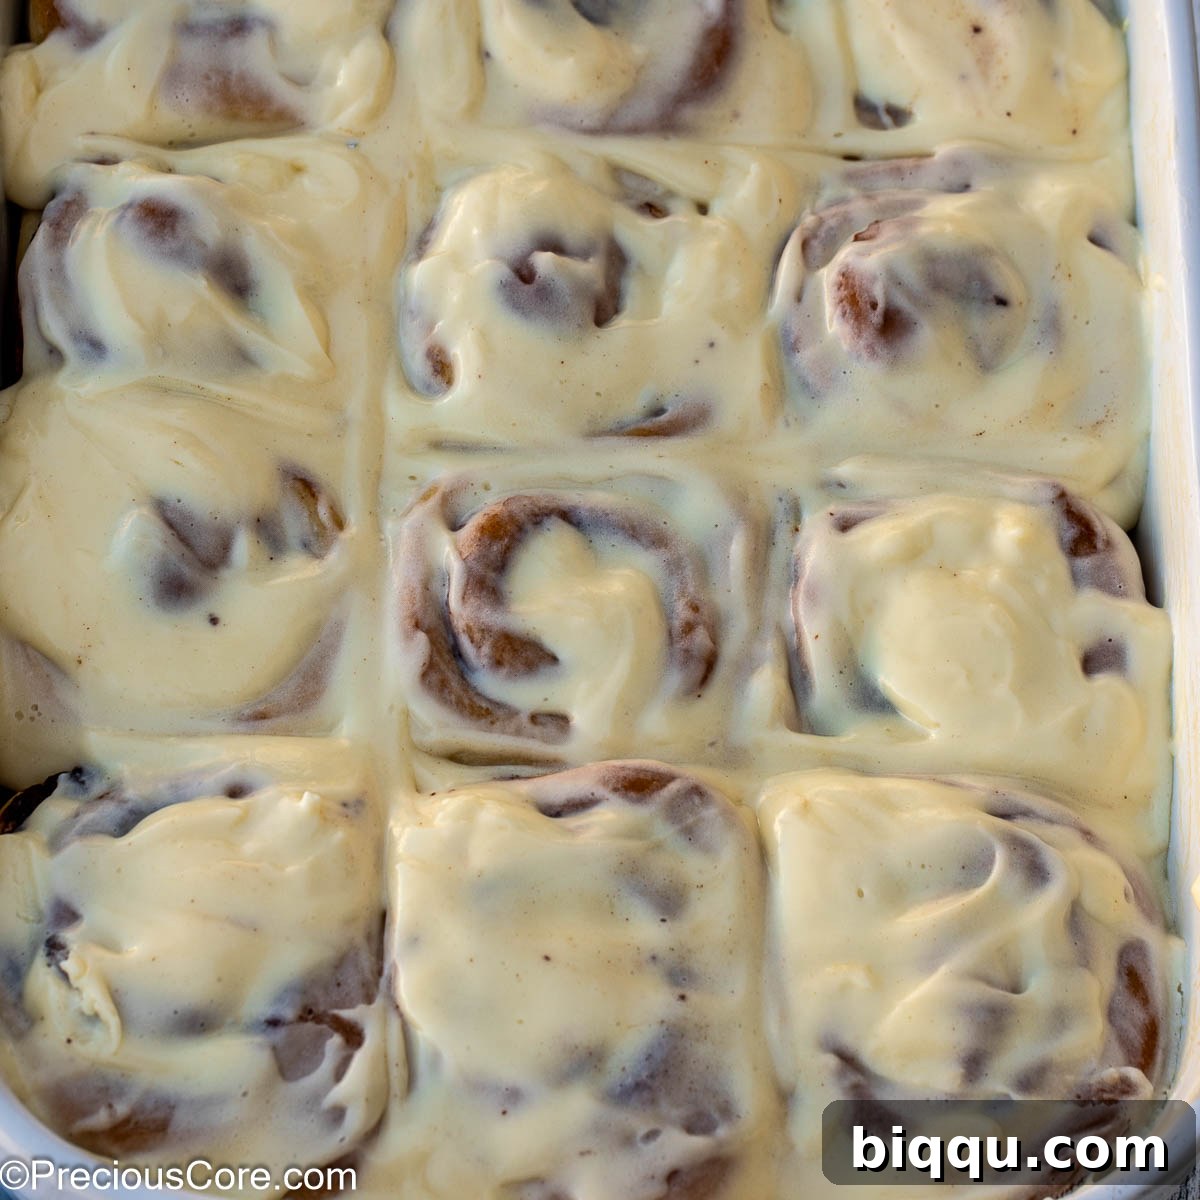
Pro Rolling Tip: When rolling out your dough, aim for a consistently even thickness across the entire rectangle. This simple tip is crucial for ensuring that all your individual rolls are uniform in size and bake evenly, giving you a perfect batch every time.
Recipe Frequently Asked Questions
Absolutely! Freezing cinnamon rolls with cream cheese frosting is a fantastic way to enjoy them later. First, allow the baked and frosted rolls to cool completely to room temperature. Then, place them in a freezer-safe container with a tight-fitting lid, or wrap them individually in plastic wrap and then place them in a larger freezer bag. They can be frozen for up to 3 months.
To maintain their freshness and delightful texture, store your cinnamon rolls in an airtight container in the refrigerator for up to 5 days. For reheating, individual rolls can be gently warmed in the microwave for about 15-20 seconds. This will bring back their wonderful fluffiness. Be cautious not to microwave for too long, as they can become tough. Alternatively, to reheat in the oven, preheat it to 300°F (150°C) and warm the rolls for about 10 minutes, or until they are heated through and soft.
Cream cheese frosting elevates cinnamon rolls to an entirely new level. Its inherent tanginess provides a vibrant contrast to the sweetness of the rolls and the warmth of the cinnamon, preventing the overall experience from being overly sugary. This balance of sweet, spicy, and tangy, combined with its luxurious richness and creamy texture, creates a more complex and utterly addictive flavor profile that truly enhances the cinnamon roll experience compared to other types of icing or frosting. Plus, cream cheese and cinnamon are a classic pairing for a reason!
Delicious Cinnamon Roll Variations to Try
While classic cinnamon rolls are divine, you can easily customize this recipe to explore new and exciting flavors. Here are a few irresistible variations:
- Zesty Lemon Rolls: For a bright and citrusy twist, substitute the ground cinnamon in the filling with finely grated lemon zest. Then, for the frosting, swap the vanilla extract for freshly squeezed lemon juice to give it a tangy kick.
- Vibrant Orange Rolls: Similarly, for a sunny orange flavor, replace the ground cinnamon in your filling with fresh orange zest. In the cream cheese frosting, use freshly squeezed orange juice instead of vanilla extract for a delightful citrus burst.
- Cozy Pumpkin Spice Rolls: Embrace the flavors of autumn by swapping the ground cinnamon in the filling for an equal amount of pumpkin spice blend. This will infuse your rolls with warm notes of cinnamon, nutmeg, ginger, and cloves, perfect for cooler weather.
- Maple Pecan Rolls (New!): For a truly decadent treat, add finely chopped pecans to your cinnamon sugar filling. For the frosting, reduce the vanilla extract slightly and add a tablespoon or two of pure maple syrup to the cream cheese mixture for a rich, autumnal flavor.
Cinnamon Rolls Expert Tips for Bakery-Quality Results
Achieving cinnamon roll perfection is all about attention to detail. These expert tips will help you master this recipe and impress everyone who tastes your creations:
- Prioritize High-Quality Ingredients: The foundation of exceptional cinnamon rolls lies in the quality of your ingredients. Opt for good quality flour, fresh yeast, rich butter, and aromatic cinnamon powder. Using organic cinnamon powder, for instance, can significantly elevate the spice flavor and set your rolls apart from the rest.
- Prepare Ahead for Convenience: This recipe is wonderfully adaptable for making ahead. Follow all the steps up to placing the cut rolls into the buttered baking pan. Crucially, skip the first rising time. Instead, wrap the pan tightly with plastic wrap and let the rolls slowly proof in the refrigerator overnight. The next morning, remove the pan from the fridge and allow it to come to room temperature for about an hour before proceeding to bake and frost as the recipe instructs. This makes for a stress-free morning treat!
- Patience is Key for Proper Rising: Do not rush the rising process. Allowing the dough to proof properly is critical for achieving that light, fluffy texture. A clear indication that your rolls have risen sufficiently is when they have approximately doubled in size and are gently touching each other in the baking dish.
- Address Uneven Rising During Baking: Sometimes, the very middle parts of some rolls might rise a bit higher than the others during baking. Don’t worry! Once the rolls are out of the oven and still warm, you can gently push down on any excessively risen centers with the back of a spoon or your clean fingers. This creates a flatter surface, perfect for frosting evenly.
- Frost Warm for Ultimate Indulgence: This is a non-negotiable tip for the best experience! Frost your cinnamon rolls as soon as they come out of the oven. The warmth of the rolls will cause the cream cheese frosting to slightly melt and seep into all the delightful crevices, creating a moister, more flavorful, and utterly decadent roll that’s pure heaven.
- Accurate Measuring Matters: Especially when it comes to flour, measuring accurately is crucial. Too much flour can result in dense, dry rolls. Use the “spoon and level” method: spoon flour into your measuring cup and then level it off with a straight edge, rather than scooping directly from the bag.
- Don’t Overbake: Overbaking is the enemy of soft cinnamon rolls. Keep a close eye on them towards the end of the baking time. They should be golden brown and cooked through, but not hard or excessively browned, which indicates dryness.
More Great Breakfast Recipes
- Easy Quiche Recipe
- My Favorite Hot Cross Buns
- Homemade Buttermilk Biscuits
- Banana Bundt Cake
- Potato Frittata
- Challah Bread Pudding
Watch How To Make Cinnamon Rolls
For a visual guide to perfecting these delightful treats, watch this comprehensive step-by-step video on how to make Cinnamon Rolls With Cream Cheese Frosting. Don’t forget to subscribe to my YouTube channel for more delicious recipes!
Subscribe to my channel for more delicious recipes!
Subscribe
What To Serve With Cinnamon Rolls
Scrambled Eggs With Vegetables
Coconut Hot Chocolate
Tropical Fruit Salad
Pineapple Ginger Juice
More Dessert Recipes
Strawberry Banana Pudding
Strawberry Cinnamon Rolls
Old Fashioned Carrot Cake
Red Velvet Cake Recipe Without Buttermilk
Southern Lemon Pound Cake Recipe
Pineapple Upside Down Cake
If you make this recipe, please consider leaving a star rating below. Your feedback helps others discover and enjoy this recipe, and I truly love hearing from you! Thank you!
Want to save this recipe for later? Bookmark this page or pin it to your favorite recipe board on Pinterest!
Cinnamon Rolls With Cream Cheese Frosting Recipe
Rate
Print Recipe
Equipment
-
Stand Mixer or Bread Machine For mixing dough
Ingredients
Rolls
- 1½ cups whole milk (sub with 2% milk)
- 2¼ teaspoons instant yeast or active dry yeast
- 3 Tablespoons granulated sugar, divided
- 1 teaspoon salt
- 3 Tablespoons unsalted butter, melted (Kerrygold brand is highly recommended)
- 1 large egg (room temperature)
- 4¾ cups all-purpose/plain flour (plus 1 Tablespoon more for dusting surface)
- 1 Tablespoon softened butter
- 2 Tablespoons more softened butter to butter mixing bowl and grease the baking pan
Filling
- 8 Tablespoons butter (softened at room temperature and spreadable)
- ¼ cup dark brown sugar (or light brown sugar)
- 2 Tablespoons ground cinnamon
Frosting
- 8 oz cream cheese, room temperature
- 8 Tablespoons butter, room temperature
- ¾ cup powdered sugar
- 2 teaspoons vanilla extract
Instructions
Rolls
-
Proof the yeast: Heat the milk in a small pot on medium heat or for about 1 minute in the microwave until it is slightly warm, ideally between 110° F – 115℉. Pour the warm milk into a large mixing bowl (if mixing by hand), the bowl of a stand mixer, or the bowl of a bread machine. Add the yeast and one tablespoon of granulated sugar. Stir gently to combine, and let it rest for 5-10 minutes. After this time, the yeast should form a creamy foam on the surface, which indicates it is active.
-
Make and knead the dough: To the milk/yeast mixture, add the remaining 2 Tablespoons of granulated sugar, melted butter, egg, salt, and half of the all-purpose flour. Mix all the ingredients together to form a shaggy dough using a stand mixer (with the dough hook attached and set on low speed), a bread machine (set to dough setting), or by hand with a wooden spoon. Gradually add the remaining flour until the dough comes together. Then, increase the stand mixer to medium speed and continue kneading the dough for 5-7 minutes. If using a bread machine, continue kneading for the duration of its dough cycle (usually 10-15 minutes). If making the dough by hand, knead on a clean and lightly floured working surface for 8-10 minutes until smooth and elastic, sprinkling on tiny bits of flour only as needed. It’s okay for the dough to be a little sticky; this ensures soft, fluffy cinnamon rolls. Add 1 tablespoon of softened butter and continue kneading the dough on medium speed until the butter is fully incorporated and the dough is supple.
-
Let the dough rise: Butter a large mixing bowl and place the dough inside, turning it once to ensure all sides are coated. Alternatively, you can butter the stand mixer bowl and leave the dough there. Cover the bowl with plastic wrap or a clean kitchen towel and place it in a warm, draft-free place to rise until doubled in size, which typically takes about 1 hour. A good trick is to turn your oven on for 2 minutes, then turn it off and place the covered bowl inside. The residual warmth creates an ideal environment. You can also leave the dough in the oven with just the oven light on (oven turned off).
-
Grease pan: While the dough rises, generously butter a 9 by 13 inch baking dish.
-
Roll out the dough: Once the dough has risen and doubled in size, gently punch it in the middle to release excess air. Flour a clean working surface. Place the dough on the floured surface and gently shape it with your hands into a rectangle. Use a rolling pin to further roll out the rectangle to be approximately 10 by 18 inches, aiming for an even thickness throughout.
-
Fill the dough, roll it, and divide it into rolls: Dot the rolled dough with the softened butter for the filling. Using a butter knife or offset spatula, spread the butter evenly over the dough, leaving a 1-inch border along one of the longer edges. Evenly sprinkle the brown sugar over the butter, followed by the ground cinnamon. Starting from the longer edge opposite the border, tightly roll the dough into a log. Trim about ½ inch off each end of the log for neat edges (you can bake these trimmings separately). Using a sharp knife or a dough scraper, cut the log into 12 equal portions. To do this, first cut the log into 4 equal pieces, then cut each of those 4 pieces into 3 smaller, equal pieces.
-
Let the rolls rise (second proof): Place the 12 cut rolls into the buttered baking dish, leaving a little space between them. Cover the dish with a clean kitchen cloth or plastic wrap and let them rise in a warm place for about 30 minutes, or until they have nearly doubled in size and are touching each other. Again, using your oven with the lights turned off can help the rolls rise faster.
-
Preheat oven: While the rolls are completing their second rise, or immediately after they have risen (and removed from the oven if rising there), preheat your oven to 350° F (175°C).
-
Bake: Place the risen rolls in the preheated oven and bake for 20 to 25 minutes. The rolls are ready when they are beautifully golden brown on top and the edges feel firm to the touch, ensuring they are cooked through and no longer doughy.
-
Make the cream cheese frosting: While the rolls are baking, prepare your luscious cream cheese frosting. Place all ingredients for the frosting (softened cream cheese, softened butter, powdered sugar, and vanilla extract) into a medium mixing bowl. Using an electric handheld mixer or a stand mixer with the whisk attachment, beat on low speed until the ingredients are just combined. Then, increase the speed to medium and continue beating until the frosting is wonderfully smooth, fluffy, and has a light, whipped consistency.
-
Frost the cinnamon rolls: As soon as the cinnamon rolls are out of the oven, generously and evenly spread the prepared cream cheese frosting over the warm rolls. The heat will allow the frosting to slightly melt and seep into the crevices, creating an incredibly moist and flavorful treat.
-
Serve: Enjoy your homemade cinnamon rolls with cream cheese frosting while they are still warm for the ultimate experience. Store any leftovers in an airtight container in the refrigerator for 2-3 days. Reheat individual cinnamon rolls in the microwave for about 15 seconds until soft, or in an oven preheated to 300℉ (150°C) for 10 minutes until warmed through. Refer to the notes section for detailed freezing instructions.
Video
Notes
Important Baking Tip: If the centers of some rolls tend to rise more than the edges during baking, simply and gently push them down with the back of a spoon immediately after taking them out of the oven, before applying the frosting. This will create a more even surface.
Storing and Reheating Guidelines: Store any leftover cinnamon rolls in an airtight container in the refrigerator for up to 5 days. To reheat, microwave individual rolls for about 15-20 seconds, or until soft and warm. Be careful not to overheat, as they can become tough. Alternatively, reheat in a preheated oven at 300°F (150°C) for approximately 10 minutes, or until warmed through.
Freezing Instructions: To freeze baked and frosted cinnamon rolls, allow them to cool completely. Place them in a freezer-safe container with a tight-fitting lid, or wrap them individually in plastic wrap and then store them in a freezer bag. They can be stored in the freezer for up to 3 months. Thaw at room temperature or reheat from frozen using the oven method.
Don’t miss all the important tips earlier in the post for the best results.
Nutrition
Additional Info