
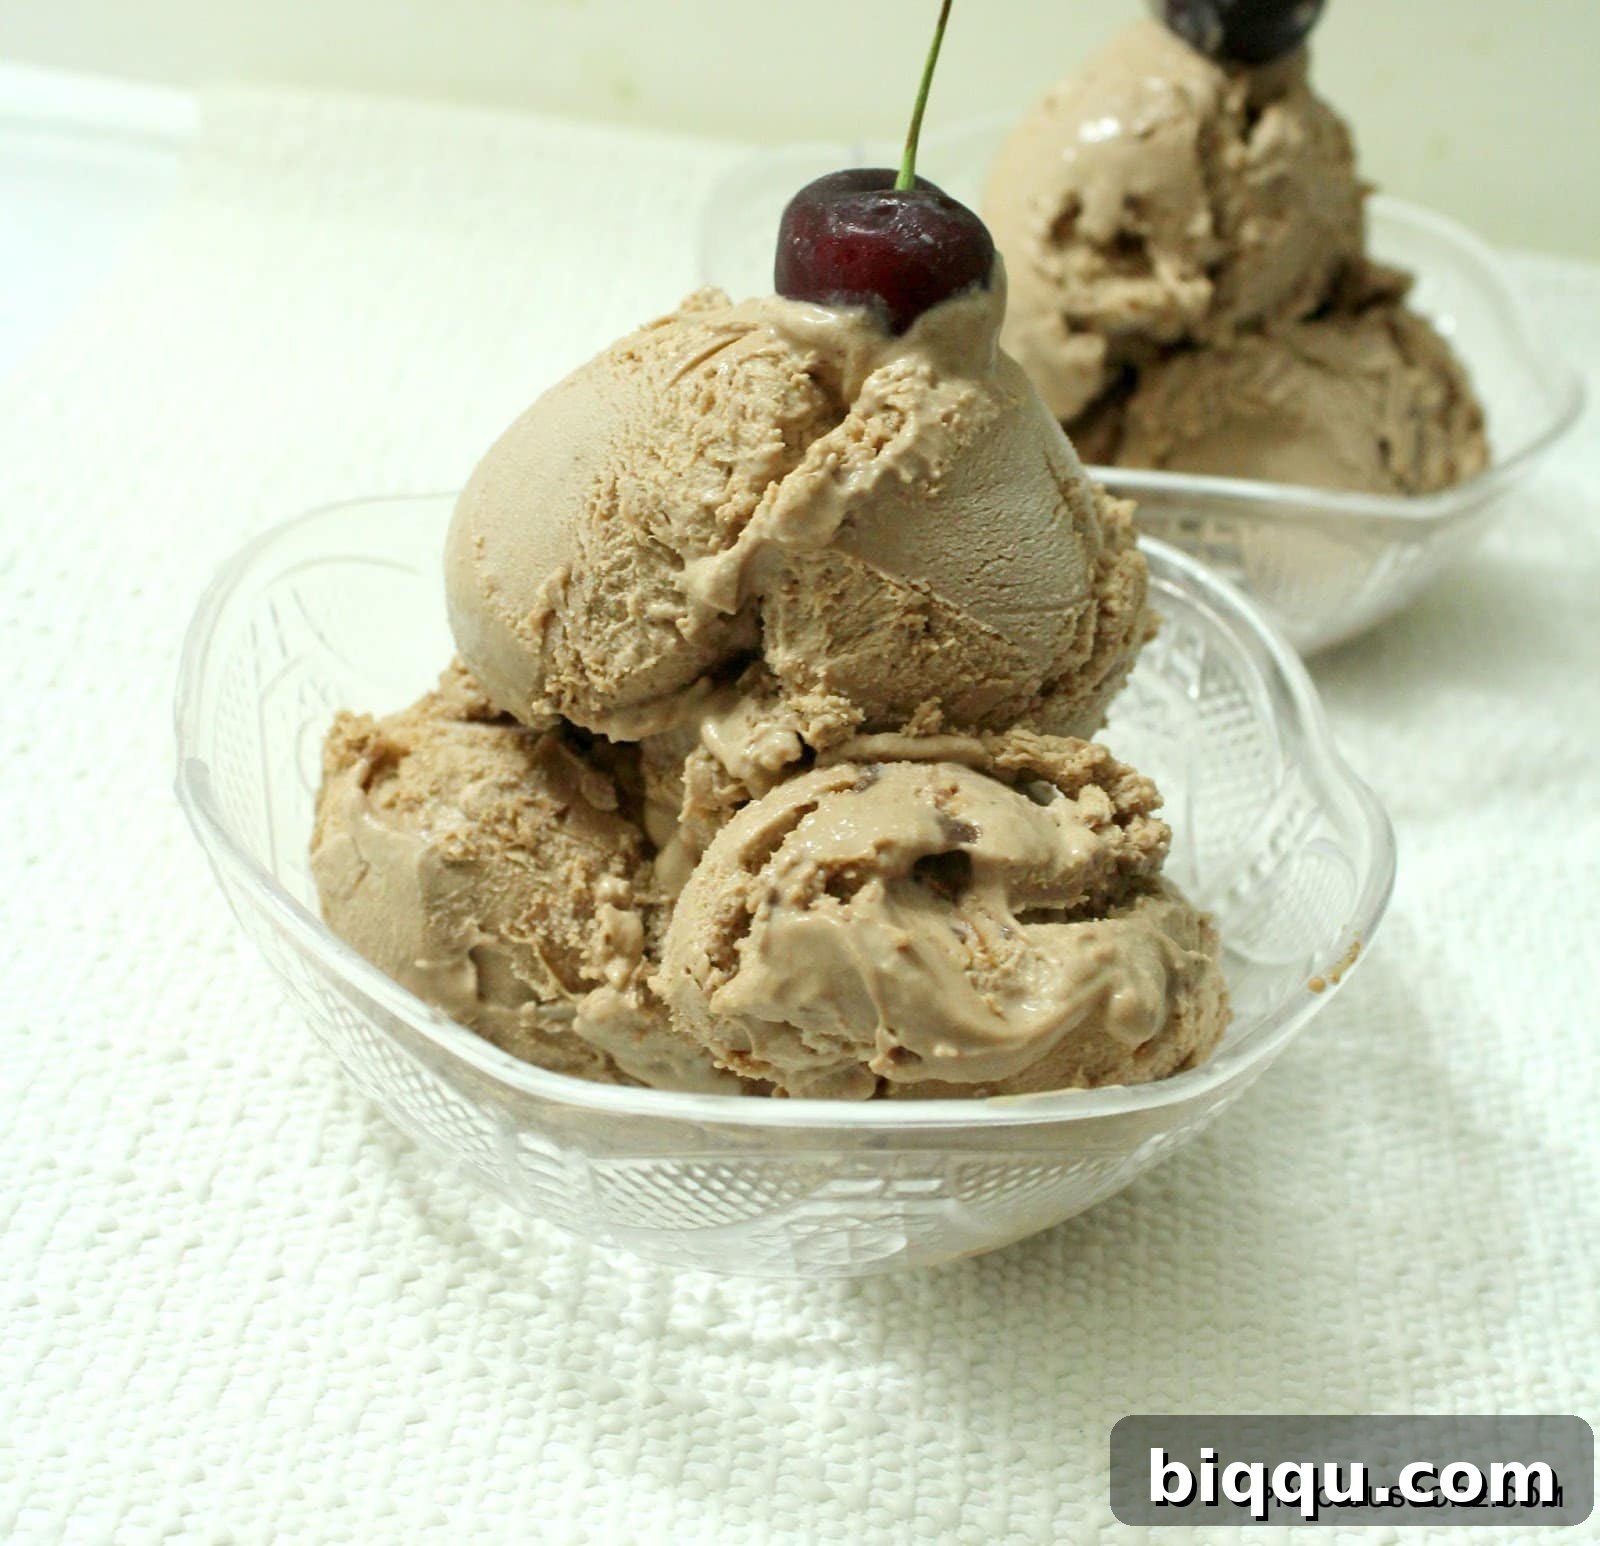
Imagine a world where unbelievably rich, creamy chocolate ice cream is just minutes away from preparation, requiring no special equipment, and only three humble ingredients. Sounds like a dream? Welcome to the reality of no-churn chocolate ice cream! This isn’t just a recipe; it’s a revelation for anyone who loves dessert but shies away from complicated kitchen gadgets or lengthy processes. Prepare to discover the world’s easiest, most decadent chocolate ice cream, perfect for satisfying those sudden sweet cravings or impressing guests with minimal effort.
The Easiest No-Churn Chocolate Ice Cream Recipe
Forget the bulky ice cream machines taking up precious counter space. This incredible recipe simplifies the art of making homemade ice cream down to its bare essentials. We’re talking about a magical combination of three common ingredients that transform into a velvety, luscious chocolate treat, ready to be scooped and enjoyed after a few hours in the freezer. Get ready to embark on a delicious journey that proves you don’t need to be a pastry chef to create extraordinary desserts.
Why No-Churn Ice Cream is a Game Changer
The concept of “no-churn” ice cream has revolutionized home dessert making. Traditional ice cream relies on continuous churning to incorporate air and prevent large ice crystals from forming, resulting in a smooth texture. No-churn methods achieve a similar result by using whipped heavy cream to create a light, airy base. The fat in the cream, along with the sugar from condensed milk, works synergistically to keep the ice cream soft, scoopable, and delightfully creamy without the need for an ice cream maker. This not only saves you money and storage space but also dramatically cuts down on preparation time, making homemade ice cream accessible to everyone.
The Three Magical Ingredients You’ll Need
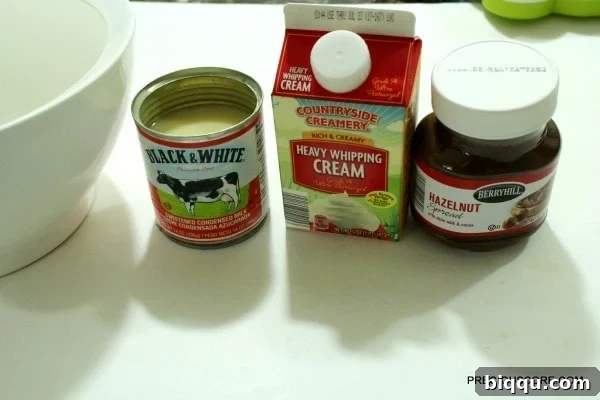
The simplicity of this recipe truly lies in its minimal ingredient list. Each component plays a crucial role in creating the perfect texture and flavor profile:
- Sweetened Condensed Milk: This isn’t just for sweetness; it’s the secret weapon against ice crystals. Its high sugar content and thick consistency help to lower the freezing point of the mixture, ensuring a smooth, pliable ice cream once frozen. It also contributes significantly to the richness and creamy mouthfeel.
- Heavy Whipping Cream: The backbone of any no-churn recipe. When whipped, heavy cream incorporates air, which gives the ice cream its light, airy, and fluffy texture. It also provides the essential fat content needed for a truly creamy consistency. Make sure it’s well-chilled for optimal whipping results.
- Chocolate Spread: This is where the magic happens for our chocolate flavor. A good quality chocolate-hazelnut spread (like Nutella) offers a rich, deep chocolate taste with a hint of nutty complexity. It blends seamlessly into the whipped cream base, infusing every spoonful with delightful chocolatey goodness.
These three ingredients, when combined correctly, create an alchemy that yields a dessert far greater than the sum of its parts.
Step-by-Step Guide to Your Easiest Chocolate Ice Cream
Making this ice cream is incredibly straightforward. Follow these steps for perfect results every time:
Step 1: Prepare Your Base – Whipping Cream and Condensed Milk
Begin by pouring one cup of cold heavy whipping cream and one can of sweetened condensed milk into a large mixing bowl. For best results, ensure your heavy cream is very cold, and if possible, chill your mixing bowl and whisk attachments for about 10-15 minutes before you start. This helps the cream whip up faster and achieve a more stable consistency.
Using an electric hand mixer (or a stand mixer with a whisk attachment), start beating the mixture on medium-high speed. Continue to beat until the mixture thickens and forms soft peaks. This means when you lift the whisk, a peak will form but gently curl over. Be careful not to over-whip, as this can result in a grainy texture. The goal is a light, airy, and voluminous cream that holds its shape. While it’s possible to do this by hand with a whisk if you have strong arms and patience, an electric mixer will make this step considerably easier and more efficient.
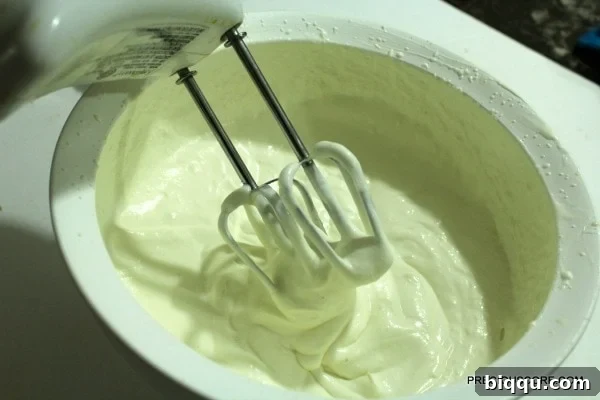
You’ll notice the mixture transforms from a liquid state into a beautiful, fluffy cloud. This airy consistency is crucial for the final texture of your no-churn ice cream, as it mimics the aeration that an ice cream machine would provide.
Step 2: Introduce the Chocolate Spread
Once your cream mixture has reached the soft peak stage, it’s time to add the star flavor: the chocolate spread. Gently pour in approximately one cup of your favorite chocolate-hazelnut spread. If your chocolate spread is particularly thick or cold, you might want to microwave it for 10-15 seconds to make it more pliable, but be careful not to overheat it.
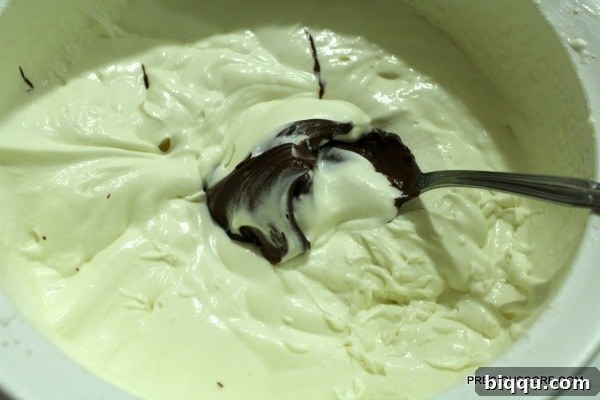
Now, gently fold the chocolate spread into the whipped cream mixture using a spatula. The key here is “gently.” You want to incorporate the chocolate without deflating all the air you’ve just whipped into the cream. Use a folding motion: scoop from the bottom of the bowl, lift it over the top, and turn the bowl. Repeat until the chocolate spread is fully incorporated and the mixture has a uniform chocolate color. A few streaks of chocolate are perfectly fine and can even add a beautiful marbled effect!
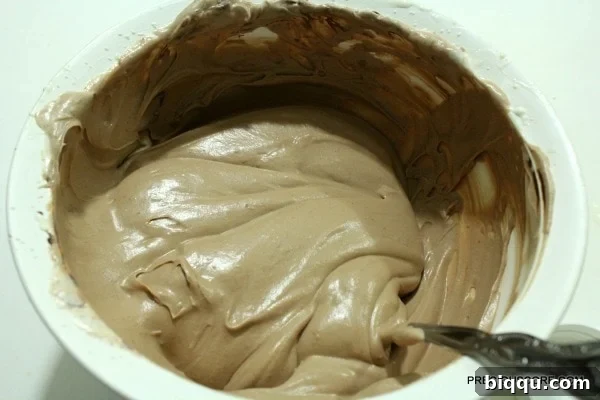
Step 3: Freeze to Perfection
Once your chocolate ice cream base is beautifully blended, pour the entire mixture into a loaf pan or any freezer-safe container. A standard 9×5-inch loaf pan works wonderfully for this quantity. Smooth the top with your spatula.
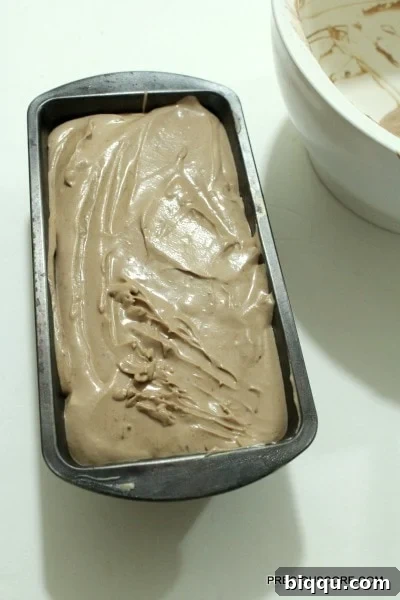
Cover the pan tightly with plastic wrap or parchment paper, pressing it directly onto the surface of the ice cream to prevent ice crystals from forming on top (this is often called “freezer burn”). Place it in your freezer for a minimum of 6 hours, or ideally, overnight. Allowing it to freeze thoroughly will ensure it develops the perfect scoopable consistency. Making it the night before is a fantastic option, ensuring you have a delightful treat ready for the next day.
The Grand Reveal: Your Homemade Chocolate Ice Cream!
After the freezing period, take your pan out of the freezer. Let it sit at room temperature for a few minutes (5-10 minutes) to soften slightly, making it easier to scoop. At this point, ladies and gentlemen, prepare to be amazed!
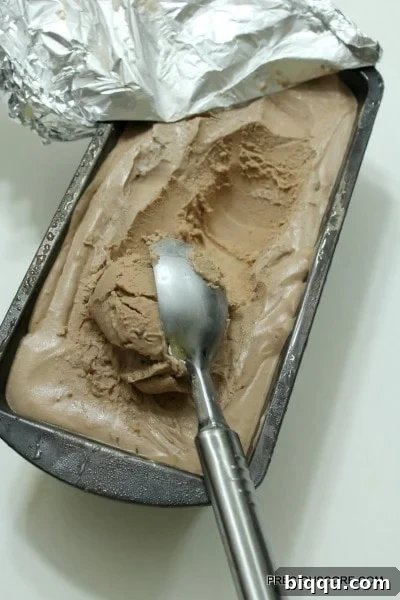
Behold! You have successfully created the world’s easiest and most delicious chocolate ice cream, without an ice cream machine, and with just three ingredients. Scoop it into cones, bowls, or use it as a base for an elaborate sundae. The texture will be smooth, creamy, and wonderfully rich, just like your favorite store-bought variety, but with the pride of knowing you made it yourself.
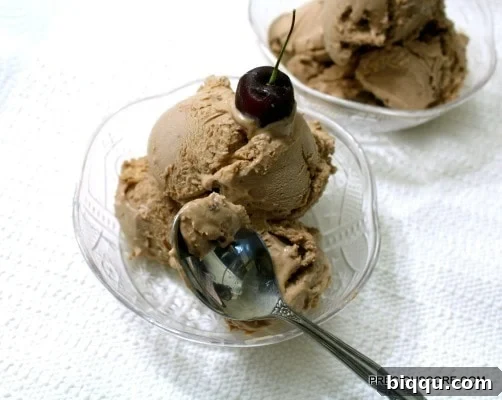
Chocolate ice cream is no longer a mystery or a daunting task. It’s a simple, joyful creation waiting to happen in your very own kitchen. Go make some and treat yourself to this incredible dessert!
Tips for the Perfect No-Churn Chocolate Ice Cream
- Cold Ingredients are Key: Always start with very cold heavy whipping cream. Chilling your mixing bowl and whisk attachments can also significantly improve whipping results.
- Don’t Over-Whip: While you want soft peaks, be careful not to over-whip the cream and condensed milk. Over-whipped cream can become grainy and separate, leading to an icy texture in your ice cream.
- Fold Gently: When adding the chocolate spread, use a gentle folding motion. This preserves the air incorporated into the whipped cream, which is crucial for the light, airy texture of the final product.
- Prevent Freezer Burn: Cover your ice cream container tightly with plastic wrap, pressing the wrap directly onto the surface of the ice cream. This creates a barrier against air and prevents ice crystals from forming.
- Patience is a Virtue: Allow at least 6 hours, or preferably overnight, for the ice cream to freeze completely. Rushing the freezing process can result in a softer, less satisfying texture.
Delicious Variations and Add-Ins
While this chocolate ice cream is perfect on its own, feel free to get creative with additions:
- Nutty Crunch: Fold in chopped nuts like almonds, walnuts, or pecans for added texture.
- Extra Chocolate: Swirl in some chocolate chips, chunks, or shavings during the folding stage.
- Flavor Boost: A teaspoon of vanilla extract added with the heavy cream can enhance the chocolate flavor. A pinch of espresso powder can also deepen the chocolate notes without making it taste like coffee.
- Mint Chocolate: Add a few drops of peppermint extract for a refreshing mint chocolate chip version.
- Caramel Swirl: Drizzle in some caramel sauce just before freezing for a chocolate-caramel twist.
Serving Suggestions
Once perfectly frozen, your no-churn chocolate ice cream is incredibly versatile:
- Classic Cones or Bowls: The simplest and most satisfying way to enjoy it.
- Sundae Extravaganza: Top with whipped cream, chocolate syrup, sprinkles, nuts, and a cherry.
- Affogato Style: Serve a scoop with a shot of hot espresso poured over it for an elegant dessert.
- Alongside Desserts: A perfect accompaniment to brownies, cakes, or fruit tarts.
Frequently Asked Questions About No-Churn Ice Cream
Q: Can I use light cream instead of heavy whipping cream?
A: No, for this recipe, heavy whipping cream is essential. Its high fat content (typically 36% or more) is necessary to whip up into a stable, airy foam that forms the base of the ice cream. Lighter creams won’t whip sufficiently and will result in an icy texture.
Q: My ice cream turned out icy. What went wrong?
A: Iciness can be due to a few factors:
- Not whipping the cream and condensed milk enough to incorporate sufficient air.
- Over-whipping the cream, causing it to separate and lose its smooth texture.
- Not covering the container tightly enough, allowing air exposure and freezer burn.
- Not allowing enough freezing time.
Q: How long does homemade no-churn ice cream last in the freezer?
A: When stored in an airtight container and covered properly, no-churn ice cream can last for up to 2-3 weeks in the freezer. Beyond that, its texture and flavor may start to degrade, though it will still be safe to eat.
Q: Can I make this recipe without chocolate spread?
A: Yes! You can replace the chocolate spread with 1/2 cup of unsweetened cocoa powder (sifted) mixed with 1/4 cup of melted and cooled chocolate chips or squares. You might need to adjust the sweetness slightly if using unsweetened cocoa. For a simpler alternative, you can also melt and cool about 1 cup of your preferred chocolate (dark, milk, or semi-sweet) and fold it in.
Q: Is this recipe suitable for dietary restrictions?
A: The base recipe contains dairy. For a vegan version, you would need to use full-fat canned coconut cream (chilled overnight, only scoop out the thick cream) and sweetened condensed coconut milk. Results may vary slightly in texture and flavor.
- 1 cup heavy whipping cream (very cold)
- 1 can (14 oz / 397g) sweetened condensed milk
- 1 cup chocolate-hazelnut spread (like Nutella)
2. Beat the mixture with an electric hand mixer (or stand mixer with a whisk attachment) on medium-high speed until soft peaks form. Do not over-whip.
3. Gently fold in the chocolate-hazelnut spread using a spatula until fully incorporated, being careful not to deflate the mixture.
4. Pour the mixture into a loaf pan (approximately 9×5 inches) or any other freezer-safe container. Smooth the top.
5. Cover the pan tightly with plastic wrap, pressing it directly onto the surface of the ice cream to prevent ice crystals.
6. Freeze for at least 6 hours, or preferably overnight, until firm and scoopable.
7. Allow to soften at room temperature for 5-10 minutes before serving.
Prep time:
Cook time:
Total time:
Yield: 6-8 servings