
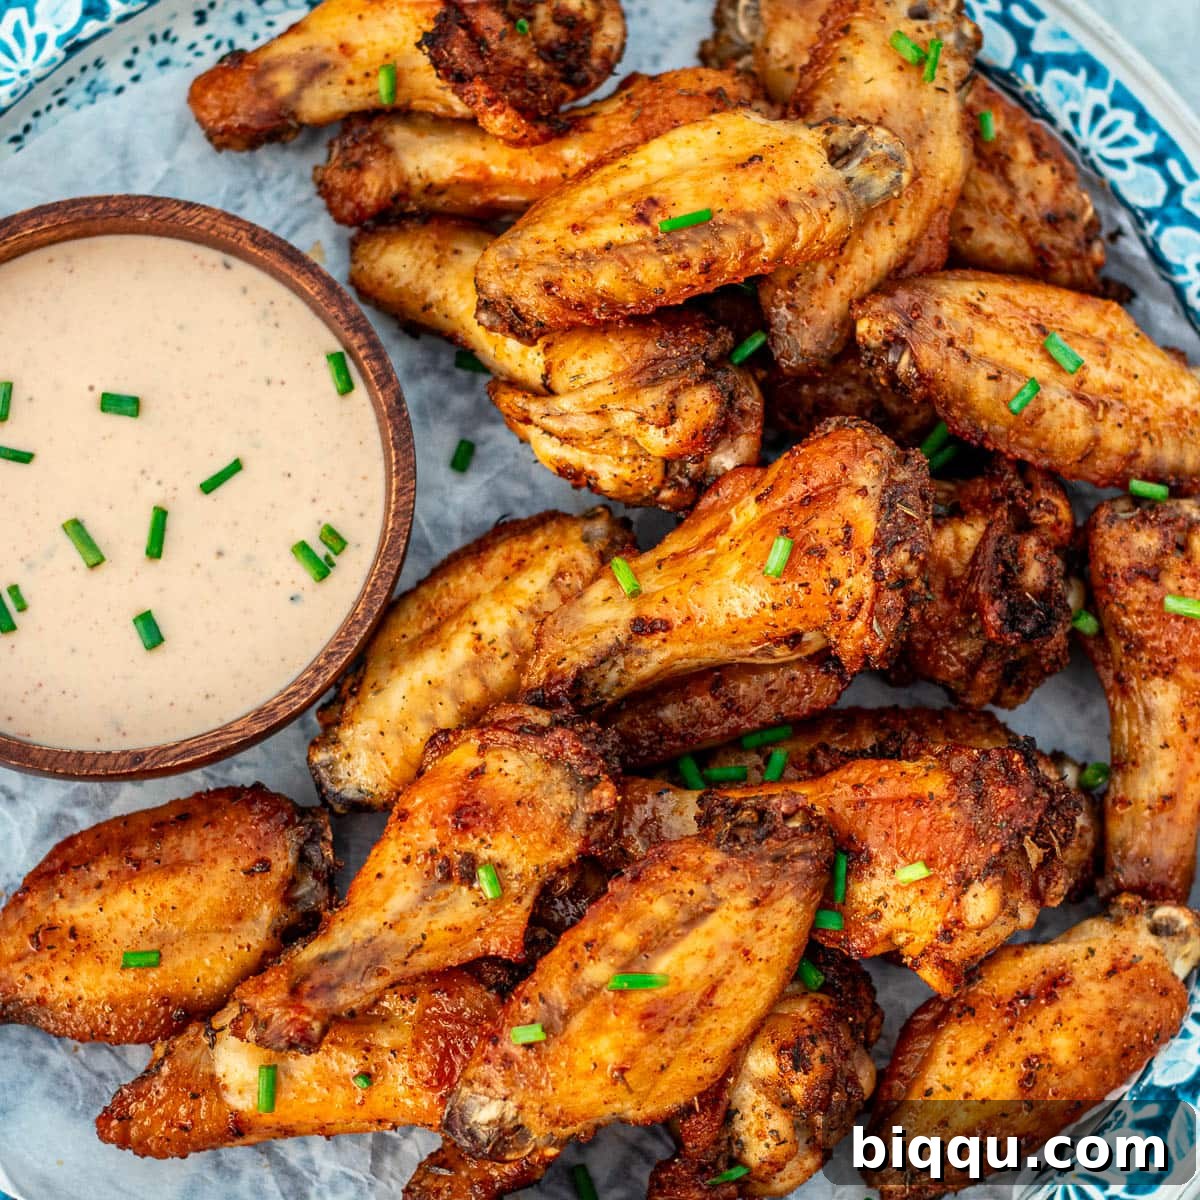
Crispy Baked Dry Rub Chicken Wings: The Ultimate Guide to Flavorful, Oven-Baked Perfection
Prepare to elevate your homemade wing game with these incredibly delicious Baked Dry Rub Chicken Wings. Boasting a perfectly crispy exterior and juicy, tender meat, these wings are seasoned with a simple yet potent dry rub made from everyday pantry staples. Whether you’re planning a casual weeknight dinner, hosting a game day party, or looking for a crowd-pleasing appetizer for the holidays, this recipe delivers restaurant-quality results right from your oven.
Forget the hassle and mess of deep-frying; our oven-baked method ensures a healthier alternative without compromising on that irresistible crunch and depth of flavor. With minimal prep time – just 10 minutes to rub and get them into the oven – you can let your oven do all the hard work while you anticipate a batch of perfectly seasoned, finger-licking good chicken wings.
New to making wings at home? You’re in the right place! This comprehensive guide covers everything from selecting and prepping your chicken wings to crafting the ideal dry rub and mastering the baking process for flawless results every time. We’ve packed this post with all the essential tips and tricks to transform simple chicken wings into a culinary masterpiece. Get ready to impress yourself and your guests with these ridiculously easy and intensely flavorful wings, perfect for dipping into your favorite ranch dressing or a zesty blue cheese dip.
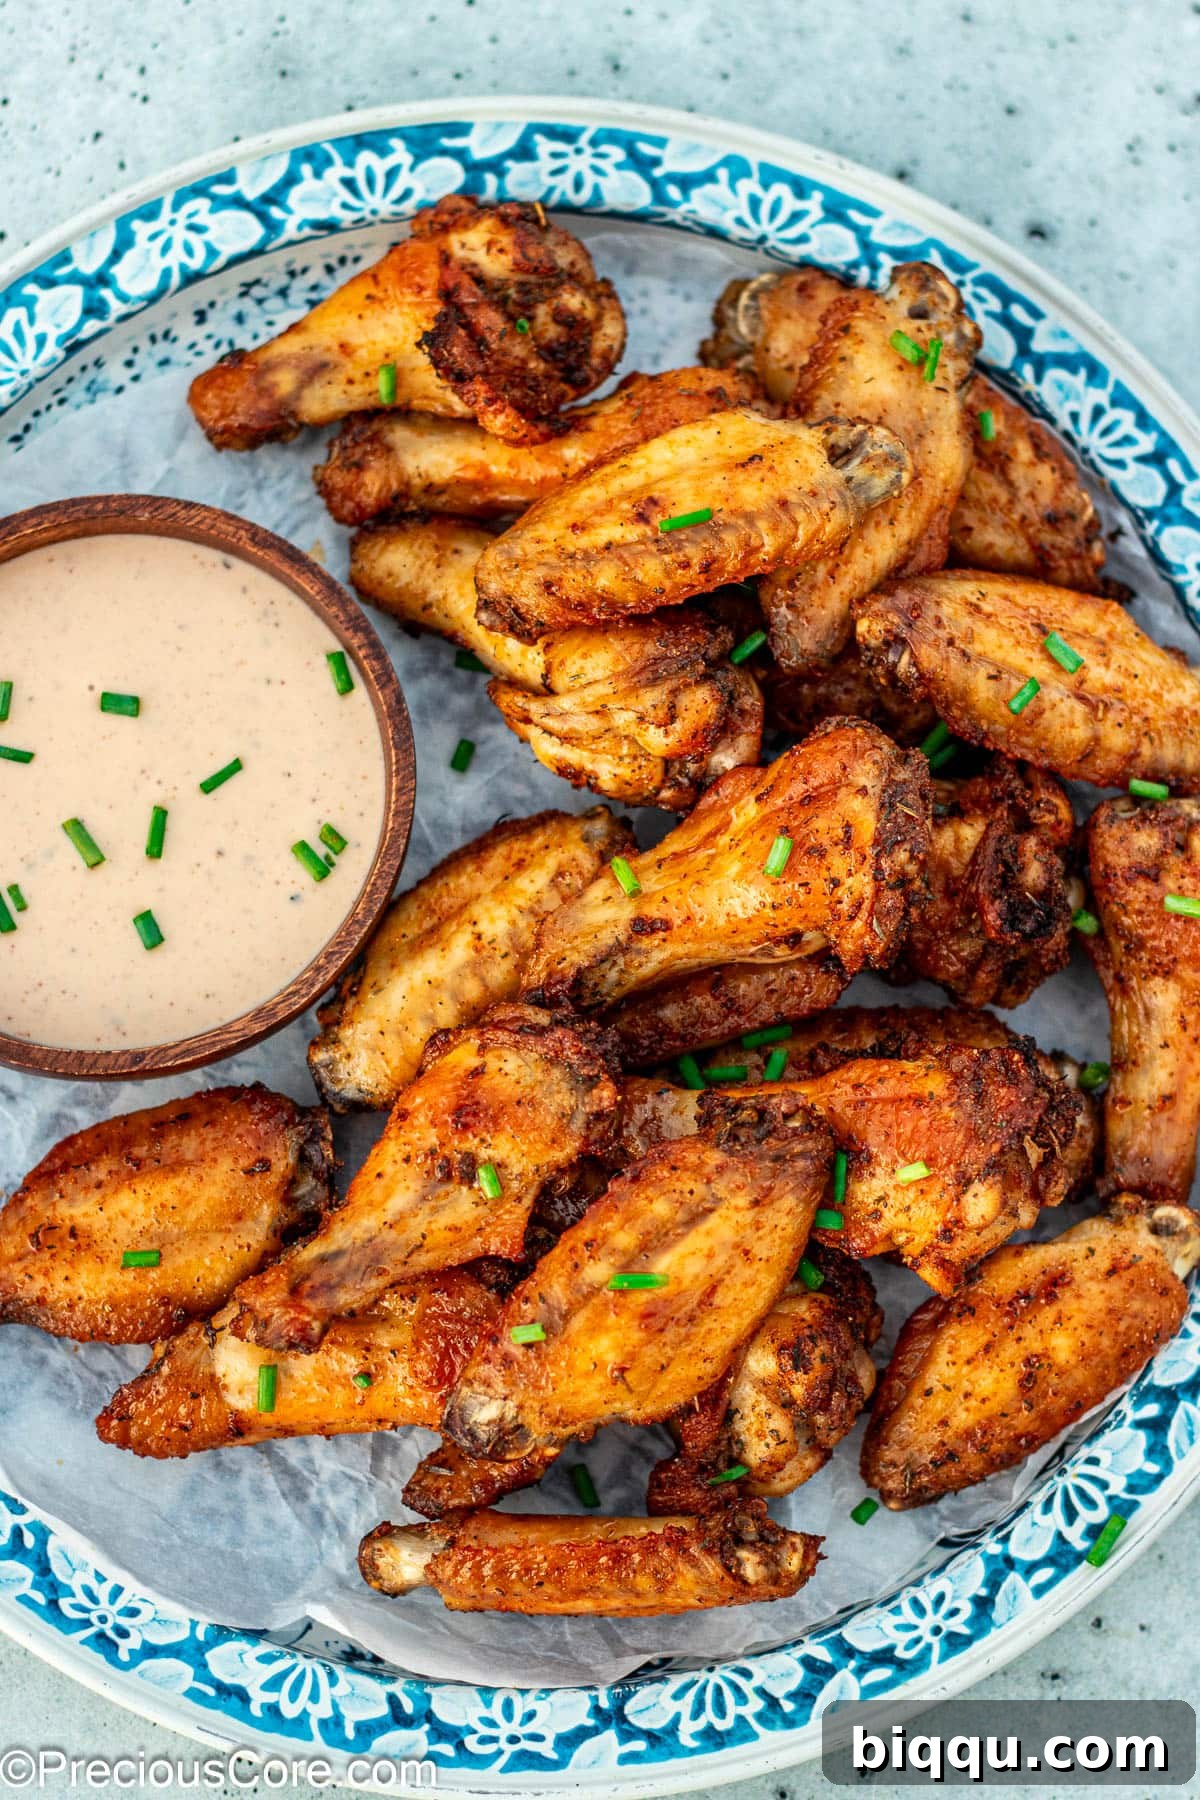
These better-for-you wings are baked to golden perfection, offering a delightful crispness on the outside and a tender, succulent interior. Say goodbye to bland, boring chicken wings and hello to a symphony of flavors that will have everyone reaching for more!
If you’re a true wing enthusiast, be sure to also explore our other mouth-watering recipes, such as the rich and savory Garlic Butter Wings and the boldly spiced Jerk Chicken Wings.
Table of Contents
- The Magic of Dry Rub Baked Chicken Wings
- Why Bake Your Chicken Wings? The Benefits of Oven-Baked Goodness
- Crafting the Perfect Homemade Dry Rub
- Ingredients for Phenomenal Wings
- Step-by-Step: How To Bake Dry Rub Wings to Perfection
- Endless Chicken Wing Variations to Explore
- Serving Suggestions for Your Baked Wings
- Expert Tips for Achieving Ultimate Crispiness
- Commonly Asked Questions About Baked Wings
- Storage and Reheating Tips for Leftovers
- Similar Recipes to Satisfy Your Cravings
- Baked Dry Rub Chicken Wings Recipe Card
The Magic of Dry Rub Baked Chicken Wings
Creating truly scrumptious, crispy chicken wings doesn’t require complex ingredients or a deep fryer. All you need is a well-balanced dry rub. Skip the expensive store-bought mixes; a superior dry rub can be easily assembled from the spices and herbs you likely already have in your pantry. This homemade approach ensures you control the flavor profile, avoiding unwanted additives and excessive sugar often found in commercial blends.
The beauty of a simple dry rub lies in its ability to infuse deep flavor directly into the meat, creating a delicious crust as the wings bake. This method isn’t just for wings; it’s also excellent for other meats, like these savory Baked Dry Rub Ribs. For a foundational chicken dry rub, begin with staples like onion powder and garlic powder, then layer in other complementary spices and herbs to achieve your desired taste.
Why Bake Your Chicken Wings? The Benefits of Oven-Baked Goodness
While fried wings have their place, baking offers numerous advantages that make it a preferred method for many home cooks. First and foremost, baking is significantly healthier. By avoiding deep-frying, you drastically cut down on excess oil and calories, making these dry rub wings a lighter option you can feel good about enjoying more often. This also means less guilt when indulging in a second (or third!) helping!
Beyond health benefits, baking simplifies the cooking process. There’s no hot oil to manage, no splatters to clean up, and no lingering fried food smell in your kitchen. The oven does the majority of the work, freeing you up to prepare side dishes, enjoy time with guests, or simply relax. Cleanup is also a breeze, especially when using a foil-lined baking sheet. Moreover, baking allows for more consistent cooking, resulting in evenly crispy skin and perfectly tender meat throughout each wing. It’s a method that promises delicious results with minimal fuss, making it ideal for both busy weeknights and special occasions where you want to serve impressive yet easy-to-prepare food.
Crafting the Perfect Homemade Dry Rub
The secret to these exceptional chicken wings lies in their simple, yet impactful, dry rub. It’s all about combining the right balance of spices to create a flavor explosion that adheres beautifully to the chicken as it bakes. You don’t need any fancy ingredients; just a few basic seasonings from your pantry can transform ordinary wings into extraordinary ones.
Our foundational dry rub starts with aromatic onion powder and garlic powder, which provide a savory base. From there, we introduce dried thyme for a subtle earthy note, adding depth to the overall profile. To enhance both color and a hint of smoky warmth, paprika is a fantastic addition. While dried parsley primarily contributes a vibrant green hue, it also offers a mild herbaceous touch. Finally, a generous amount of salt is crucial, not just for seasoning but for enhancing all the other flavors, and black pepper adds a touch of classic spice. This combination ensures every bite is rich, flavorful, and incredibly satisfying, without being overly complicated. Feel free to adjust the quantities or add a pinch of your favorite spice to customize the rub to your personal preference!
Ingredients for Phenomenal Wings
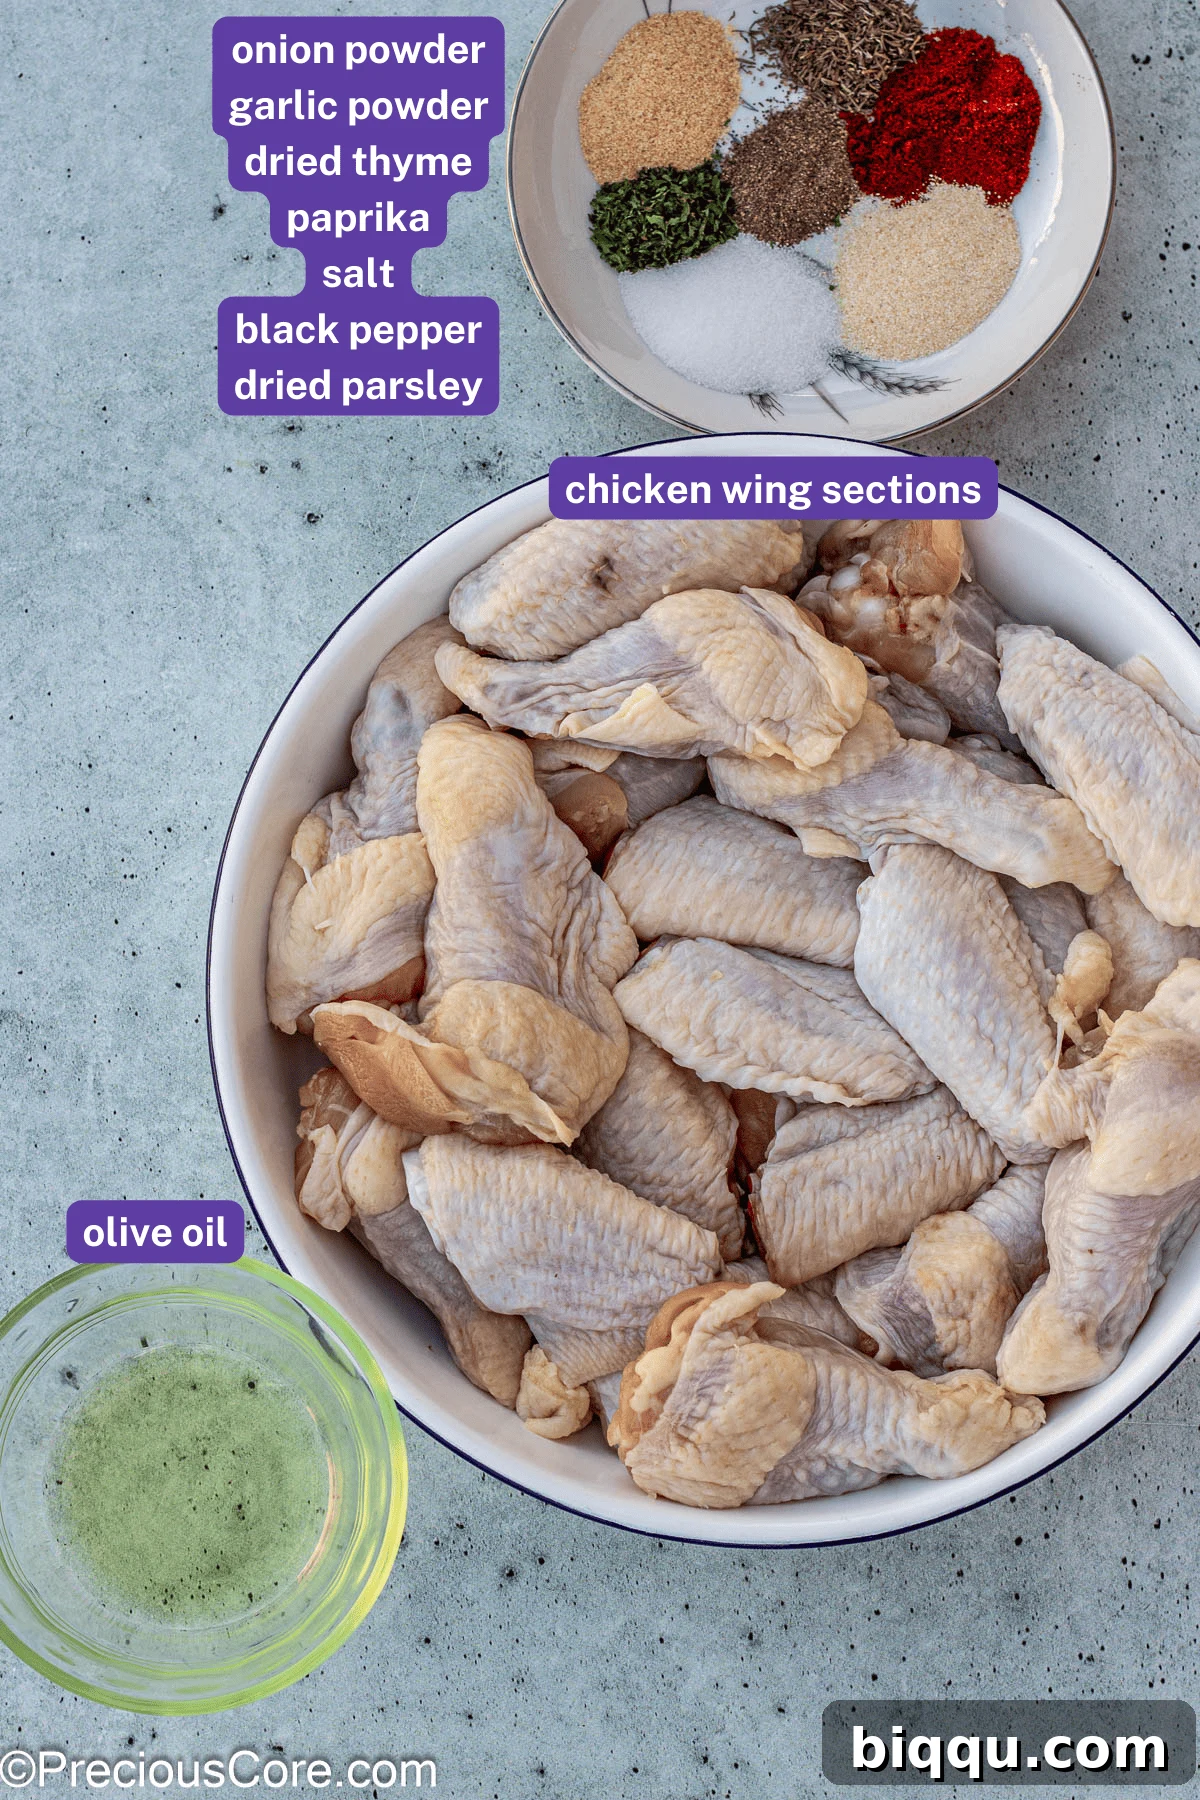
Gathering the right components is the first step towards achieving truly phenomenal baked dry rub chicken wings. Here’s a detailed look at what you’ll need:
- Chicken Wings: For ultimate convenience and uniform cooking, we highly recommend purchasing “party wings.” These are chicken wings that have already been expertly separated into drumettes and flats (paddles), with the wing tips typically discarded. If you buy whole chicken wings, don’t worry – it’s easy to separate them yourself. See our handy tip below for instructions on how to do this efficiently. Ensure your wings are completely thawed if frozen.
- Olive Oil: A light coating of olive oil is essential. It serves a dual purpose: it helps the chicken skin crisp up beautifully in the oven, and it acts as a binder, ensuring that your flavorful dry rub adheres perfectly to every surface of the wings. You can substitute with any other neutral-flavored oil if preferred, such as avocado oil or grapeseed oil.
- Herbs and Spices: The heart of our dry rub! Our simple yet powerful combination includes:
- Onion Powder: Adds a foundational savory depth.
- Garlic Powder: Provides a robust, aromatic flavor that pairs perfectly with chicken.
- Dried Thyme: Contributes an earthy, slightly minty note that complements poultry exceptionally well.
- Paprika: Essential for a hint of smokiness, a touch of mild sweetness, and a gorgeous reddish-orange color that makes the wings look as good as they taste.
- Dried Parsley: While its flavor is subtle when dried, it adds lovely specks of green for visual appeal.
- Salt and Black Pepper: These aren’t just for seasoning; salt is critical for drawing out and enhancing all the complex flavors of the other spices, while fresh ground black pepper adds a gentle warmth and zest. Adjust quantities to your taste preference.
For precise measurements and the full recipe details, please refer to the comprehensive recipe card located at the bottom of this page.
Top Tip for Wing Preparation: To separate a whole chicken wing, first locate the two joints. Use a sharp knife to carefully cut through the skin and connective tissue at the smaller, pointed tip and discard it (or save it for making flavorful chicken stock!). Then, cut through the larger joint to separate the drumette (the part that looks like a miniature drumstick) from the flat (also known as the paddle, with two bones).
If you’re not ready to make chicken stock immediately, simply collect all your discarded wing tips in a freezer-safe Ziploc bag and store them in the freezer. They’ll be ready whenever you decide to whip up a rich, homemade stock.
Step-by-Step: How To Bake Dry Rub Wings to Perfection
These baked dry rub wings are an absolute game-changer for any gathering – whether it’s game day, pizza night, or just entertaining friends and family. Follow these simple steps for perfectly crispy and flavorful wings:
- Preparation is Key: Dry the Wings Thoroughly. Start by patting all your chicken wing sections meticulously dry with paper towels. This crucial step is often overlooked but is absolutely essential for achieving that coveted crispy skin. Excess moisture will steam the chicken instead of allowing it to crisp up. Drying also ensures that the olive oil and dry rub will adhere properly. Once patted dry, transfer the wings to a large mixing bowl. For even crispier results, you can let them air-dry in the refrigerator for a few hours or even overnight after patting them dry.
- Coat with Olive Oil. Drizzle the olive oil evenly over the dried chicken wings in the bowl. Toss the wings thoroughly to ensure every piece is lightly coated. The oil acts as a bonding agent for the dry rub and contributes significantly to the browning and crisping process in the oven.
- Apply the Dry Rub. In a small separate bowl, combine all your dry rub ingredients: salt, black pepper, garlic powder, onion powder, dried thyme, dried parsley, and paprika. Mix them well to ensure an even distribution of flavors. Then, generously sprinkle this prepared dry rub over the olive oil-coated chicken wings. Toss everything together vigorously until each chicken wing is completely and evenly coated with the spice mixture. Don’t be shy – make sure every nook and cranny is covered!
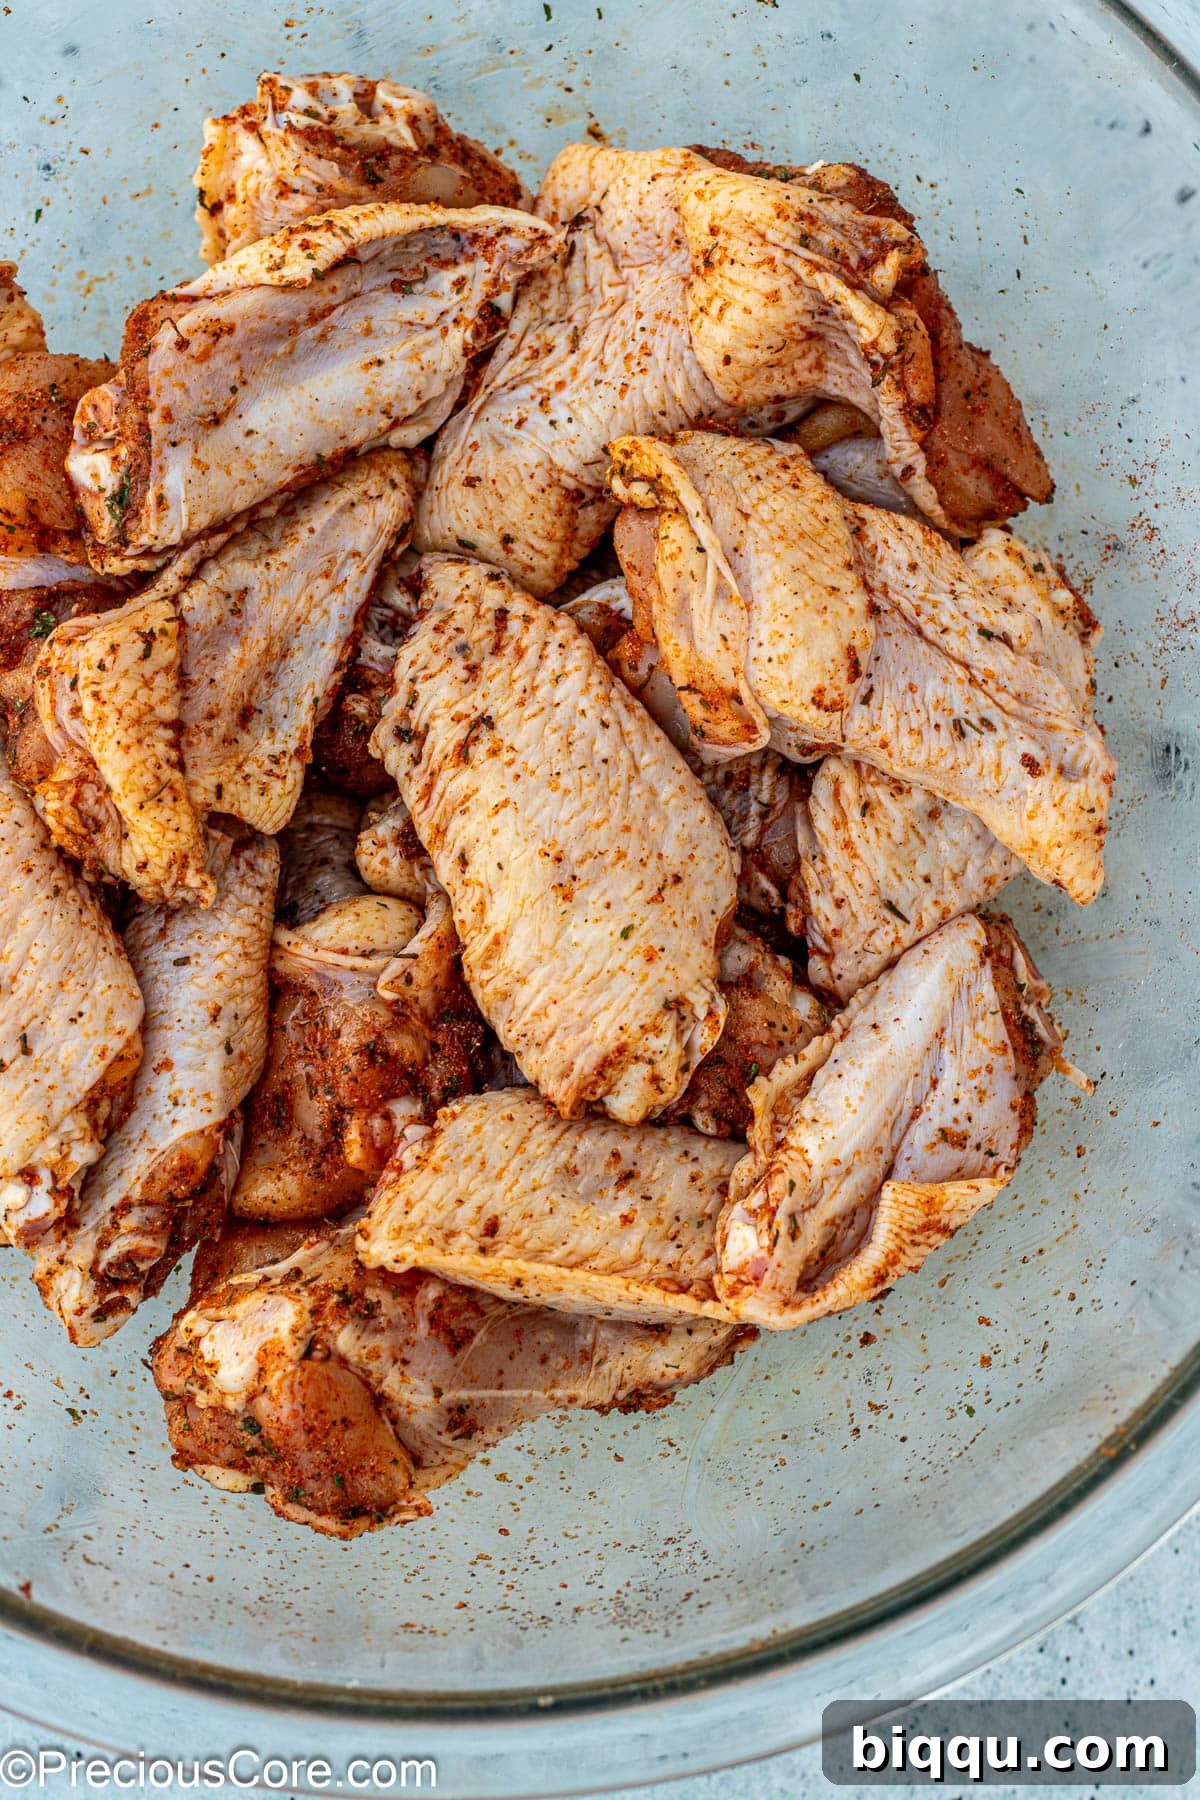
- Arrange on a Baking Rack. Line a sturdy baking sheet with aluminum foil for easy cleanup. Place an oven-safe wire rack on top of the foil-lined baking sheet. Arrange the dry-rubbed chicken wings in a single layer on the wire rack, ensuring there is ample space between each wing. Proper spacing is vital for good airflow, which allows the heat to circulate evenly around each wing, promoting maximum crispiness on all sides. Avoid overcrowding the pan.
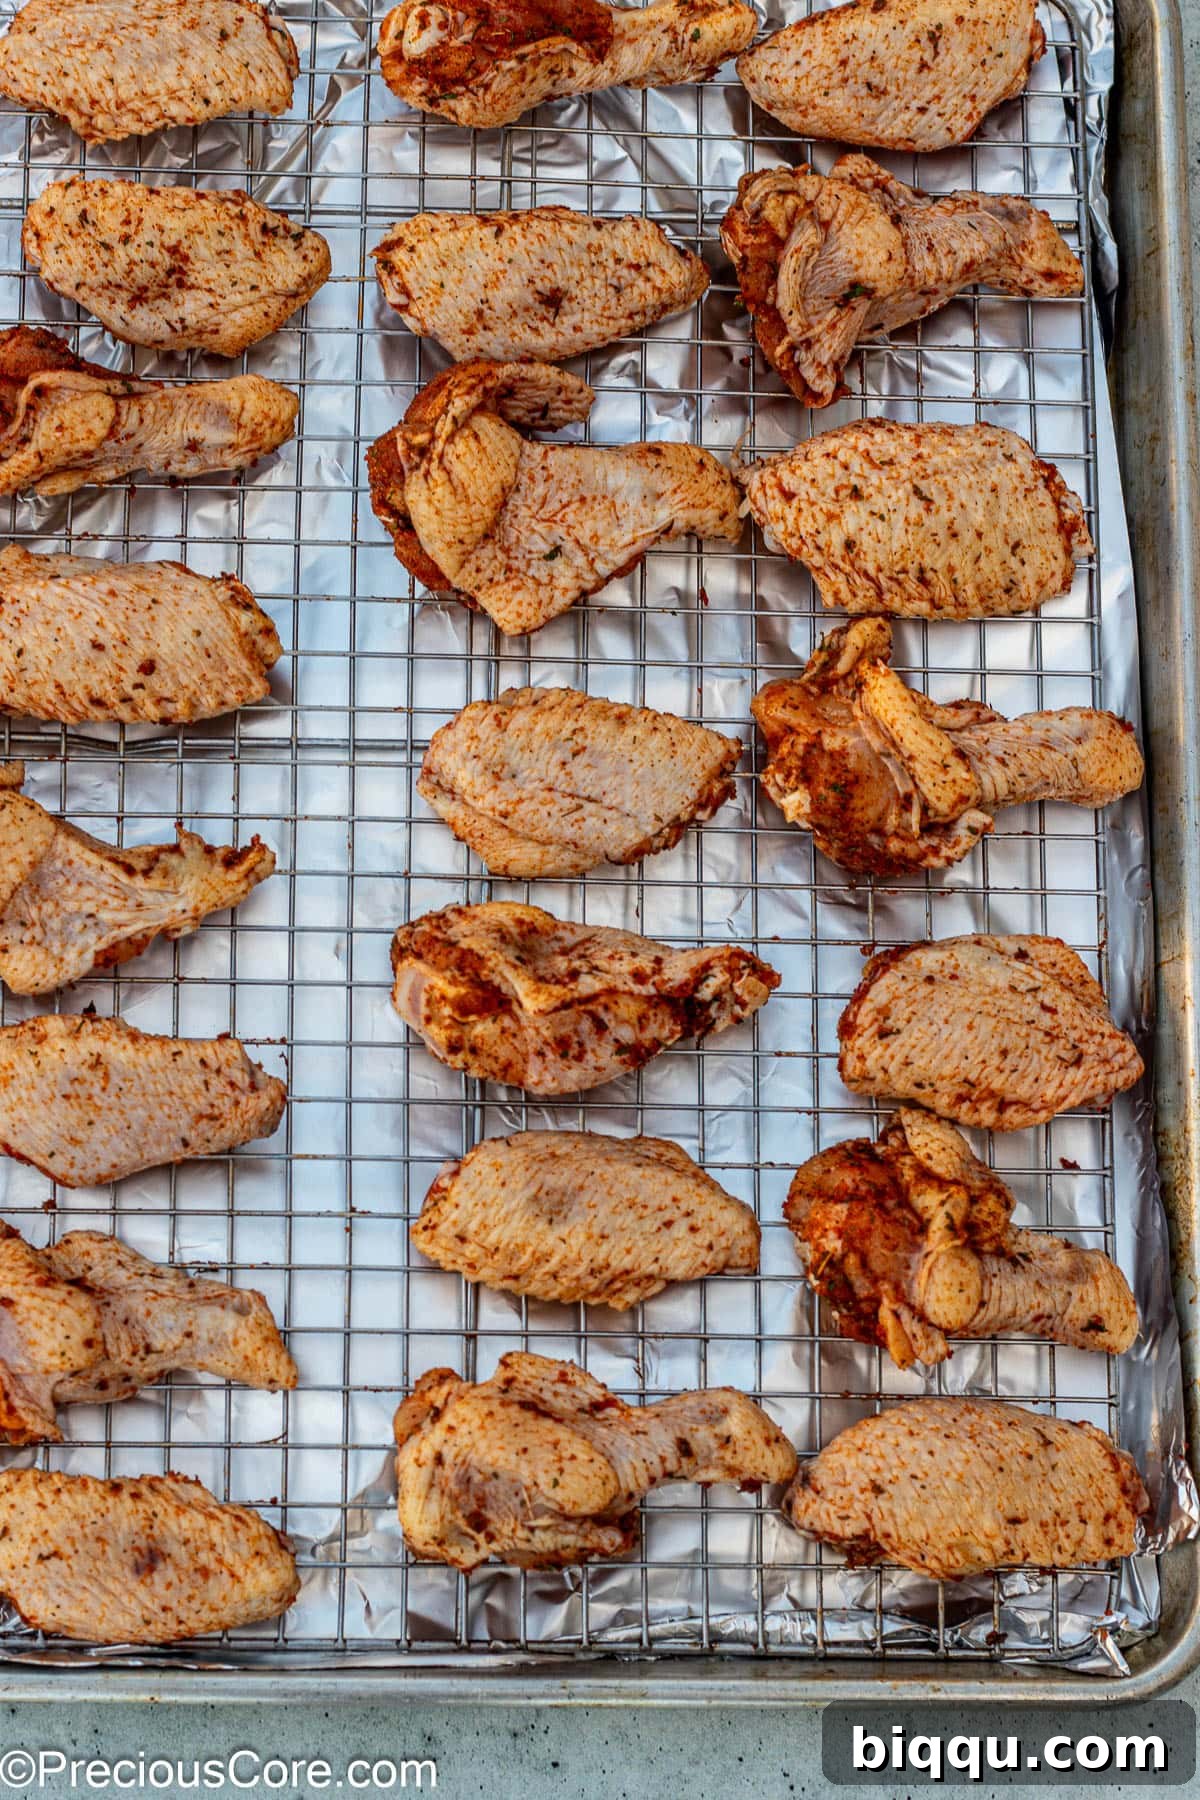
- Bake to Golden Perfection. Preheat your oven to a consistent 400 degrees Fahrenheit (200 degrees Celsius). This temperature is ideal for cooking the wings through while simultaneously crisping the skin. Place the baking sheet with the wings in the preheated oven and bake for approximately 45 minutes. For even cooking and crisping, it’s a good practice to rotate the baking sheet halfway through the cooking time. The chicken wings are fully cooked and safe to eat when they register an internal temperature of 165 degrees Fahrenheit (74 degrees Celsius) when tested with an instant-read meat thermometer inserted into the thickest part of the meat, avoiding the bone.
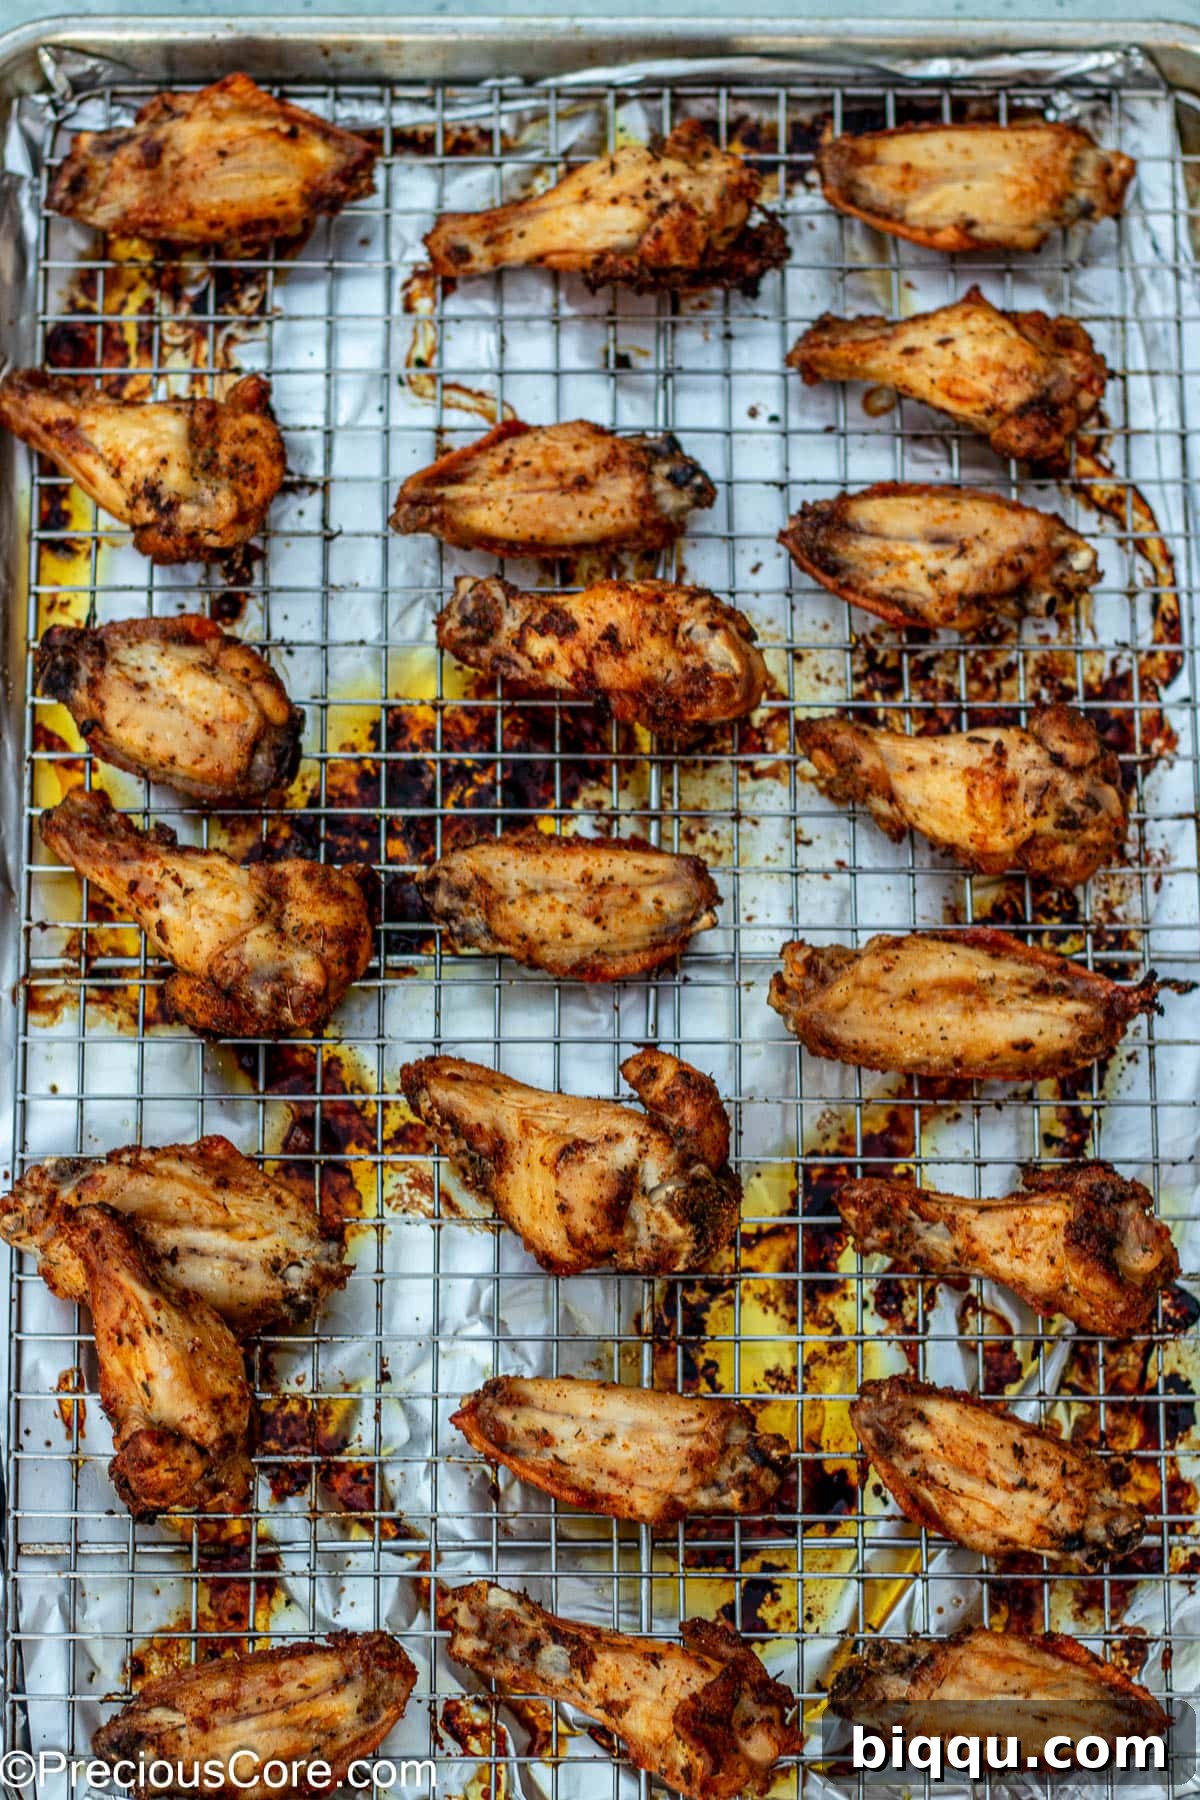
Once baked, remove from the oven and let them rest for a few minutes before serving. This allows the juices to redistribute, resulting in even more tender and flavorful wings. Serve them warm with your favorite dipping sauces and enjoy!
Endless Chicken Wing Variations to Explore
While our classic dry rub is phenomenal, chicken wings are incredibly versatile, offering a canvas for countless flavor experiments. Here are a few exciting variations you can try to keep things fresh and exciting:
- Zesty Lemon Pepper Wings: For a bright and tangy twist, season your chicken wings generously with a store-bought lemon pepper seasoning, then add a touch of garlic powder and onion powder to enhance the savory notes.
- Fiery Spicy Wings: If you love a kick, introduce some heat to your dry rub! Mix in a teaspoon or more of cayenne pepper or red pepper flakes (or both!) to taste, for wings that pack a delightful punch.
- Sweet and Sticky Hot Honey Wings: After your wings are perfectly baked and crispy, prepare a simple glaze by combining melted butter, your favorite hot sauce, and honey. Toss the hot wings in this sticky-sweet and spicy sauce for an irresistible finish.
- Bold Seasoning Mixes: Don’t limit yourself! Experiment with other pre-made or homemade seasoning blends like robust chili powder, zesty Cajun seasoning, or a fragrant Italian seasoning blend for entirely different flavor profiles.
- Explore More of Our Favorites: Beyond dry rubs, check out our other popular wing recipes like the rich Garlic Butter Wings, the vibrant Jerk Chicken Wings, and the impressive Epic Oven Grilled Chicken Wings for even more inspiration!
Serving Suggestions for Your Baked Wings
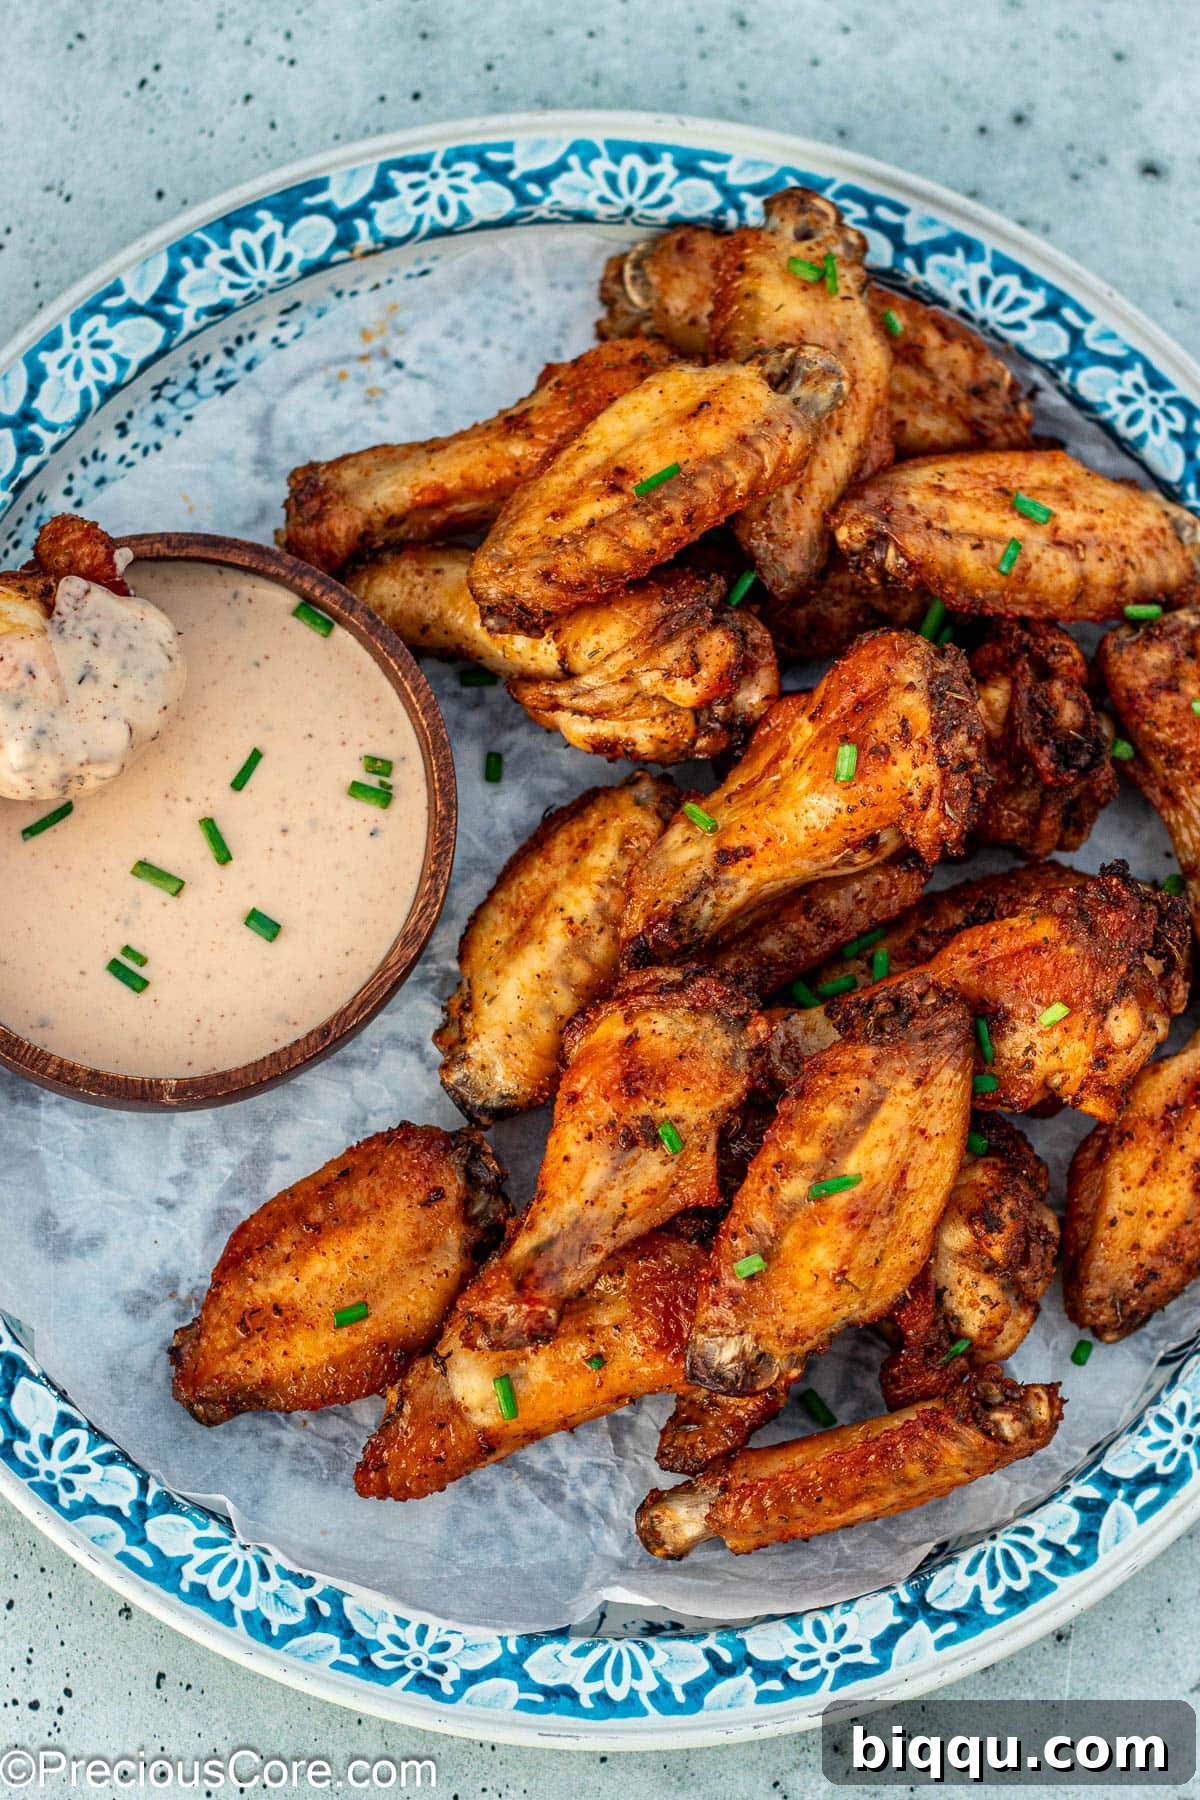
These Baked Dry Rub Chicken Wings are incredibly versatile and can be served in a multitude of ways, whether as a tantalizing appetizer or the star of your dinner table. The most classic pairing is with your favorite creamy dipping sauces. A cool, tangy ranch dressing or a robust blue cheese dressing provides a delightful contrast to the savory, crispy wings. For those who enjoy a smoky, sweet, or tangy complement, a good quality BBQ sauce is always a hit.
To add a touch of freshness and a healthy crunch, serve your wings alongside crisp carrot sticks and cool celery sticks. These not only offer a refreshing palate cleanser but also make a great vehicle for dipping into any leftover sauce. For an adventurous twist, consider pairing them with a vibrant and spicy African Pepper Sauce for an extra kick of flavor that will truly awaken your taste buds. No matter how you choose to serve them, these wings are guaranteed to be a crowd-pleaser!
Expert Tips for Achieving Ultimate Crispiness
Getting truly crispy baked chicken wings is an art, but one that is easily mastered with a few key techniques. Follow these expert tips to ensure your dry rub wings achieve that perfect, satisfying crunch every single time:
- The Power of Patting Dry: This cannot be stressed enough – thoroughly patting your chicken wings dry with paper towels is the single most important step for achieving super crisp skin. Any residual moisture on the surface of the chicken will create steam in the oven, preventing the skin from crisping up. For an even better result, after patting dry, arrange the wings on a wire rack and let them air-dry uncovered in the refrigerator for at least a few hours, or ideally, overnight. This further dehydrates the skin, setting the stage for unparalleled crispiness.
- Introduce Baking Powder: For an extra boost of crispiness, incorporate a small amount of baking powder (NOT baking soda) into your dry rub. Baking powder helps to raise the pH level of the chicken skin, breaking down proteins and creating tiny air bubbles that expand and become super crunchy during baking. Use about 1 teaspoon of aluminum-free baking powder for every one pound of chicken wings. Ensure it’s aluminum-free to avoid any metallic taste.
- Maintain the Correct Oven Temperature: Baking at the right temperature is crucial for achieving that ideal balance of crispy skin and juicy interior. A consistent oven temperature of 400 degrees Fahrenheit (200 degrees Celsius) is perfect. This high heat quickly renders the fat, crisps the skin, and cooks the chicken through without drying it out. Avoid opening the oven door too frequently, as this can drop the temperature and extend baking time, potentially affecting crispness.
- Use a Wire Rack: Always bake your wings on a wire rack placed over a foil-lined baking sheet. This setup allows hot air to circulate completely around each wing, ensuring all sides get crispy. If the wings sit directly on a baking sheet, the bottom side will steam rather than crisp.
- Don’t Overcrowd the Pan: Give your wings space! Arranging them in a single layer with enough room between each piece prevents steaming and promotes even browning and crisping. If your batch is too large for one rack, use two baking sheets or bake in batches.
Commonly Asked Questions About Baked Wings
For baked dry rub chicken wings, the dry rub is always applied *before* cooking. This allows the spices to penetrate the chicken meat as it cooks, infusing every bite with deep flavor, and also creates a delicious, crispy crust on the exterior.
Both marinating and dry rubbing are excellent methods for flavoring chicken wings, and the “better” option depends on your desired outcome and available time. Marinating involves soaking wings in a liquid mixture, which tenderizes the meat and adds moisture, ideal if you have several hours (or overnight) for the wings to soak. Dry rubbing, on the other hand, is a quicker way to achieve intense flavor and is superior for creating a crispy skin, as it doesn’t add moisture. If crispiness and speed are priorities, dry rubbing is often preferred.
The key to getting seasoning to stick to wings is a two-part process. First, ensure the wings are thoroughly patted dry with paper towels to remove any excess moisture. Second, lightly toss the dry wings with a small amount of oil (like olive oil) before applying the dry rub. The oil acts as a binder, helping the powdered spices and herbs adhere beautifully to the chicken skin.
Yes, you can use frozen chicken wings, but it is absolutely crucial to thaw them completely before proceeding with the recipe. Attempting to season and bake frozen wings will result in uneven cooking and a soggy exterior. Thaw them overnight in the refrigerator or use a cold water bath method, then ensure they are thoroughly patted dry before applying the oil and dry rub.
Store any leftover baked dry rub chicken wings in an airtight container in the refrigerator for up to 3-4 days. To reheat them and bring back some of their crispiness, it’s best to use an oven or an air fryer. Preheat your oven to 350°F (175°C) and bake the wings for 10-15 minutes, or until heated through and crispy. In an air fryer, reheat at 375°F (190°C) for 5-8 minutes, shaking the basket halfway, until hot and crisp.
Storage and Reheating Tips for Leftovers
While these dry rub chicken wings are best enjoyed fresh from the oven, you might find yourself with a few delicious leftovers, especially if you’re making a big batch! Proper storage and reheating are key to enjoying them again almost as good as the first time.
- Storing Leftovers: Once the wings have cooled to room temperature, transfer them to an airtight container. They can be safely stored in the refrigerator for up to 3 to 4 days. Avoid leaving them out at room temperature for extended periods.
- Reheating for Crispiness: To revive that delightful crispiness, avoid the microwave, which will make them soft and rubbery. The best methods for reheating are the oven or an air fryer:
- Oven: Preheat your oven to 350°F (175°C). Place the leftover wings on a wire rack set over a baking sheet (similar to how you initially baked them). Heat for about 10-15 minutes, or until they are heated through and the skin has re-crisped to your liking.
- Air Fryer: Preheat your air fryer to 375°F (190°C). Arrange the wings in a single layer in the air fryer basket. Cook for 5-8 minutes, shaking the basket halfway through, until they are hot and crispy.
With these tips, you can enjoy your flavorful dry rub chicken wings even days after they were first made!
Similar Recipes to Satisfy Your Cravings
If you loved this Baked Dry Rub Chicken Wings recipe and enjoy the convenience of oven-powered cooking, you’ll definitely want to check out these other fantastic recipes from our collection:
Epic Oven Grilled Chicken Wings
Garlic Butter Wings
Crispy Baked Chicken Drumsticks
Grilled Whole Red Snapper (Oven Grilled)
If you make this recipe, we would absolutely love to hear from you! Please consider leaving a star rating and a comment below. Your feedback helps others discover and enjoy this recipe, and it brings us so much joy to hear about your culinary creations. Thank you!
(Please note: This is a static HTML representation. For interactive features like saving recipes via email, please visit the original website.)

Baked Dry Rub Chicken Wings
10 mins
45 mins
55 mins
4 servings
Rate
Print Recipe
Ingredients
- 2 pounds chicken wings completely thawed if frozen
- 1 Tablespoon olive oil
- 1 teaspoon salt
- ½ teaspoon ground black pepper
- 1 teaspoon garlic powder
- 1 teaspoon onion powder
- ½ teaspoon dried thyme
- 1 teaspoon dried parsley
- 1 teaspoon paprika
Instructions
-
Preheat your oven to 400℉ (200℃). Prepare a baking sheet by lining it with aluminum foil, then placing an oven-safe wire rack on top of the foil.
-
If your chicken wings were refrigerated, remove them at least 30 minutes before cooking to bring them closer to room temperature. This promotes more even cooking. Thoroughly pat the chicken wings dry with paper towels to remove all excess moisture. Transfer the dried wings to a large mixing bowl.
-
Drizzle the olive oil over the chicken wings and toss until each wing is lightly coated. In a small separate bowl, combine all the dry rub ingredients: salt, pepper, garlic powder, onion powder, dried thyme, dried parsley, and paprika. Sprinkle this dry rub generously over the oiled chicken wings. Toss well to ensure every chicken wing is fully coated with the spice mixture.
-
Arrange the seasoned wings in a single layer on the prepared wire rack. Make sure to leave adequate space between each wing to allow for proper air circulation, which is crucial for achieving crispy skin. Avoid overcrowding the pan.
-
Place the baking sheet in the preheated oven and bake for 45 minutes. For optimal crisping and even cooking, rotate the baking sheet halfway through the baking time. The wings are fully cooked when they reach an internal temperature of 165℉ (74℃) as measured by an instant-read meat thermometer inserted into the thickest part of a wing, avoiding the bone.
-
Once baked to golden-brown perfection, remove the wings from the oven. Let them rest for a few minutes before serving warm with your favorite dipping sauces.
Notes
2. If you do not have an oven-safe wire rack, you can still bake the wings directly on a baking pan. Ensure the pan is greased or lined with aluminum foil (and lightly greased) to prevent sticking. Be aware that the bottom side of the wings might not be as crispy as when using a rack.
3. Store any leftover wings in an airtight container in the fridge for up to 3-4 days. For best reheating results, use an oven or air fryer to regain crispiness.
Nutrition
Calories: 309kcal
|
Carbohydrates: 1g
|
Protein: 23g
|
Fat: 23g
|
Saturated Fat: 6g
|
Polyunsaturated Fat: 5g
|
Monounsaturated Fat: 10g
|
Trans Fat: 0.2g
|
Cholesterol: 94mg
|
Sodium: 672mg
|
Potassium: 221mg
|
Fiber: 0.4g
|
Sugar: 0.1g
|
Vitamin A: 433IU
|
Vitamin C: 1mg
|
Calcium: 23mg
|
Iron: 2mg
Additional Info
Tried this recipe?
Mention @preciouscore or tag #PreciousCore!