
Authentic Kumba Bread: Your Guide to Baking Cameroon’s Beloved Homemade Sandwich Loaf
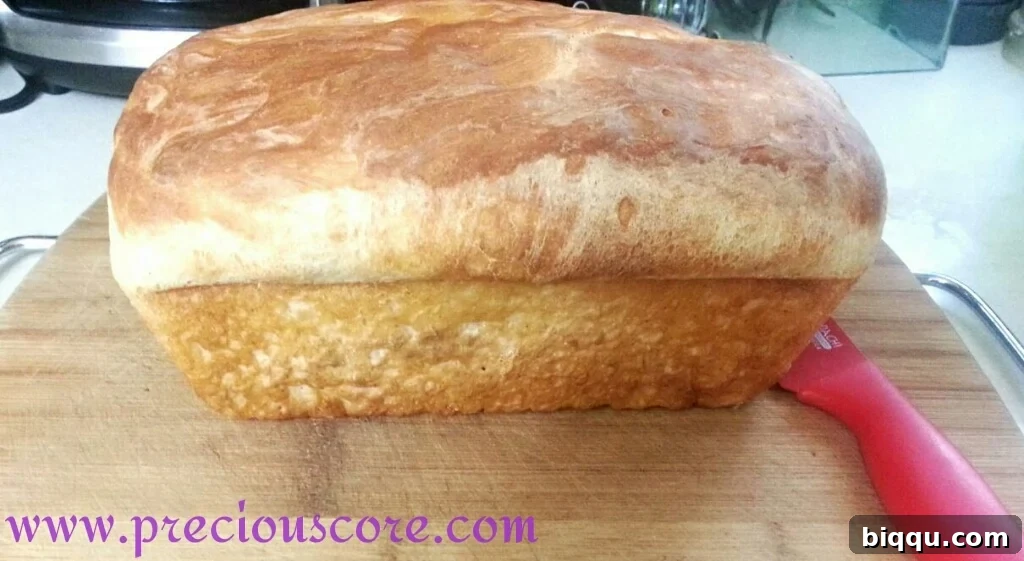
There’s an undeniable magic that fills a home when bread is baking. The rich, warm aroma promises comfort and deliciousness, a promise perfectly embodied by the beloved “Kumba Bread” from Cameroon. This soft, slightly sweet, and incredibly versatile sandwich bread holds a cherished place in the hearts and memories of many, myself included. Its name hails from Kumba, a vibrant and bustling town in the South West region of Cameroon, where the first renowned bakeries began crafting these iconic loaves. Often compared to Nigeria’s popular Agege Bread due to its similar soft texture and mild sweetness, Kumba Bread offers a unique flavor profile and a fluffy structure that makes it an ideal accompaniment for almost any meal or beverage.
For those of us who grew up in Cameroon, Kumba Bread isn’t just food; it’s a staple, a comfort, and a symbol of home. The thought of sinking your teeth into a warm slice, fresh from the oven, brings a wave of nostalgia. This article will not only guide you through the process of recreating this cherished bread in your own kitchen but also delve into its cultural significance and the pure joy of homemade baking. Get ready to embark on a culinary journey that brings the authentic taste of Cameroon right to your table.
The Sweet Memories and Cultural Heartbeat of Kumba Bread
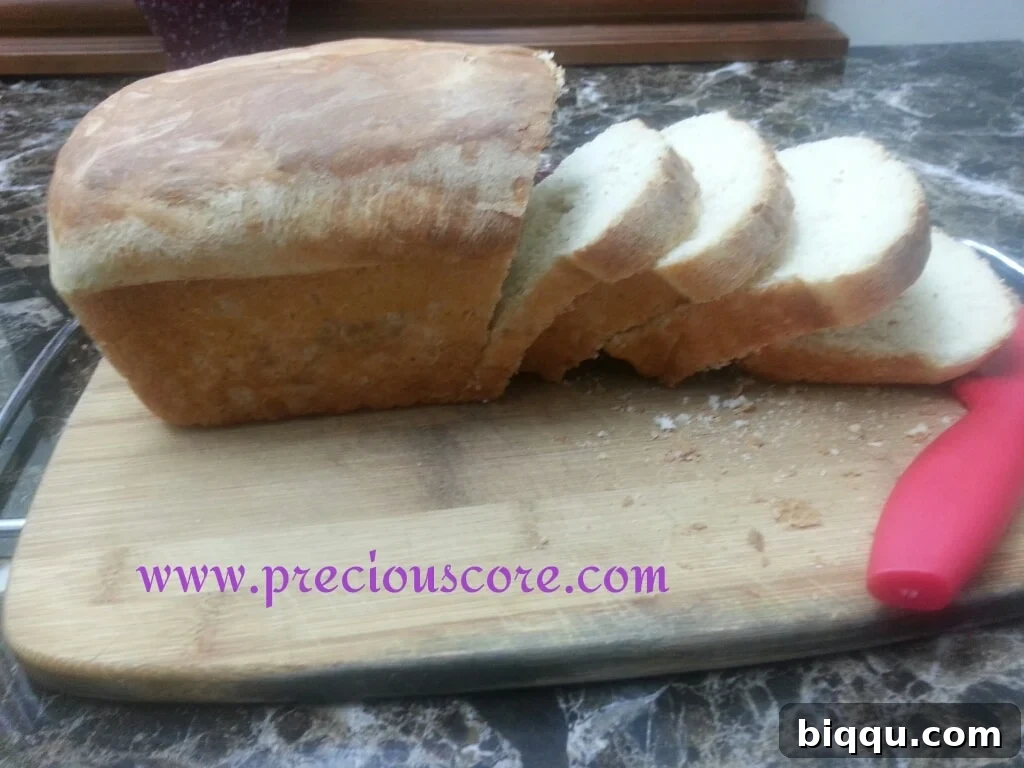
My childhood is filled with sweet memories of indulging in Kumba Bread, often paired with a comforting mug of Ovaltine. It was more than just a breakfast item; it was an experience. In our household, and many others across Cameroon, this bread held such high regard that it became a standard expectation for visitors. If a guest was traveling from another town, particularly from the Kumba region itself, there was an unspoken hope that they would arrive bearing these delightful loaves. It was a gesture of love, a prized treat that instantly elevated any gathering.
I vividly recall a humorous, yet slightly embarrassing, incident involving my younger brother. We were expecting a visitor who had traveled all the way from Mamfe to Yaounde to see us. To my brother’s dismay, and much to the visitor’s surprise, he publicly expressed his disappointment that our guest had arrived without any Kumba Bread! While it was a moment of childlike innocence, it perfectly encapsulates the deep-seated affection and cultural importance this bread holds. It wasn’t just about the food; it was about the thoughtfulness, the tradition, and the joy of sharing something truly special. Kumba Bread wasn’t merely sustenance; it was a symbol of hospitality, a piece of home, and a testament to the vibrant culinary traditions of Cameroon.
Why Homemade Bread Reigns Supreme: The Joys of Baking Your Own Kumba Loaf
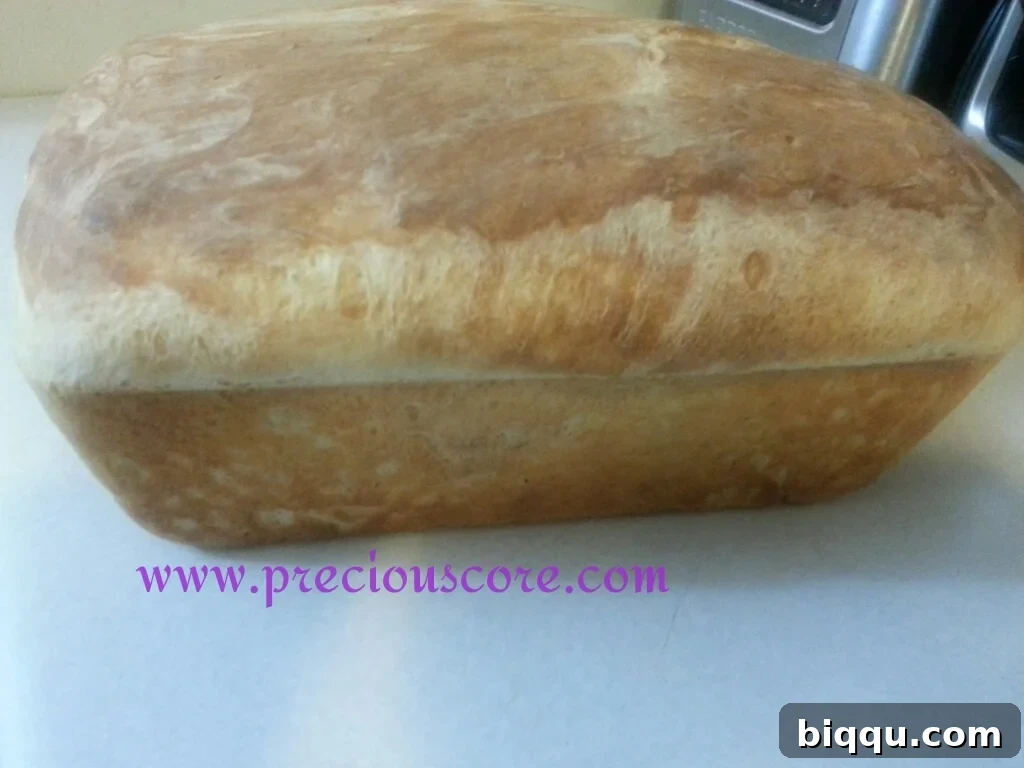
If I’m being completely honest, and this feels like confession time, I must humbly admit: I am absolutely addicted to making homemade bread! And once you experience the sheer delight of pulling a warm, fragrant loaf from your own oven, you’ll understand why. The journey from simple ingredients to a golden, crusty, soft-centred masterpiece is incredibly rewarding and, dare I say, therapeutic.
One of the most compelling reasons to bake your own Kumba Bread, or any bread for that matter, is the unparalleled control it gives you. You become the master of your creation, free to customize it to your heart’s desire. Want to incorporate healthier options? Swap out some all-purpose flour for whole wheat. Craving a touch of sweetness or texture? Add in dried fruits like raisins or cranberries, or perhaps some nuts for a delightful crunch. The possibilities are endless, allowing you to tailor your bread to suit your family’s preferences and dietary needs.
Beyond customization, the health benefits of homemade bread are significant. Store-bought breads often contain a myriad of additives, preservatives, and artificial flavors to extend shelf life. When you bake at home, you eliminate these unnecessary extras. Your Kumba Bread will be made with simple, wholesome ingredients you can pronounce, ensuring a fresher, purer, and healthier product for your loved ones. You control the amount of sugar, salt, and oil, making it easy to adjust for dietary considerations without compromising on flavor.
And then there’s the sensory experience. The aroma that fills your house as the bread bakes is simply unbeatable. It’s a comforting, inviting fragrance that transforms your kitchen into a sanctuary. The warmth emanating from the oven, the soft, pliable dough in your hands during kneading, and finally, the satisfaction of slicing into a perfectly baked loaf – these moments are priceless. There’s a profound sense of accomplishment that comes with creating something so fundamental and delicious from scratch. So, prepare to fall in love with the process, just as I have.
Mastering the Authentic Kumba Bread Recipe at Home
Ready to bring the irresistible taste of Kumba Bread into your home? This recipe has been perfected to deliver that authentic soft, fluffy, and slightly sweet loaf you remember, free from any artificial additives. Follow these straightforward steps, and you’ll be enjoying homemade Cameroonian sandwich bread in no time.
KUMBA BREAD RECIPE
Prep time: 20 minutes
Inactive time (rising): Approximately 2 hours 30 minutes (first rise: 1-1.5 hours; second rise: 30 minutes)
Cook time: 15-20 minutes
Yield: 1 large loaf
Essential Utensils:
To ensure a smooth baking process, gather these essential items:
- Standard loaf baking pan (approx. 9×5 inches)
- Large mixing bowl
- Measuring cups and spoons
- Whisk or fork
- Clean kitchen towel or plastic wrap
- Wire cooling rack
Ingredients:
Quality ingredients are key to a delicious Kumba Bread. Here’s what you’ll need:
- Flour: 3 cups (All-Purpose or Bread Flour – bread flour will give a slightly chewier texture)
- Active Dry Yeast: 2 and 1/4 teaspoons (or 1 small sachet)
- Warm Water: 1 cup (ideally between 105-115°F / 40-46°C for optimal yeast activation)
- Granulated Sugar: 2 tablespoons (feeds the yeast and adds sweetness)
- Salt: 1 teaspoon (enhances flavor and controls yeast activity)
- Nutmeg: Half teaspoon (a subtle, traditional aromatic spice)
- Dry Whole Milk Powder: Half cup (adds richness, tenderness, and helps with browning)
- Vegetable Oil: 2 tablespoons (for dough elasticity and preventing sticking)
Step-by-Step Baking Instructions:
This is where the magic happens! Follow these steps carefully for a perfect Kumba Bread.
1. Activate the Yeast: In a large bowl, pour the warm water. Sprinkle the yeast and 1 teaspoon of the sugar over the water. Stir gently and let it sit for 5-10 minutes. The mixture should become foamy, indicating the yeast is active and ready to work its magic. If it doesn’t foam, your yeast might be old or the water temperature was off, and you should start again.

2. Combine Dry Ingredients: To the activated yeast mixture, add the remaining flour, salt, sugar, nutmeg, and dry whole milk powder.
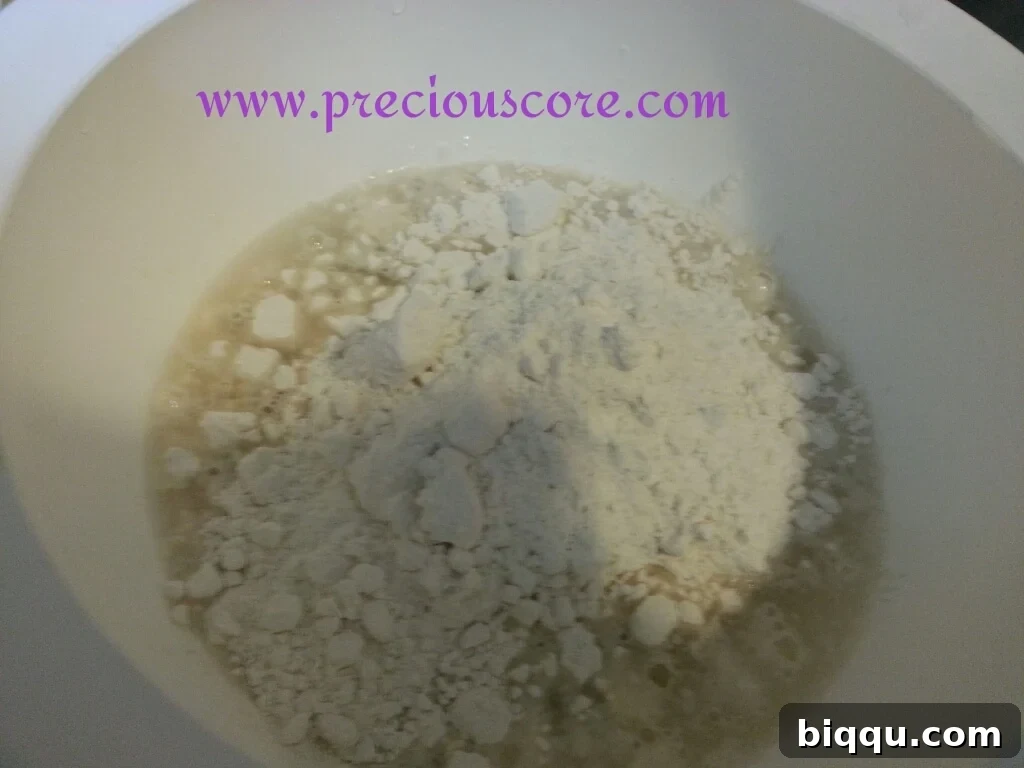
3. Form the Dough: Mix all ingredients thoroughly, either with a sturdy spoon or a stand mixer with a dough hook, until a shaggy dough forms. Continue mixing until the dough comes together. The goal is a dough that is soft, pliable, and quite stretchy, not too stiff. A hard dough at this stage will unfortunately lead to a dense, hard loaf, so resist the urge to add too much extra flour. It should be slightly sticky but manageable.
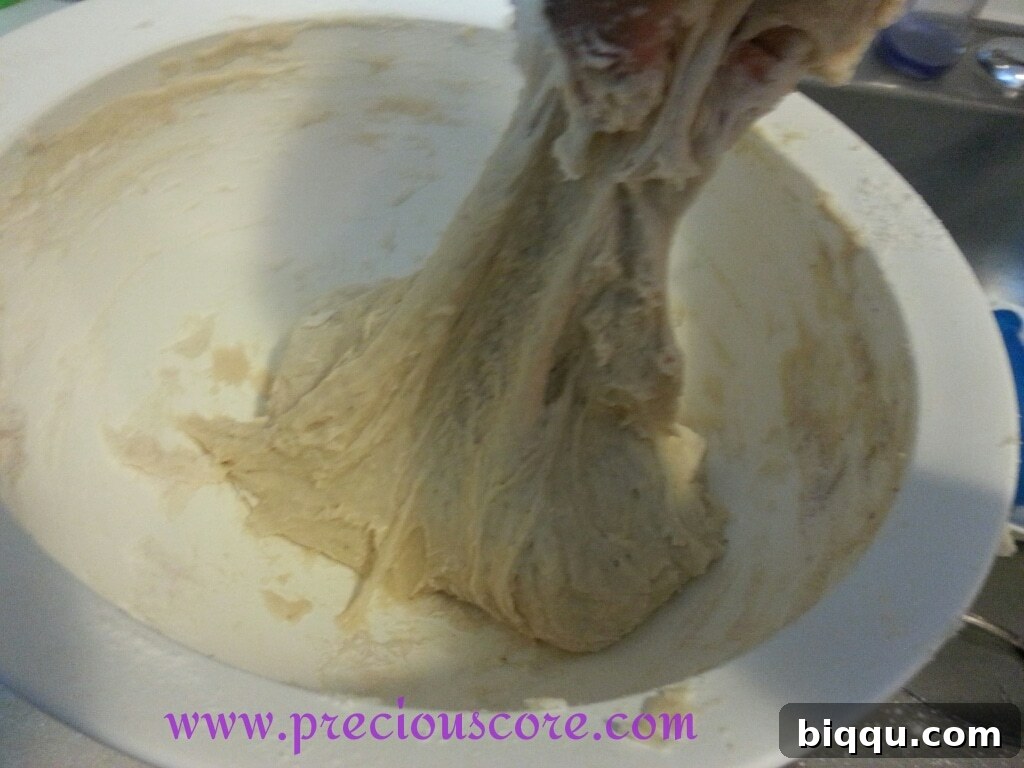
4. Knead the Dough: Transfer your soft dough to a lightly floured surface. Begin kneading it for 5-10 minutes. If you have the luxury of time and energy, kneading for up to twenty minutes will further enhance the gluten development, resulting in an even smoother, more elastic dough and a superior texture in the final bread. Kneading is crucial; it develops the gluten strands, which give the bread its structure, elasticity, and characteristic chewiness. As you knead, the dough will become progressively smoother and less sticky.
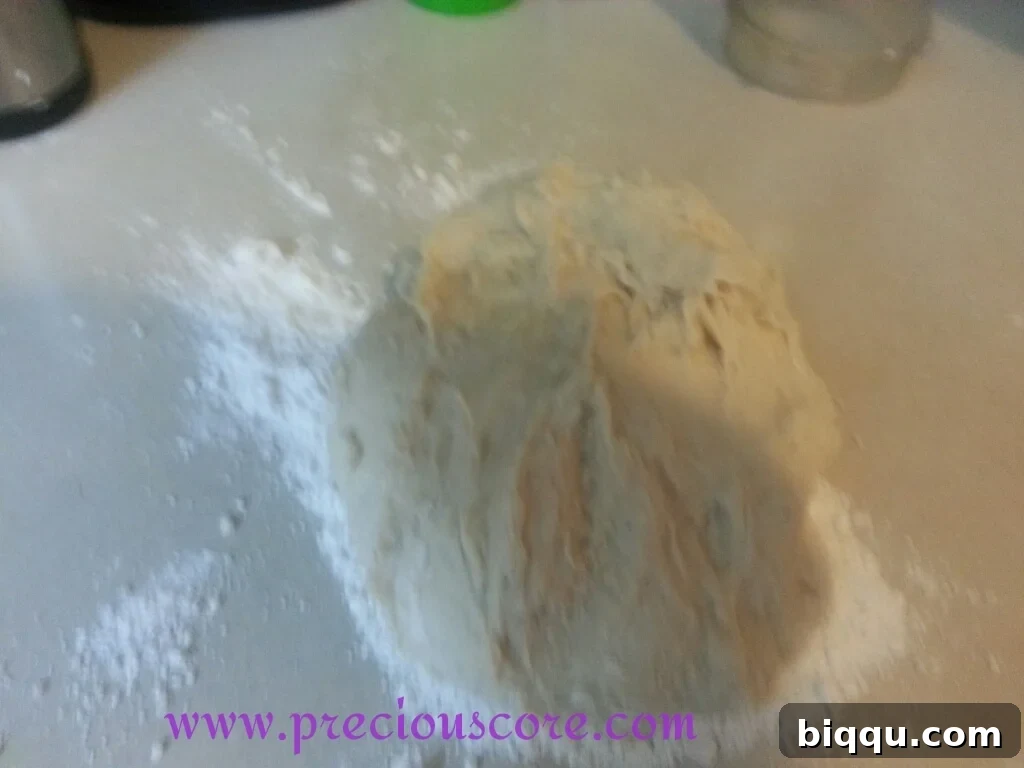
5. Prepare for the First Rise: Pour the vegetable oil into a clean, large bowl.
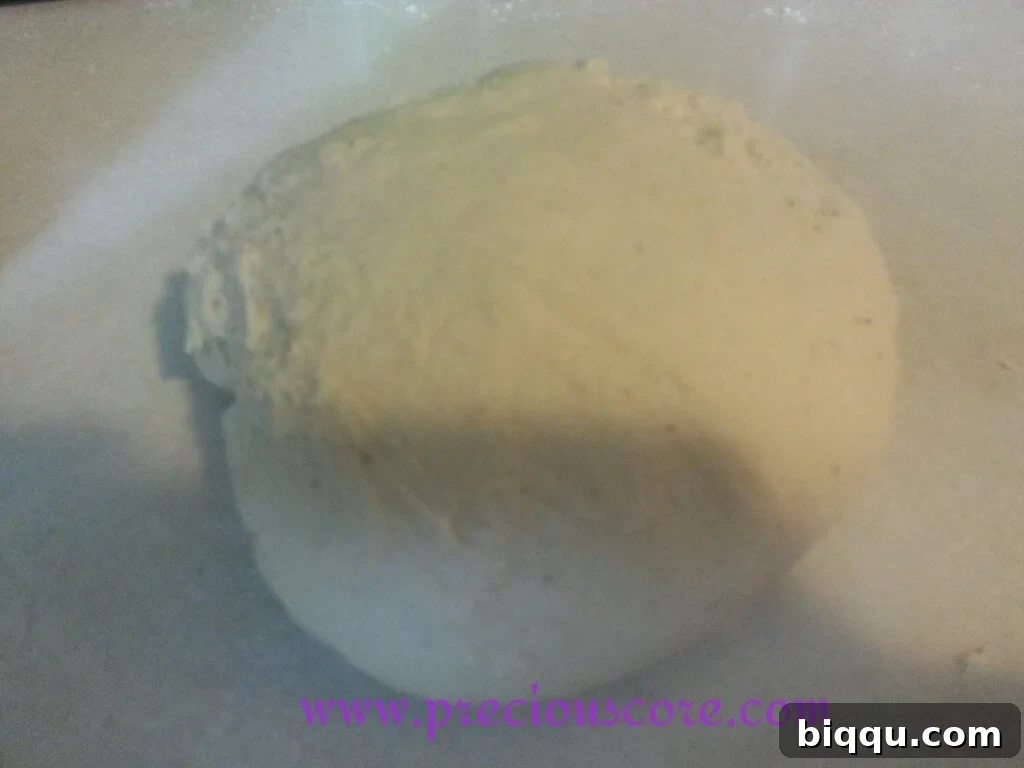
6. Coat the Dough: Swirl the oil around the bowl to lightly coat the entire inner surface.

7. First Proofing (Bulk Fermentation): Place your kneaded dough into the oiled bowl, turning it once to ensure it’s fully coated with oil. This prevents it from sticking to the bowl as it rises.
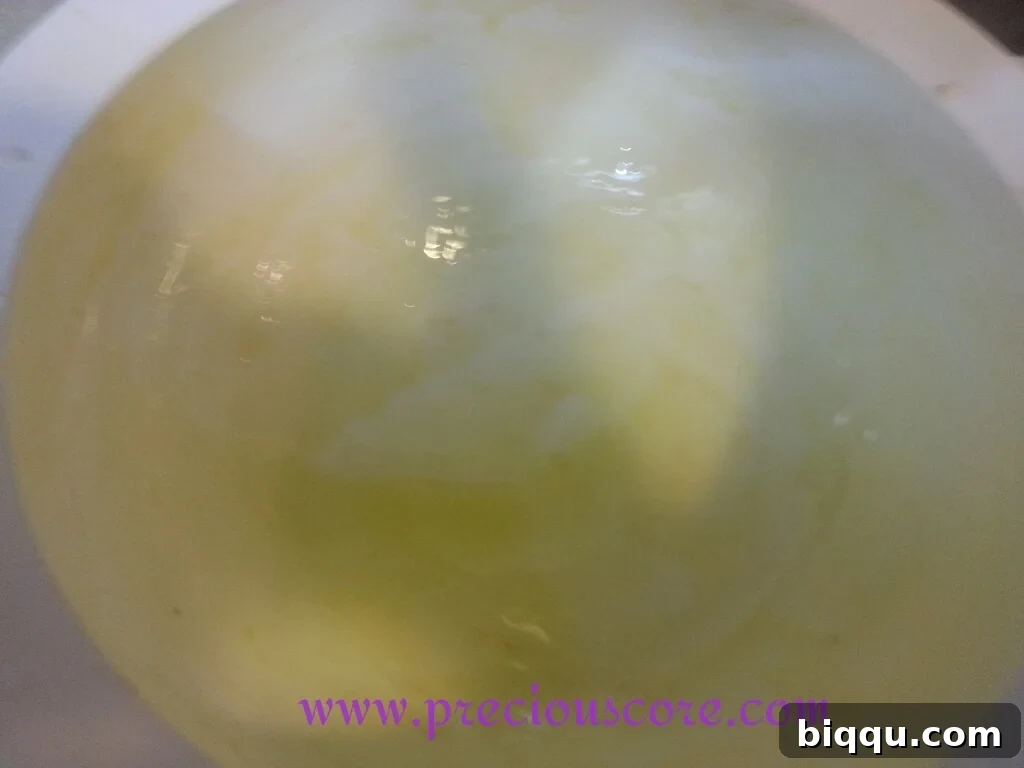
8. Cover and Let Rise: Tightly cover the bowl with plastic wrap.
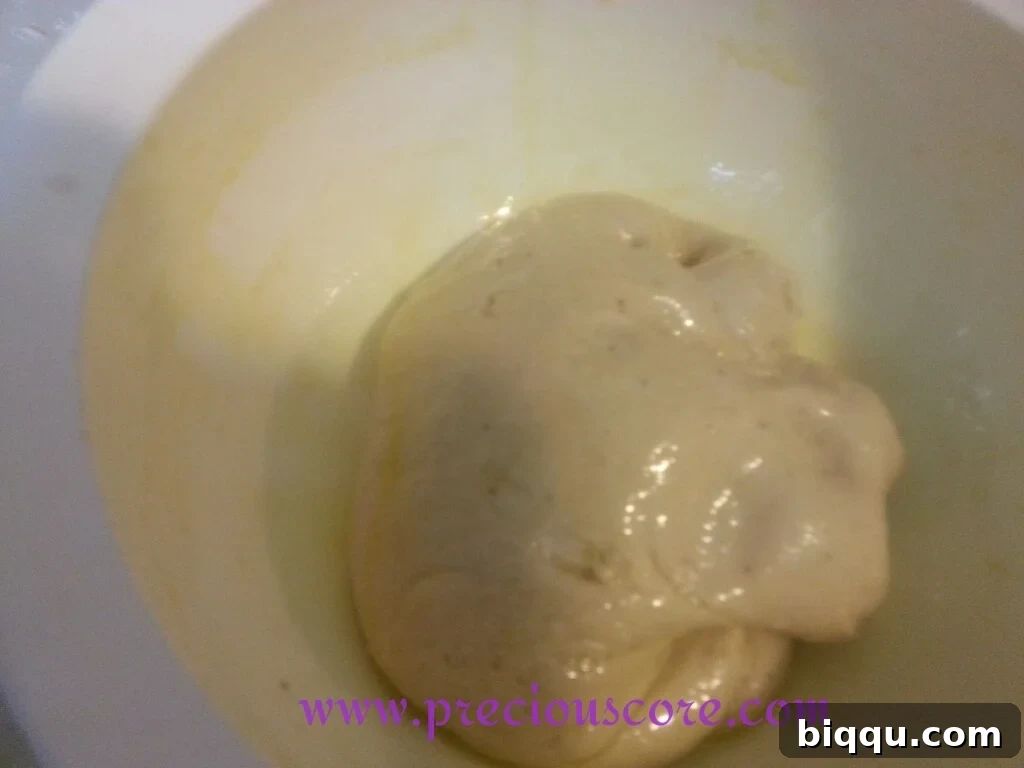
For added warmth and insulation, drape a clean kitchen towel over the plastic wrap.
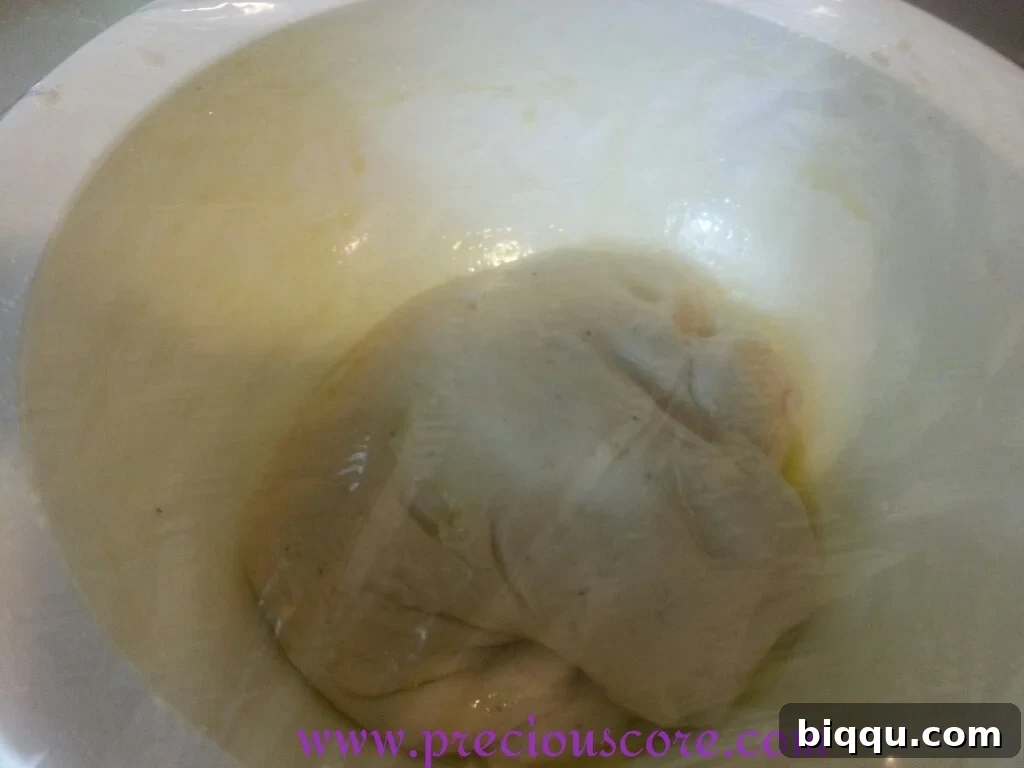
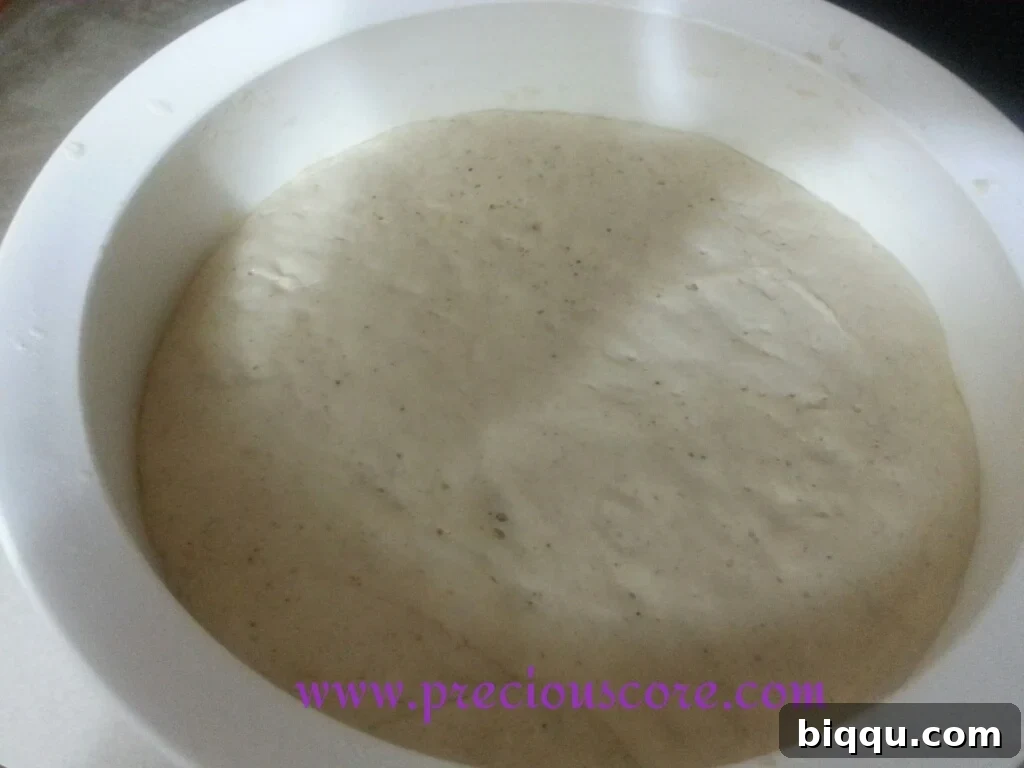
9. The First Rise: Place the covered bowl in a warm, draft-free spot to rise for about one to one and a half hours, or until it has more than doubled in size. A pro tip for a warm environment: turn your oven on for just one minute, then turn it off, and place the dough inside. This creates a perfect, slightly warm microclimate for optimal rising. You’ll be amazed at how much it grows! Yes, yes, yes! Good things are definitely happening!

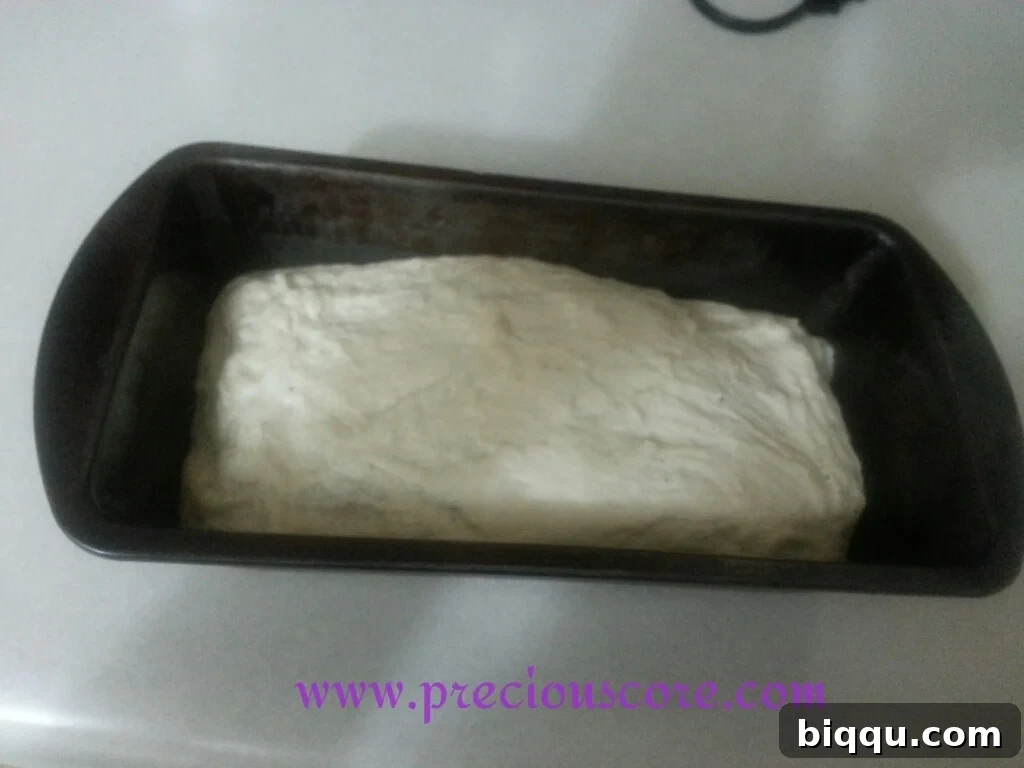
10. Punch Down and Shape: Once fully risen, gently punch the dough down to deflate it and release the accumulated gases. Transfer it to a lightly floured surface and gently form it into a rectangle that will fit snugly into your greased loaf pan. Ensure the loaf pan is adequately greased with butter or vegetable oil to prevent sticking. Carefully place the shaped dough into the prepared pan.
11. Second Rise (Proofing): Cover the loaf pan with a clean kitchen towel and let it rise again in a warm place for approximately 30 minutes, or until it has noticeably puffed up and almost doubled in size within the pan. This second rise is crucial for a light and airy final texture.
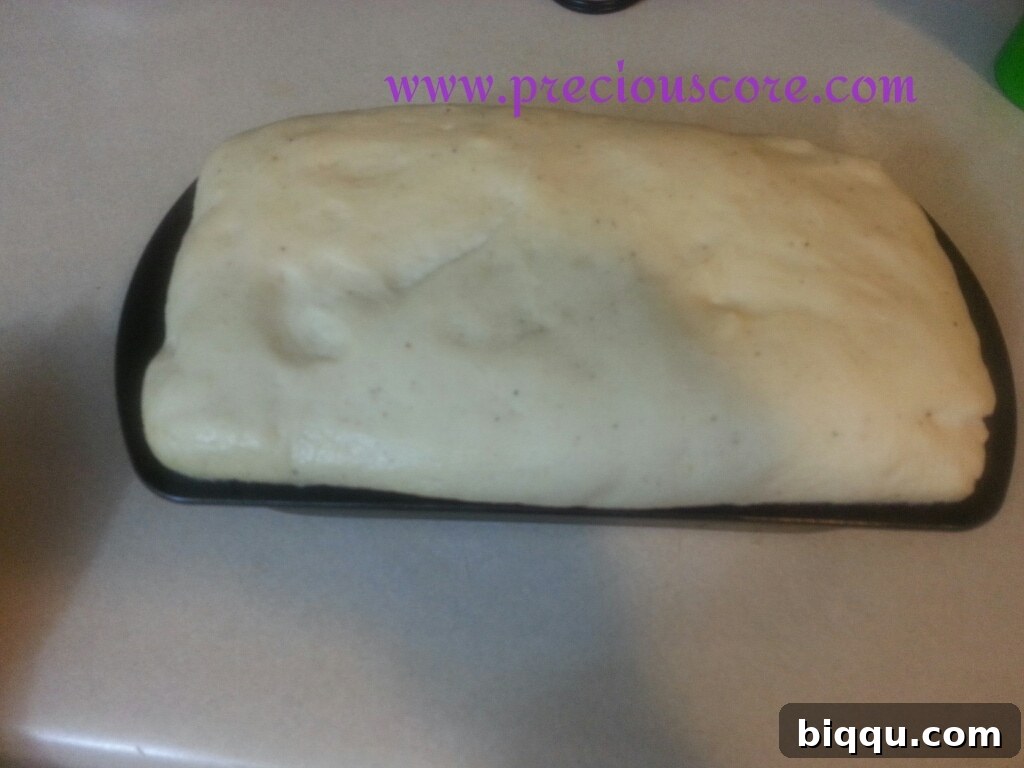
12. Bake: Preheat your oven to 350 Degrees Fahrenheit (175°C). Once preheated, bake the Kumba Bread for about 15-20 minutes, or until the crust turns a beautiful pale golden brown and sounds hollow when tapped on the bottom. The exact baking time may vary slightly depending on your oven, so keep an eye on it!
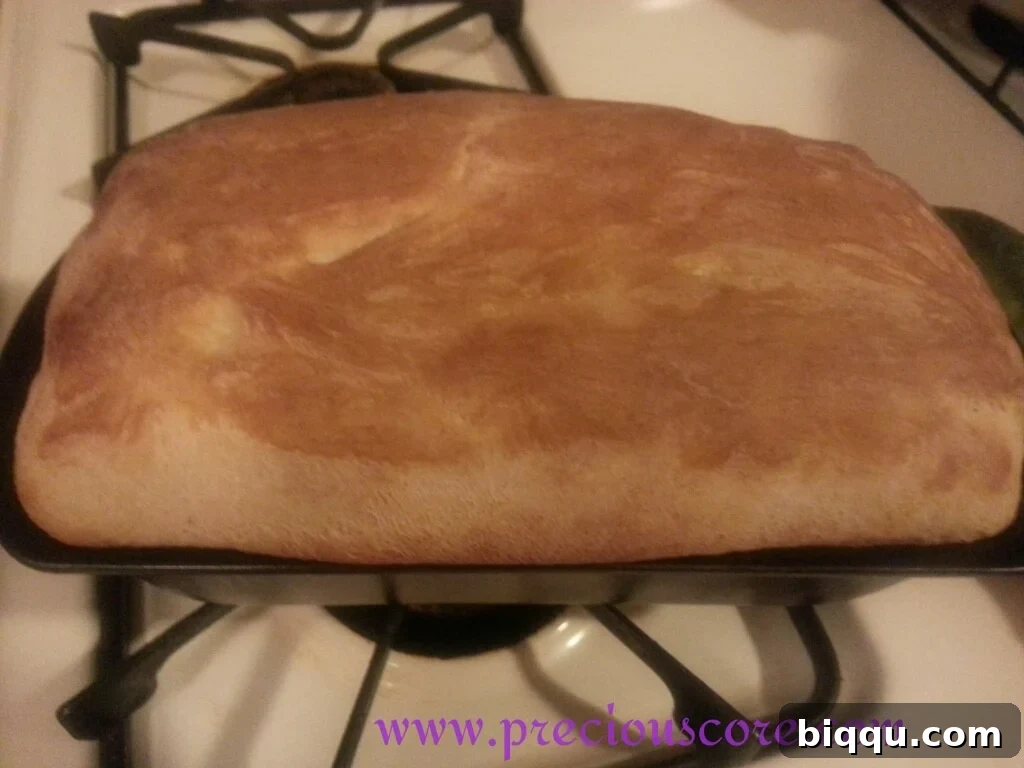
13. Cool: Once baked, immediately remove the bread from the pan and place it on a wire cooling rack. Allow it to cool completely before slicing. This is crucial for the internal structure to set, preventing a gummy texture.
Pro Tips for Your Perfect Kumba Bread
Elevate your baking game with these additional tips for a truly spectacular loaf:
- For a Glossy Finish: If you desire that classic shiny, golden crust, beat one egg with a tablespoon of water to create an egg wash. Lightly brush the top of your dough with this mixture just before placing it in the oven for baking.
- Don’t Rush the Rise: Patience is a baker’s best friend. Allow your dough to rise fully in a warm, draft-free environment. Rushing this process will result in a denser loaf.
- Measure Accurately: Especially with baking, precision matters. Use proper measuring cups and spoons. For flour, spoon it into your measuring cup and level off, rather than scooping directly, to avoid packing too much in.
- Adjust Water as Needed: Flour can absorb liquid differently depending on the brand and humidity. Start with the recommended water amount, but be prepared to add a tiny bit more if your dough seems too dry, or a sprinkle of flour if it’s too sticky to handle after kneading.
- Storage: Once completely cooled, Kumba Bread is best stored at room temperature in an airtight container or bread bag for 2-3 days. For longer storage, slice and freeze for up to a month, then simply toast slices as needed.
- Customization Ideas: Feel free to experiment! Add a pinch of cinnamon alongside the nutmeg, or for a savory twist, incorporate finely chopped herbs like rosemary or thyme into the dough before the first rise. For a richer taste, you could replace some of the water with milk.
Serving Your Delicious Kumba Bread
Once your beautiful Kumba Bread has cooled, the possibilities are endless! Enjoy a thick slice spread with butter and your favorite jam, or as a hearty accompaniment to a comforting Cameroonian stew. It’s absolutely divine with a warm beverage like Ovaltine, Milo, or a strong cup of coffee or tea, making for a truly nostalgic breakfast or an afternoon snack. It also makes for an incredible sandwich base, ready to hold all your favorite fillings. There’s nothing quite like the taste of freshly baked bread.
Conclusion: The Ultimate Homemade Bread Experience
Baking your own Kumba Bread is a rewarding experience that connects you to a rich culinary tradition while filling your home with an irresistible aroma. From the nostalgic memories it evokes to the simple pleasure of enjoying a wholesome, additive-free loaf, this recipe is sure to become a cherished favorite. Don’t be intimidated by the process; embrace the journey of kneading, rising, and baking. The end result – a soft, tender, and incredibly flavorful Kumba Bread – will be worth every moment. We encourage you to try this recipe and discover the pure joy of homemade bread. Share your creations and enjoy the taste of Cameroon!
CHECK OUT MY OTHER BREAD RECIPES:
- Milk Bread – This incredibly soft and fluffy bread needs no elaborate filling; it’s perfect on its own or lightly toasted.
- Dinner Rolls – These light and airy rolls are so good, they’ll make your taste buds dance with delight, transforming any meal into a special occasion.
- Chocolate Bread – A true indulgence for any chocolate lover, this rich and moist bread is a favorite for everyone, from me to Mr. N and the girls!
- Coconut Bread – The ultimate dream for coconut aficionados, this bread is packed with tropical flavor and a delightful texture.
Love,