
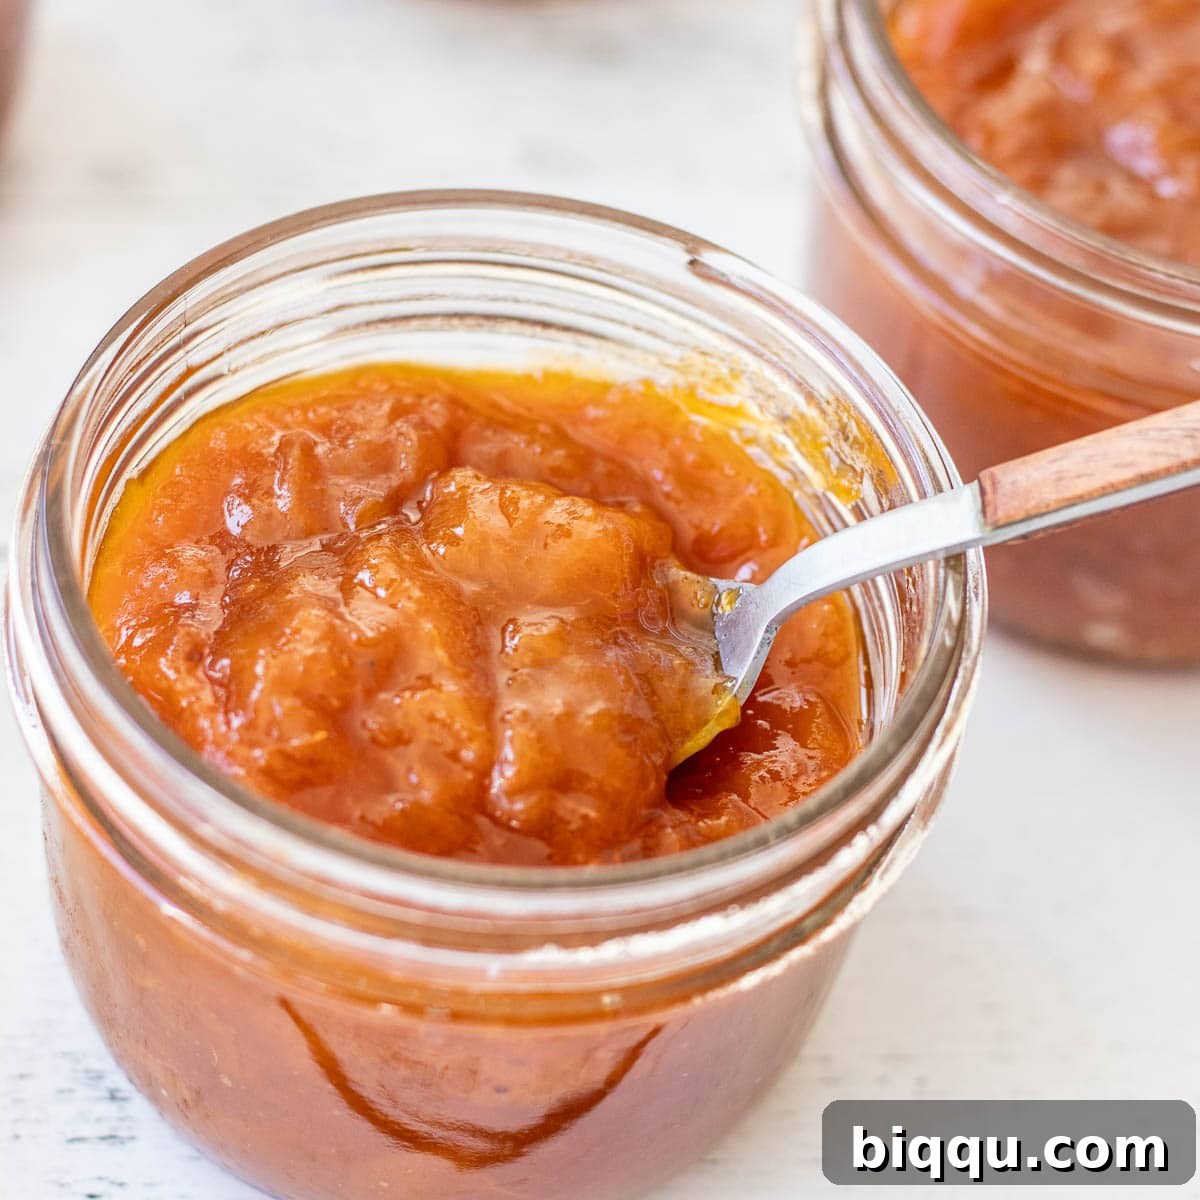
Embark on a delightful culinary journey to create the most exquisite Apricot Preserves with a remarkably simple recipe using only three core ingredients! The vibrant, sun-kissed flavor of fresh apricots, perfectly balanced with a hint of tangy lemon juice, creates a spread so irresistible, you’ll find yourself reaching for more with every spoonful. Forget bland store-bought options; this homemade version promises a burst of fresh, authentic fruit goodness that will elevate your breakfast table and beyond.
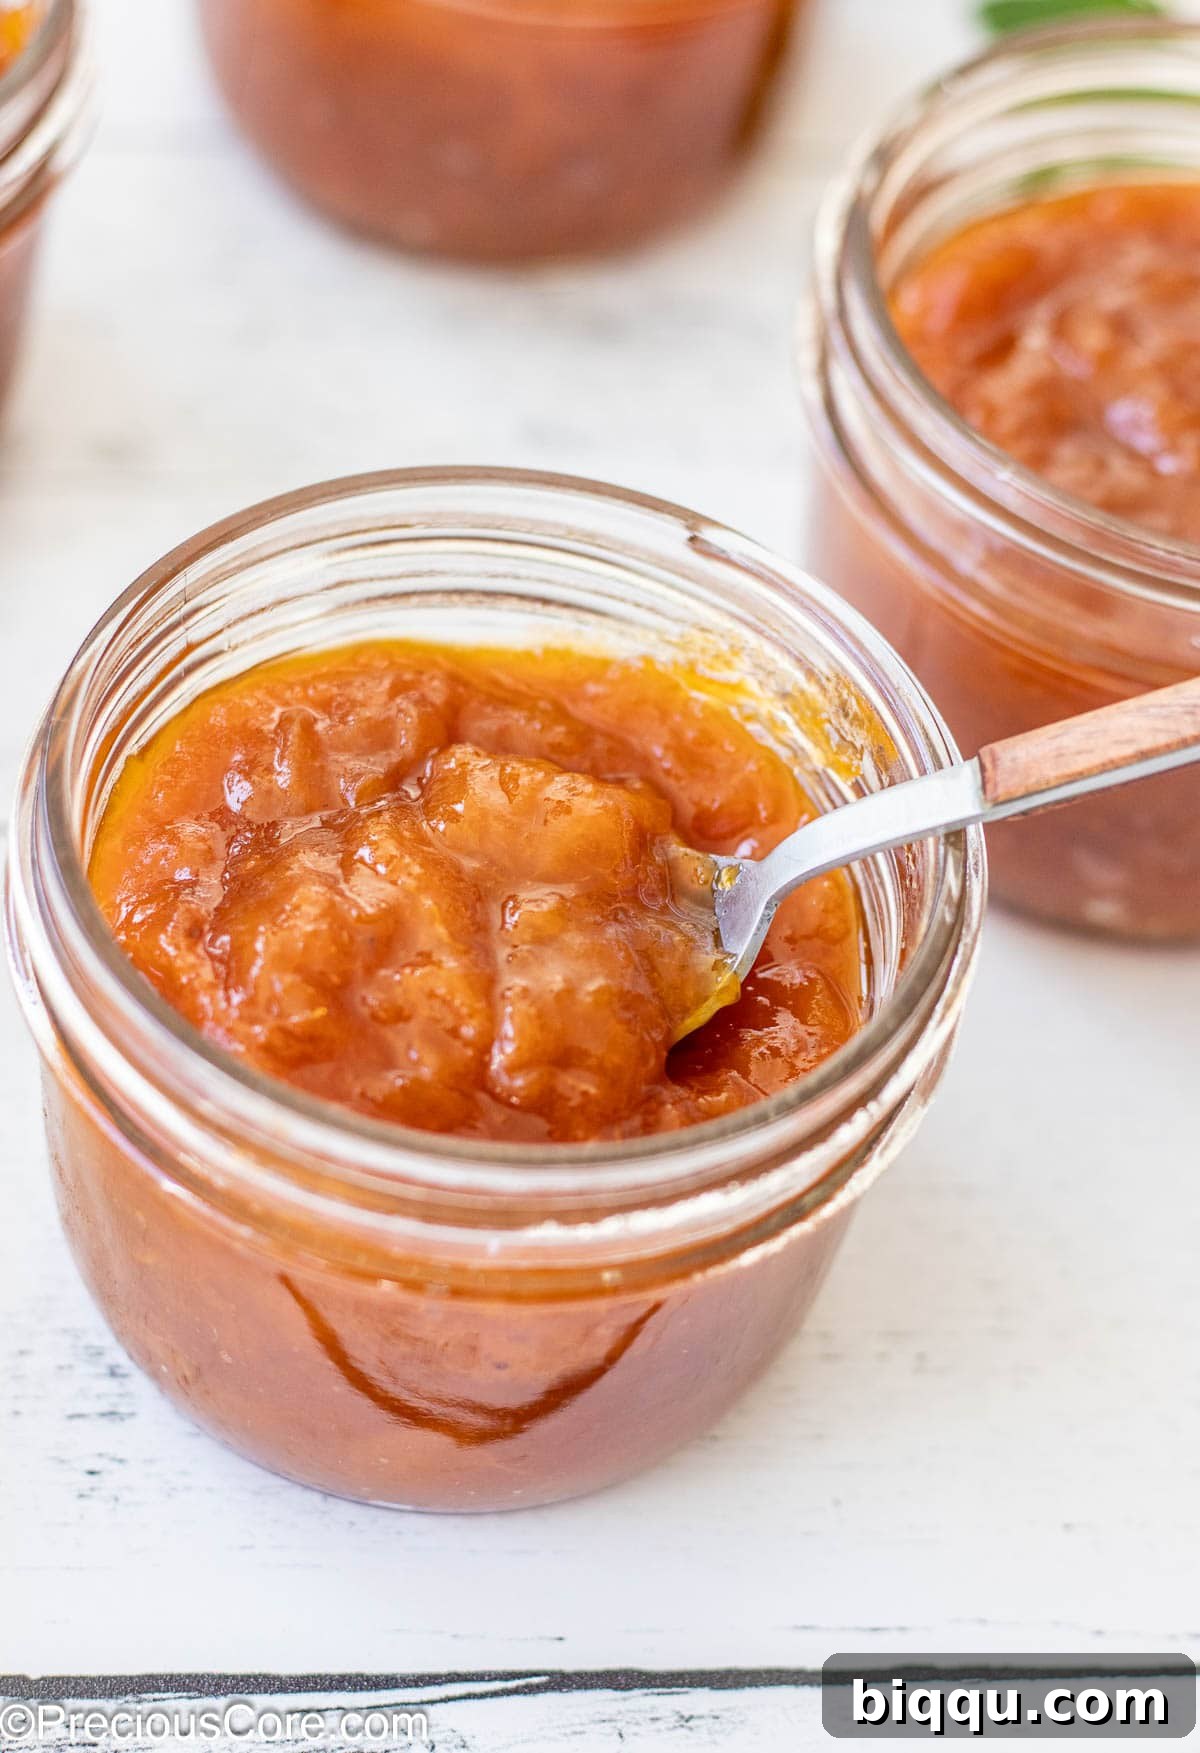
While these preserves are delicious enough to enjoy straight from the spoon, their true magic shines when served alongside your favorite breakfast and brunch items. Imagine them generously spread on warm muffins, fluffy pancakes, delicate Easy Crepes, or crispy Homemade Waffles. Beyond the morning meal, this versatile apricot delight can transform numerous dishes into gourmet experiences.
This cherished homemade apricot jam recipe was born from a beautiful act of kindness. I was blessed to receive an invitation from a sweet friend at Bible Study to harvest apricots from her abundant tree. The sheer volume of ripe apricots we gathered inspired me to preserve their deliciousness, leading to this simple yet incredibly flavorful recipe. It’s a testament to how fresh, seasonal produce, combined with a little love, can result in something truly special.
You’ll quickly discover that the rich, authentic taste of this homemade jam far surpasses anything you can buy in a grocery store. Plus, the process of making and canning your own fruit preserves is an incredibly rewarding and enjoyable project. It connects you with traditional culinary arts, allows you to control the ingredients, and fills your home with the sweet aroma of cooking fruit. Get ready to create a pantry staple that’s both healthier and more delicious!
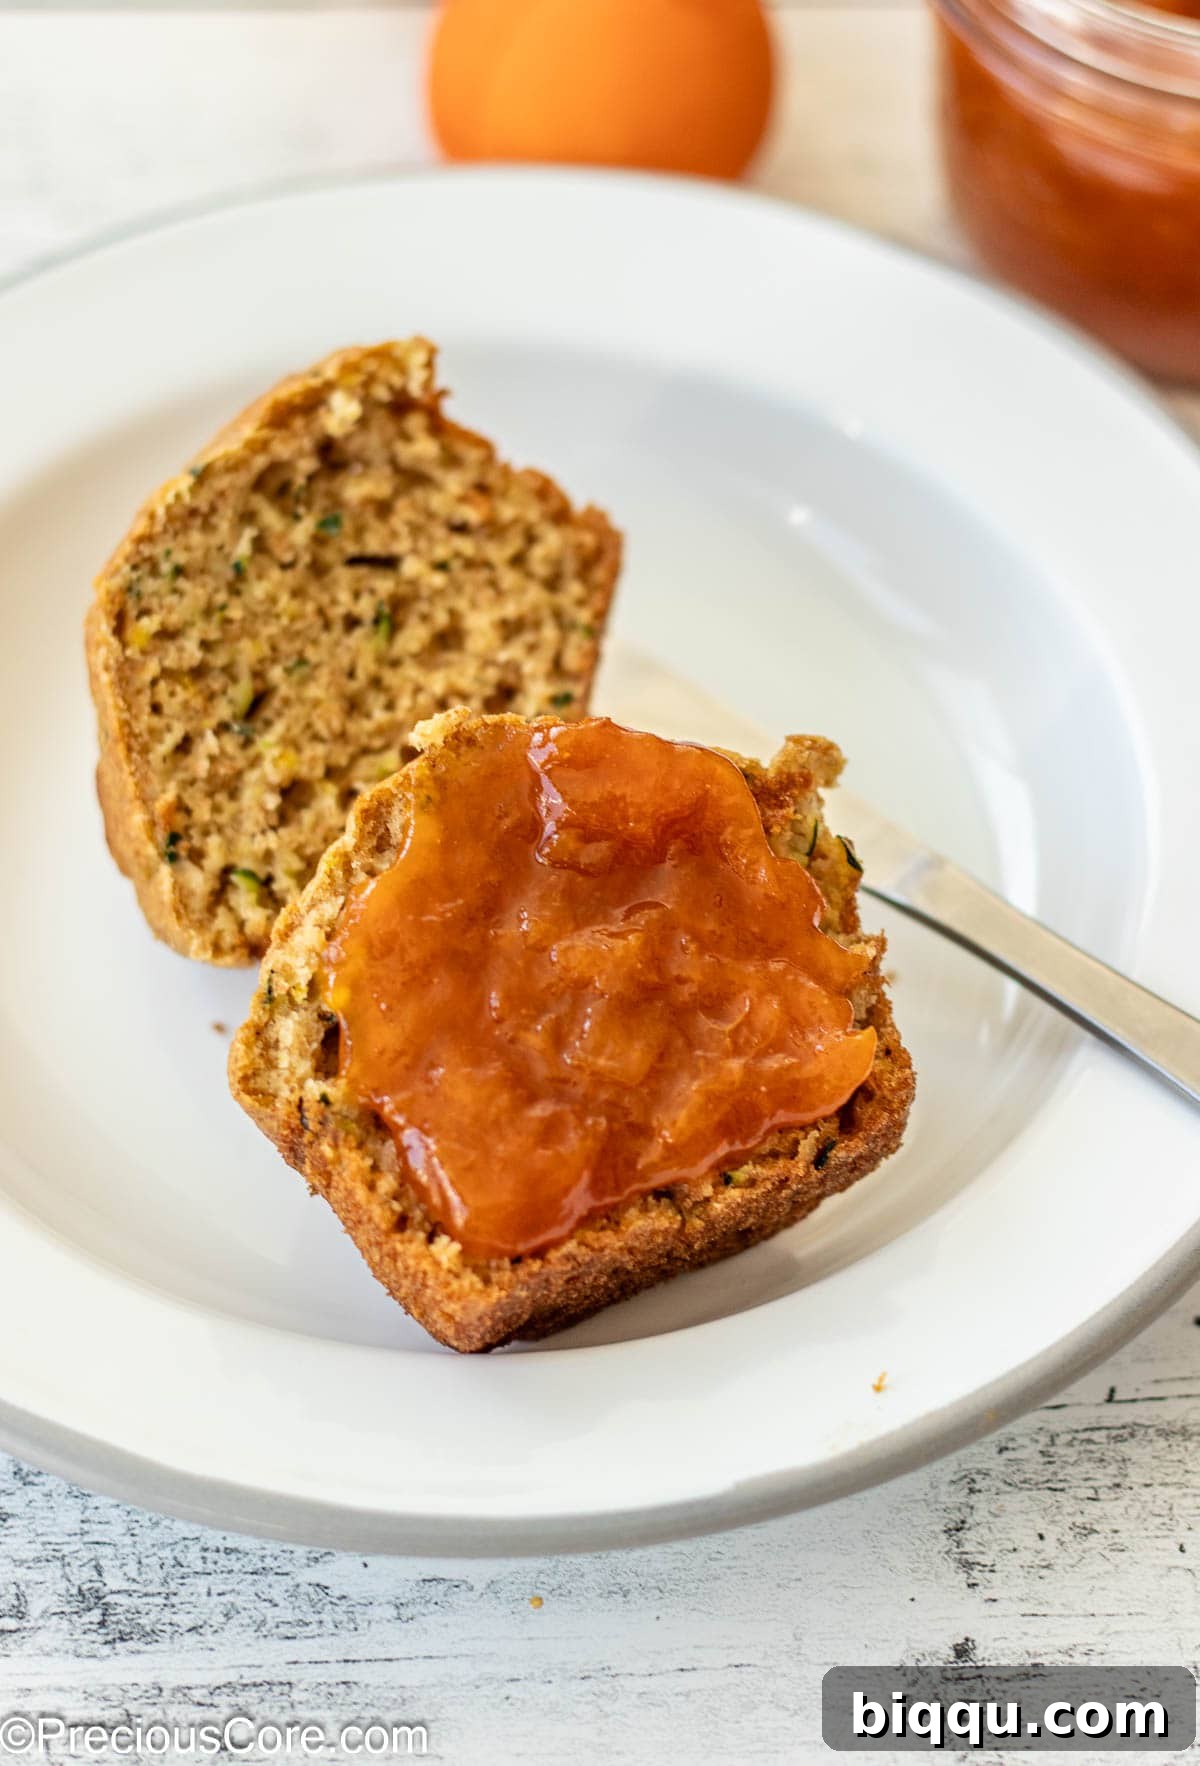
Table of Contents
- Irresistible Homemade Apricot Preserves
- Why You’ll Cherish This 3-Ingredient Recipe
- Essential Ingredients for Luscious Apricot Preserves
- Step-by-Step: How to Craft Your Apricot Preserves
- Mastering Canning: A Beginner’s Guide
- Delightful Ways to Enjoy Apricot Preserves
- Recommended Tools for Preserve Making
- Can You Freeze Apricot Preserves for Later?
- Frequently Asked Questions About Apricot Preserves
- Explore More Fruit Preserves Recipes
- Apricot Preserves Recipe Card
Irresistible Homemade Apricot Preserves
Making your own apricot preserves from scratch is a deeply satisfying experience that yields a product far superior to anything you’d find on a supermarket shelf. With just a few simple ingredients and a little patience, you can capture the essence of peak-season apricots in a jar, ready to be enjoyed throughout the year. This recipe focuses on maximizing the natural flavors of the fruit, creating a preserve that is both sweet and tart, with a delightful texture that showcases generous pieces of apricot.
The beauty of this particular recipe lies in its simplicity and reliance on natural processes. Unlike many conventional jam recipes that call for added pectin, this method leverages the natural pectin present in apricots and the enhancing properties of lemon juice to achieve a perfect set. This means fewer processed ingredients and more pure fruit flavor. Plus, the rewarding feeling of seeing those beautiful jars filled with your handcrafted preserves is truly unmatched.
Why You’ll Cherish This 3-Ingredient Recipe
This apricot preserves recipe isn’t just easy; it’s designed to bring maximum flavor and versatility to your kitchen. Here’s why it’s destined to become a staple in your recipe collection:
- Unleash Culinary Creativity: While this recipe is perfectly tailored for delicious apricots, its core principles are incredibly versatile and adaptable. Consider using this same simple method to craft homemade jams and preserves from an array of other seasonal fruits. Imagine luscious berry preserves (strawberry, raspberry, blueberry, mixed berry), rich stone fruit jams (peaches, plums, cherries, nectarines), or even exotic tropical fruit spreads (mango, guava, pineapple, passion fruit). This flexible approach empowers you to create the best homemade jam with whatever fruit is in season.
- Naturally Delicious, Healthily Sweet: In an era where many commercial jams are laden with excessive sugar and high-fructose corn syrup, this recipe offers a refreshing alternative. It strikes the perfect balance of sweetness and tanginess, allowing the natural apricot flavor to truly shine. You have complete control over the ingredients, ensuring no unwanted additives or artificial preservatives. Best of all, it achieves a beautiful set without any added pectin, relying solely on the natural pectin found in apricots and the boost from lemon juice. This means a healthier, more transparent preserve for you and your family.
- The Unrivaled Joy of Homemade: There’s a special satisfaction that comes with creating something delicious from scratch. Making your own preserves fills your home with incredible aromas and gives you a deep connection to your food. It’s a fun, engaging kitchen project that can be enjoyed by all ages, and the resulting jars of golden goodness make thoughtful, personalized gifts for friends and family. The taste of homemade, made with love, truly cannot be beaten.
Craving more homemade fruit spreads? Don’t miss out on our vibrant Pineapple Jam and naturally sweet Healthy Strawberry Jam recipes.
Essential Ingredients for Luscious Apricot Preserves
Crafting truly exceptional homemade apricot preserves requires only three natural, high-quality ingredients. You’ll be amazed at the depth of flavor you can achieve without the need for artificial additives or even store-bought pectin!
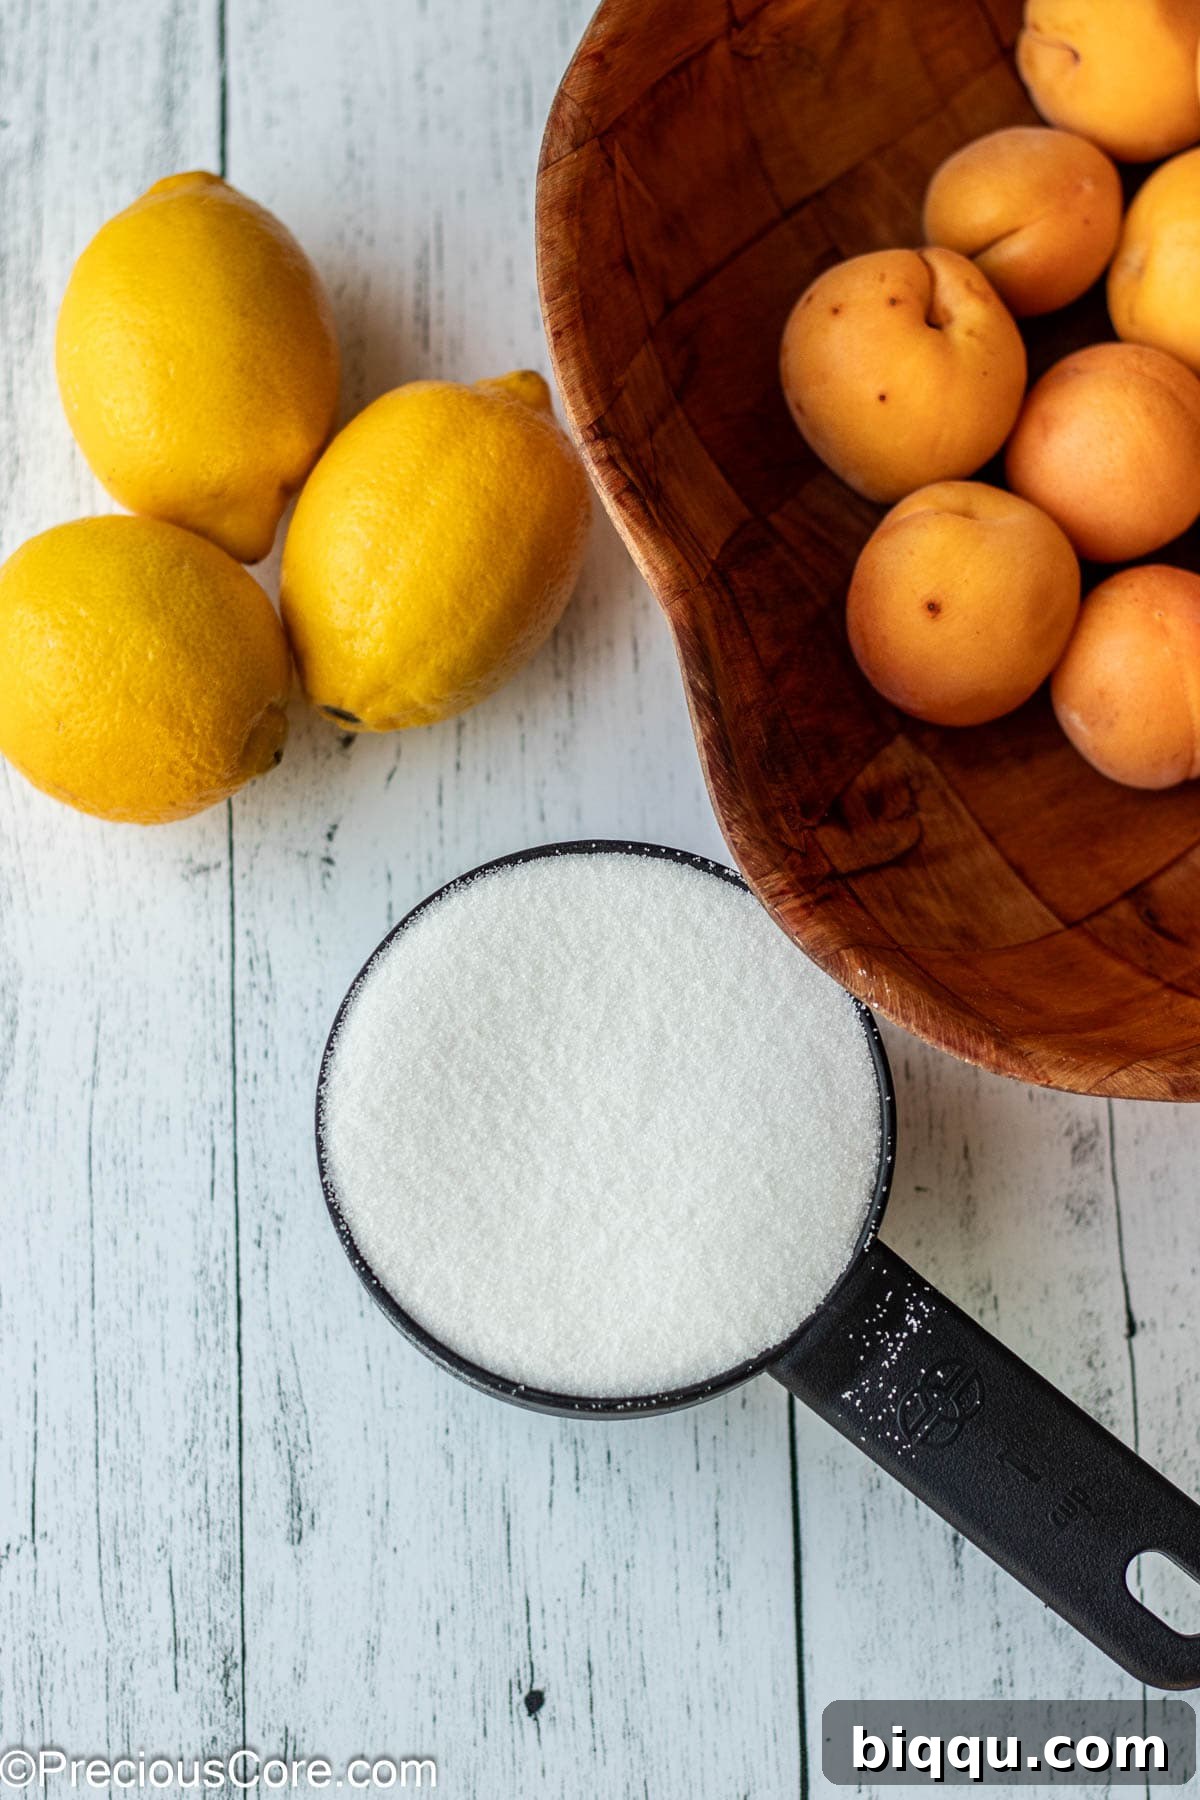
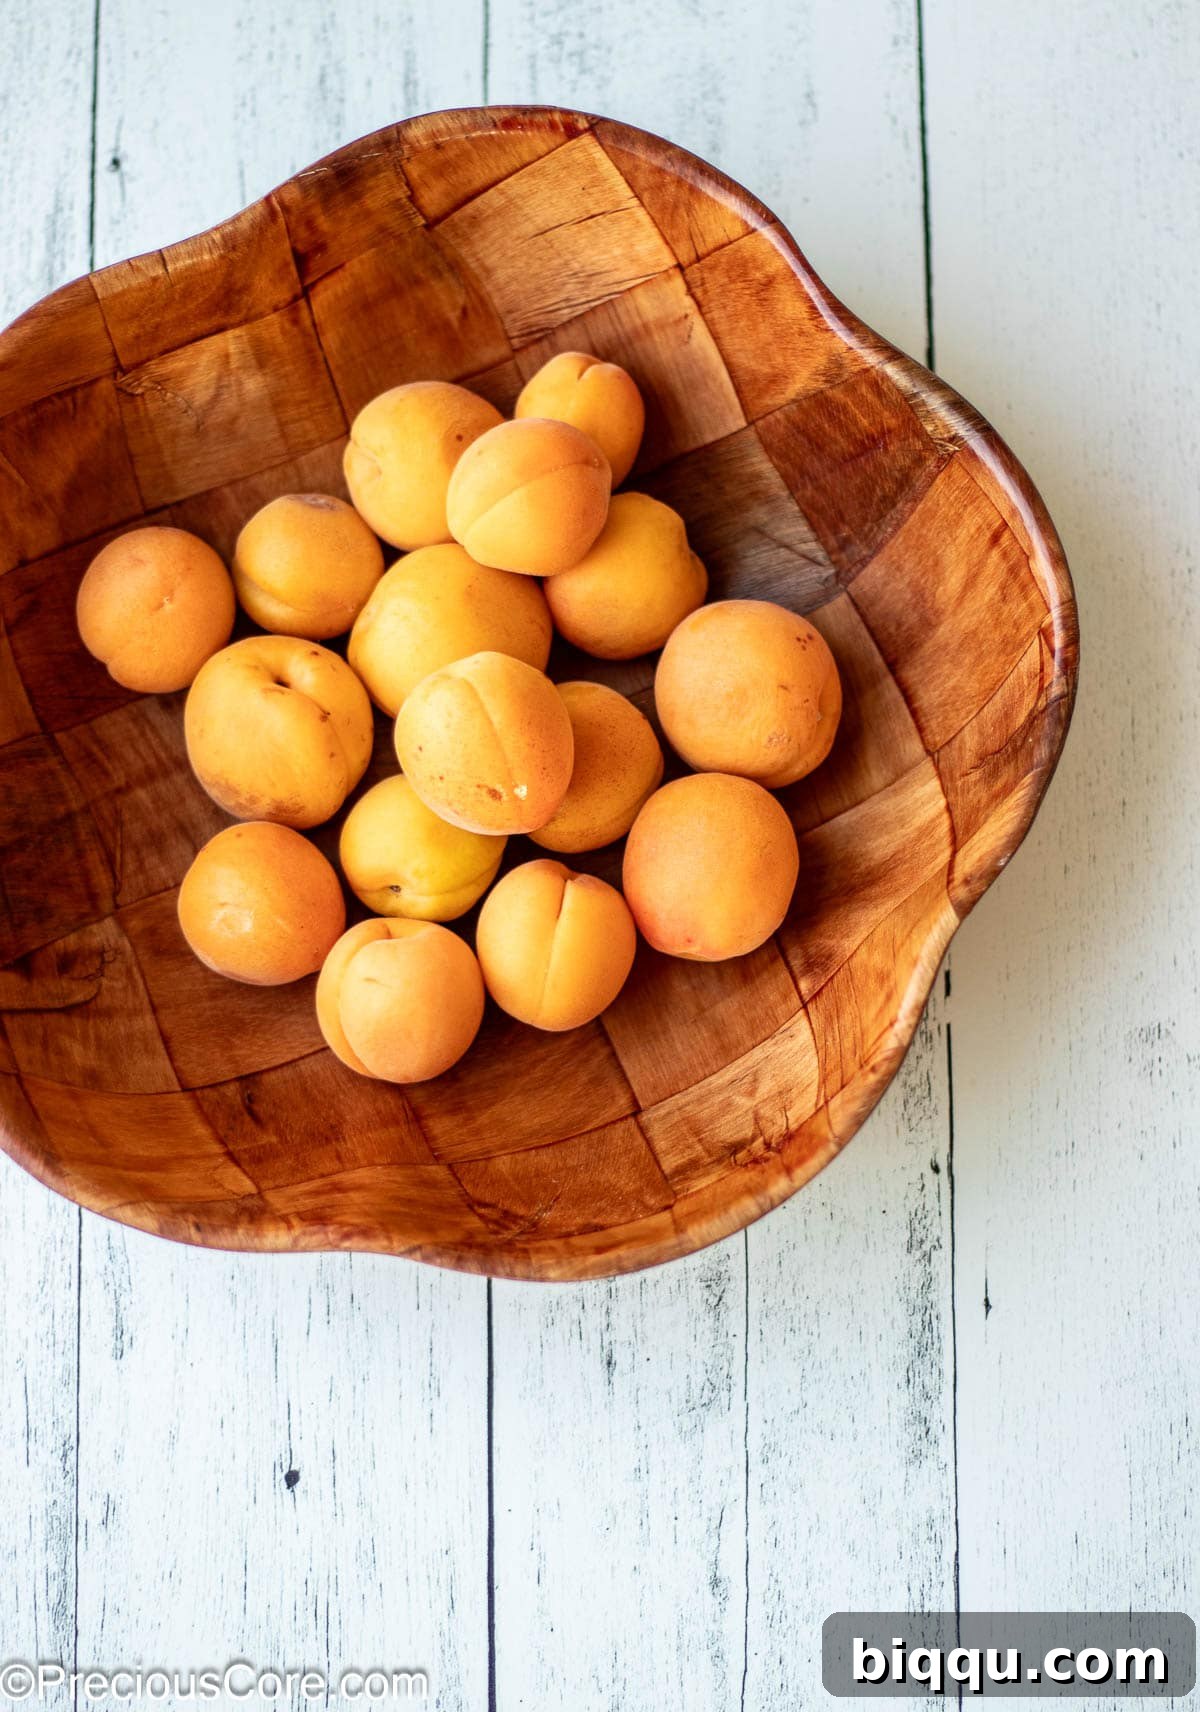
- Fresh Apricots: The star of our show! For the most balanced and complex flavor, aim for a mix of perfectly ripe apricots (for maximum sweetness and juiciness) and slightly less ripe apricots (which contain more natural pectin, essential for a good set). When selecting apricots, look for fruit that is plump, soft but not mushy, and has a fragrant aroma. Avoid any with blemishes or green patches, as these indicate under-ripeness.
- Bright Lemon Juice: This ingredient plays a dual role: it acts as a natural preservative, inhibiting bacterial growth, and it also enhances the flavor profile of the preserves by adding a necessary tang that brightens the sweetness of the apricots. Crucially, lemon juice is also rich in natural pectin, which is vital for achieving the proper gel-like consistency without relying on commercial pectin. For the freshest and most vibrant flavor, always opt for freshly squeezed lemon juice over bottled varieties.
- Quality Sugar: While it might seem like a substantial amount, sugar is a fundamental component in preserves for several reasons beyond just sweetness. It acts as a powerful preservative, extending the shelf life of the fruit, and it also contributes significantly to the final texture and set of the preserves. Granulated sugar or unrefined organic cane sugar both work beautifully in this recipe. Rest assured, this recipe is designed to use significantly less sugar than many traditional recipes, focusing on the fruit’s inherent sweetness while still ensuring proper preservation.
Please note that the quantities of ingredients shown in the pictures may differ from the precise measurements provided in the recipe card below. Always refer to the recipe card for detailed and accurate instructions.
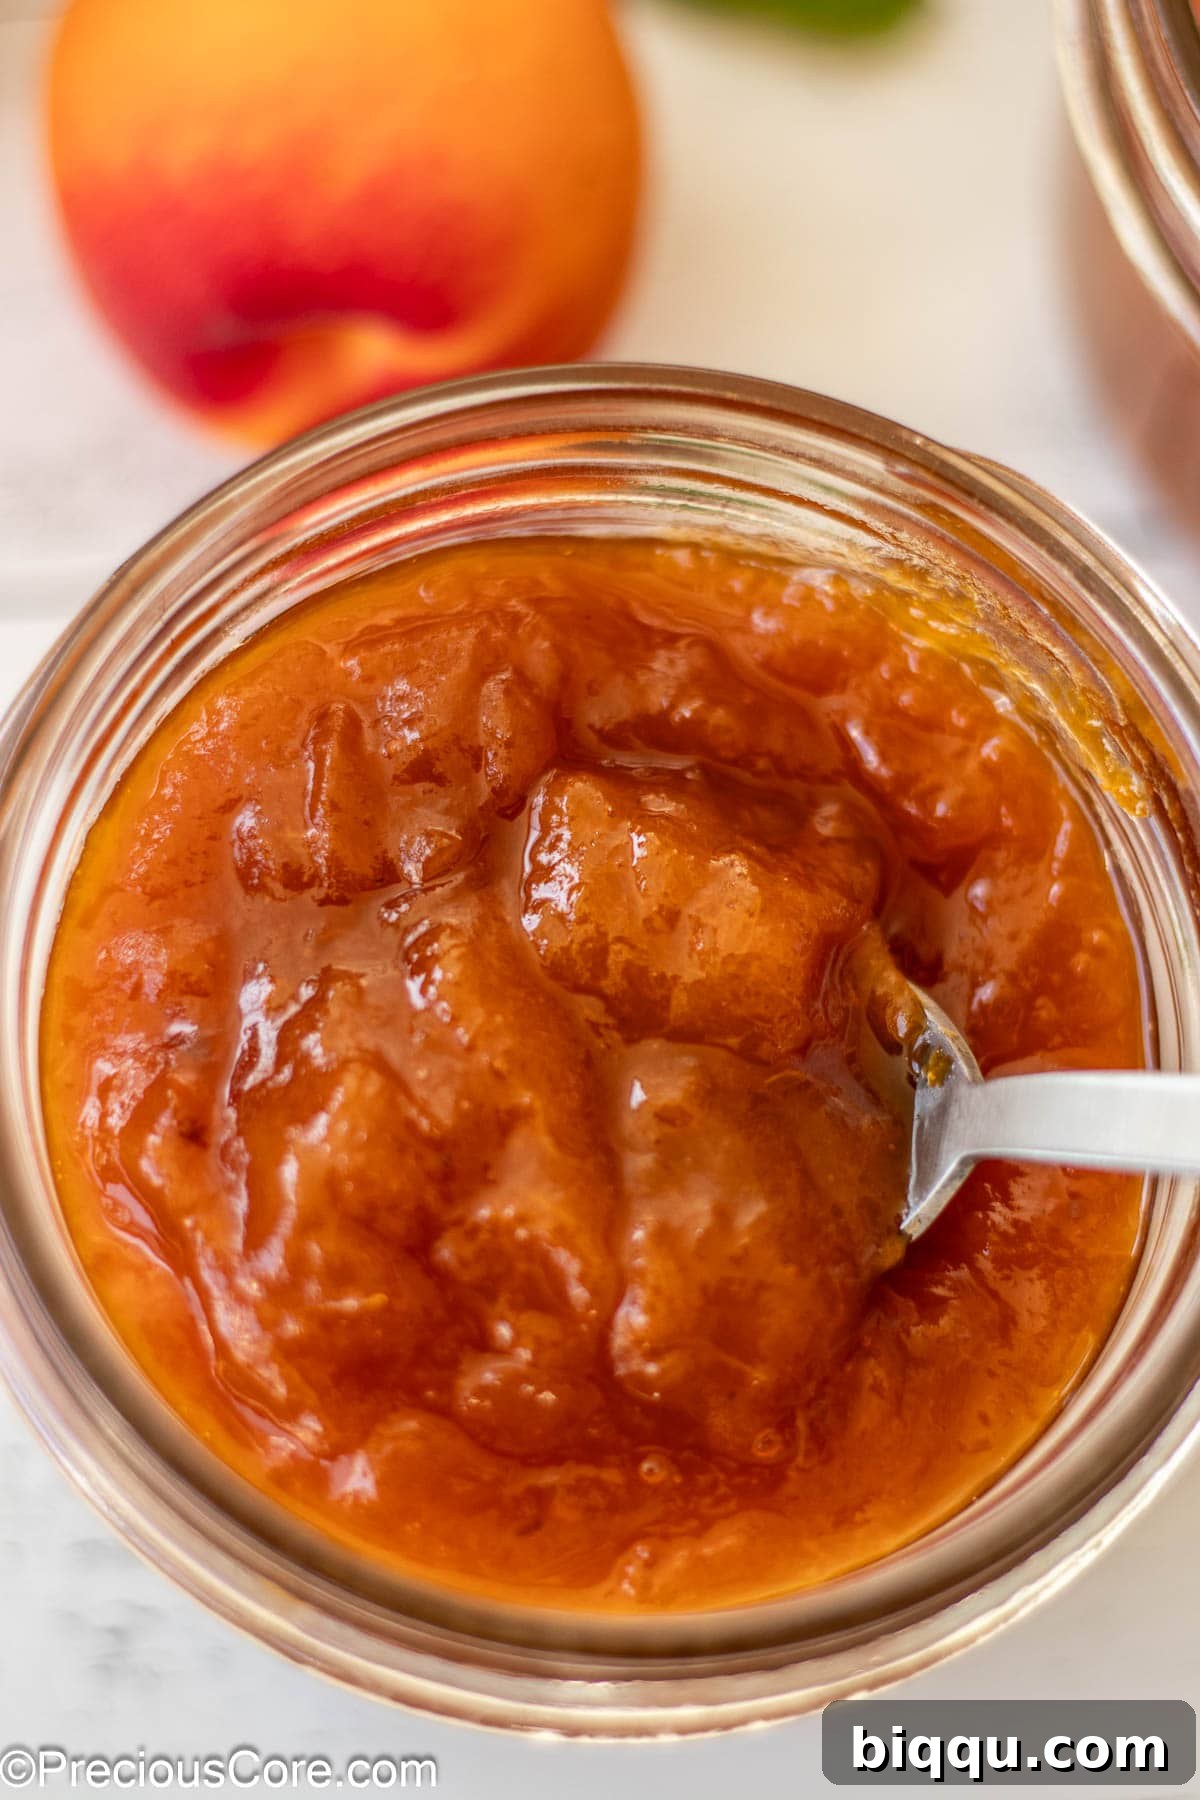
Step-by-Step: How to Craft Your Apricot Preserves
Follow these meticulously detailed steps to create flawless apricot preserves or any fruit jam. These instructions are designed to yield the best results, maximizing the natural pectin and exquisite flavors from your fresh fruit.
- Prepare Your Apricots with a Thorough Wash: Begin by washing your fresh apricots. In a large bowl, combine 1 part white vinegar with 3 parts water. Add the apricots to this mixture and let them soak for about 5 minutes. Gently rub the fruits against each other in the water to effectively remove any dirt, dust, or residual debris from their skins. After this initial cleanse, remove the apricots from the vinegar water and strain. Rinse them thoroughly under fresh running water at least two more times. Don’t worry, the subtle vinegar cleanse will not impart any noticeable taste to your finished preserves!
- Cut and Pit the Fruit: Once your apricots are clean, pat them dry with a clean kitchen towel. Using a sharp knife, carefully cut each apricot in half or into quarters, depending on your desired preserve texture. The pits should easily pop out. Apricots are quite forgiving to cut, and their pits are typically very cooperative. Remember that even larger pieces of apricot will soften and break down significantly as the jam cooks, contributing to a wonderfully chunky preserve.
- Combine and Macerate: Place the prepared apricot pieces into a large mixing bowl. Add the granulated sugar and freshly squeezed lemon juice to the bowl. Stir the mixture gently with a wooden spoon or heat-resistant spatula until all the apricot pieces are evenly coated with the sugar and lemon. This initial mixing ensures the sugar begins to dissolve and the lemon juice can start its work.
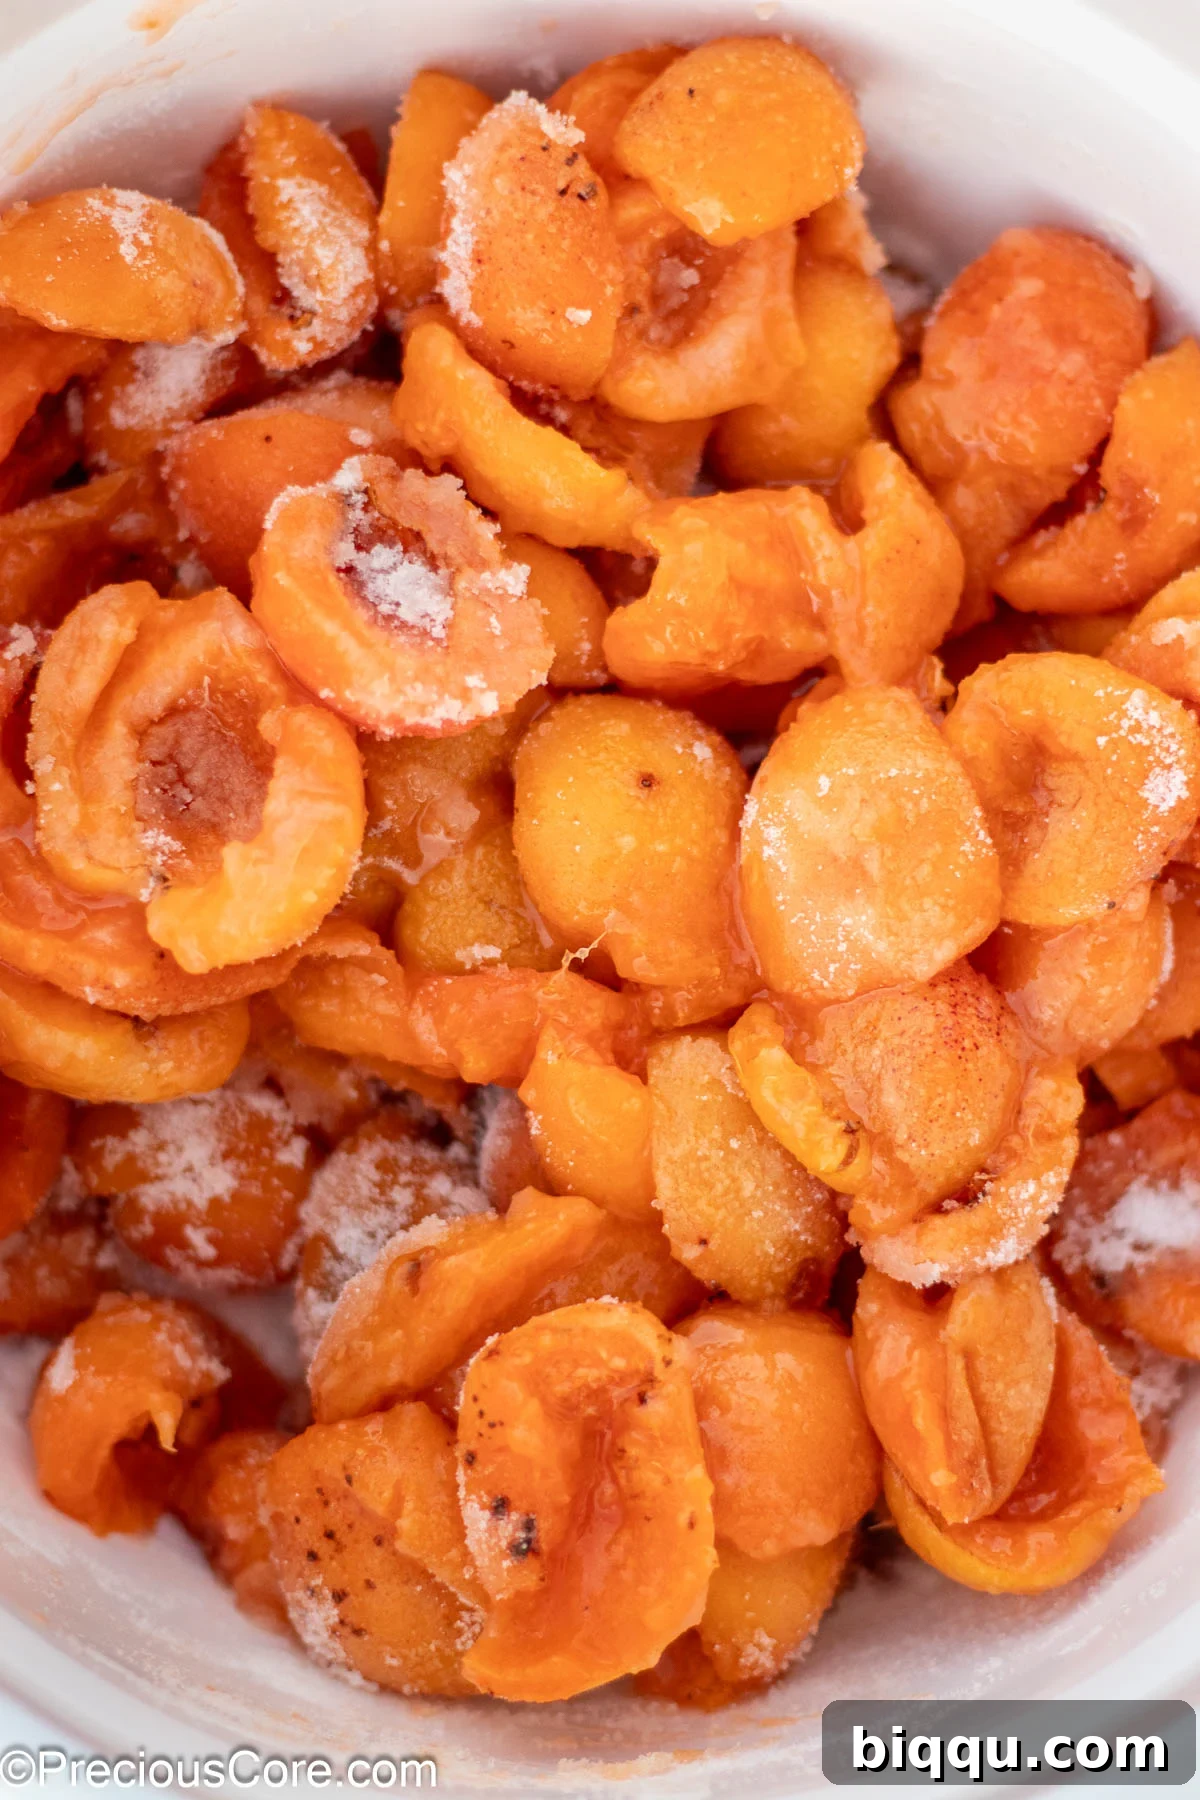
- Let the Fruit Macerate (or Cook Immediately): This crucial step, known as macerating, involves allowing the fruit to sit in the sugar and lemon juice mixture for a period. You can let it rest covered at room temperature for up to 2 hours, or for an even deeper flavor development, place it in the refrigerator overnight. Macerating draws out the natural juices from the apricots, creating a beautiful fruit syrup even before cooking begins. This process also helps the sugar dissolve completely and contributes to a smoother cooking process and a richer final flavor. If you’re short on time, you can proceed to cook immediately, but the maceration step is highly recommended.
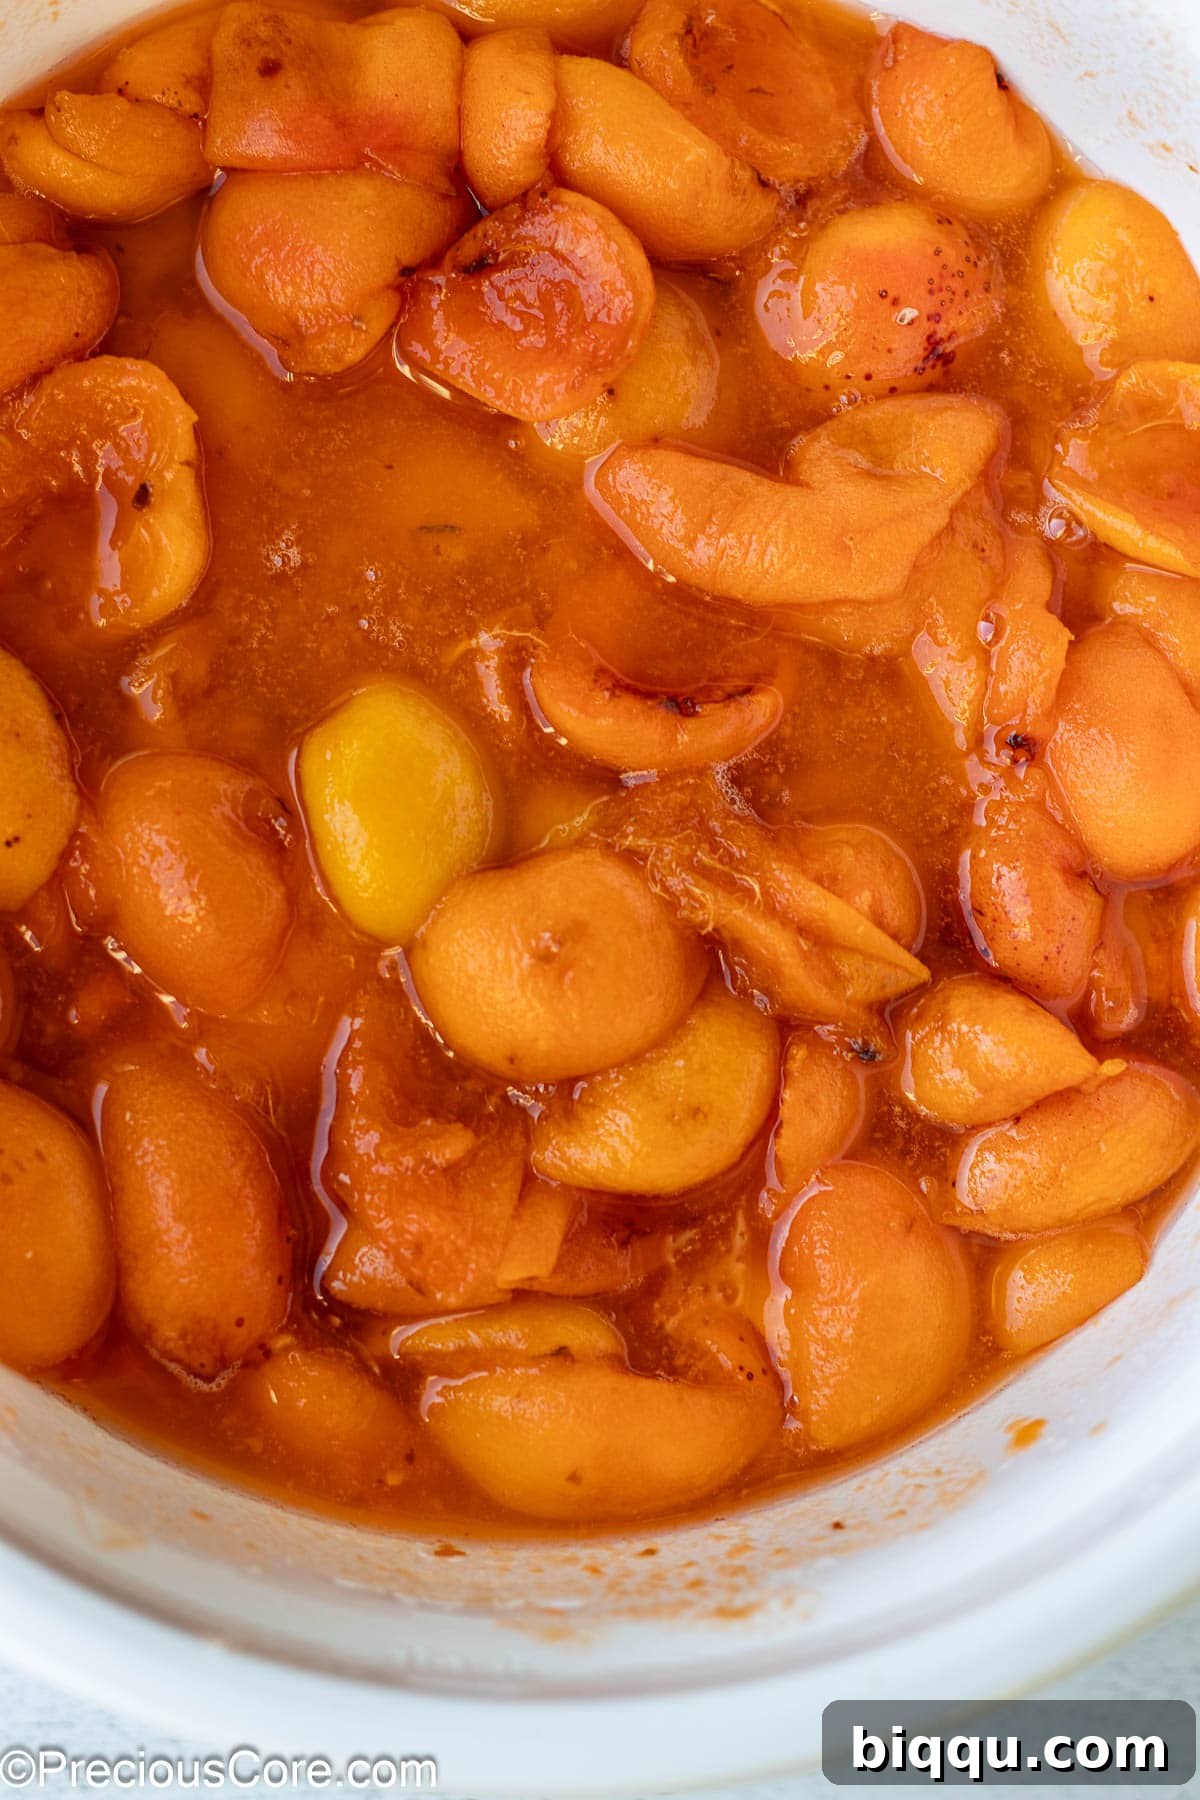
- Cook to Perfection: Transfer the macerated apricot mixture into a large, heavy-bottomed pot or Dutch oven. A non-stick pot works exceptionally well here to prevent the fruit from sticking and scorching. Bring the mixture to a vigorous boil over high heat, stirring frequently to prevent sticking. Once boiling, reduce the heat to medium-low and allow the preserves to simmer gently. This slow simmer helps to break down the fruit, release its natural pectin, and evaporate excess moisture, concentrating the flavors and thickening the mixture.
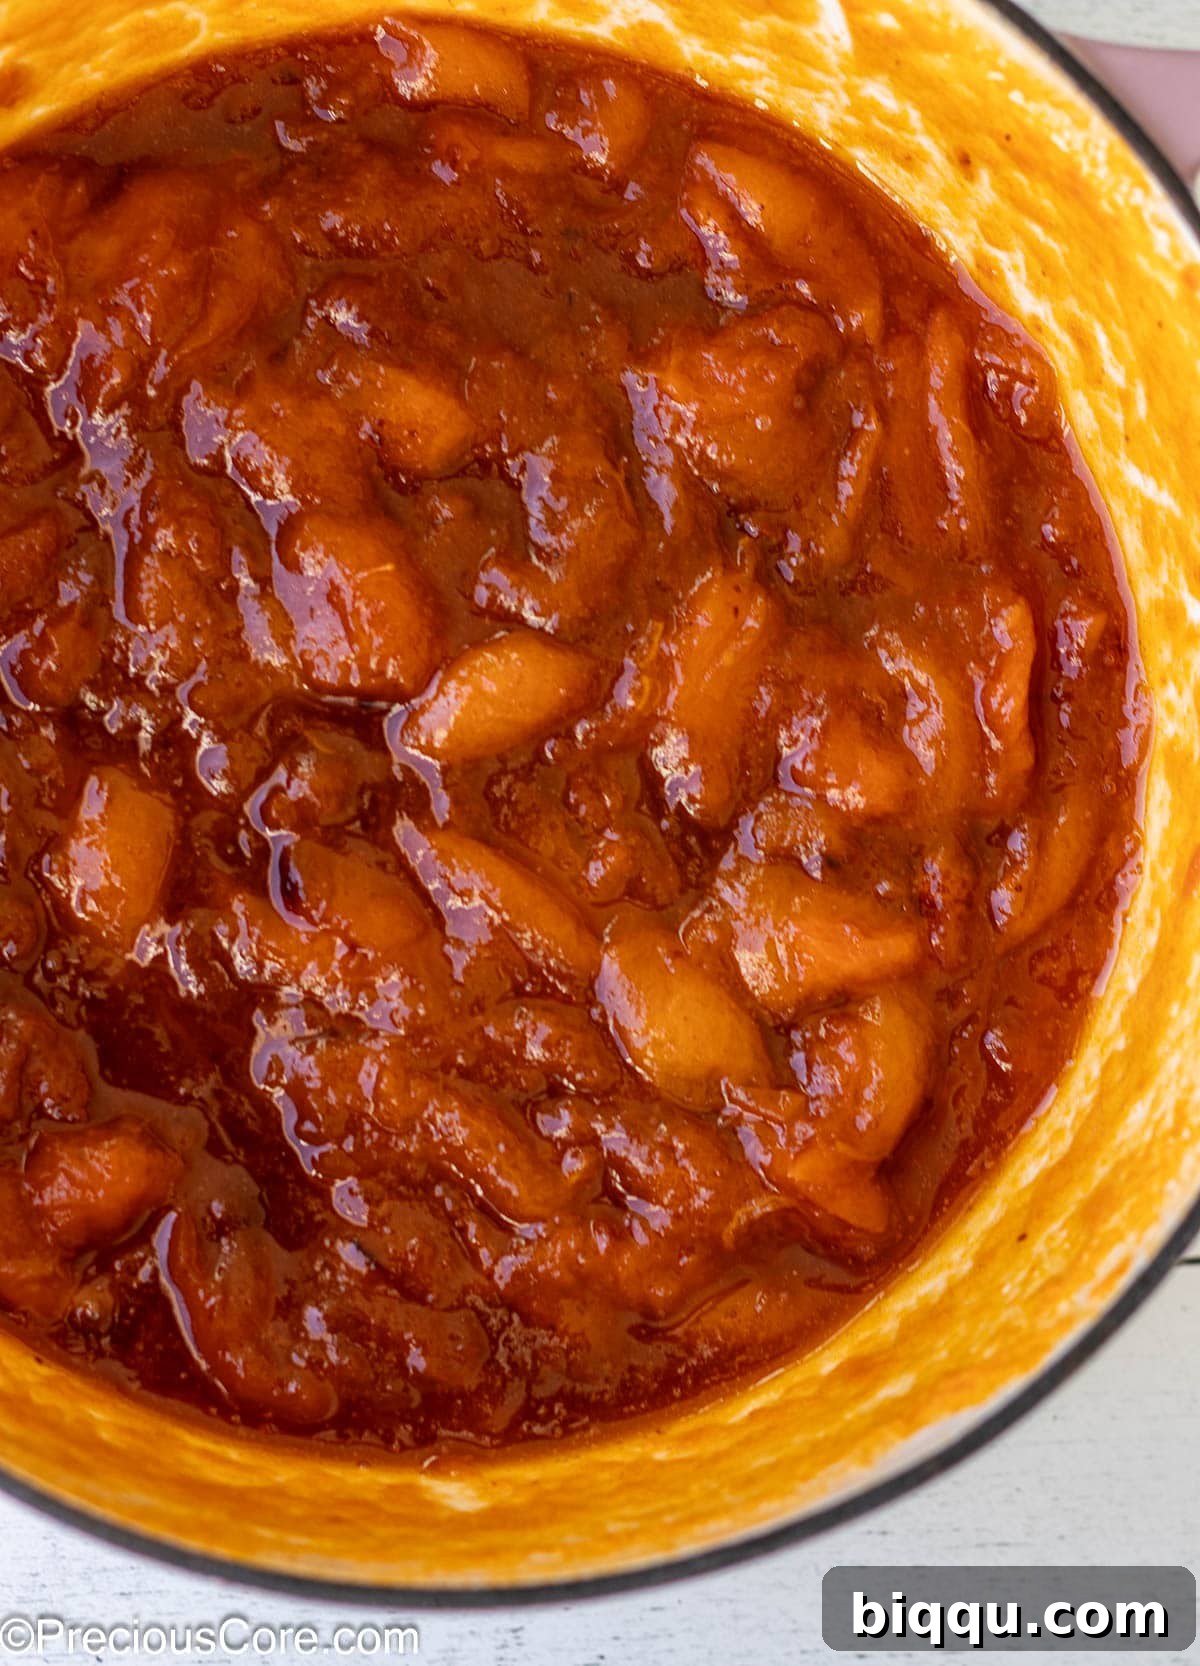
- Achieve Your Desired Texture: As the preserves simmer, you’ll notice the fruit softening. For a chunkier preserve with distinct pieces of apricot, you can leave it as is. If you prefer a smoother, more spreadable texture, use a potato masher, the back of a wooden spoon, or an immersion blender to gently mash or blend the fruit to your desired consistency. This can be done periodically during the simmering process until you achieve the perfect balance.
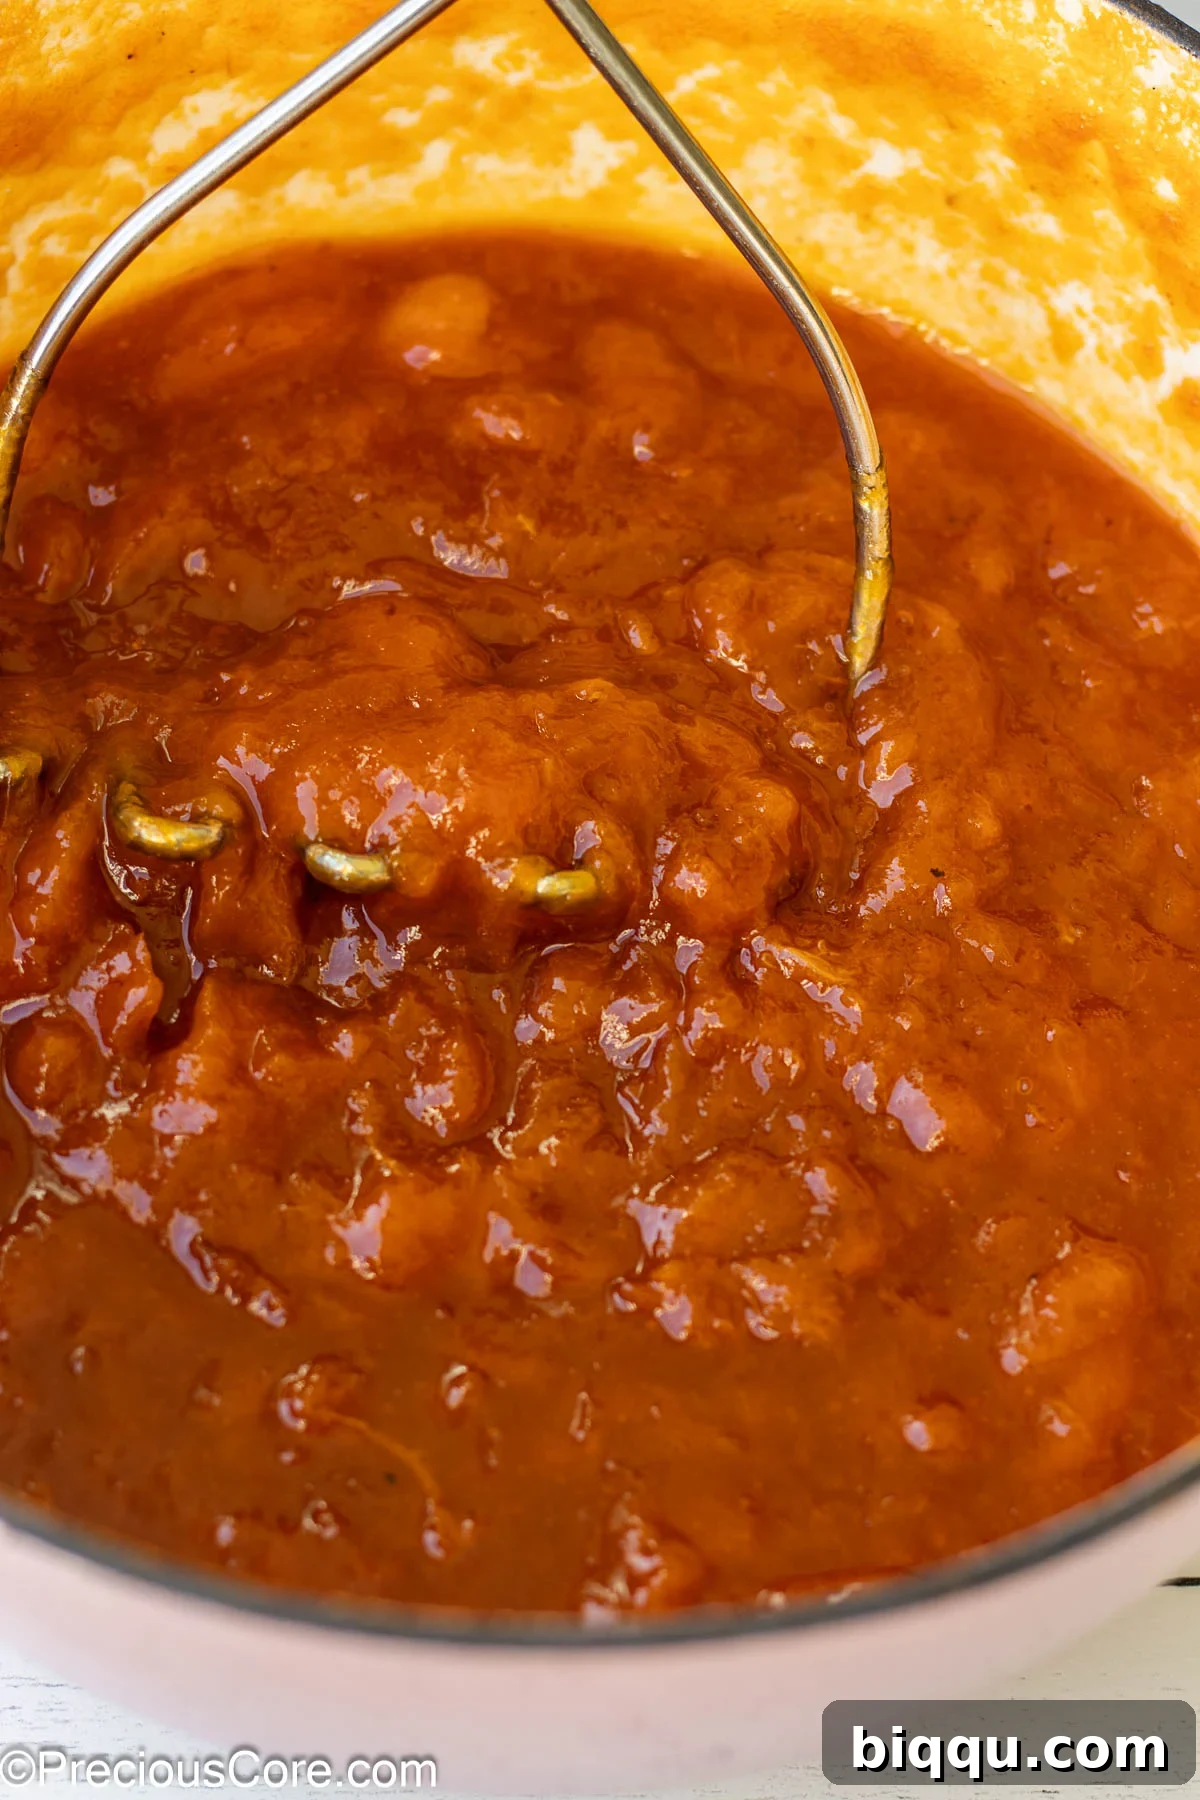
- Final Simmer & Doneness Test: Continue to simmer the preserves on medium-low heat for approximately one hour in total, stirring regularly. The preserves are done when they have thickened considerably and take on a “jammy” appearance. To confirm readiness, perform a cold plate test: place a small spoonful of hot preserves on a plate chilled in the freezer. Let it sit for a minute, then gently push the preserves with your finger. If it wrinkles, it’s ready! If not, continue cooking for a few more minutes and retest.
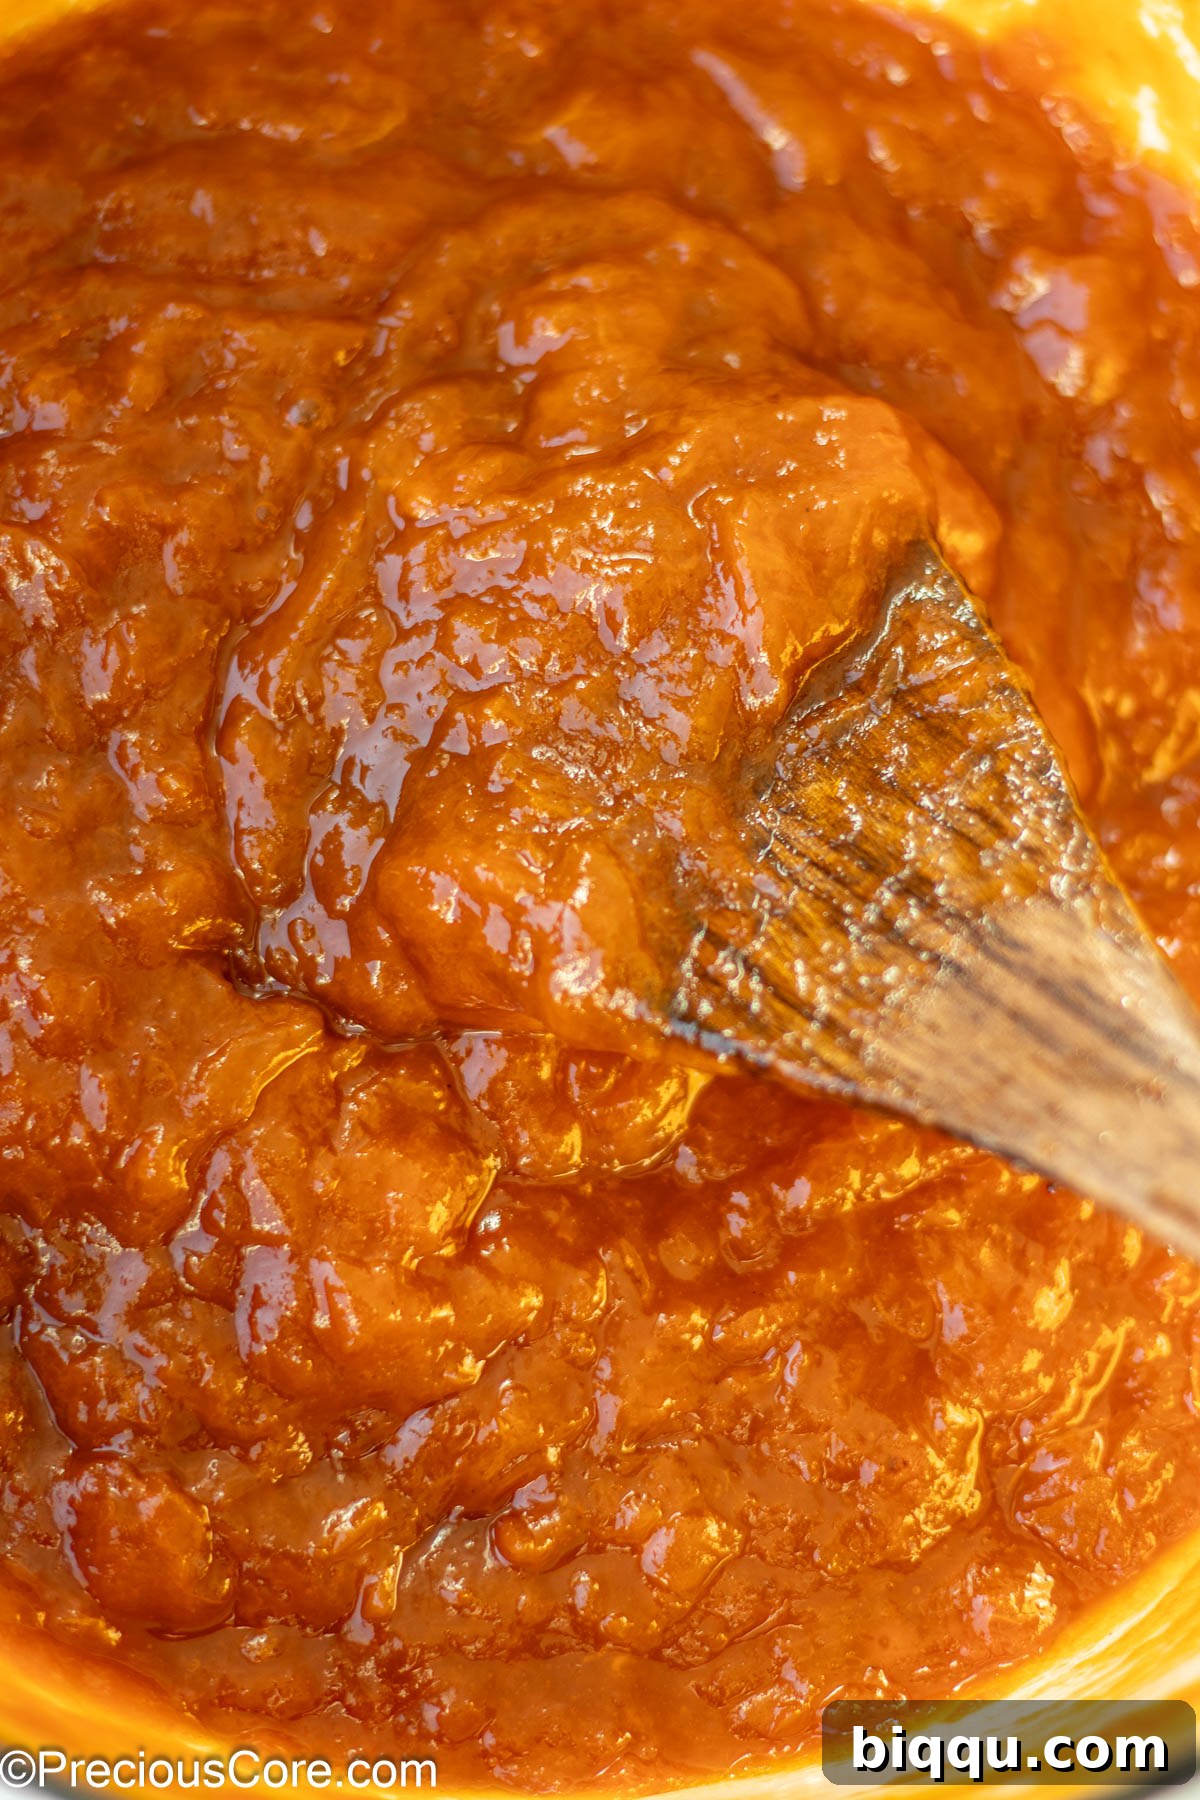
- Allow to Cool Slightly: Once your preserves have reached the perfect consistency, remove the pot from the heat. Let the preserves cool for about 5 to 10 minutes. This brief cooling period allows the fruit to settle and ensures that the preserves won’t be excessively hot when you ladle them into your jars, minimizing steam and potential hazards. The preserves should look something like this beautiful, glistening golden mixture:
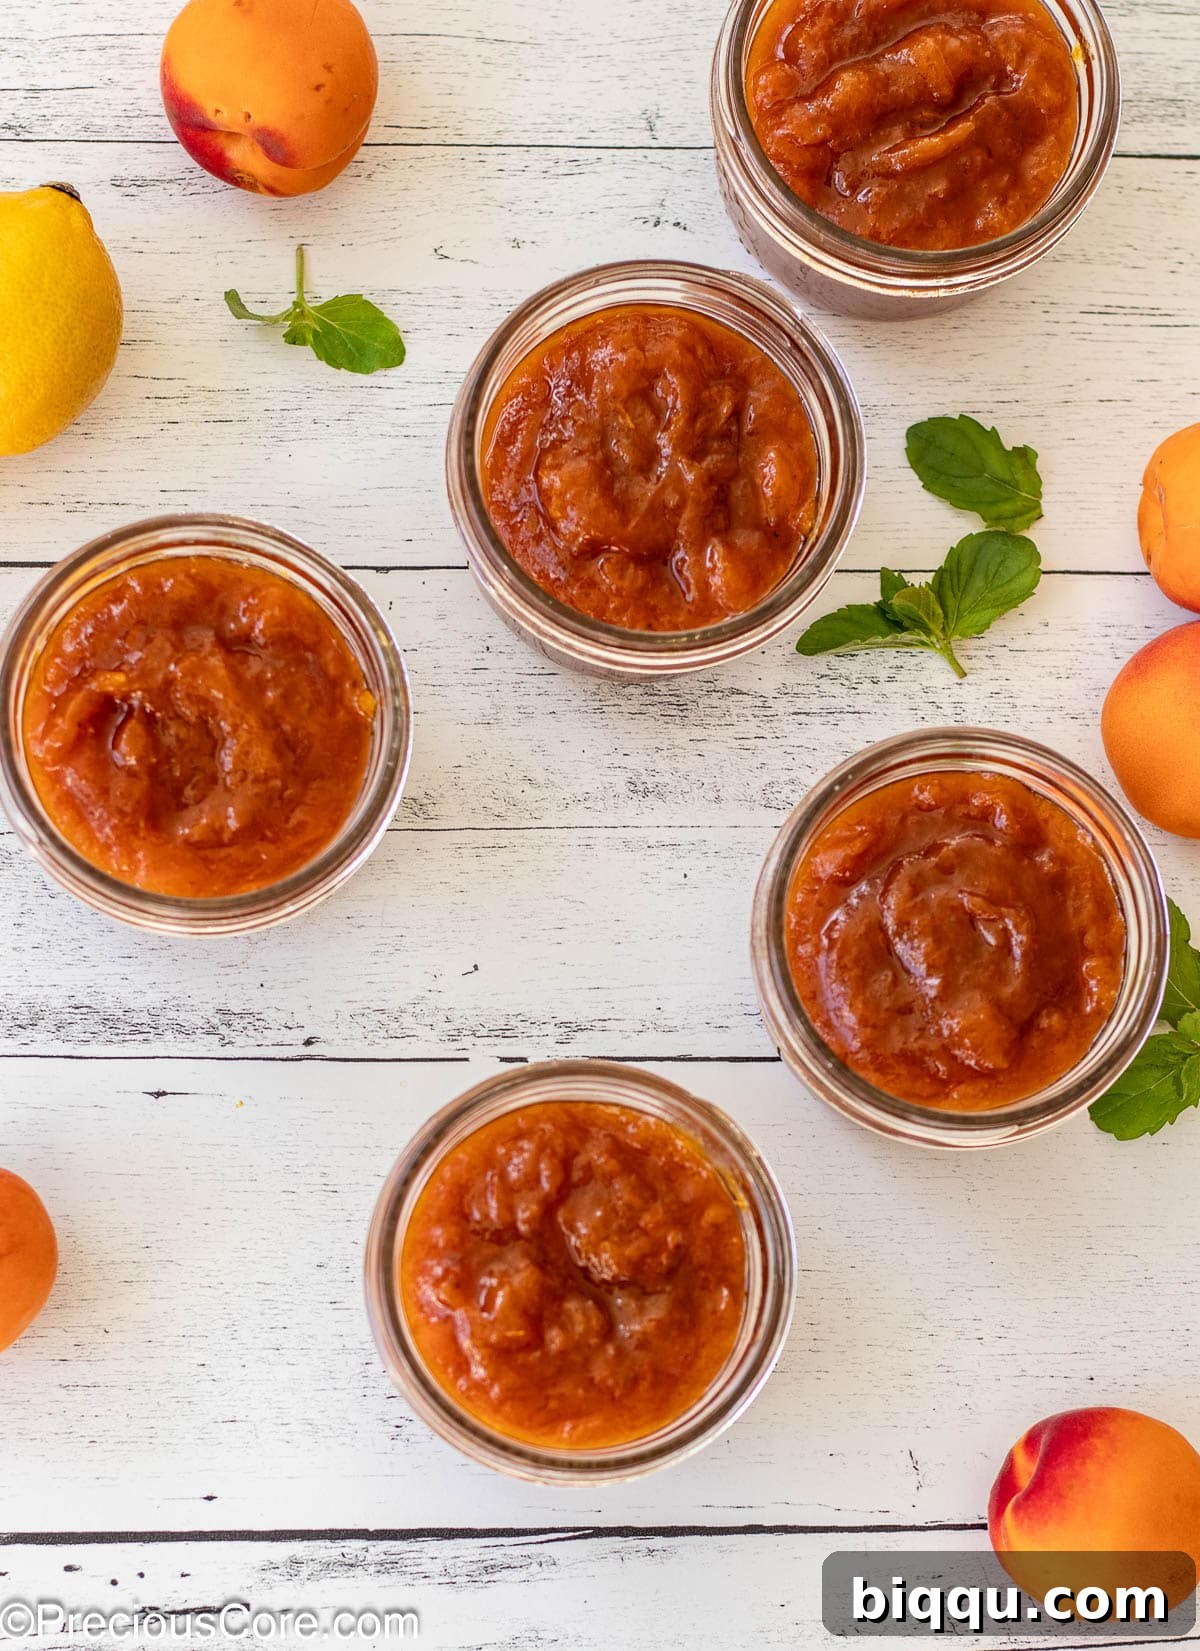
- Jar and Can for Long-Term Storage: Carefully ladle the still-warm preserves into sterilized mason jars, filling them up to the top, leaving about ¼ inch of headspace. Wipe the rims clean, secure the lids and bands, and proceed with canning. For detailed and safe canning instructions, refer to our comprehensive guide below. Proper canning ensures your homemade apricot preserves can last on the shelf for up to one year, ready to brighten any day!
Mastering Canning: A Beginner’s Guide
Canning your easy apricot jam recipe is an excellent way to extend its shelf life, allowing you to enjoy the taste of summer throughout the year. For beginners, water bath canning is a safe and accessible method for high-acid foods like fruit preserves. Here’s a quick, step-by-step guide to ensure your preserves are safely stored:
- Sterilize Jars and Lids: Begin by thoroughly washing 5-6 (8 oz) mason jars and their corresponding lids and rings with hot, soapy water. Place the clean jars in a large stockpot or canning pot, ensuring they are fully submerged in water. Bring the water to a rolling boil over high heat and boil for at least 10 minutes to sterilize the jars. In a separate, smaller pot, place the lids and rings, cover with water, and bring to a gentle simmer for 10 minutes. This softens the sealing compound on the lids.
- Fill Jars with Preserves: Carefully remove the hot, sterilized jars and lids from their respective pots using canning tongs, placing them on clean kitchen towels to drain and dry. While the jars are still hot, ladle the hot apricot preserves into them, leaving a ¼-inch headspace (the space between the top of the preserves and the rim of the jar). This headspace is crucial for proper sealing. Wipe the jar rims clean with a damp cloth to remove any sticky residue, which could prevent a good seal.
- Process in a Water Bath: Place the lids firmly onto the filled jars and screw on the bands until finger-tight. Return the filled and sealed jars to the large canning pot, ensuring they are fully covered by at least 1 inch of water. Bring the water back to a rolling boil and process the jars for 10 minutes. This processing time ensures a vacuum seal is formed, preserving your jam.
- Cool and Check Seals: After processing, carefully remove the jars from the hot water bath with canning tongs and place them on a clean kitchen towel on your countertop, allowing ample space between each jar. Let them cool undisturbed for 12 to 24 hours. As they cool, you should hear a “pop” sound as the lids seal. Once completely cool, check the seals by pressing the center of each lid. If it doesn’t flex, the jar is sealed. Remove the bands (they can cause rust if left on), wipe the jars, and label them.
- Proper Storage: Store properly sealed jars of apricot preserves in a cool, dry, and dark place, such as a pantry or cellar. When stored correctly, your homemade preserves can last for up to one year. Once a jar of apricot preserves is opened, it must be stored in the refrigerator to maintain its freshness and quality.
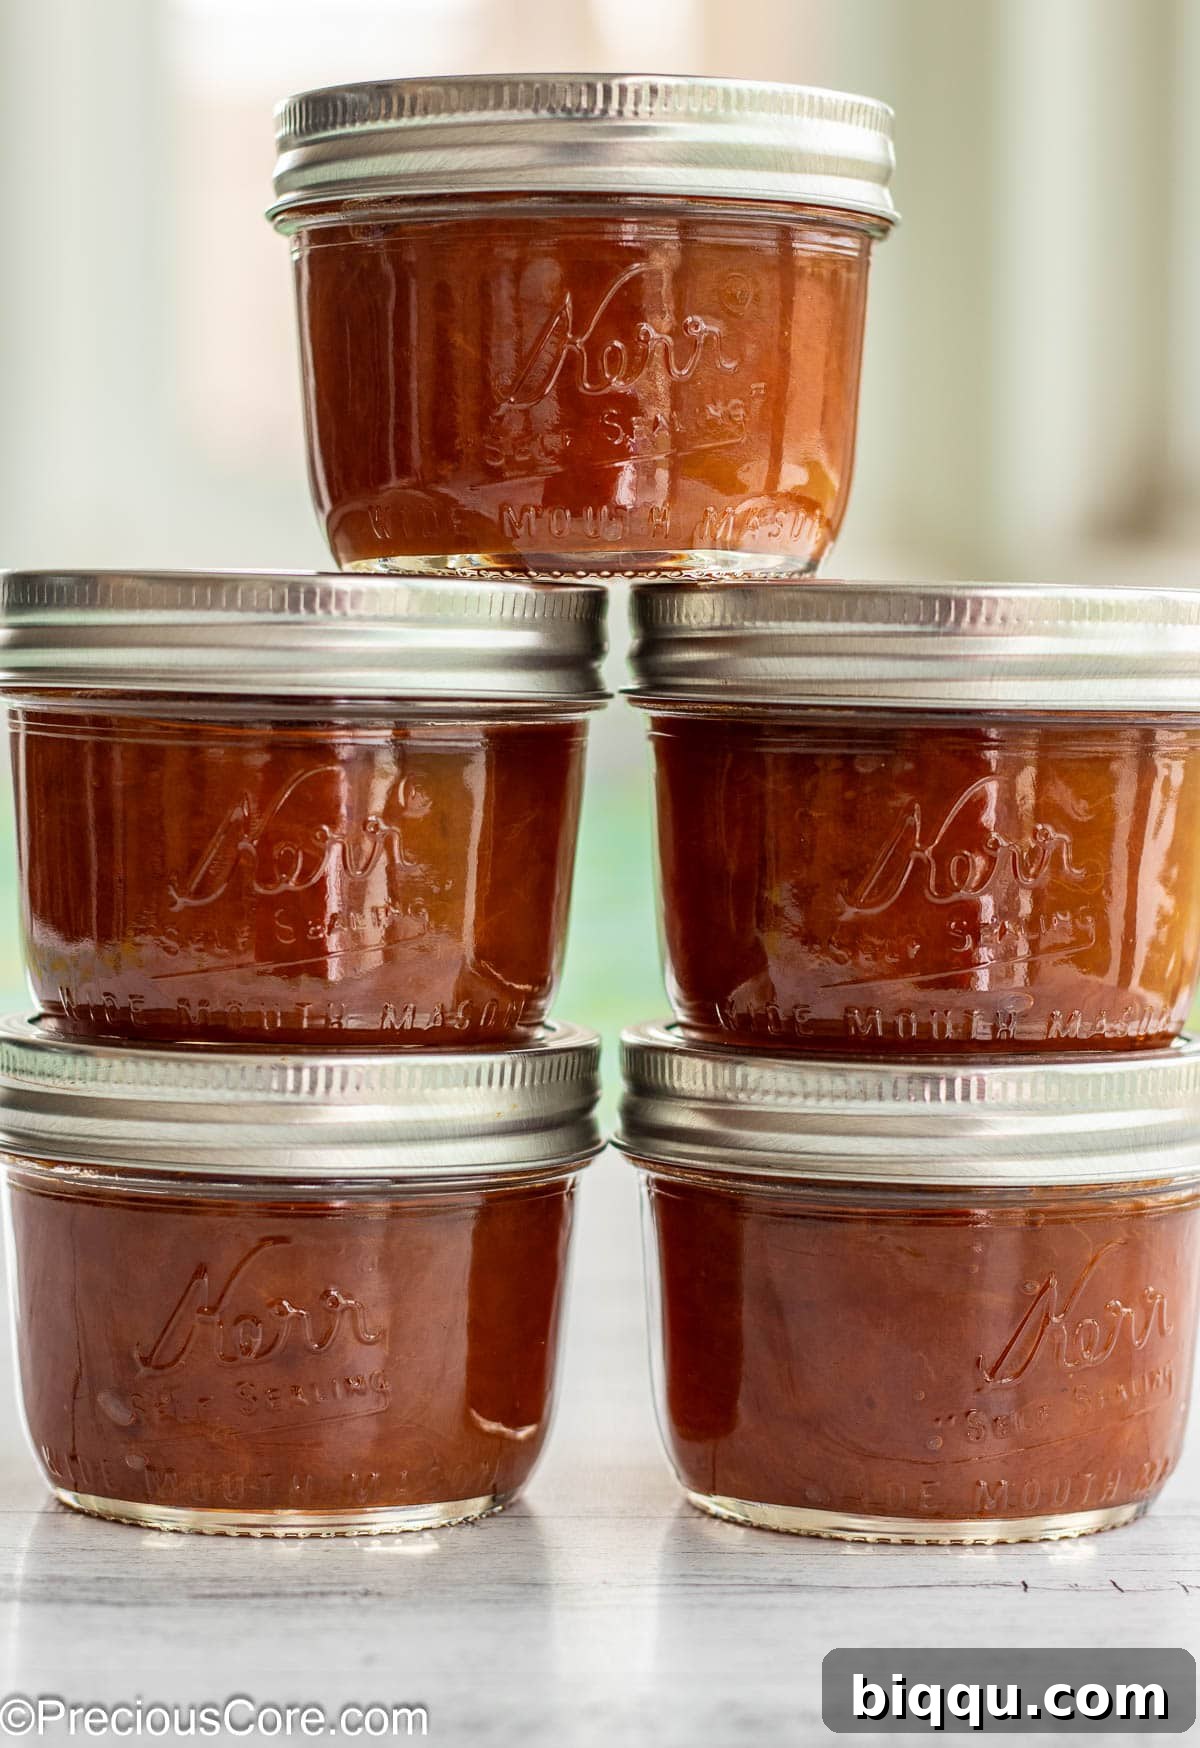
These beautifully crafted preserves also make wonderful, thoughtful gifts for friends and family, sharing a taste of your culinary efforts!
Remember, always store an opened jar of apricot preserves in the refrigerator to maintain its freshness and prevent spoilage.
Delightful Ways to Enjoy Apricot Preserves
Homemade apricot preserves are incredibly versatile, extending far beyond a simple toast topping. Here are numerous delightful ways to incorporate this golden goodness into your culinary repertoire:
- Breakfast & Brunch Brilliance: Elevate your morning routine! Spread generously on warm biscuits, croissants, English muffins, or classic toast. Swirl into a bowl of creamy yogurt, top your morning oatmeal or granola, or use as a delicious filling for crepes, pancakes, and waffles. It’s also fantastic paired with scones and clotted cream for an elegant brunch.
- Decadent Dessert Enhancer: Apricot preserves are a secret weapon in the world of desserts. Use them as a luscious filling for cakes, tarts, and pastries. They are essential for recipes like the ever-delicious Malva Pudding. Drizzle over vanilla ice cream, cheesecake, or panna cotta for a quick and elegant topping. You can also use them to make classic thumbprint cookies or as a glaze for fruit tarts.
- Savory Culinary Companion: Don’t limit preserves to sweet dishes! The sweet and tangy profile of apricot preserves makes them an excellent complement to savory meals. Use them as a glaze for roast pork, chicken, or glazed ham, adding a beautiful sheen and caramelized flavor. They can be incorporated into marinades for a touch of fruitiness or served alongside a rich paté.
- Appetizer & Charcuterie Board Star: Apricot preserves are a must-have for any sophisticated cheese or charcuterie board. Their sweetness beautifully contrasts with a variety of cheeses, from sharp cheddar to creamy brie and salty blue cheeses. A quick and tasty appetizer can be made by melting brie cheese and topping it with a spoonful of apricot preserves. For more inspiration, check out this fantastic sweet and salty charcuterie board.
- Thoughtful Gifting: Beautifully jarred homemade apricot preserves make heartfelt and appreciated gifts for holidays, hosts, teachers, or just to show someone you care. Tie a ribbon around the jar and add a handwritten tag for a personal touch.
Recommended Tools for Preserve Making
Having the right equipment can significantly simplify and enhance your fruit preserve making process. While not all are strictly necessary, these tools are highly recommended for efficiency and safety:
- 8 oz Canning Jars: Essential for storing your preserves safely.
- Canning Pot With Rack and Full Canning Set: A dedicated canning pot ensures proper sterilization and processing.
- Potato Masher: Perfect for achieving your desired texture, from chunky to smoother preserves.
- Large, Heavy-Bottomed Pot or Dutch Oven: Prevents scorching and ensures even cooking.
- Wooden Spoon or Heat-Resistant Spatula: For stirring the preserves as they cook.
- Ladle and Canning Funnel: For safely transferring hot preserves into jars with minimal mess.
- Canning Tongs: For safely handling hot jars in and out of the water bath.
Can You Freeze Apricot Preserves for Later?
Absolutely! Freezing is an excellent alternative to canning if you prefer not to use the water bath method or simply have excess preserves. You can safely store jars of apricot preserves in the freezer for up to one year. After preparing your preserves and filling your jars, allow the jars to cool completely at room temperature for at least 24 hours before transferring them to the freezer. Ensure you leave adequate headspace (at least ½ inch) in the jars to allow for expansion during freezing, preventing the glass from cracking.
Another convenient way to freeze preserves is to use heavy-duty Ziploc freezer bags. Once the preserves have cooled completely, spoon them into the freezer bags. Remove as much air as possible from the bags before sealing them tightly. Lay the bags flat to freeze, which saves space in your freezer. Frozen in this manner, your apricot preserves will maintain their quality for up to a year. Thaw them in the refrigerator overnight before use.
Frequently Asked Questions About Apricot Preserves
The main distinction between fruit preserves and jam lies in the texture and size of the fruit pieces. Both are made from cooked-down fruit, sugar, and often lemon juice. However, preserves typically feature larger, more distinct pieces of fruit suspended in a softer gel, giving them a chunkier texture. Jam, on the other hand, is usually made with crushed or finely chopped fruit, resulting in a smoother, more uniform spread.
Making homemade apricot preserves offers several significant advantages over store-bought options. Firstly, you have complete control over the ingredients, ensuring no artificial preservatives, colors, or high-fructose corn syrup are used. Secondly, the flavor of fresh, homemade preserves is unparalleled; it captures the true essence of ripe apricots in a way commercial products often cannot. Finally, the process itself is incredibly rewarding and can be customized to your preferred sweetness and texture, resulting in a truly superior product.
Yes, absolutely. Once a jar of apricot preserves, whether homemade or store-bought, has been opened, it must be stored in the refrigerator. Exposure to air introduces bacteria, and refrigeration slows down their growth, maintaining the preserves’ freshness, flavor, and safety for an extended period, typically several weeks.
Yes, you can certainly use frozen apricots for making preserves, especially if fresh apricots are out of season or unavailable. The process remains largely the same. You do not need to thaw the apricots before adding them to the pot with sugar and lemon juice; they will thaw and release their juices as they heat. Keep in mind that frozen fruit may release more liquid initially, so the cooking time might be slightly longer to achieve the desired thickness.
The best way to determine if your apricot preserves have reached the perfect consistency is by using the cold plate test. Place a small plate in the freezer before you start cooking. When you suspect the preserves are ready, spoon a small amount onto the chilled plate. Let it sit for about one minute, then gently push the preserves with your finger. If the surface wrinkles, it indicates that enough pectin has been released and the preserves will set properly. If it’s still very runny, continue cooking for a few more minutes and retest.
Explore More Fruit Preserves Recipes
Loved creating this delicious apricot preserve? Expand your repertoire of homemade fruit spreads with these other fantastic recipes from our collection:
PINEAPPLE JAM
Mixed Berry Jam
If you make this recipe, please consider leaving a star rating below. Your feedback helps other home cooks discover and enjoy this recipe, and I truly love hearing from you! Thank you!
Apricot Preserves Recipe Card
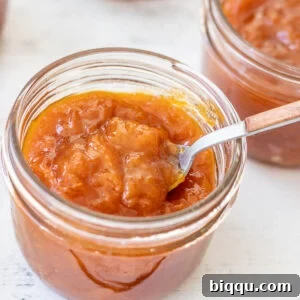
Apricot Preserves
Prep Time: 30 mins
Cook Time: 1 hr
Resting & Canning Time: 30 mins
Total Time: 2 hrs
Yields: 5 (8 oz) jars
Ingredients
- 4 pounds apricots (rinsed, cut in halves or quarters, pits removed)
- 1 pound granulated sugar
- ¾ cup freshly squeezed lemon juice (about 4 large lemons)
Instructions
- Place the pitted and halved or quartered apricots in a large mixing bowl. Add the sugar and lemon juice and stir with a wooden spoon to combine. Let it sit covered for 30 minutes, or in the fridge overnight for deeper flavor (this maceration process helps draw out juices and create a syrup). Alternatively, you can proceed to cook immediately.
- Transfer the apricot mixture to a large, heavy-bottomed pot (a non-stick pot works well to prevent sticking). Bring the fruit to a vigorous boil over high heat, stirring occasionally. Once boiling, reduce the heat to medium-low and let it simmer for about one hour, stirring from time to time to prevent scorching.
- For chunkier preserves, leave the fruit as is. For a smoother, more spreadable texture, use a potato masher or immersion blender to break down the fruit pieces to your desired consistency. Continue to simmer until the preserves thicken and achieve a “jammy” consistency. This process typically takes about 1 hour of simmering.
- To test for doneness, place a small dollop of hot preserves on a chilled plate and let it sit for a minute. Gently push the preserves with your finger; if it wrinkles, it’s ready. If not, continue cooking for a few more minutes and retest.
- Allow the preserves to cool for about 5-10 minutes in the pot before ladling into prepared jars. This brief cooling period helps the fruit settle and prevents excessive steam when jarring.
- Place the hot preserves into sterilized mason jars, filling them up to about ¼ inch from the rim (this is called headspace). Secure the lids according to your canning jar instructions, ensuring a proper seal. If canning for long-term storage, follow the detailed canning guide above.
- Serve your delicious homemade apricot preserves warm or chilled over toast, muffins, pancakes, waffles, or any of your favorite breakfast treats.
Notes
- Apricot Weight: Always weigh your apricots before removing the pits, as the pit adds significant weight.
- Thorough Washing: To effectively clean fresh apricots, combine 1 part white vinegar with 3 parts water in a large bowl. Add the apricots and let them soak for 5 minutes. Gently rub the fruits together in the water to dislodge any dirt or sand. Remove the apricots, discard the dirty water, then rinse the bowl, add fresh water, and repeat the rubbing process to rinse thoroughly. Finish with one final rinse under running water. Don’t worry, you won’t taste the vinegar in the final product!
- Maceration Benefits: Allowing the apricots to macerate with sugar and lemon juice is an excellent make-ahead tip. This process naturally draws out the fruit’s juices, creating a rich syrup and intensifying flavor before cooking. It also helps the sugar dissolve uniformly.
- Yield & Nutrition: Nutritional information provided is an estimate per 8 oz jar of finished preserves. Actual values may vary based on ingredient specifics and preparation.
Nutrition Facts (Estimated per 8 oz jar)
Calories: 531kcal | Carbohydrates: 133g | Protein: 5g | Fat: 2g | Saturated Fat: 0.1g | Polyunsaturated Fat: 0.3g | Monounsaturated Fat: 1g | Sodium: 5mg | Potassium: 979mg | Fiber: 7g | Sugar: 125g | Vitamin A: 6991IU | Vitamin C: 50mg | Calcium: 50mg | Iron: 1mg
Additional Info
Course: Dessert
Cuisine: International
Tried this recipe?
Mention @preciouscore or tag #PreciousCore!