
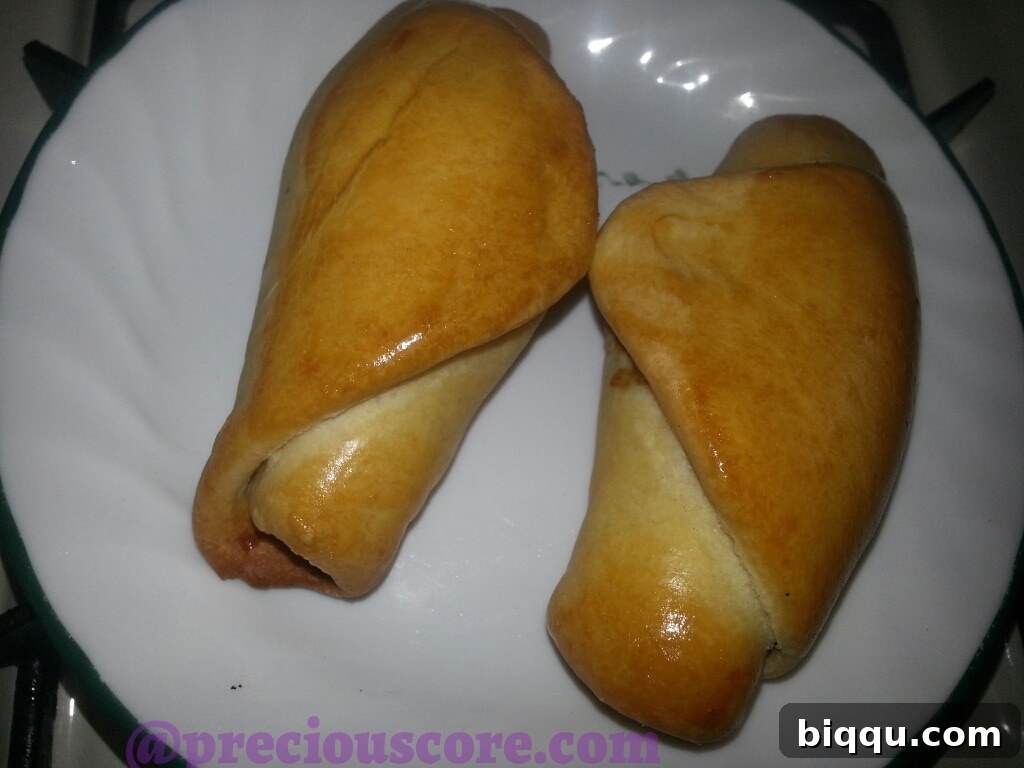
Irresistible Baked Chicken Rolls: Your Ultimate Savory Snack Recipe
Prepare to fall in love with these homemade baked chicken rolls! Few treats capture the heart and satisfy cravings quite like these savory pastries. Perfect for any time of day, from a hearty breakfast kickstart to an elegant appetizer for guests, these chicken rolls are a true culinary delight. I often make a large batch to keep in the fridge, finding motivation in the morning simply by anticipating warming one up. They are also fantastic for entertaining, beautifully complementing other appetizers like my Spring Rolls With Beef.
Why These Baked Chicken Rolls Will Become Your New Favorite
During the recipe development phase, I experimented with different shapes – some dough formed into circles and others into rolls. I even conducted a fun survey among my social media friends, asking for their preference. The overwhelming majority voted for the rolls, and I couldn’t agree more! The elongated shape offers a perfect pastry-to-filling ratio and is wonderfully easy to handle and eat. This article brings you the perfected roll version, ensuring a delightful experience with every bite.
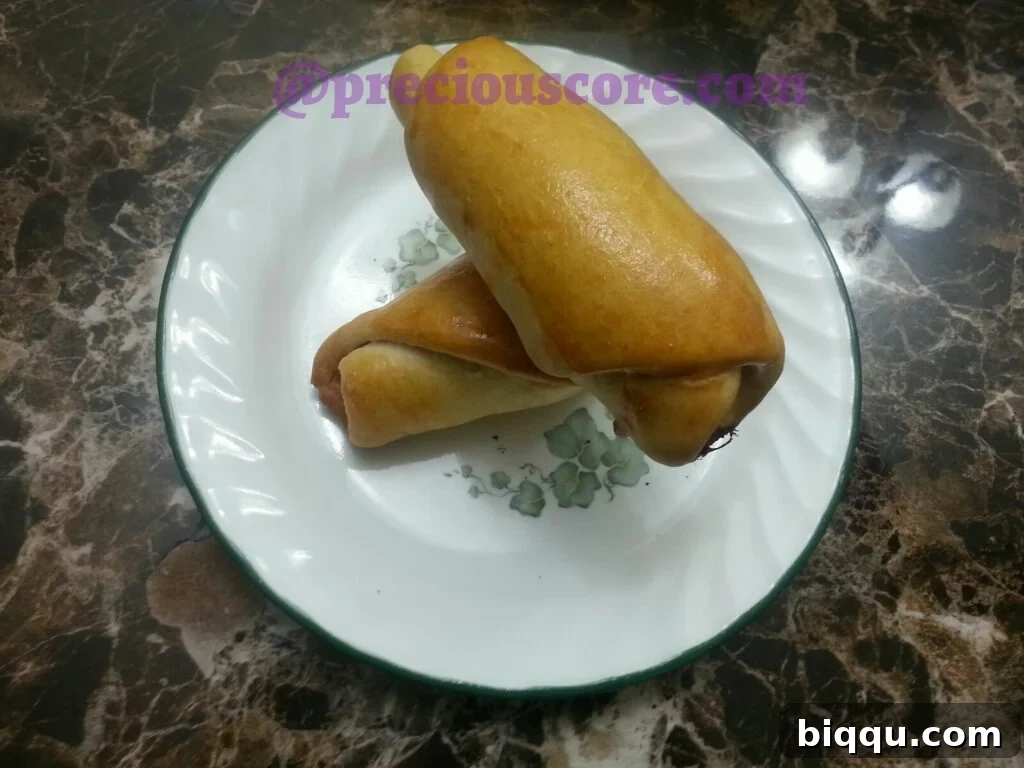
These chicken rolls share a comforting familiarity with their savory pastry cousins, like Fish Rolls, but with distinct advantages. Notably, these chicken rolls are slightly larger and, crucially, they are baked, not fried. This results in a lighter, less greasy pastry that still achieves a beautiful golden crust and a fluffy interior. Essentially, they consist of a tender, flaky pastry generously filled with flavorful minced or shredded chicken, then baked to perfection. If ground chicken isn’t readily available, don’t fret! Simply season and boil any chicken you have on hand, then shred the cooked meat. The versatility and undeniable deliciousness of these rolls guarantee they’ll be a winning addition to any table, on any occasion. To say they are “yummy” feels like an understatement; they are truly exquisite. If you know a word that captures their ultimate deliciousness better, please share it below!
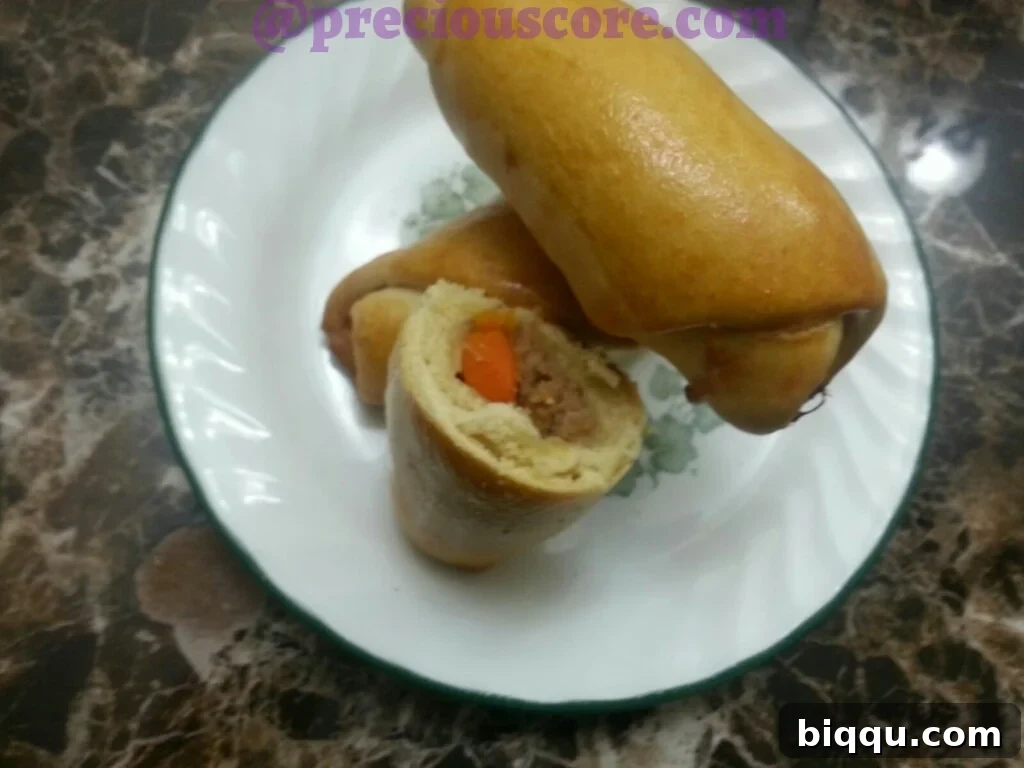
Ready to embark on this delicious culinary journey? Let’s get cooking and create some magic in the kitchen!
The Ultimate Baked Chicken Rolls Recipe
Cook time: 20 minutes
Total time: 50 minutes
Ingredients for Flaky Chicken Rolls
For the Dough:
- 3 cups all-purpose flour: The base of our pastry, providing structure and a tender crumb.
- 4 tablespoons cold margarine or butter: Essential for achieving a flaky, rich pastry. Cold fat creates pockets of steam during baking, leading to that coveted layered texture.
- A quarter teaspoon salt: Balances the flavors and enhances the taste of the pastry.
- Half teaspoon baking powder: Helps lighten the dough, contributing to a softer, more tender texture.
- Half cup of cold water: Binds the ingredients together to form a workable dough. Adjust as needed.
- One large egg for egg wash: Gives the rolls a beautiful golden sheen and a slightly crispy crust.
For the Savory Chicken Filling:
- 1 pound ground or shredded chicken (approximately 0.5 kg): The star of our filling. Ground chicken is quick, while shredded cooked chicken is perfect for using leftovers.
- 1 medium-sized onion, finely chopped: Adds a foundational aromatic sweetness to the filling.
- 1 teaspoon ground garlic and ginger paste: Aromatic powerhouses that infuse the chicken with depth and warmth.
- A quarter teaspoon ground white pepper: Provides a subtle peppery kick without the visual specks of black pepper, keeping the filling visually appealing.
- 1 seasoning cube (e.g., Maggi cube): A popular bouillon seasoning to enhance umami and savory notes.
- Salt to taste: Adjust according to your preference and the saltiness of the seasoning cube.
- Half cup mixed vegetables (e.g., finely diced carrots, green peppers): Adds color, texture, and a boost of nutrients. Feel free to customize.
- One tablespoon vegetable oil: For sautéing the aromatics and chicken.
Step-by-Step Instructions for Perfect Chicken Rolls
Preparing the Flavorful Chicken Filling:
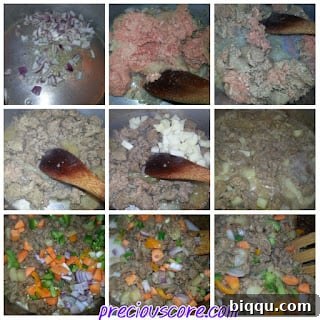
Begin by preparing your delicious chicken filling. Finely chop the onion. Heat the vegetable oil in a pan over medium heat, then add the chopped onions and sauté until they are translucent and fragrant, about 3-5 minutes. Next, add the ground chicken to the pan. Break it apart with a spoon and stir occasionally until it’s fully cooked through, transforming from pink to a light brown color. If you are using pre-cooked shredded chicken, you can skip this cooking step and simply add it to the sautéed onions to warm through. At this point, you might be tempted to sneak a little taste – go ahead, it’s part of the fun!
Now, incorporate all the other filling ingredients: the ground garlic and ginger, white pepper, mixed vegetables, and the seasoning cube. Crumble the seasoning cube evenly into the mixture. Stir everything together until well combined. If the mixture appears too dry, add one to two tablespoons of water to introduce a bit of moisture. However, be careful not to add too much water, as the filling should be moist but not watery or dripping. Allow the mixture to simmer gently for about two minutes, allowing the flavors to meld beautifully. Once done, remove from heat and let the filling cool completely before proceeding. A cooled filling prevents the pastry from becoming soggy.
Crafting the Flaky Pastry Dough:
Next, let’s prepare the dough. In a large mixing bowl, combine the all-purpose flour, cold margarine (or butter), salt, and baking powder. Ensure the margarine is cold and cut into small pieces.
Using your fingertips, rub the cold margarine into the flour mixture. Work quickly to prevent the butter from melting. Continue rubbing until the mixture resembles fine breadcrumbs, with no large pieces of fat visible. This step is crucial for developing a flaky pastry.
Gradually add the cold water, a little at a time, mixing with your hands until the dough comes together to form a soft, elastic ball. Be careful not to overwork the dough; just mix until it’s combined. If your dough turns out too sticky, add a little more flour. If it’s too tough or dry, soften it with a few drops of water until it reaches the right consistency.
Assembling Your Chicken Rolls:
Lightly flour a clean work surface or a pastry board. Take a piece of dough, roughly the size of a small orange, and place it on the floured surface.
Using a rolling pin, roll out the dough into an elongated oval or rectangular shape, about 1/8 to 1/4 inch thick. Aim for a consistent thickness to ensure even baking.
Place about a tablespoon of the cooled chicken filling along one end of the rolled-out dough, leaving a small border at the edges.
Carefully start rolling the dough tightly from the end with the filling, working your way towards the other end. Ensure the filling is encased snugly.
Continue rolling until you reach the opposite end, forming a neat, elongated roll. Press down gently to seal the edges.
Place the formed chicken rolls seam-side down on a baking tray lined with parchment paper or lightly greased with oil. This prevents sticking.
Repeat this process with the remaining dough and filling until all your rolls are assembled. As you work, feel free to hum a joyful tune – perhaps a little “Today is the day of joy, the day of joy, the day of jooooy! Today is the day of joy, the day of joy that the chicken has made.” It adds a wonderful zest to the baking process, much like the praise and worship I love, which truly makes you zenge (feel spiritual joy) for Jesus.
Baking to Golden Perfection:
Preheat your oven to 375°F (190°C). In a small bowl, beat the egg for the egg wash. Using a pastry brush, generously brush the tops and sides of each chicken roll with the beaten egg. This step is key for that beautiful golden color and slight shine.
Carefully place the baking tray into your pre-heated oven and begin baking. While they bake, keep your spirits high and sing, “Today is the day of joy…” (refer to the full lyrics above for continued inspiration!). After approximately ten minutes of baking, gently open the oven door and brush the rolls again with the egg wash. This second coat ensures an even deeper golden color and an incredibly shiny finish.
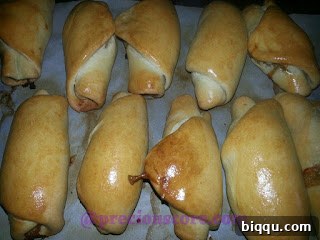
Continue baking for another 5-10 minutes, or until the chicken rolls are beautifully golden brown and the pastry is puffed and cooked through. Keep a close eye on them to prevent over-browning. Once they achieve that perfect color, remove them from the oven. Just look at those glorious creations!
Tips for Success & Variations
- Cool the Filling: Always ensure your chicken filling is completely cool before adding it to the pastry. Warm filling can make the dough sticky and difficult to work with, potentially leading to a soggy pastry.
- Don’t Overwork the Dough: For a tender and flaky crust, handle the dough as little as possible. Overworking develops gluten, resulting in a tough pastry.
- Even Thickness: Roll out your dough to an even thickness to ensure uniform baking.
- Sealing is Key: Make sure to seal the edges of your rolls well to prevent the filling from spilling out during baking. A little water on the edges can help them stick.
- Spice It Up: Feel free to adjust the seasoning in your chicken filling. Add a pinch of cayenne pepper or chili flakes for a spicy kick, or incorporate some dried herbs like thyme or oregano for an extra layer of flavor.
- Cheese Twist: A sprinkle of shredded cheddar or mozzarella cheese can be added to the chicken filling for an even richer taste.
- Vegetable Power: Experiment with different finely diced vegetables in your filling, such as bell peppers, corn, or peas, to add variety and nutrients.
Serving Suggestions & Storage
These baked chicken rolls are incredibly versatile. Serve them warm as a delightful breakfast or brunch item, a satisfying lunchbox addition, a quick on-the-go snack, or an impressive appetizer for parties and gatherings. They pair wonderfully with a simple side salad, a tangy dipping sauce (like sweet chili or a homemade garlic mayo), or even a warm cup of tea.
Storage: Leftover chicken rolls can be stored in an airtight container in the refrigerator for up to 3-4 days. For longer storage, you can freeze unbaked or baked rolls. To freeze unbaked rolls, arrange them on a baking sheet and freeze until solid, then transfer to a freezer-safe bag for up to 3 months. Bake from frozen, adding extra baking time. To freeze baked rolls, let them cool completely, then freeze in an airtight container for up to 2-3 months. Reheat in the oven or microwave.
Conclusion: Your New Go-To Savory Pastry
These baked chicken rolls are more than just a recipe; they’re an experience of comfort, flavor, and culinary satisfaction. With their tender, flaky pastry and savory, well-seasoned chicken filling, they are guaranteed to be a hit with everyone who tries them. Whether you’re making them for a quick snack, a family meal, or a special occasion, their ease of preparation and incredible taste make them an absolute must-try. Don’t hesitate – gather your ingredients and get ready to enjoy the ultimate homemade chicken rolls!
Do you adore pastries as much as we do? Discover more joy-inducing savory pastry recipes that are sure to delight:
MEAT PIES
FLAVORFUL FISH ROLLS
BAKED SCOTCH EGGS