Fluffy, Rich, and Irresistibly Sweet Dinner Rolls: A Homemade Delight
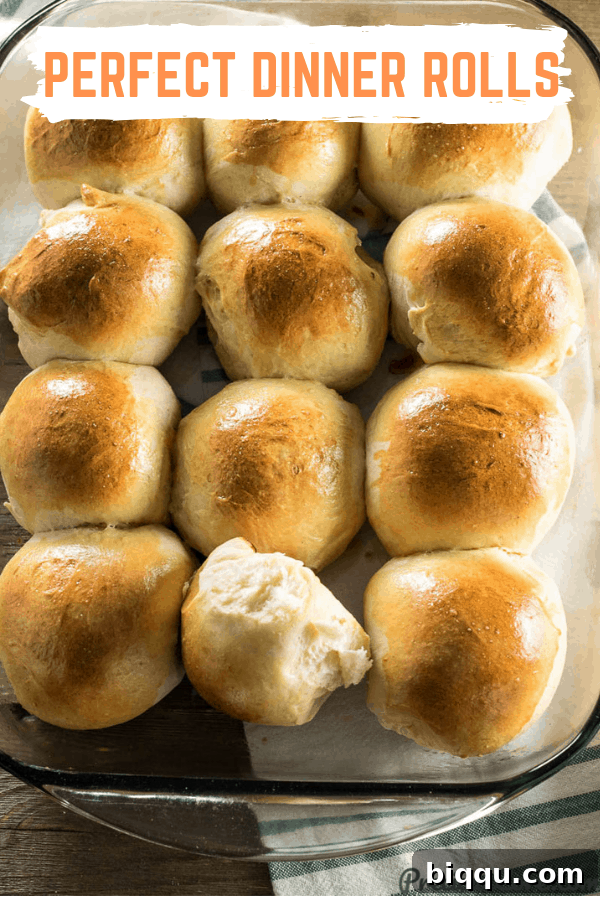
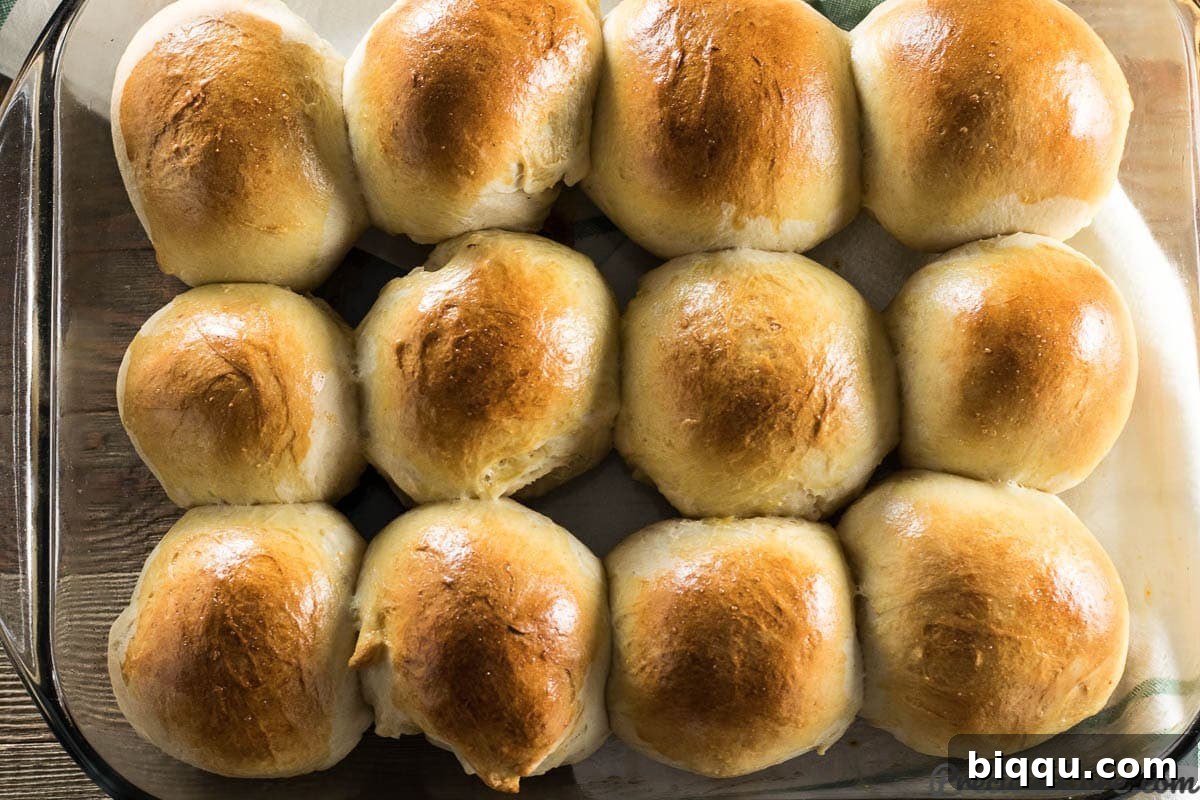
Experience the unparalleled joy of baking Sweet Dinner Rolls that are so fluffy, wonderfully rich, and fill your home with an intoxicating aroma. These versatile rolls are perfect for any meal – be it a delightful breakfast, a hearty brunch, a comforting dinner side, or even as a unique base for your lunch sandwiches. Why settle for store-bought when you can create magic in your own kitchen?
The Unmatched Appeal of Homemade Bread
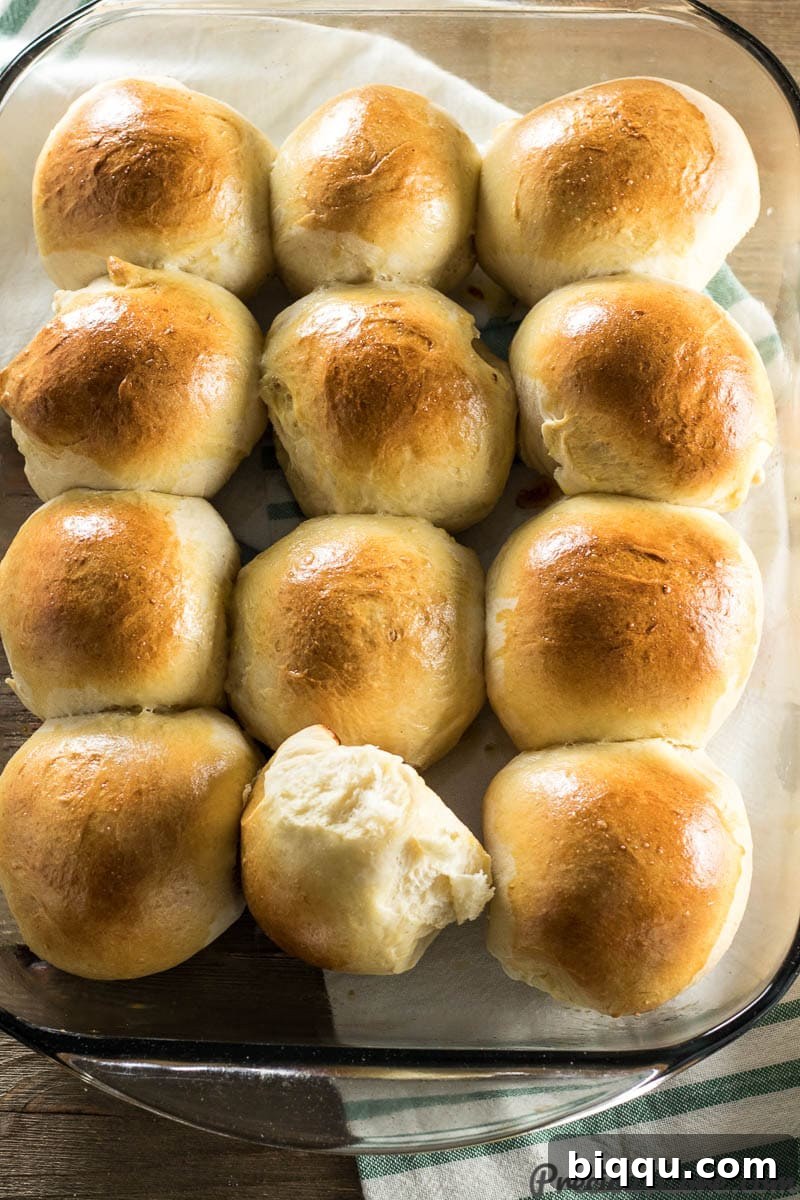
Once you venture into the world of homemade bread, the allure of store-bought loaves quickly fades. There’s an inherent satisfaction in mixing your own dough, watching it transform as it rises, and finally pulling a perfectly baked creation from the oven. The transparency of ingredients, the ability to customize flavors, and the sheer freshness are simply unmatched. These fluffy sweet dinner rolls are a prime example of why baking at home is such a rewarding endeavor.
My journey into baking these rolls began as an adaptation of my popular Coconut Rolls. However, these sweet dinner rolls stand proudly on their own, requiring no elaborate filling to impress. Their simple, melt-in-your-mouth goodness is enough to ignite a passion for baking in anyone.
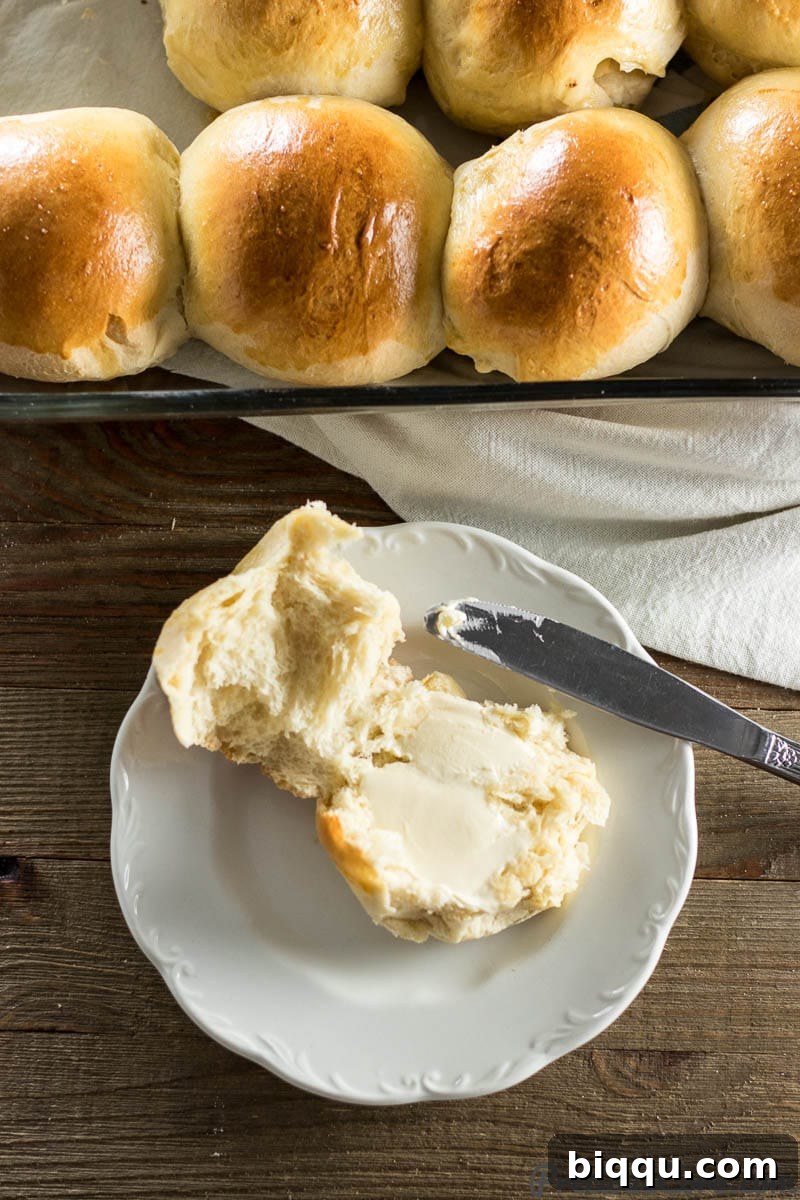
While they are utterly delicious on their own, a slather of creamy butter elevates them to an even higher level of indulgence. It’s a small touch that makes a big difference.
Essential Ingredients for Your Perfect Sweet Dinner Rolls
Crafting these delectable sweet dinner rolls requires a handful of common pantry staples. Each ingredient plays a vital role in achieving their signature fluffy texture and rich flavor.
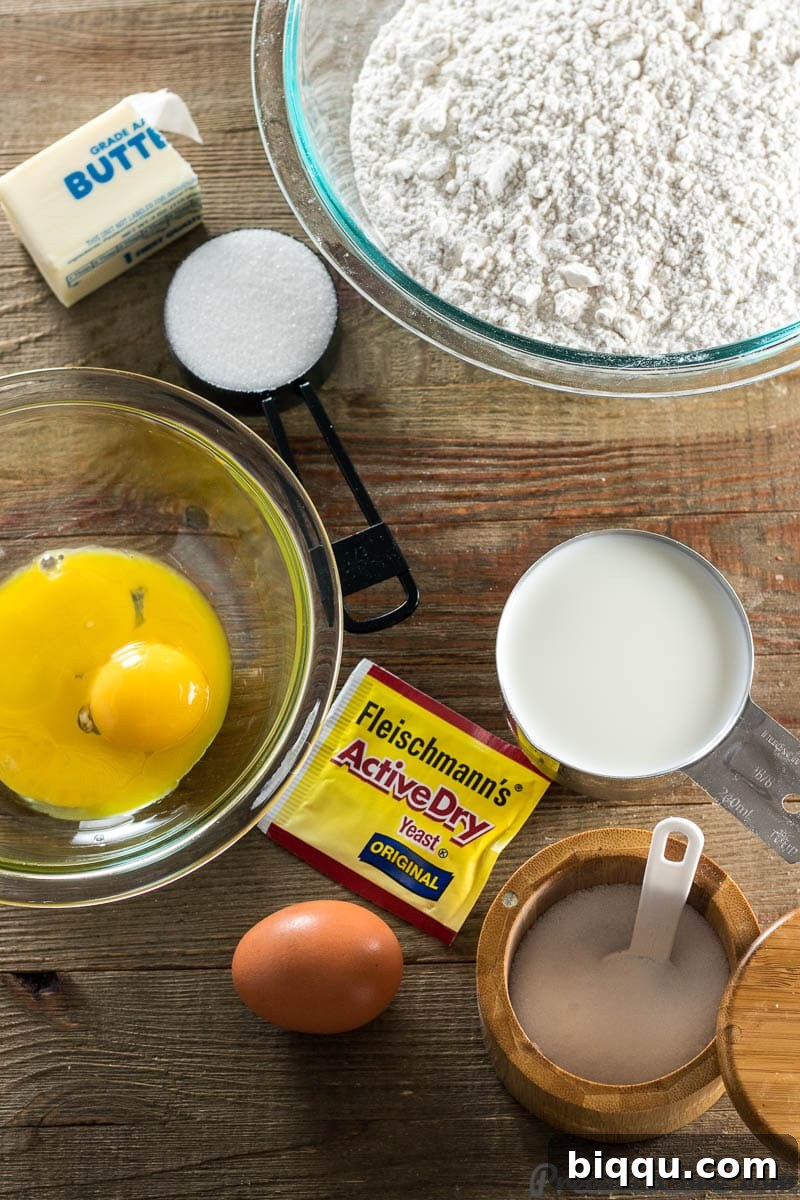
- All-purpose flour: The structural backbone of our rolls. Using the right amount is key to a soft, pliable dough.
- Butter: Contributes to the rich flavor and tender crumb of the rolls. Unsalted is preferred, allowing you to control the salt content. If unsalted is unavailable, margarine can be a suitable substitute.
- Whole milk: Adds moisture, richness, and aids in browning, resulting in a softer texture than water.
- Granulated sugar: Provides the “sweet” in sweet dinner rolls and also acts as food for the yeast, helping it to activate and the dough to rise.
- Active dry yeast: The leavening agent responsible for making our rolls light and airy. Ensure it’s fresh and active for best results.
- Salt: Balances the sweetness, enhances flavor, and regulates yeast activity, contributing to the dough’s strength.
- Egg yolks: These are crucial for richness, a beautiful golden color, and a wonderfully tender texture. Don’t discard the leftover egg whites; they can be used to make delightful Coconut Macaroons!
- One whole egg (for egg wash): Beaten and brushed over the shaped rolls just before baking, this creates that irresistible shiny, golden-brown crust.
- Sesame seeds (optional): For a slight crunch and nutty flavor, sprinkle these on top of the egg wash.
Step-by-Step Guide to Crafting Perfect Sweet Dinner Rolls
Making these sweet dinner rolls is surprisingly straightforward, even for novice bakers. Follow these detailed steps to achieve irresistibly soft and fluffy results every time.
1. Prepare the Dough Base and Activate Yeast
Begin by combining the milk and butter in a small pot. Gently warm the mixture over medium heat, just long enough for the butter to fully melt. The mixture should be warm to the touch, but not hot (around 105-115°F or 40-46°C) to avoid killing the yeast. Transfer this warm liquid to a large mixing bowl. Add the active dry yeast and let it sit undisturbed for five minutes. This resting period allows the yeast to activate, forming a foamy layer on top, which indicates it’s alive and ready to work its magic. If no foam appears, your yeast might be old or the liquid too hot/cold, and you’ll need to start with new yeast.
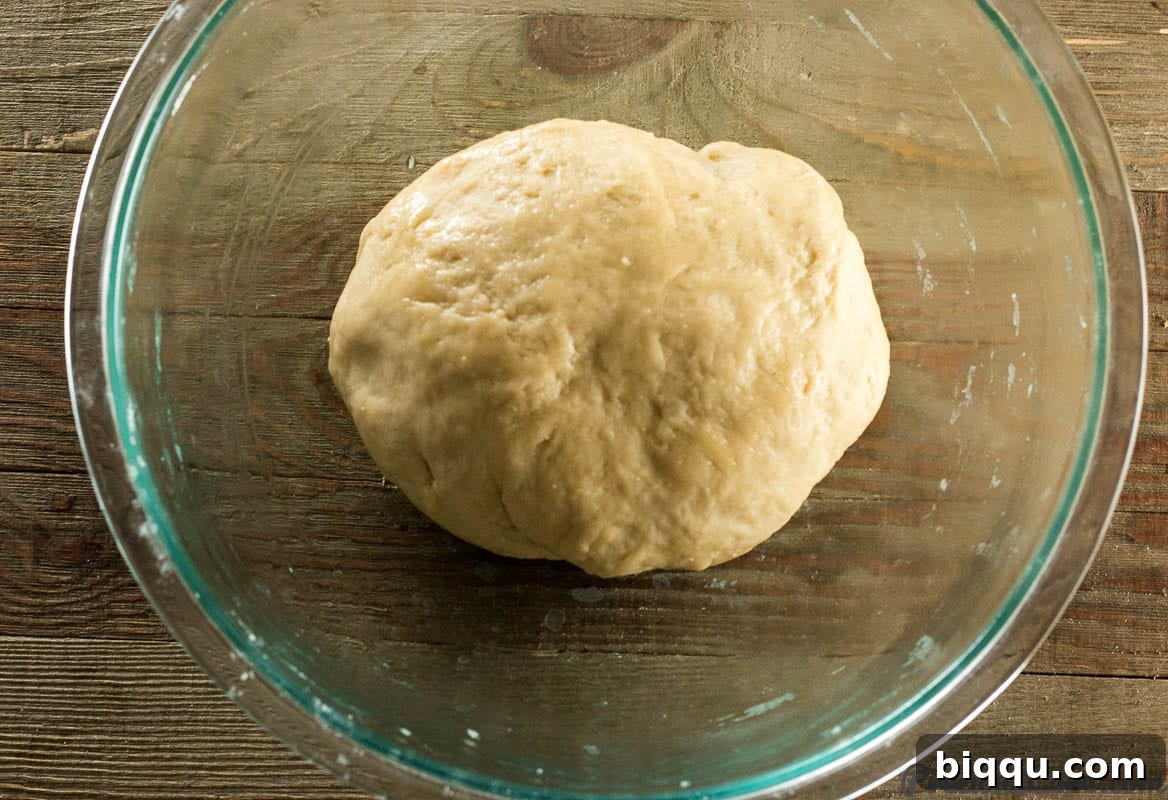
Next, whisk in the egg yolks, sugar, and salt into the yeast mixture until well combined. Gradually add the all-purpose flour, one cup at a time, mixing thoroughly after each addition. You can use a stand mixer with a dough hook or mix by hand. Continue adding flour and mixing until a soft, shaggy dough forms. It should be stretchy and slightly sticky, but manageable. Avoid adding too much flour, as this will result in hard, dense rolls. A slight stickiness is desirable; if it’s excessively sticky, add a tiny bit more flour, a tablespoon at a time, until it’s easier to handle without losing its softness.
2. Knead for Smoothness and Elasticity
Lightly flour a clean working surface. Turn the dough out onto the floured surface and begin kneading. This crucial step develops the gluten in the flour, which gives the rolls their structure and chewiness. Knead for 3-5 minutes, or until the dough becomes smooth, elastic, and less sticky. You’ll feel it transform under your hands, becoming more pliable and cohesive. Resist the urge to add excessive flour during kneading, as this can dry out the dough.
3. The First Rise: Allowing the Dough to Double
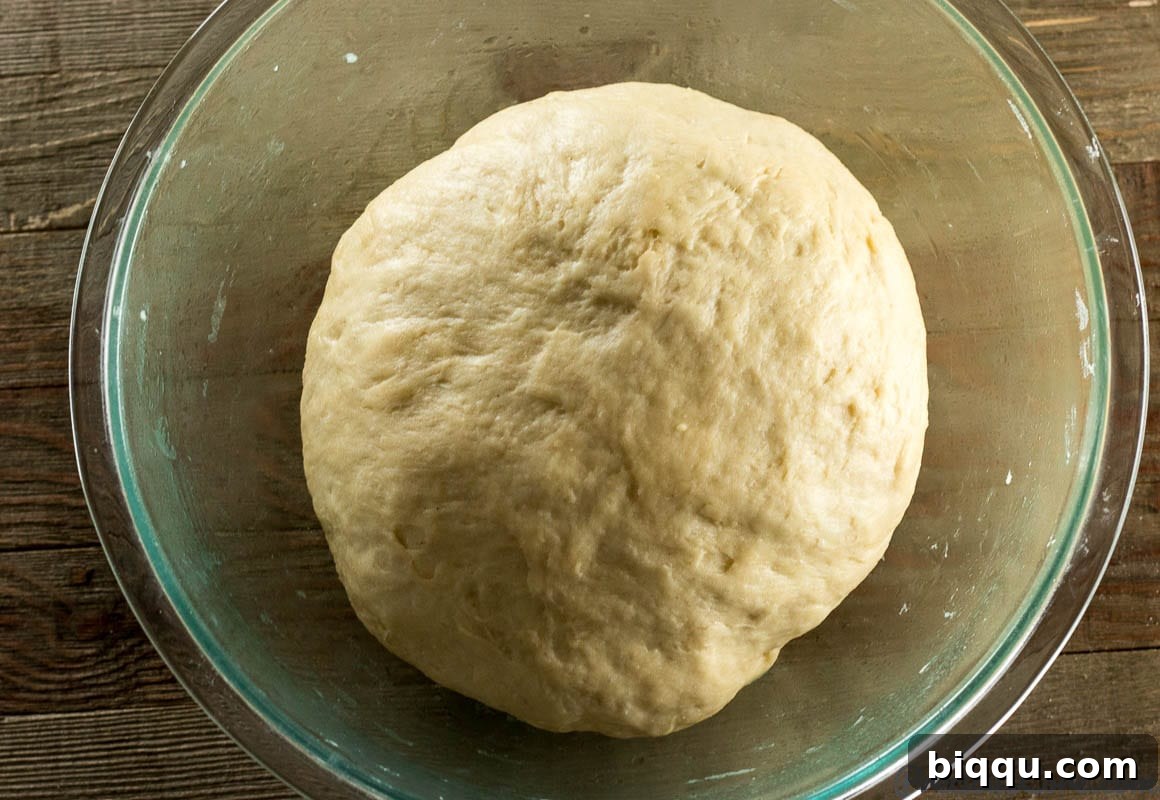
Lightly oil a clean bowl. Place the kneaded dough inside, turning it once to coat all sides with oil. This prevents the dough from sticking and drying out during the rise. Cover the bowl tightly with plastic wrap and place it in a warm, draft-free spot. A warm environment is essential for yeast activity and a successful rise. My go-to method is to preheat the oven slightly, then turn it off and place the dough inside. This creates a perfect, consistent warmth every time. Allow the dough to rise for approximately one hour, or until it has visibly doubled in size. This primary rise develops flavor and creates the airy texture.
4. Shape the Rolls
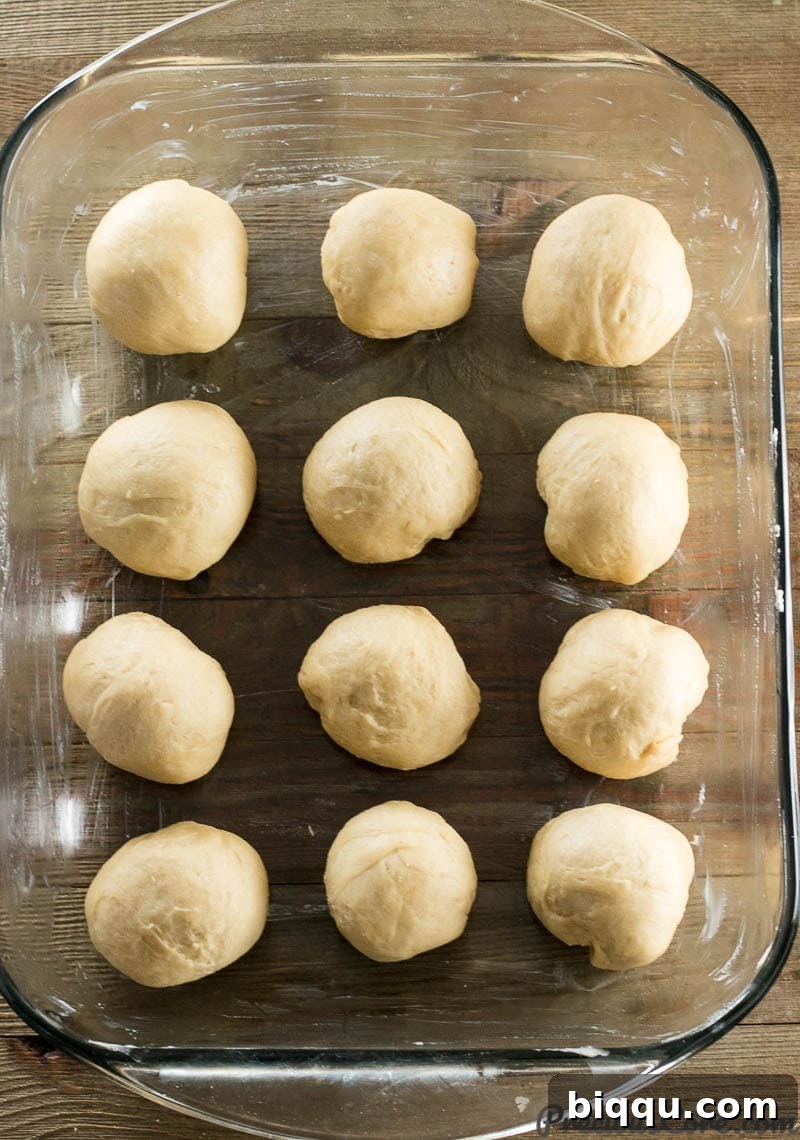
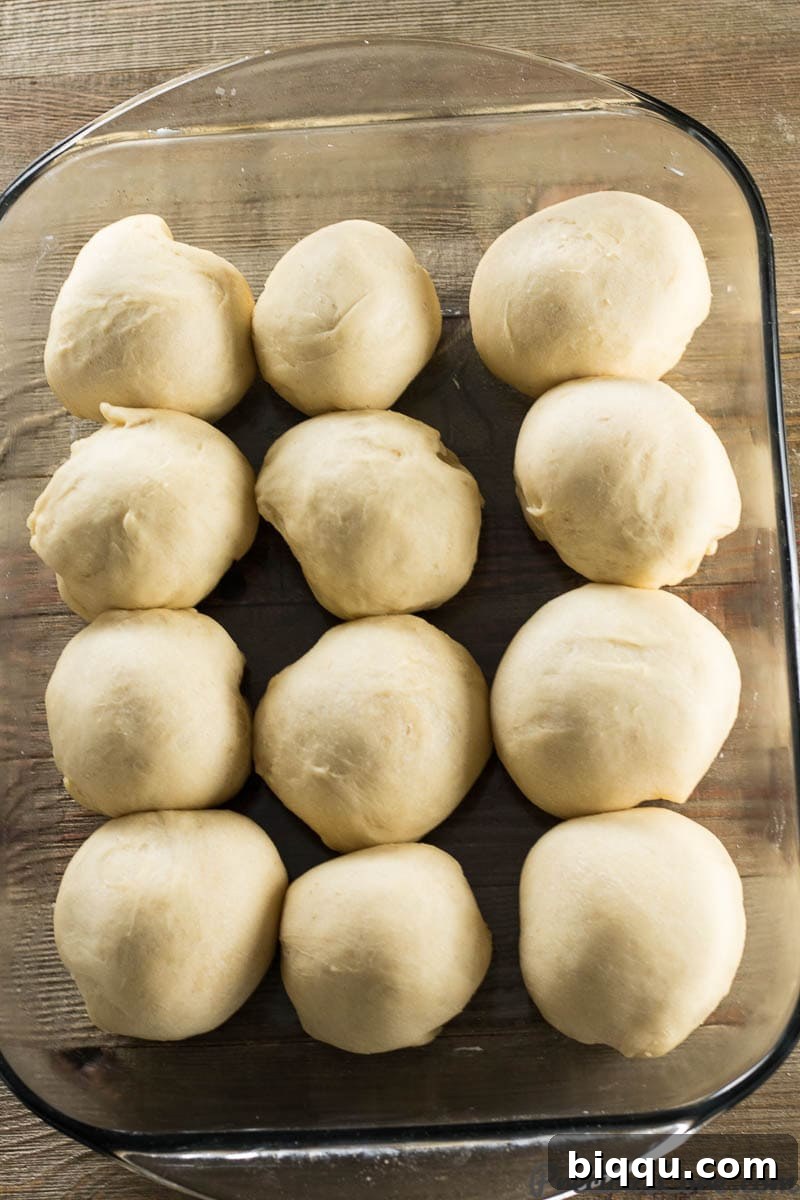
Once the dough has doubled, gently punch it down to release the trapped air. This “degassing” step helps redistribute the yeast and creates a finer crumb in the finished rolls. Transfer the dough to your lightly floured working surface. Using a sharp knife or bench scraper, divide the dough into 12 equal pieces. For consistent results, you can use a kitchen scale to ensure each piece weighs the same. Take each piece and form it into a smooth ball. The trick to a perfectly smooth top is to pull the edges of the dough under, tucking them into the bottom, creating surface tension on top. Place these formed dough balls onto a greased 9×13 inch baking pan, leaving about an inch of space between each one to allow for their second rise.
5. The Second Rise: Enhancing Fluffiness
Cover the baking pan loosely with plastic wrap or a clean kitchen towel and return it to a warm place for another 20 minutes to 1 hour. This second rise, also known as proofing, is crucial for achieving that incredibly fluffy, light texture. The rolls should noticeably increase in size, becoming plump and soft to the touch, ideally touching each other. The exact time for the second rise depends on the warmth of your environment; a warmer spot will yield a faster rise. While the rolls are rising, preheat your oven to 350°F (180°C).
6. Prepare for Baking with an Egg Wash
In a small bowl, beat the remaining whole egg to create an egg wash. Gently brush this egg wash over the tops of the risen rolls. This step is what gives them that beautiful golden-brown color and irresistible sheen. If desired, sprinkle a tablespoon of sesame seeds over the egg-washed rolls for an added touch of flavor and texture.
7. Bake to Golden Perfection
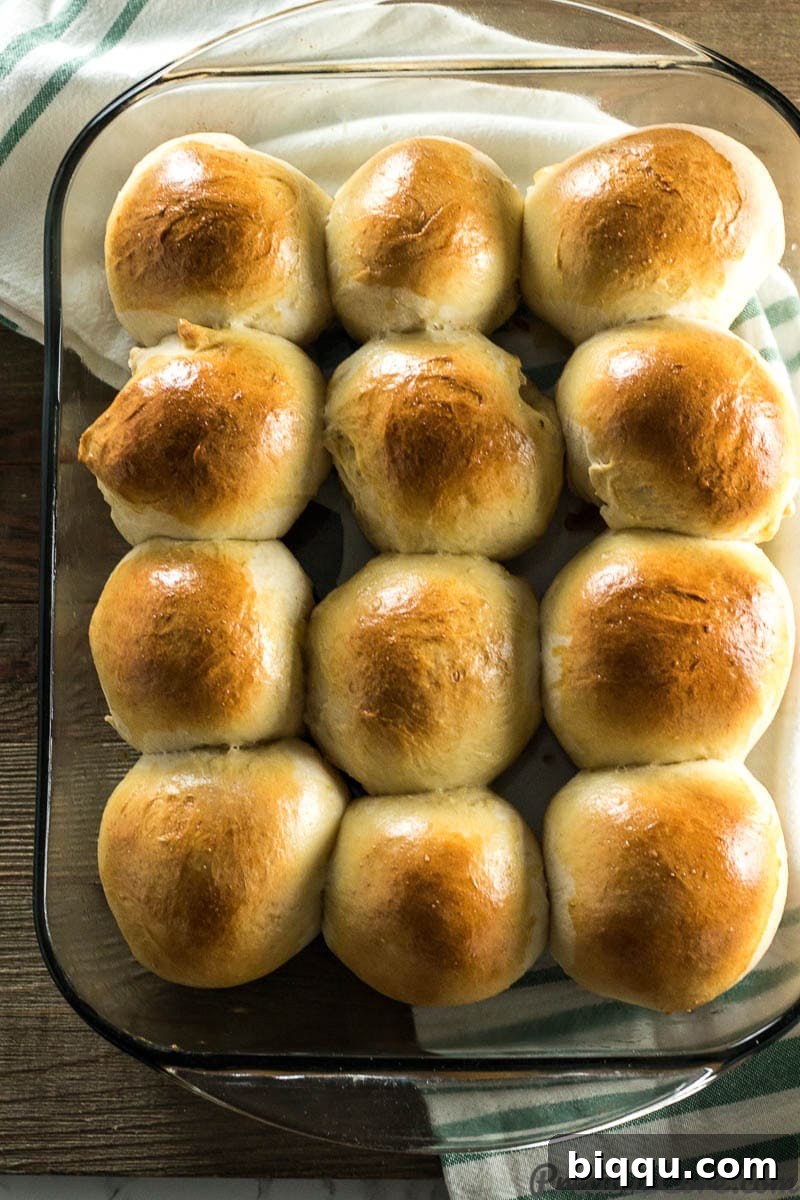
Carefully place the baking pan into the preheated oven. Bake for approximately 20 minutes, or until the rolls are gloriously golden brown on top and cooked through. The internal temperature should reach about 200-210°F (93-99°C) if you’re using an instant-read thermometer. Once baked, remove them from the oven and let them cool slightly in the pan before transferring them to a wire rack. Serve warm and enjoy!
Tips for Baking Fluffy Sweet Dinner Rolls
- Ensure Warmth for Rising: Yeast thrives in warmth. A warm, draft-free environment (like a slightly warmed-then-turned-off oven) is essential for proper dough rising. If your kitchen is cool, your dough will take longer to rise.
- Don’t Over-Flour: While a little flour prevents stickiness, adding too much during mixing or kneading will make your rolls dense and hard. The dough should remain soft and pliable.
- The Touch Test for Doneness: Besides visual cues, a perfectly baked roll will sound hollow when tapped on the bottom.
- Cooling is Key: While tempting to devour immediately, allowing the rolls to cool slightly on a wire rack prevents them from becoming soggy and allows the internal structure to set.
- Use Fresh Yeast: Old or inactive yeast is the most common reason for bread not rising. Always check the expiration date and perform the activation step diligently.
Serving Suggestions and Storage
These sweet dinner rolls are incredibly versatile. Enjoy them fresh from the oven with a simple spread of butter, alongside a hot cup of tea or coffee for breakfast. They make an excellent accompaniment to any dinner, whether it’s a comforting stew, roasted chicken, or a fresh salad. Get creative and use them as soft, slightly sweet sandwich bread for a unique lunch experience. They’re also a fantastic addition to holiday meals, parties, or picnics.
To impress your guests with another show-stopping bread, try my Challah Dinner Rolls.
Storing Your Sweet Dinner Rolls
Homemade rolls are best enjoyed fresh, but they can be stored to prolong their deliciousness. Store cooled rolls in an airtight container or a large zip-top bag at room temperature for up to 2-3 days. For longer storage, you can freeze them. Once completely cool, place them in a freezer-safe bag or container and freeze for up to 2-3 months. When ready to enjoy, thaw them at room temperature, then warm them in a preheated oven (300°F/150°C) for a few minutes until soft and warm, or briefly in the microwave.
Sweet Dinner Rolls
These Sweet Dinner Rolls are so fluffy and rich! Perfect for breakfast, brunch or as an accompaniment on the dinner table.
30
mins
20
mins
2
hrs
2
hrs
50
mins
12
rolls
Ingredients
- 3 1/2 cups of flour (437g) plus more for dusting work surface when kneading dough
- 1 sachet active dry yeast or 2 1/4 teaspoons
- 1/3 cup granulated sugar (67g)
- 1 cup whole milk (240ml)
- 1/3 cup unsalted butter (76g) (sub with margarine)
- 1 teaspoon of salt
- 3 egg yolks from large eggs
- 1 egg for egg wash
- 1 tablespoon of sesame seeds (optional)
Instructions
- Put milk and butter together in a pot and warm on medium heat for just enough time to let the butter melt. The mixture should be warm, not hot.
- Transfer the WARM mixture to a large bowl and add the yeast. Let it sit for five minutes so the yeast can activate and become foamy.
- Next, add in the egg yolks, sugar, and salt and mix together properly. Then add in the flour gradually while mixing until it forms a nice stretchy dough. Your dough should not be too hard; a little stickiness is okay. If too sticky, add a little more flour until manageable.
- Sprinkle flour over your working surface and knead your dough for 3-5 minutes until smooth and elastic. Oil a bowl and place the dough inside.
- Cover with plastic wrap and let it sit in a WARM place for about one hour, or until the dough has doubled in size. (Tip: Turn on your oven for a bit, then turn it off and place the dough inside for a perfect warm spot.)
- Place the risen dough on your working surface. Punch it gently to remove air. Now cut the dough into 12 equal pieces.
- Rub a 9 by 13-inch baking pan with butter.
- Take each dough piece and form a smooth ball by pulling the dough edges under. Place the balls on the greased baking pan, ensuring about an inch of space between each.
- Again, let the shaped rolls sit in a warm place for about 1 hour, or until they have doubled in size and are touching each other. Preheat oven to 350°F (180°C).
- Beat the remaining egg for the egg wash. Gently brush it over the risen rolls. Sprinkle on sesame seeds if using.
- Bake for about 20 minutes, or until the rolls are beautifully golden brown.
Notes
1. For the second rise, allow the rolls to rise until they touch each other. This is essential for extra fluffiness. It takes about 20 minutes to 1 hour to get a good rise, depending on the temperature of where you place them.
2. Use the leftover egg whites from this recipe to make Coconut Macaroons. Yum!
Recipe adapted from Laura Vitale’s Dinner Rolls.
Nutrition (per roll)
Calories: 232kcal
|
Carbohydrates: 35g
|
Protein: 6g
|
Fat: 8g
|
Saturated Fat: 4g
|
Polyunsaturated Fat: 1g
|
Monounsaturated Fat: 2g
|
Trans Fat: 0.2g
|
Cholesterol: 65mg
|
Sodium: 206mg
|
Potassium: 85mg
|
Fiber: 1g
|
Sugar: 7g
|
Vitamin A: 256IU
|
Vitamin C: 0.003mg
|
Calcium: 45mg
|
Iron: 2mg
Additional Info
Breakfast, Dinner
Western
232
Conclusion: The Joy of Homemade Sweet Rolls
Baking sweet dinner rolls at home is more than just following a recipe; it’s an experience that engages all your senses, from the feel of the dough to the irresistible aroma filling your kitchen, and finally, the delightful taste of a warm, fluffy roll. These rolls aren’t just food; they’re a symbol of comfort, warmth, and the simple pleasures of homemade goodness. Whether for a quiet family meal or a festive gathering, these sweet dinner rolls are sure to become a cherished favorite.
This recipe was first published on March 12, 2016, and has been updated with new photos and additional tips to ensure your baking success.