

Unlock the Secret to Heavenly Homemade Milk Bread (Pain au Lait)
Yesterday was one of those days when unexpected challenges turned into delightful culinary adventures. My internet connection decided to take an impromptu vacation, thwarting my plans to share a new recipe. But as often happens, a silver lining emerged! Instead of dwelling on the digital disconnect, I embraced the opportunity to transform my kitchen into a vibrant bakery, dedicating the entire day to the sheer joy of baking. And what a productive day it was!
I’m thrilled to share with you the star of yesterday’s baking marathon: an utterly delicious homemade milk bread, affectionately known as ‘Pain au Lait’ in the bustling bakeries of Cameroon. This bread isn’t just a recipe; it’s an experience. Its unparalleled softness and the intoxicating aroma that fills your home as it bakes make it an absolute favorite for anyone who tries it. In fact, its irresistible charm was so strong that it effortlessly overshadowed the dinner I had prepared, becoming the unexpected highlight of our evening meal.
If you’re looking to bring that same warmth, comfort, and incredible flavor into your home, you’ve come to the right place. This recipe is designed to be straightforward, ensuring even novice bakers can achieve perfectly fluffy and tender milk bread. Let’s get started on creating these delightful loaves that will surely become a cherished staple in your kitchen.
Why You’ll Love This Milk Bread (Pain au Lait) Recipe
- Incredibly Soft Texture: This bread boasts a pillow-soft crumb that practically melts in your mouth, thanks to the addition of milk and butter.
- Rich Aroma: The delightful scent of fresh baking bread, sweet and subtly yeasty, will fill your home, creating an inviting atmosphere.
- Versatile: Perfect for breakfast toast, sandwiches, or simply enjoyed on its own with a smear of butter or jam.
- Easy to Follow: With clear, step-by-step instructions, this recipe is accessible for bakers of all skill levels.
- A Taste of Cameroon: Experience a beloved staple from Cameroonian bakeries, bringing a touch of international flavor to your table.
Essential Ingredients for Your Homemade Milk Bread
Creating this heavenly bread requires a few simple ingredients, each playing a crucial role in achieving its signature soft texture and rich flavor. Ensure all your ingredients are at room temperature unless otherwise specified, as this helps with better mixing and yeast activation.
- 3 cups of bread flour or all-purpose flour (equivalent to approximately 375 grams). Bread flour offers a slightly higher protein content, leading to a chewier texture, but all-purpose flour works wonderfully for a softer crumb.
- 1 teaspoonful of instant yeast. Instant yeast can be mixed directly with dry ingredients, making the process simpler. If using active dry yeast, you might need to proof it first in a small amount of the warm water and a pinch of sugar.
- 3 tablespoons of unsalted butter. Butter adds richness and tenderness to the bread, contributing to its melt-in-your-mouth quality.
- 4 tablespoons of granulated sugar. Sugar not only sweetens the bread but also provides food for the yeast, aiding in its activation and rise, and contributes to a beautiful golden-brown crust.
- Half a teaspoon of salt. Salt balances the sweetness, enhances the flavor of the bread, and also helps regulate yeast activity.
- A quarter cup of evaporated milk. Evaporated milk adds a concentrated creaminess and richness, making the bread exceptionally tender. Whole milk can also be used.
- 1 cup of warm water. The ideal temperature for activating yeast is between 105-115°F (40-46°C). Water that’s too hot will kill the yeast, while water that’s too cold won’t activate it effectively.
- 1 large egg. An egg adds richness, color, and helps bind the dough, contributing to a softer texture.
Recommended Equipment
Having the right tools can make your baking experience smoother and more enjoyable. For this milk bread recipe, you’ll need:
- Large mixing bowls
- Measuring cups and spoons
- Whisk or spatula
- Rolling pin
- Sharp knife or dough cutter
- Greased baking tray(s)
- Kitchen scale (optional, but recommended for accuracy)
- Microwave or small saucepan for melting butter
- Oven
- Pastry brush (for egg wash)
Step-by-Step Guide: Crafting Your Delicious Milk Bread
Follow these detailed instructions carefully to ensure your homemade milk bread turns out perfectly soft, fluffy, and full of flavor. Patience is key, especially during the rising stages!
1. Prepare the Yeast Mixture
- In a large mixing bowl, combine the warm water and yeast. Stir gently to dissolve the yeast. Let it sit for about 5-10 minutes until it becomes foamy. This indicates your yeast is active and ready to work its magic.
- Add the sugar, evaporated milk, and salt to the foamy yeast mixture. Stir thoroughly until all the sugar and salt have dissolved.
2. Incorporate Butter and Flour
- Melt the butter in a microwave-safe bowl or a small saucepan until just liquid, but not hot. Add the melted butter to the wet mixture in your bowl and stir well to combine all the liquids.
- Gradually add the flour to the wet ingredients, a cup at a time, mixing with a wooden spoon or spatula. Continue mixing until a shaggy dough forms and all the flour is moistened.
- Once the dough comes together, turn it out onto a lightly floured rolling board or a clean countertop. Begin kneading the dough. Initially, it might be sticky, but as you knead, it will become smoother and more elastic. Knead for about 8-10 minutes until the dough is smooth, pliable, and springs back when gently poked. A well-kneaded dough is crucial for a soft bread.
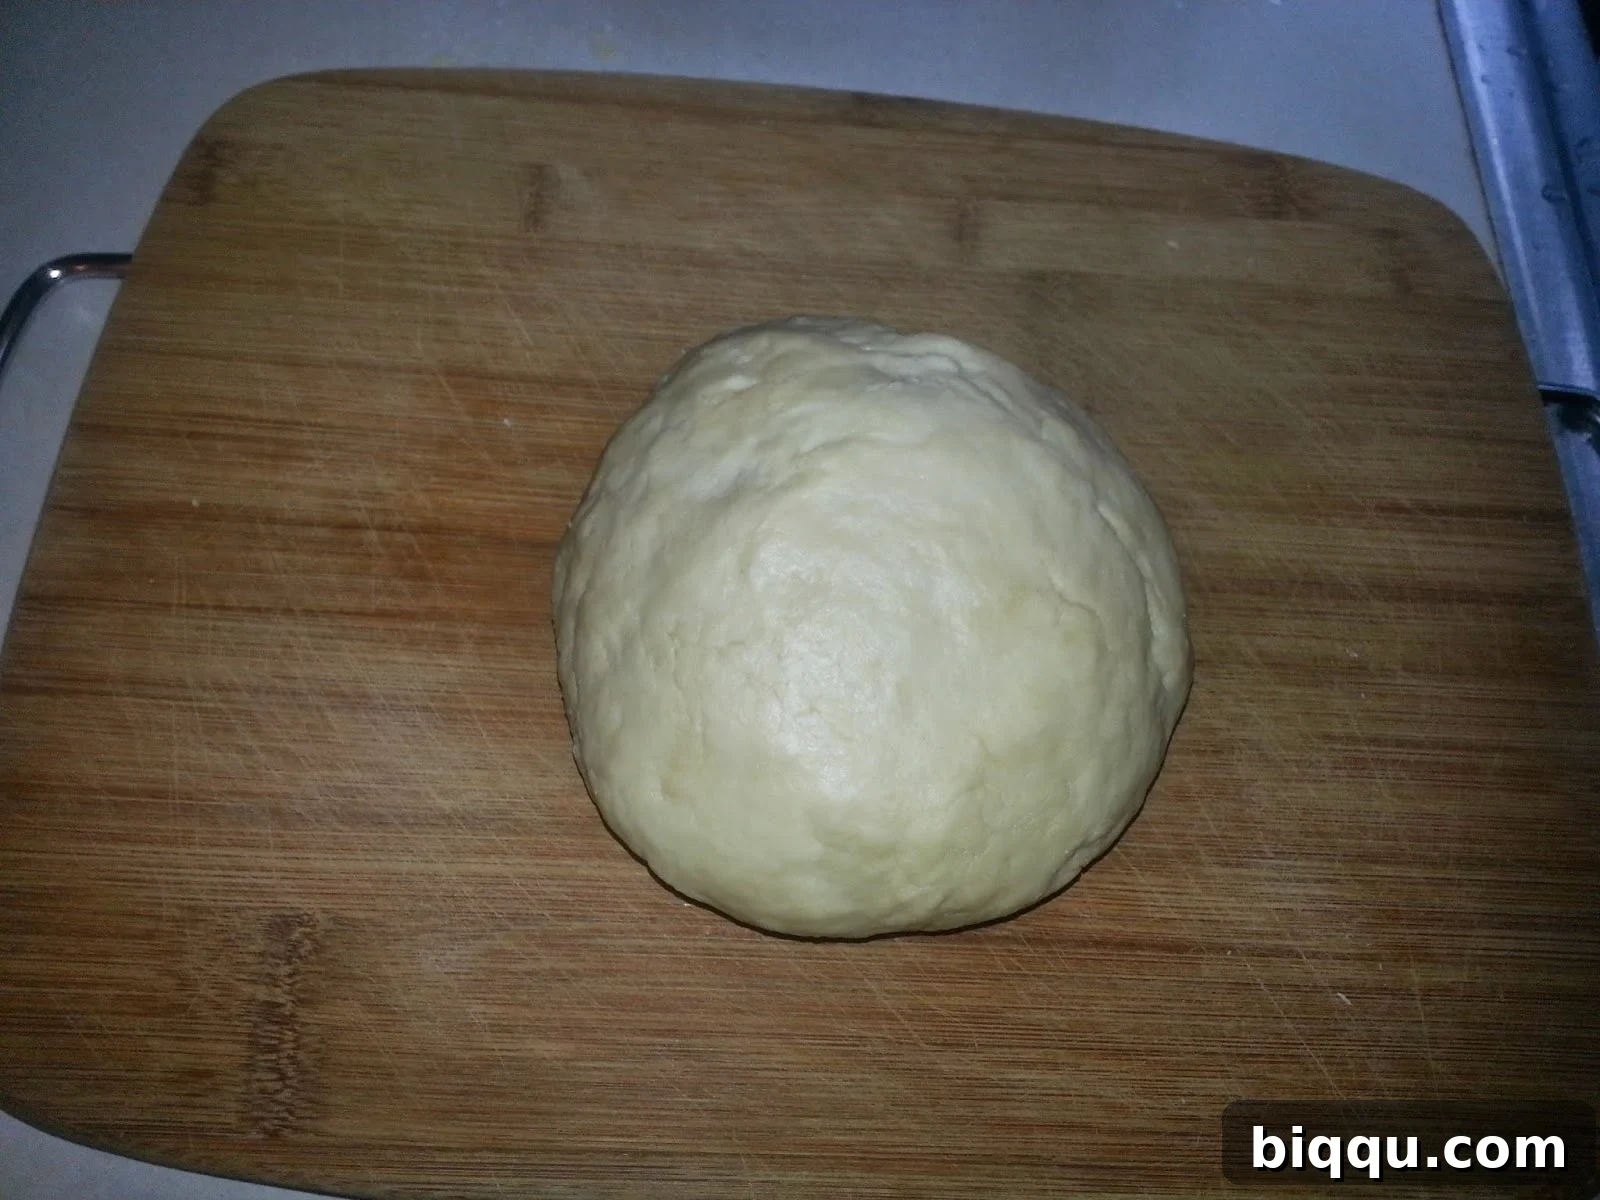
3. Divide and Shape the Dough
- Once your dough is perfectly kneaded, divide it into four equal portions. You can use a kitchen scale for precise measurements to ensure uniform loaves.
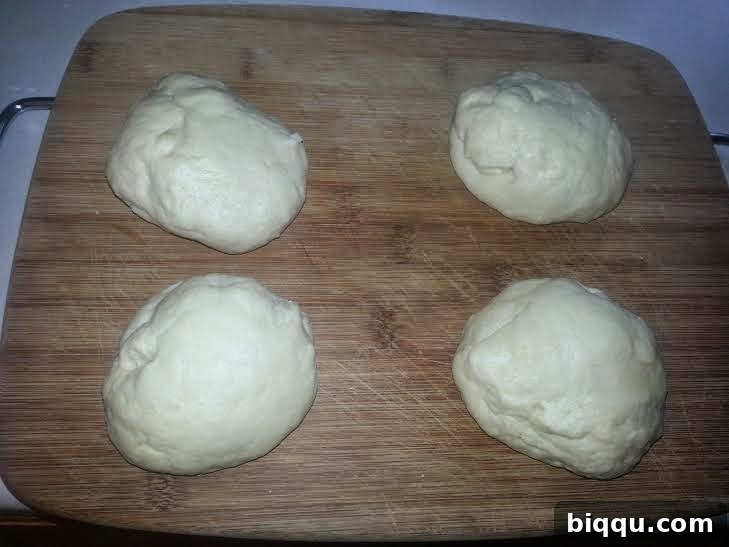
- Take one piece of dough and, on your lightly floured surface, roll it out into an oval or rectangular shape using a rolling pin. Aim for a thickness of about 1/4 inch.
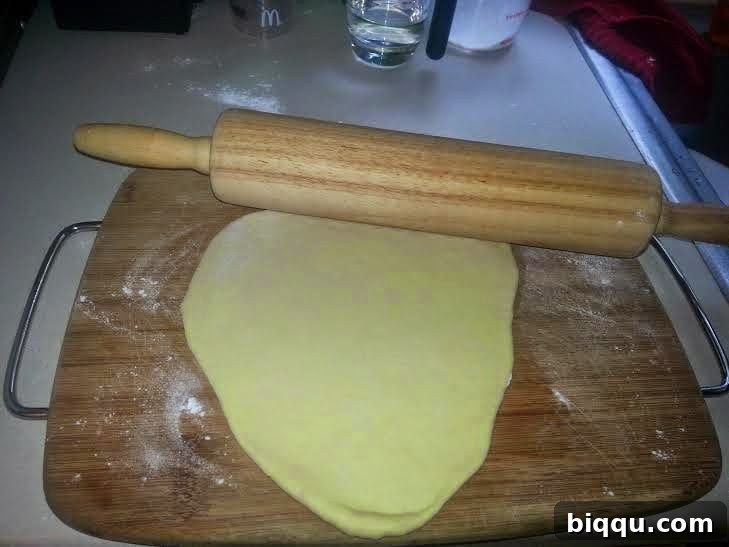
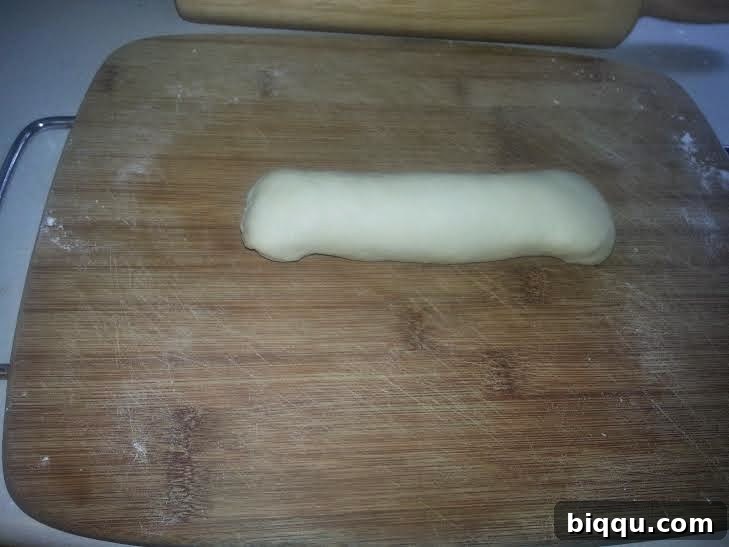
- Using your fingers, gently take one of the longer ends of the rolled dough and begin rolling it tightly towards the opposite end. This creates a compact log.
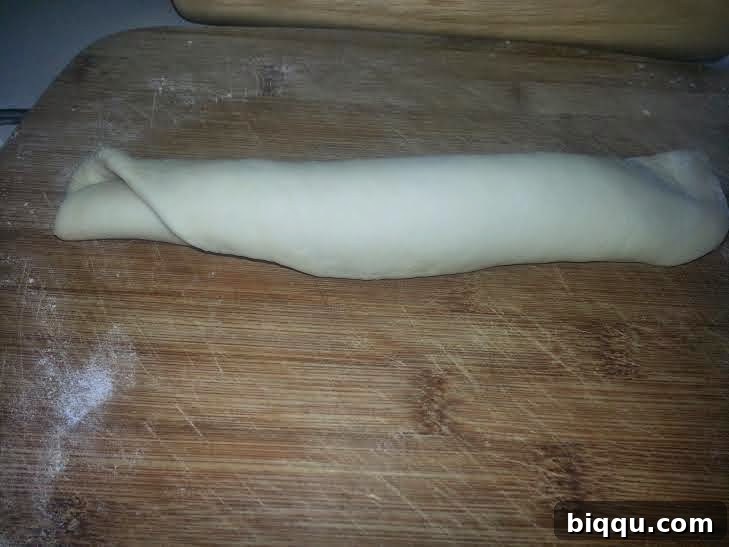
- Once rolled, fold in the edges of the dough log slightly. This helps to create a neater loaf shape and prevents unraveling during baking.
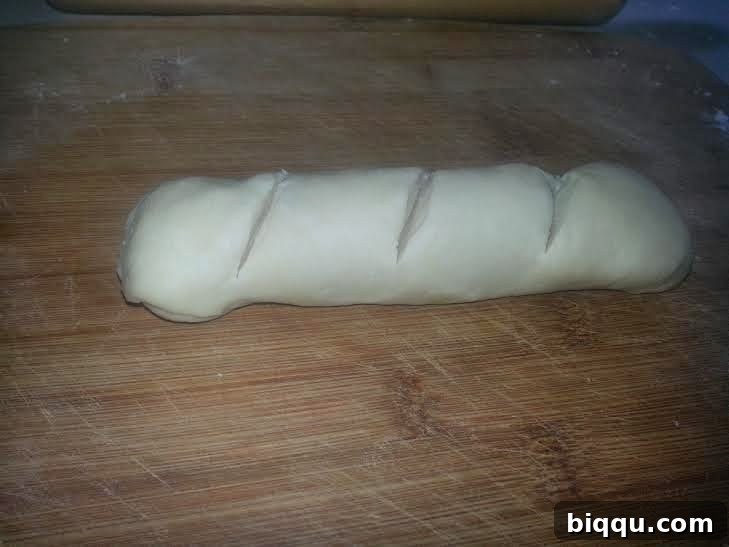
- Using a sharp knife or a pastry scraper, make three shallow, parallel cuts on the top surface of each shaped dough piece. These cuts are not just for aesthetics; they allow the bread to expand beautifully as it bakes.
4. Second Rise (Proofing)
- Lightly grease a baking tray with butter or cooking spray. Carefully place the shaped dough pieces onto the prepared tray, ensuring there’s enough space between them for expansion.
- Repeat the shaping process with the three remaining pieces of dough and arrange them on the tray.
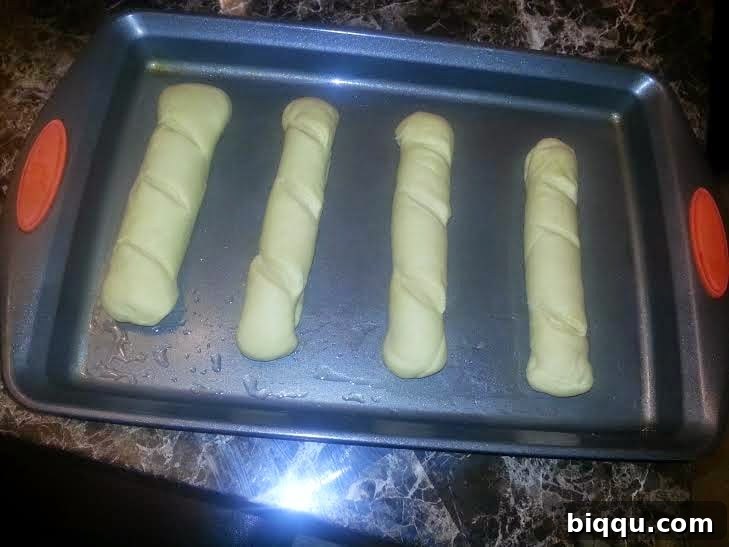
- Cover the tray loosely with a clean kitchen towel or plastic wrap and place it in a warm, draft-free spot. Let the dough rise for about an hour, or until it has visibly doubled in size and feels light and puffy. This second rise is crucial for developing the bread’s soft texture.

5. Bake to Golden Perfection
- Preheat your oven to 300°F (or 148°C) approximately 15-20 minutes before the rising time is complete.
- In a small bowl, whisk the remaining egg (the one you set aside, if you used one for the dough; otherwise, a fresh one) with a tablespoon of water or milk to create an egg wash. Gently brush the tops of the risen loaves with this egg wash. This will give your milk bread a beautiful golden shine and a slightly crisp crust.
- Place the baking tray in the preheated oven and bake for 40 minutes, or until the loaves are gloriously golden brown and sound hollow when tapped on the bottom. The internal temperature should register around 200-205°F (93-96°C) for a fully baked loaf.

6. Cooling and Serving
- Once baked, remove the bread from the oven and transfer the loaves to a wire rack to cool completely. Cooling on a rack prevents the bottom from becoming soggy. While it’s tempting to cut into it immediately, allowing it to cool helps the internal structure set properly.
Creative Variations and Serving Suggestions
This homemade milk bread is fantastic as is, but don’t hesitate to get creative!
- Larger Loaves: If you prefer bigger loaves, simply divide the dough into two equal portions instead of four, shape them, and follow the same baking instructions. The baking time might need a slight adjustment (an extra 5-10 minutes) for larger loaves.
- Sweet Additions: Fold in chocolate chips, dried cranberries, or a sprinkle of cinnamon sugar into the dough before the second rise for a sweeter treat.
- Savory Twists: Incorporate grated cheese and herbs like rosemary or thyme for a savory version perfect with soups.
- Toppings: Before baking, sprinkle with sesame seeds, poppy seeds, or a dusting of coarse sugar for added texture and flavor.
Serving Ideas:
This versatile milk bread pairs beautifully with a wide array of fillings and accompaniments. Enjoy it:
- Toasted with butter and your favorite jam or marmalade.
- As the base for an elevated breakfast sandwich with eggs, bacon, and cheese.
- Alongside a hearty bowl of soup or stew.
- As a sweet snack with a drizzle of honey or a spread of Nutella.
- For delicate tea sandwiches with cream cheese and cucumber.
Tips for Baking Success
Achieving the perfect loaf of milk bread is easy with a few key considerations:
- Yeast Activation: Ensure your water is warm, not hot. If your yeast doesn’t foam, it might be expired or the water was too hot/cold. Start fresh!
- Kneading is Key: Don’t skimp on kneading time. This develops the gluten, which gives the bread its structure and soft texture.
- Proofing Environment: A warm, draft-free place is ideal for rising. If your kitchen is cold, you can place the dough in a slightly warmed (turned off) oven or near a sunny window.
- Don’t Overbake: Keep an eye on the bread during the last 10-15 minutes of baking. Overbaking can lead to a dry loaf. The golden-brown color and internal temperature are your best indicators.
- Storage: Store cooled bread in an airtight container at room temperature for up to 3-4 days. For longer storage, slice and freeze the bread; it toasts beautifully from frozen.
There’s nothing quite like the satisfaction of pulling a fresh, fragrant loaf of bread from your oven. This homemade milk bread (Pain au Lait) recipe promises not just a delicious meal, but a truly rewarding baking experience. It’s a wonderful way to bring comfort, warmth, and incredible flavor into your home, transforming simple ingredients into something extraordinary.
So, roll up your sleeves, gather your ingredients, and prepare to fill your kitchen with the irresistible aroma of freshly baked bread. Bon Appetit!