
Unlock Effortless Style: A Beginner’s Guide to DIY Crochet Braids for Kids (and You!)
Every parent knows the delightful, sometimes chaotic, world of children’s hair. One day, my curious five-year-old, with an uncanny ability to notice everything, pointed out, “Mummy, your website is full of only cooking! How about you make a video of you doing our hair?” Her observation, delivered with the charming innocence only a child possesses, made me smile. It was a gentle nudge, a reminder that while my culinary adventures might fill these digital pages, the real-life quest for manageable, stylish, and protective hairstyles for my girls is an equally important part of my daily routine.
While that much-requested “day in the life” or hair video is still on my to-do list, I’m thrilled to share a pictorial guide to one of my favorite time-saving hair hacks: crochet braids. Trust me, if a busy mom and self-proclaimed hair novice like me can master this, you absolutely can too. This guide will walk you through creating beautiful, long-lasting crochet braids that both you and your little ones will adore, offering a fantastic solution to the common #Mommydaughtertroubles related to hair styling.
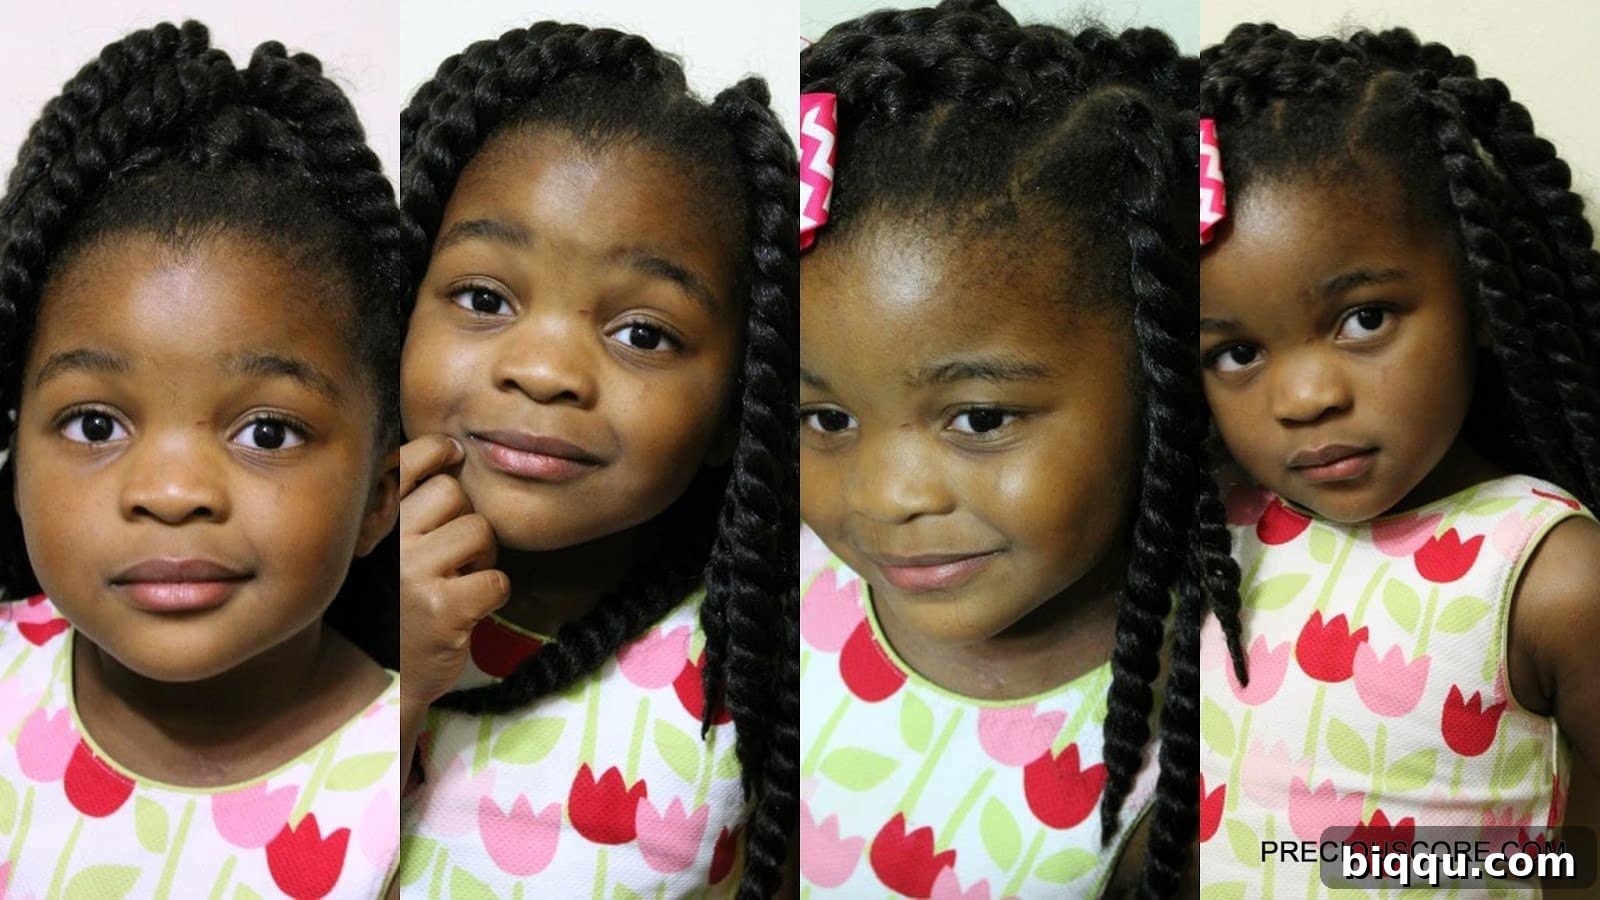
Why Choose Crochet Braids? The Ultimate Protective Style Solution
Crochet braids have taken the hair world by storm, and for good reason! This versatile and easy-to-install protective style offers a multitude of benefits, especially for children with delicate hair or busy individuals seeking a low-maintenance look. Essentially, crochet braids are hair extensions that are seamlessly attached to your natural hair using a special tool called a latch hook, also known as a crochet hook. Instead of braiding each strand of extension hair into your natural hair, the extensions are looped through cornrows, significantly cutting down on installation time and tension.
- Time-Saving: This is perhaps the biggest draw for busy parents. Traditional braids can take many hours, often stretching into an entire day. Crochet braids can be installed in a fraction of that time, sometimes as little as 2-3 hours for a full head.
- Protective Styling: By tucking away your natural hair into cornrows, crochet braids minimize daily manipulation, protecting your strands from breakage, heat damage, and environmental stressors. This promotes healthy hair growth, which is essential for children’s hair development.
- Versatility: The styling options with crochet braids are endless. You can use various types of extension hair – twists, box braids, locs, wavy, or curly textures – to achieve any look you desire. They can be styled into updos, ponytails, or left flowing freely.
- Low Maintenance: Once installed, crochet braids require minimal daily styling. This means less fuss in the mornings, making school routines smoother and giving both parents and children more time.
- Less Tension: Unlike some traditional braiding methods that can pull on the scalp, crochet braids are generally installed with less tension, making them more comfortable, especially for sensitive scalps.
- Beginner-Friendly: As you’ll discover in this guide, the technique is surprisingly straightforward, making it accessible even for those new to DIY hair styling.
I’ve styled both my older girls’ hair with crochet braids, and it has been a game-changer for our family. The beauty of this method lies in its simplicity and efficiency. If I, with my limited braiding experience, can achieve such beautiful results, then you absolutely can too!
Essential Tools: What You’ll Need to Get Started
Before diving into the fun part, gathering all your supplies is key. Having everything within reach will make the installation process smooth and stress-free. You don’t need a salon full of gadgets; just a few crucial items will suffice.
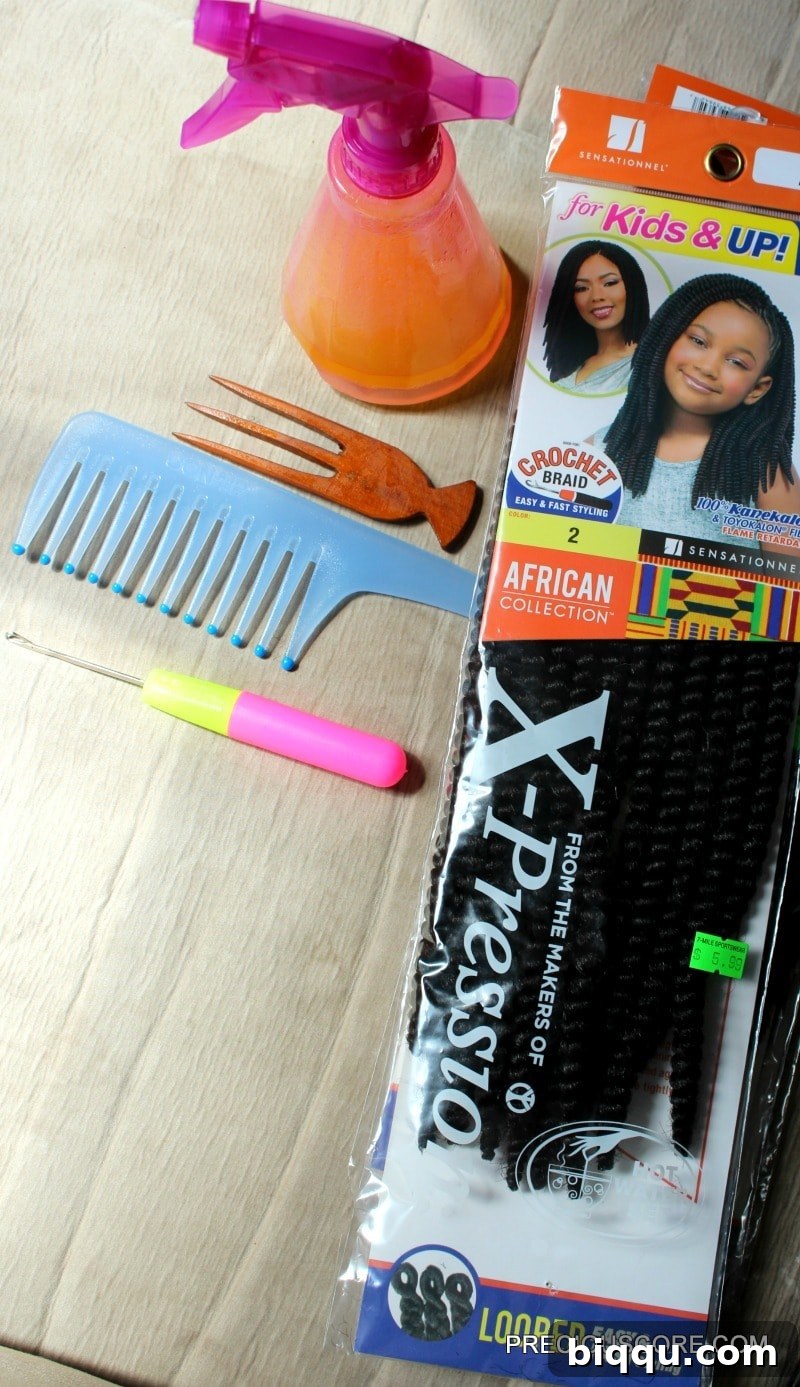
Here’s a detailed list of what you’ll need and why:
- Crochet Braids (Hair Extensions):
- Quantity: I typically use 3 packs for kids (12-inch Senegalese twists work wonderfully for a youthful, playful look). For a fuller, more voluminous style, some people might opt for up to 5 packs, but be mindful that too much hair can feel heavy and look overly bulky, especially on smaller heads.
- Type: The beauty of crochet braids is the variety. You can choose pre-looped braids like Senegalese twists, Havana twists, box braids, or even faux locs. You can also use bulk hair (like Kanekalon) if you prefer to create your own twists or curls, though pre-looped options are a massive time-saver for beginners. Consider the desired length, texture, and color that suits your child’s personality and lifestyle. For the style at the top of this post, I used 12-inch Havana Twists, which provided a lovely natural bounce and volume.
- Crochet Hook (Latch Hook Tool): This is your most important tool! It’s a slender tool with a hook at one end and a tiny latch that closes over the hook. This latch allows you to easily pull hair through cornrows without snagging or damage. They come in various sizes; a medium-sized hook is generally suitable for most crochet braid installations.
- Hair Detangler Spray: A good detangler is non-negotiable for pain-free preparation. My DIY hair detangler is a favorite, but any quality moisturizing detangling spray will work wonders. It softens the hair, makes it easier to comb through, and reduces breakage before braiding.
- Wide-Tooth Comb and Rat-Tail Comb: A wide-tooth comb is essential for gently detangling and sectioning the hair, especially after applying detangler. A rat-tail comb, with its thin handle, is perfect for creating neat, precise parts for your cornrows.
- Hair Clips: These are incredibly helpful for sectioning off hair and keeping it out of the way while you work on different parts of the head.
- Edge Control Gel (Optional): For a sleek, polished finish, especially around the hairline, edge control gel can be used to lay down baby hairs and create a neat look.
- Moisturizing Oil or Leave-in Conditioner: Before braiding, ensure your child’s natural hair is well-moisturized. This helps to seal in moisture, keeping the hair healthy and hydrated underneath the protective style.
Step-by-Step Guide: How to Install Gorgeous Crochet Braids
Now that you have all your tools ready, let’s get into the step-by-step process. Remember, practice makes perfect, and the key is patience and a gentle touch, especially when working with children’s hair.
Step 1: Prepare the Natural Hair and Create Cornrows
A good foundation is crucial for stunning and long-lasting crochet braids. This step focuses on preparing your child’s natural hair and creating the base cornrows.
- Wash and Condition: Start with freshly washed and deep-conditioned hair. This ensures your child’s scalp and hair are clean and moisturized before being tucked away.
- Detangle Thoroughly: Spray your child’s hair generously with detangling spray. Using a wide-tooth comb, gently comb through the hair, starting from the ends and working your way up to the roots. Ensure all knots and tangles are removed to prevent discomfort and breakage during braiding.
- Braid into Cornrows: This is the canvas for your crochet braids. You’ll need to braid the natural hair into cornrows that go all the way to the back of the head. In Cameroon, these are sometimes known as “bakala.”
- Secure the Ends: Once all cornrows are complete, securely braid or stitch down any loose ends to the scalp to ensure a flat, stable base for the extensions.
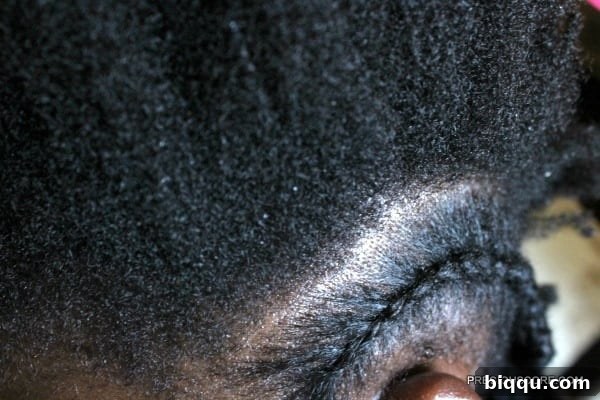
For this style, I created about 8 cornrows across the entire head, braiding straight back. The number of cornrows can vary depending on the head size and desired fullness of the style – fewer cornrows result in larger sections and potentially a quicker installation, while more cornrows create a flatter, more even base.
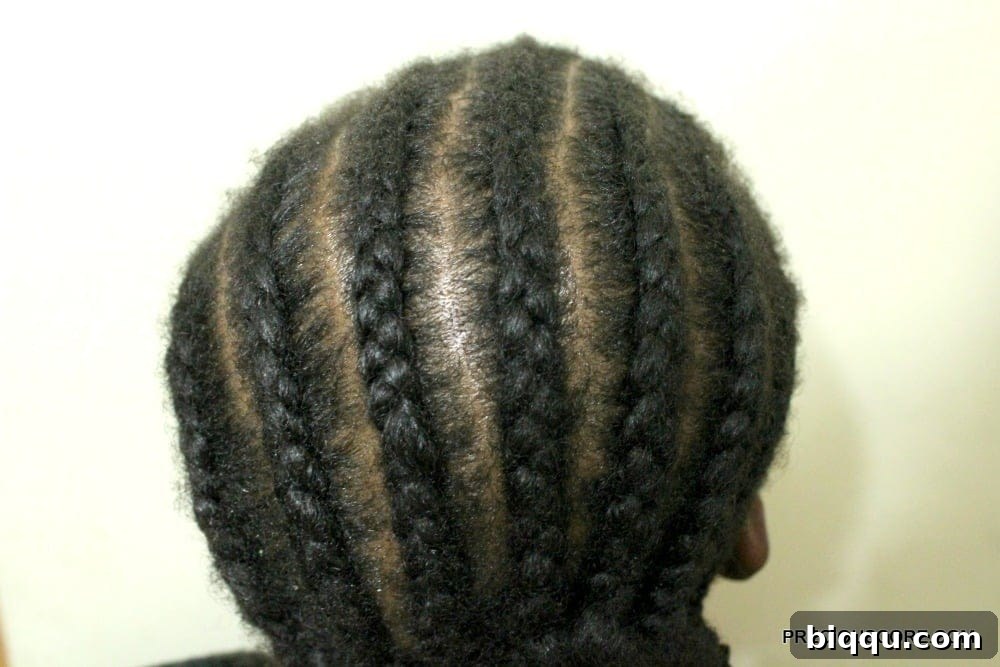
Pro Tip for a Seamless Look: To hide the ends of the cornrows and create a neat finish, I connected the cornrows at the nape of the neck into one large horizontal cornrow. I then tucked this large cornrow into another one, ensuring no loose ends were visible. This technique is fantastic for achieving a very polished and professional-looking installation. (Yes, I really should do a video on this technique – it makes all the difference!)
Step 2: The Magic Begins – Installing the Crochet Braids
This is where the magic happens, and you’ll quickly see why crochet braids are so beloved for their speed and ease. The latch hook is your best friend here!
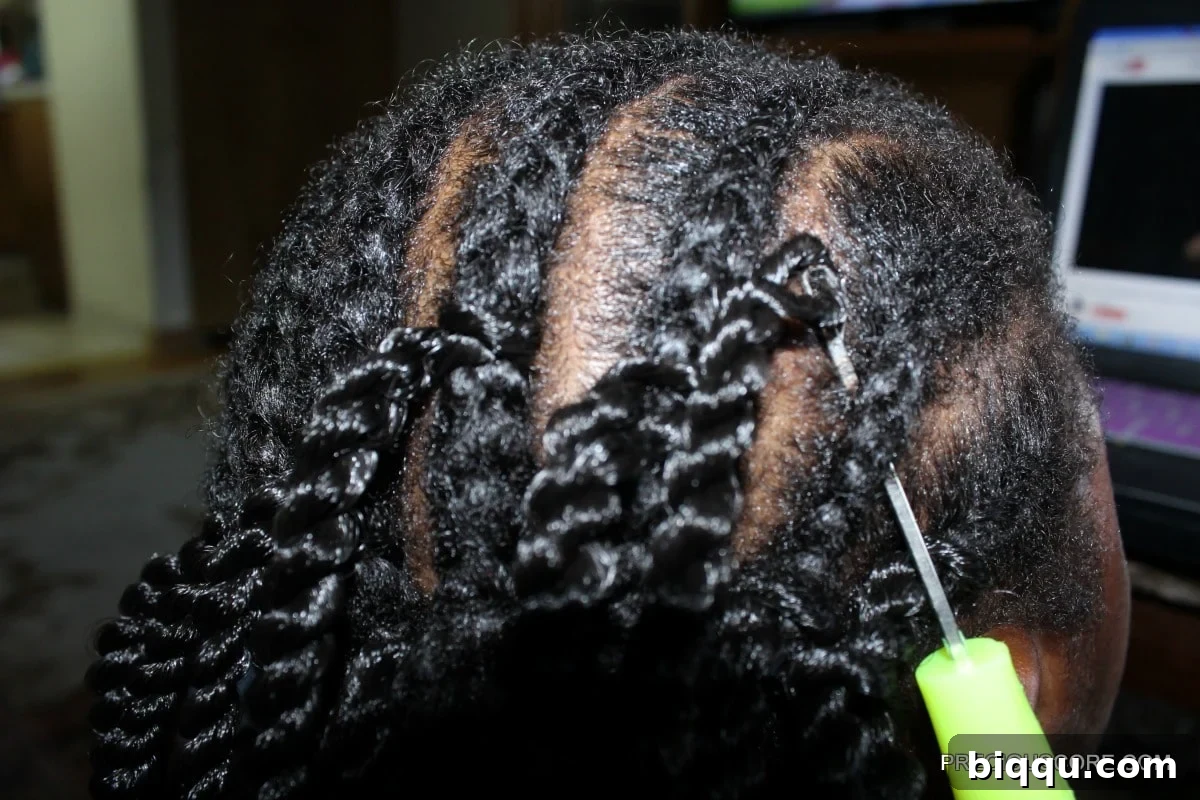
- Insert the Latch Hook: Take your crochet hook and insert it underneath a cornrow. Make sure it goes all the way through, so the hook part emerges on the other side.
- Loop the Hair onto the Hook: Open the latch on the hook. Take one pre-looped crochet braid (or a section of bulk hair that you’ve prepped) and thread the loop of the extension onto the open hook. Close the latch securely to prevent the hair from slipping off.
Step 3: Pulling Through the Cornrow
This step is quick and simple, forming the basis of your braid attachment.
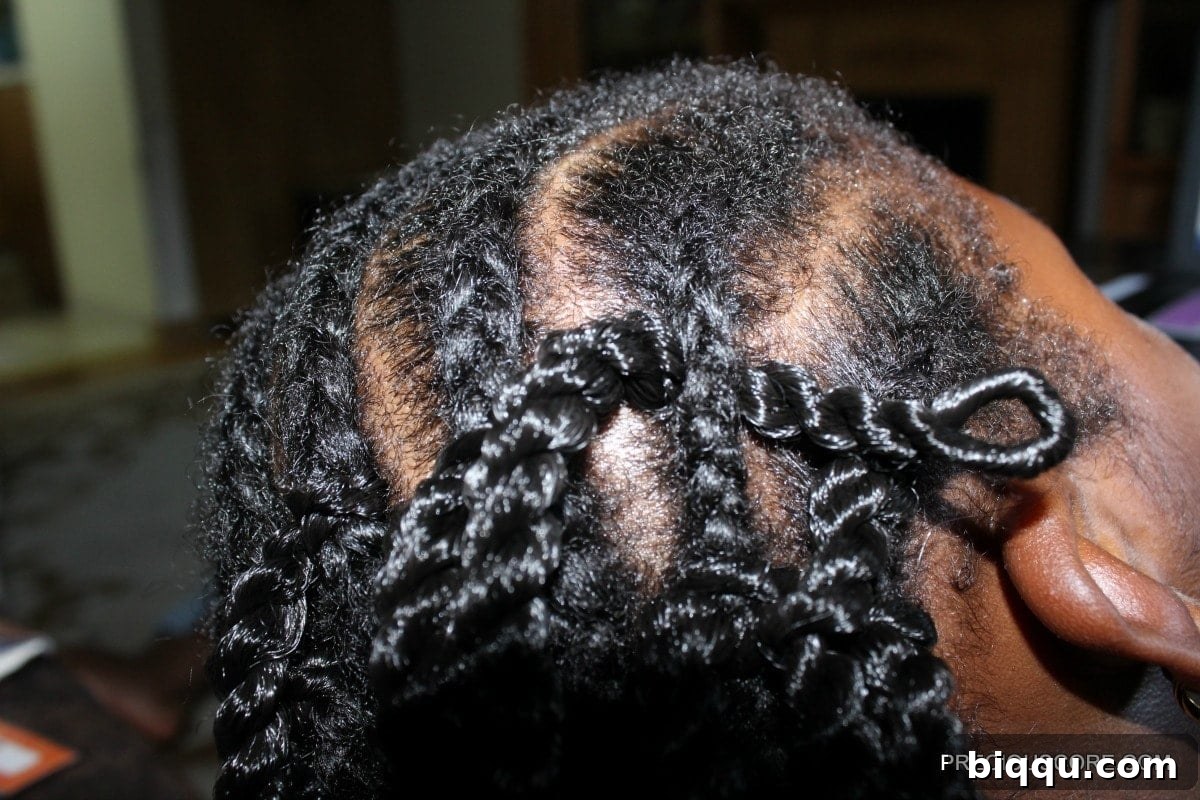
- Slide Hooked Hair Back Through: With the hair securely looped onto the closed hook, gently pull the crochet hook back through the cornrow. You should now have a loop of the extension hair protruding from the cornrow. Once the loop is through, remove the crochet hook completely.
Step 4: Securing the Braid with a Knot
The final step in attaching each braid ensures it stays in place without unraveling.
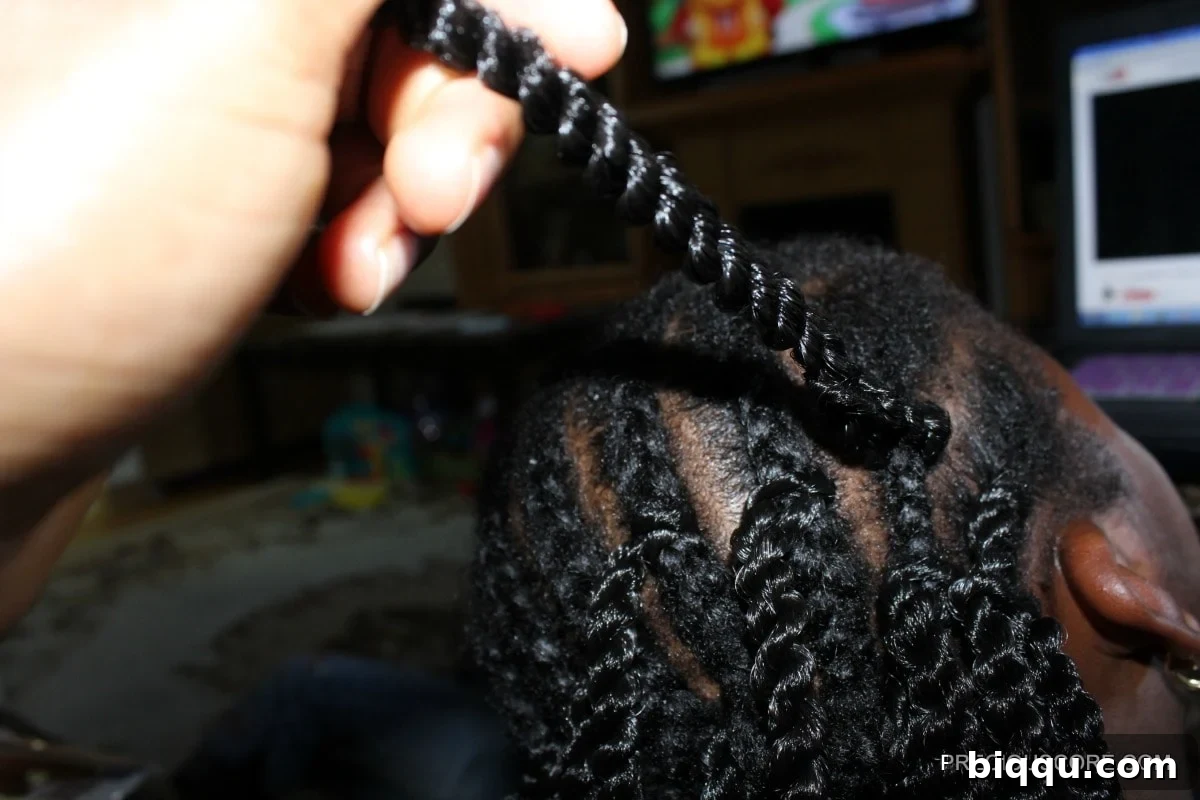
- Feed Through and Knot: You will now have a loop of extension hair on one side of the cornrow and the two tails of the extension on the other. Take the two tails of the crochet braid and feed them through the loop.
- Pull to Secure: Gently but firmly pull the tails to secure the extension hair tightly in a knot around the cornrow. Be careful not to pull too hard, which could cause tension on the scalp, but ensure the knot is snug enough to hold the braid in place.
Repeat and Complete
Continue this process, spacing out the braids as desired. The spacing largely depends on the look you’re going for – closer spacing for a very full look, or wider spacing for a lighter, more natural feel. Experiment to find what works best for your child’s head and the type of hair you’re using. Pay special attention to the hairline and crown for optimal coverage and a seamless blend.
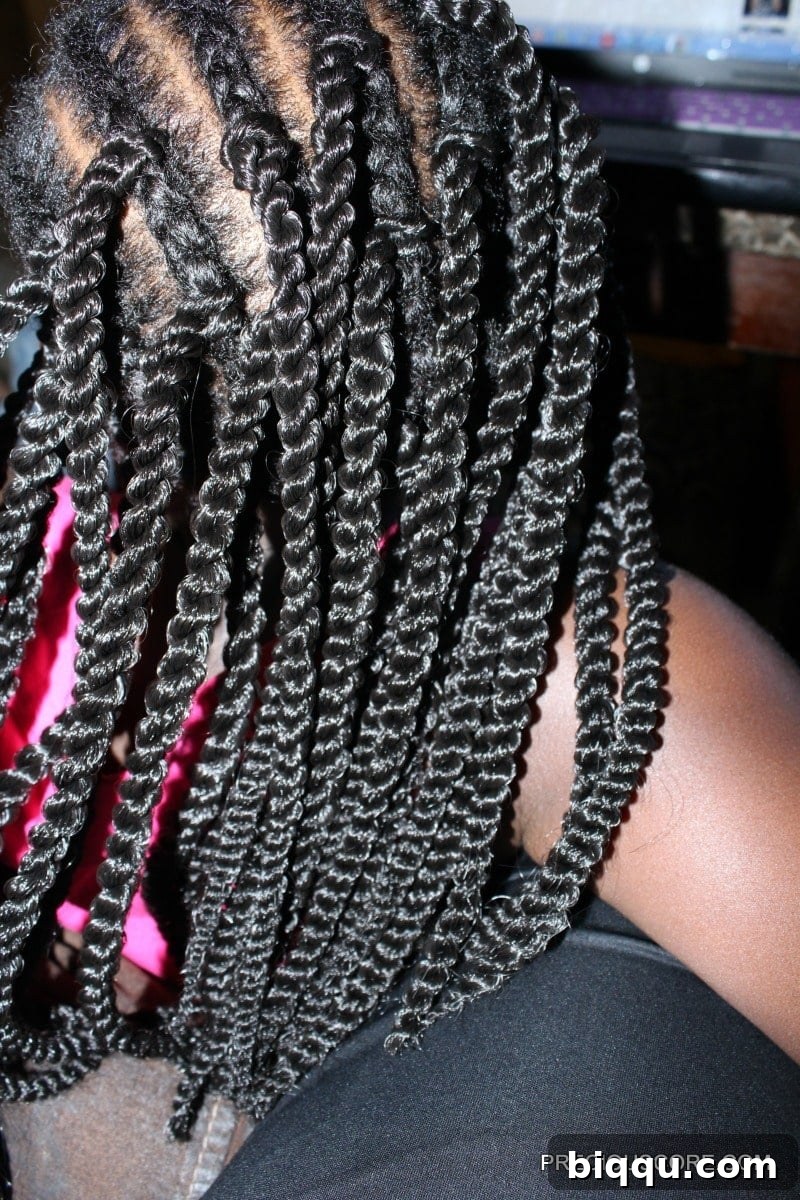
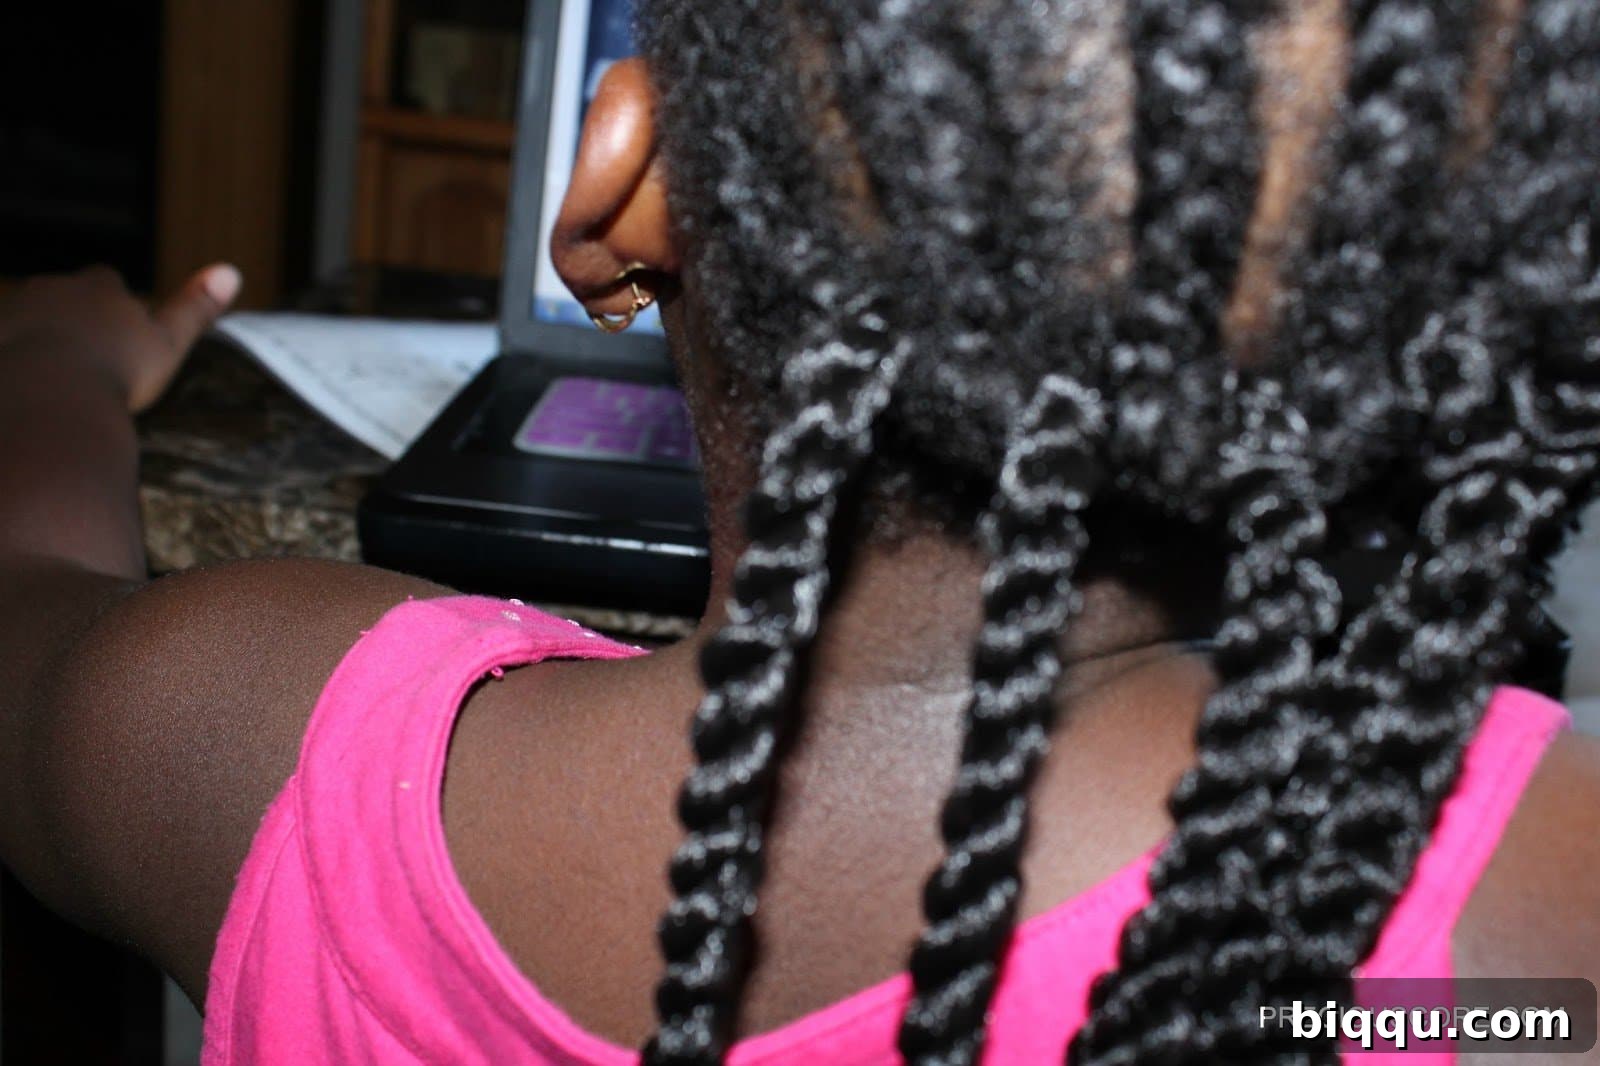
The entire installation, from start to finish (including cornrowing), typically takes me about 3 hours for one head. This is incredibly efficient compared to the 7+ hours it often takes to install traditional individual braids! For the smaller head shown in the first image of this post, it only took two hours, using 12-inch Havana Twists.
The Reveal: Opening and Styling Your Crochet Braids
Once all the crochet braids are installed, the fun truly begins! Depending on the type of hair you used, you might want to “open” the braids for a fuller, more voluminous look, or leave them as they are for a sleeker appearance.
If you’re using twisted or braided crochet hair (like Senegalese or Havana twists), gently separating each twist into two or three strands can create a gorgeous, fluffy, and natural-looking style. This adds incredible volume and a distinct texture. For straight or wavy crochet hair, you might not need to do this, but you can fluff it out with your fingers.
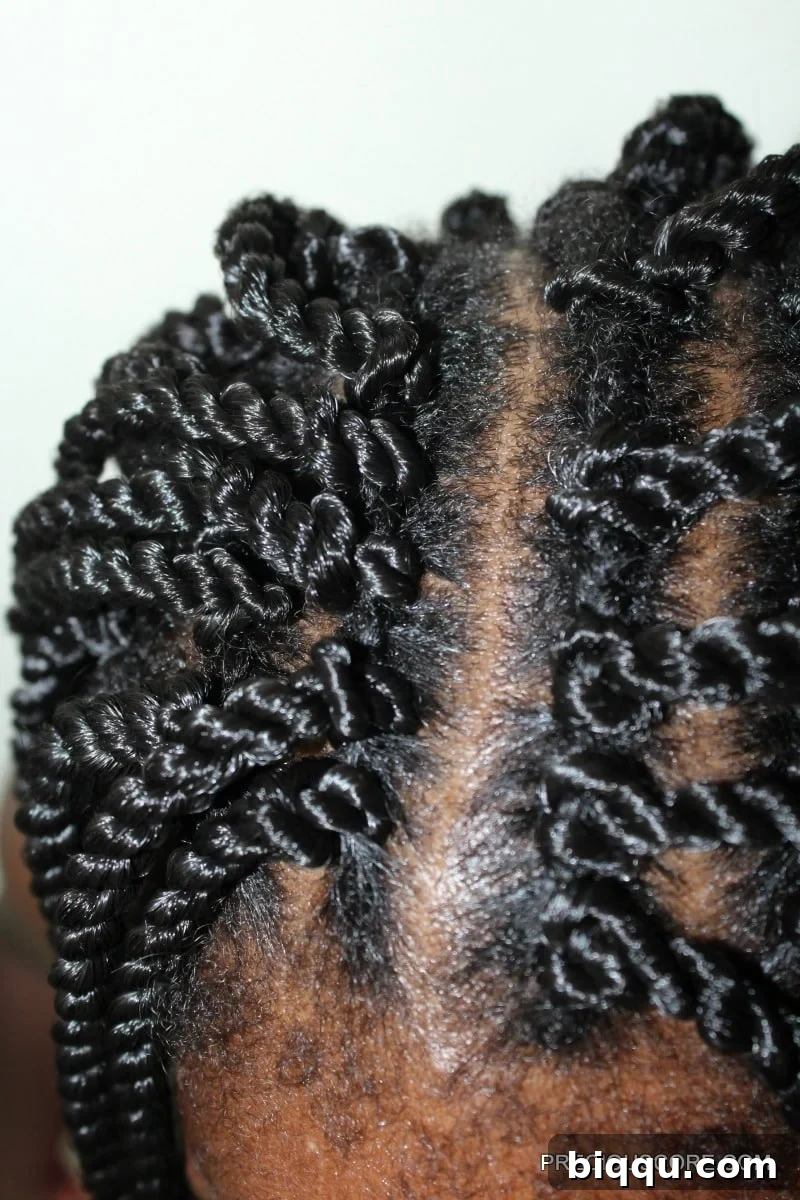
After opening the braids, you can lay the edges with a bit of edge control gel and a soft brush for a polished finish. This step is optional but can elevate the overall neatness of the hairstyle, especially around the face.
Maintenance Tips for Long-Lasting Crochet Braids
To ensure your beautiful crochet braids last and your child’s natural hair remains healthy underneath, proper maintenance is key:
- Nighttime Routine: Always have your child sleep with a satin or silk scarf or bonnet. This prevents frizz, tangling, and helps to preserve the style while keeping moisture locked in.
- Moisturize Your Scalp: Even though your natural hair is protected, your scalp still needs attention. Lightly spritz your scalp with a moisturizing spray or apply a lightweight hair oil a few times a week to keep it hydrated and prevent dryness or itchiness.
- Cleanse Gently: If the style is worn for several weeks, you can gently cleanse your scalp with diluted shampoo or a dry shampoo. Follow up with a light conditioner for the exposed parts of the braids. Ensure thorough drying to prevent mildew.
- Avoid Excessive Manipulation: While crochet braids are versatile, try to avoid constant pulling or tight styling to minimize tension on the cornrows and scalp.
- Removal: When it’s time to take them out, do so gently. Cut the extension hair as close to the knot as possible, then carefully unravel your cornrows. Take your time to detangle your natural hair afterwards, as there will be shed hair accumulated.
Empower Yourself with DIY Crochet Braids!
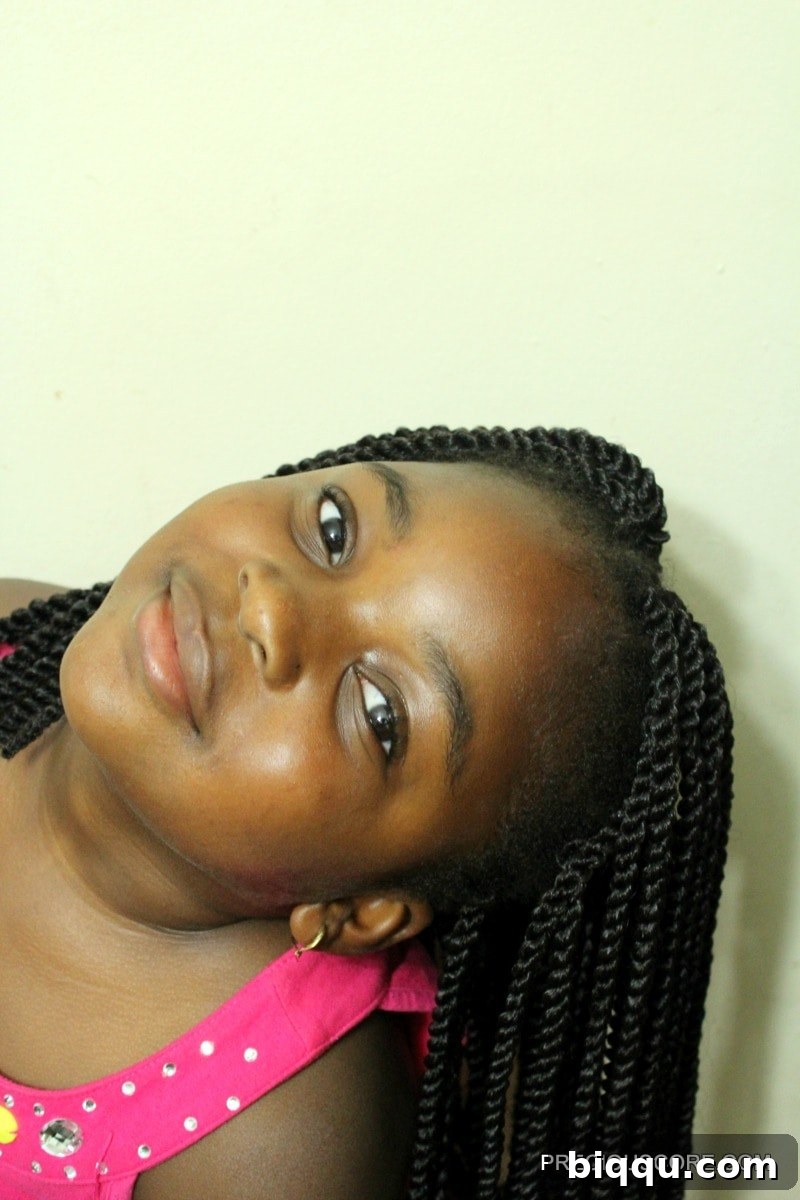
Crochet braids are a fantastic, practical, and stylish solution for anyone seeking a beautiful protective hairstyle. They offer incredible flexibility, save valuable time, and are remarkably easy to achieve, even for beginners. Whether you’re a busy mom looking for a simple hair routine for your little ladies or an individual exploring new protective styling options, this method is truly a game-changer.
I hope this comprehensive guide inspires and empowers you to try creating some awesome crochet braids for the special little ladies in your life, or even for yourself! Don’t be afraid to experiment with different hair types and colors to find your perfect look. Happy braiding!