
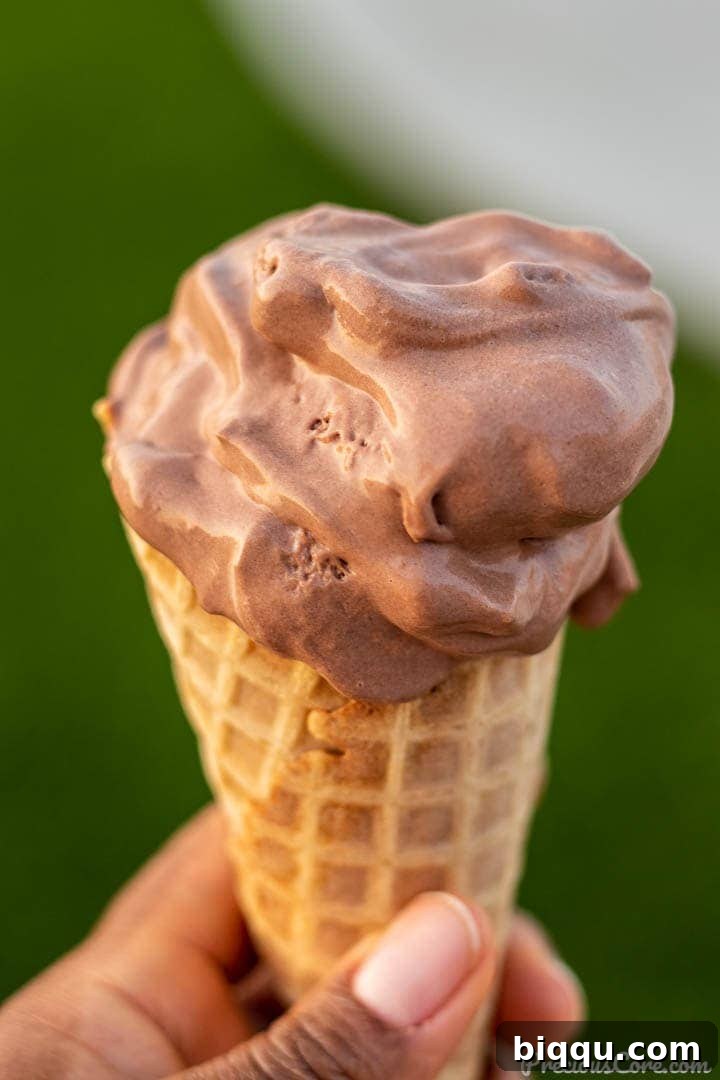
Homemade Chocolate Ice Cream with only 3 ingredients? Yes, you read that right! Prepare to redefine your dessert game with this unbelievably easy, perfectly chocolatey, intensely creamy, and refreshingly cool ice cream. Forget about complicated methods or expensive kitchen gadgets; this recipe brings the pure joy of homemade ice cream directly to your kitchen in the simplest way imaginable.
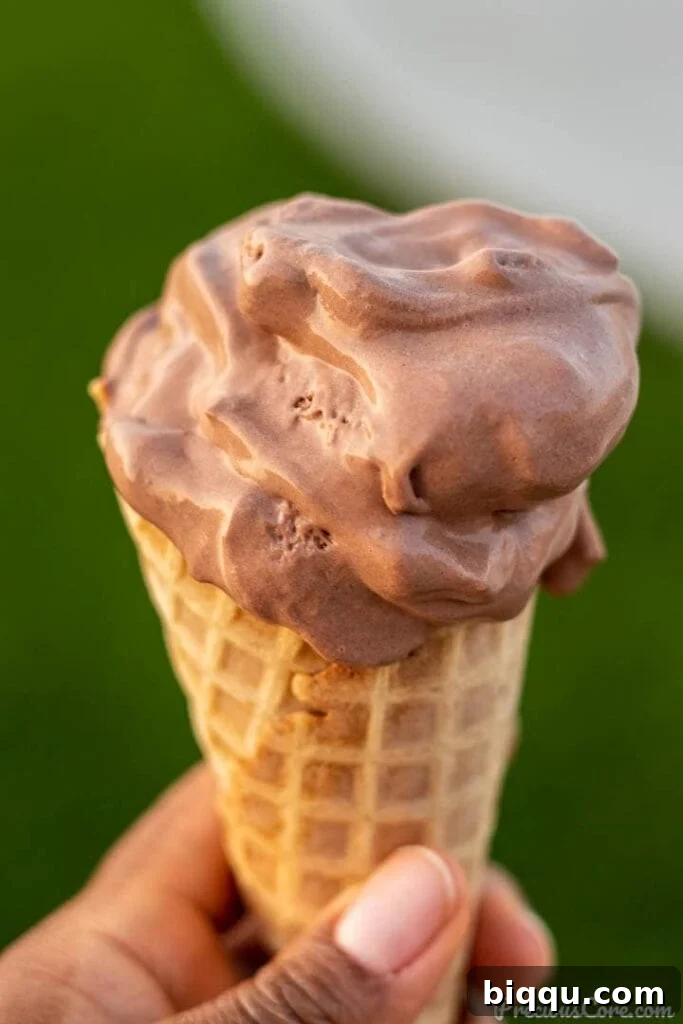
There’s nothing quite like a scoop of velvety ice cream to beat the heat, especially when summer’s embrace is strong, as it often is here in sunny Southern California. But what if that delightful ice cream could be made effortlessly by *you*, with minimal fuss and maximum flavor? This isn’t just any ordinary frozen treat; it’s a culinary revelation for anyone who loves deep chocolate flavors and craves a simple, yet utterly satisfying dessert experience.
My latest obsession, and one that I’m thrilled to share, is this sensational Homemade Chocolate Ice Cream. It delivers an unparalleled rich chocolate flavor, a luxuriously smooth and creamy texture, and a shockingly easy preparation process that will have you wondering why you haven’t made it sooner. You might associate homemade ice cream with requiring a dedicated ice cream machine, or perhaps a tedious, custard-based preparation that demands constant stirring and precise cooking. This recipe, however, shatters those preconceptions by embracing the popular and efficient “no-churn” method. This means no specialized equipment is needed, and the entire process is far more straightforward than traditional approaches that often involve tempering eggs and meticulous cooling stages.
The true genius of this recipe lies in its elegant simplicity and the synergistic magic of just three core ingredients: whip cold heavy cream until it transforms into a light, airy cloud; gently fold in sweetened condensed milk, which contributes both sweetness and an ultra-smooth consistency; and finally, introduce cocoa powder to infuse that deep, irresistible chocolate essence. A swift mix, a period in the freezer, and voilà – you’ll have a delectable dessert ready to scoop, share, and enjoy like there’s no tomorrow. Get ready to embark on your easiest and most rewarding ice cream-making adventure yet!
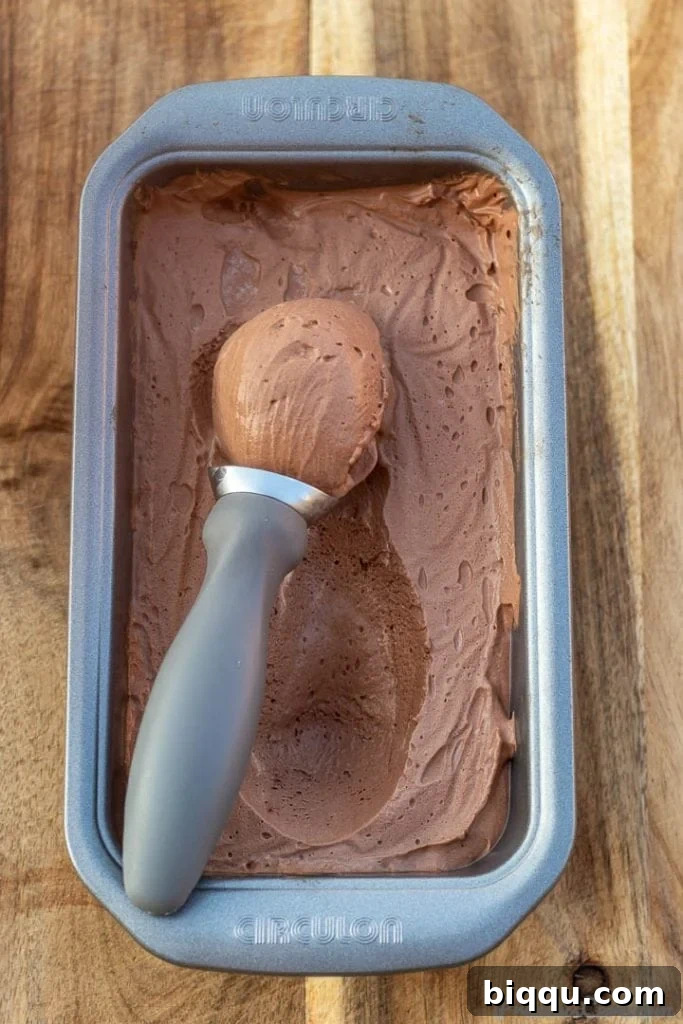
Table of Contents
- Why No-Churn Chocolate Ice Cream is a Game Changer
- Essential Chocolate Ice Cream Ingredients
- How To Make Homemade Chocolate Ice Cream: Step-by-Step Guide
- Tips For The Best Homemade Chocolate Ice Cream
- Customize Your Chocolate Ice Cream: Flavor Variations & Toppings
- Watch How To Make Homemade Chocolate Ice Cream
- More Homemade Ice Cream Recipes You’ll Love!
- Homemade Chocolate Ice Cream Recipe Card
Why No-Churn Chocolate Ice Cream is a Game Changer
The innovative concept of “no-churn” ice cream has truly revolutionized homemade desserts, making them incredibly accessible to everyone, regardless of their kitchen equipment or culinary expertise. Traditional ice cream preparation typically requires a specialized ice cream maker, which continuously churns the mixture while it freezes. This churning process is crucial for two main reasons: it incorporates air into the base, giving the ice cream its light and airy texture, and it prevents the formation of large, undesirable ice crystals, ensuring a smooth and creamy consistency. Furthermore, many classic ice cream recipes begin with a cooked custard base, a process that can be both time-consuming and requires careful attention to prevent scorching or curdling.
No-churn ice cream, however, brilliantly bypasses all these traditional complexities. It leverages the unique properties of two key ingredients: whipped heavy cream and sweetened condensed milk. When heavy cream is whipped, it effectively traps countless tiny air pockets, creating a fluffy and voluminous base. Sweetened condensed milk, being naturally thick, deliciously sweet, and wonderfully creamy, plays a dual role. Its high sugar content and viscosity help to significantly lower the freezing point of the mixture, actively inhibiting the formation of large ice crystals during the freezing process. This results in an exceptionally smooth, rich, and perfectly scoopable texture that remarkably rivals that of traditional churned ice cream. This ingenious method not only saves you significant time and effort but also eliminates the need for extra gadgets, proving unequivocally that gourmet taste and texture can be achieved without requiring gourmet tools or intricate techniques. It’s truly a game-changer for home cooks seeking delicious results with ultimate convenience.
Essential Chocolate Ice Cream Ingredients
For this incredibly simple yet utterly delicious no-churn chocolate ice cream, you only need three core ingredients. Each component plays an indispensable role in creating the perfect texture, sweetness, and deep chocolate flavor that makes this recipe a true winner:
1. Heavy Cream or Heavy Whipping Cream: This is the foundational ingredient for our creamy ice cream base. When whipped, heavy cream undergoes a magical transformation, incorporating copious amounts of air. This aeration is what creates the light, airy, and voluminous texture that is crucial for no-churn ice cream, mimicking the effect of churning in an ice cream machine. For optimal results, it is absolutely essential that your heavy cream is very cold, straight from the refrigerator. Cold cream whips up faster and holds its peaks much better.
2. Sweetened Condensed Milk: This ingredient is truly a marvel, serving a vital dual purpose in our recipe. Firstly, it provides all the necessary sweetness, eliminating the need for granulated sugar, corn syrup, or other sweeteners. This not only simplifies the recipe but also ensures a consistent, balanced sweetness throughout. Secondly, its thick, syrupy consistency and high sugar content are instrumental in contributing to the ice cream’s remarkably smooth and creamy texture. It prevents the formation of large, crunchy ice crystals, ensuring that your homemade ice cream remains silky and scoopable. It is crucial to use *sweetened* condensed milk and not confuse it with evaporated milk, as they are entirely different products with distinct properties.
3. Cocoa Powder: The undisputed star when it comes to flavor! Cocoa powder is what infuses our ice cream with that rich, deep, and irresistible chocolate taste, along with its characteristic beautiful dark color. You have a couple of options here: natural cocoa powder offers a sharper, slightly more acidic chocolate flavor, which can be lovely for a bright chocolate profile. Dutch-processed cocoa powder, on the other hand, is treated to reduce its acidity, resulting in a darker color and a milder, less bitter, and often richer chocolate profile. Both types will yield fantastic results, so choose based on your preferred chocolate intensity and complexity.
While cocoa powder is our primary source of chocolate, this recipe is wonderfully versatile for experimentation! You could substitute or complement the cocoa powder with a rich chocolate hazelnut spread, which would add a delicious nutty undertone, or even a chocolate-based beverage powder like Ovaltine or Milo for a slightly different, nuanced flavor profile. However, if you opt for these alternatives, especially chocolate spreads which are already quite sweet and contain additional fats, it is imperative to reduce the quantity of sweetened condensed milk accordingly. This adjustment is crucial to prevent the ice cream from becoming overly sweet and to maintain a beautifully balanced flavor. A good starting guideline would be to reduce the condensed milk by approximately a quarter to a third, then taste the mixture before freezing and adjust if necessary. This flexibility allows you to truly customize your chocolate ice cream experience!
How To Make Homemade Chocolate Ice Cream: Step-by-Step Guide
Making this incredibly delightful chocolate ice cream is a refreshingly straightforward process that requires minimal skill and effort. Just follow these simple, easy-to-understand steps, and you’ll be well on your way to enjoying a perfectly creamy, homemade frozen treat:
1. Whip the Cream to Stiff Peaks: Begin by pouring your very cold heavy whipping cream into a large, chilled mixing bowl. Using an electric mixer (or a robust whisk and plenty of arm power!), beat the cream on medium-high speed. Continue beating until the cream thickens significantly and forms stiff peaks. This means that when you lift the beaters, the cream should hold its shape firmly and stand upright without flopping over. It’s crucial not to overbeat the cream at this stage, as it can quickly transition from whipped cream to butter, which is not suitable for ice cream.
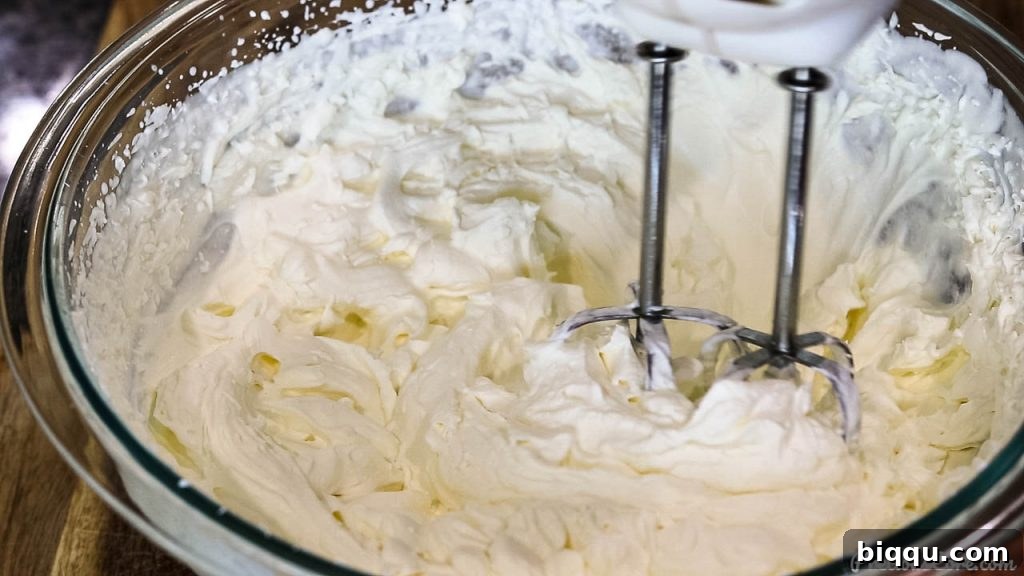
2. Gently Add Sweetened Condensed Milk and Cocoa Powder: Once your heavy cream has reached the desired stiff-peak consistency, carefully add the sweetened condensed milk and the cocoa powder to the bowl. The key here is gentle handling to preserve as much of the air in the whipped cream as possible.
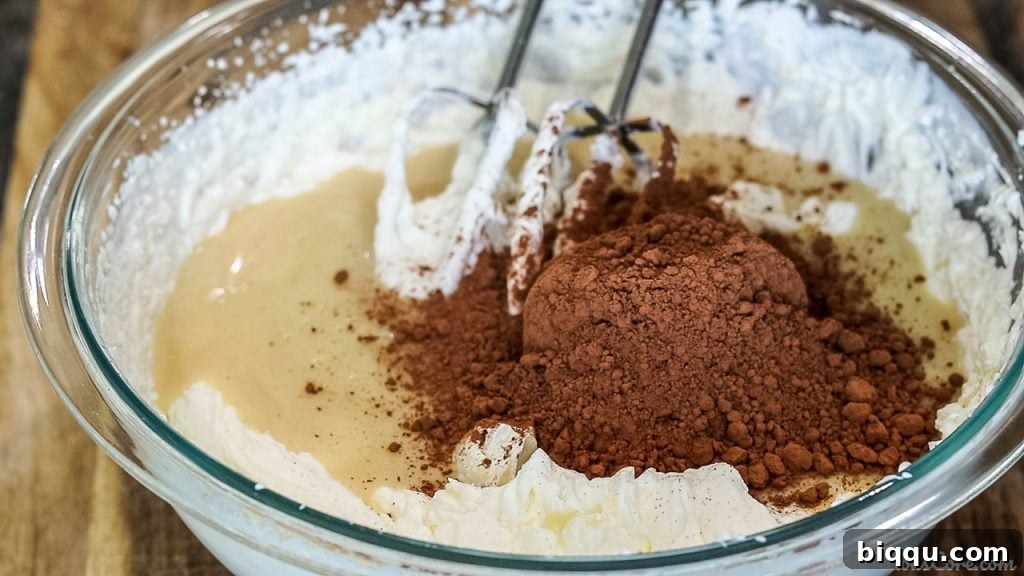
3. Fold Until Uniform: Using a spatula, meticulously and gently fold all the ingredients together. Continue folding until the mixture is thoroughly combined, and you achieve a beautifully uniform, light brown, and creamy consistency. Ensure there are no visible streaks of white cream or pockets of dry cocoa powder remaining. The goal is to incorporate everything without deflating the whipped cream excessively, maintaining its light and airy volume.
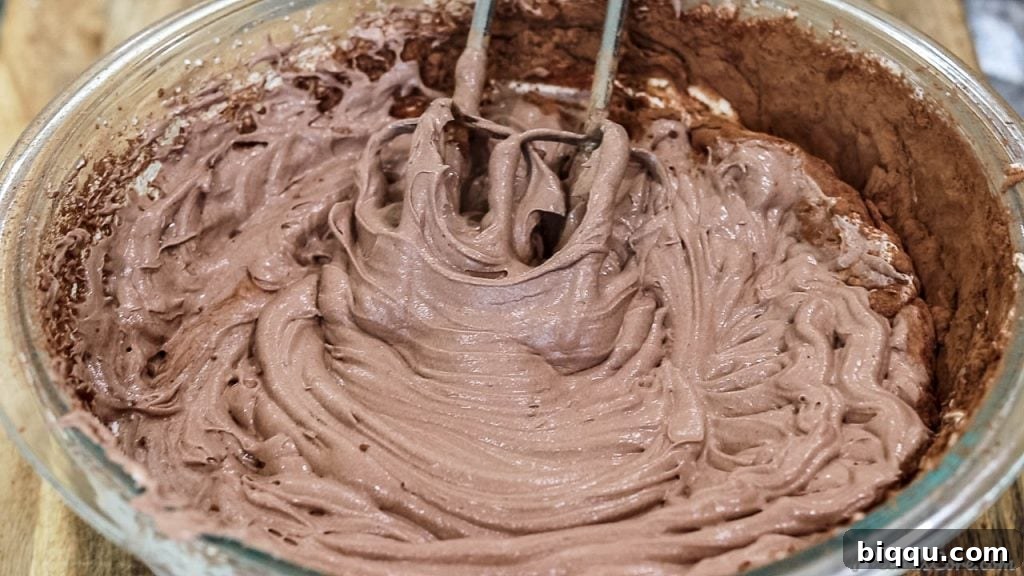
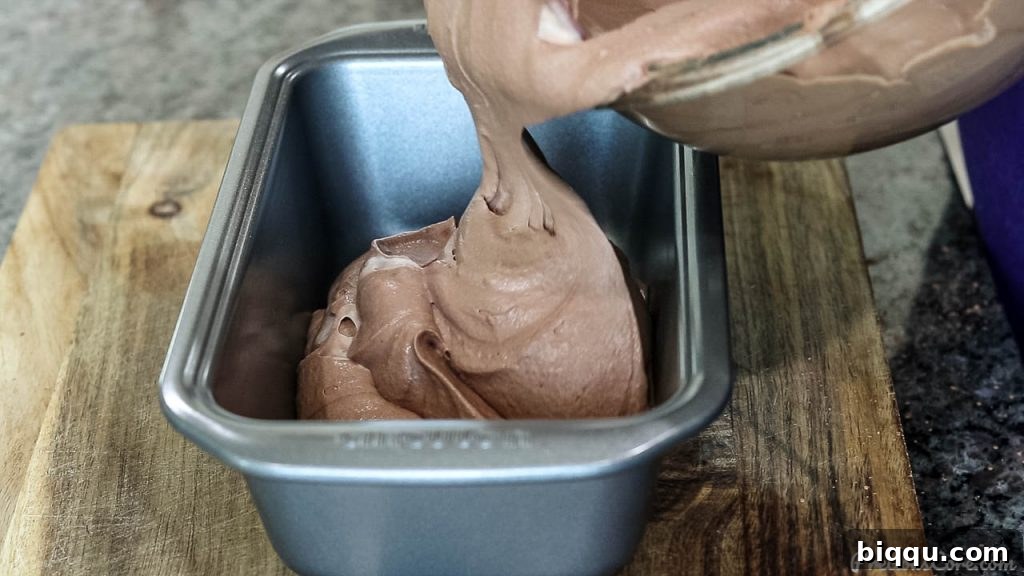
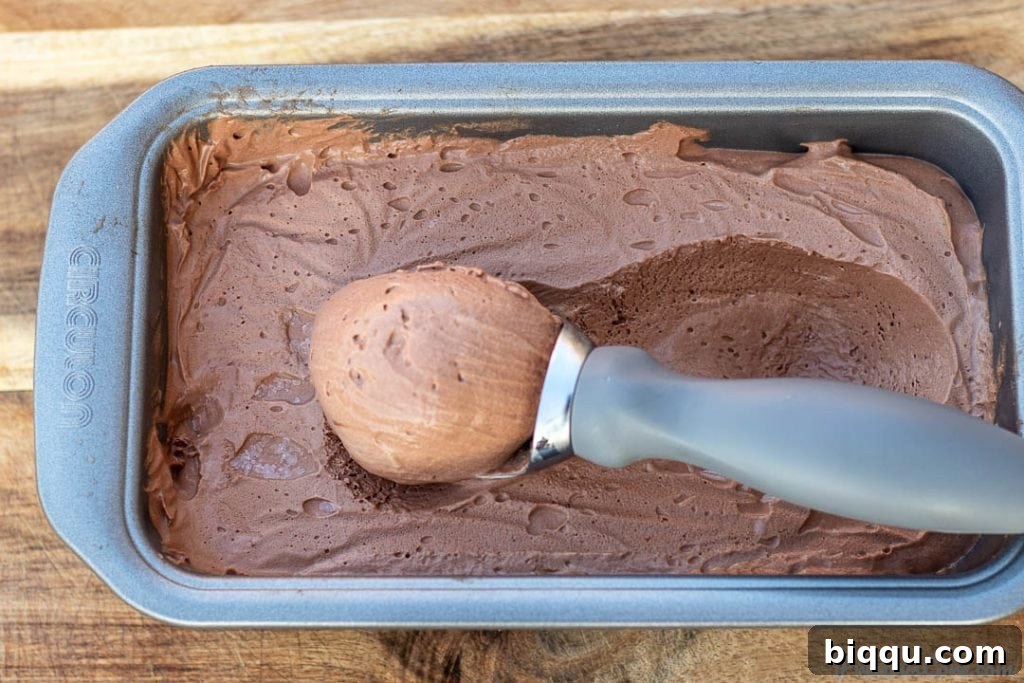
4. Transfer to a Loaf Pan: Carefully pour the now rich and luscious chocolate ice cream mixture into a loaf pan (approximately 9×5 inches) or any other airtight, freezer-safe container. A loaf pan is often recommended because its rectangular shape provides an excellent surface area, making it easier to scoop the ice cream uniformly once it’s frozen solid.
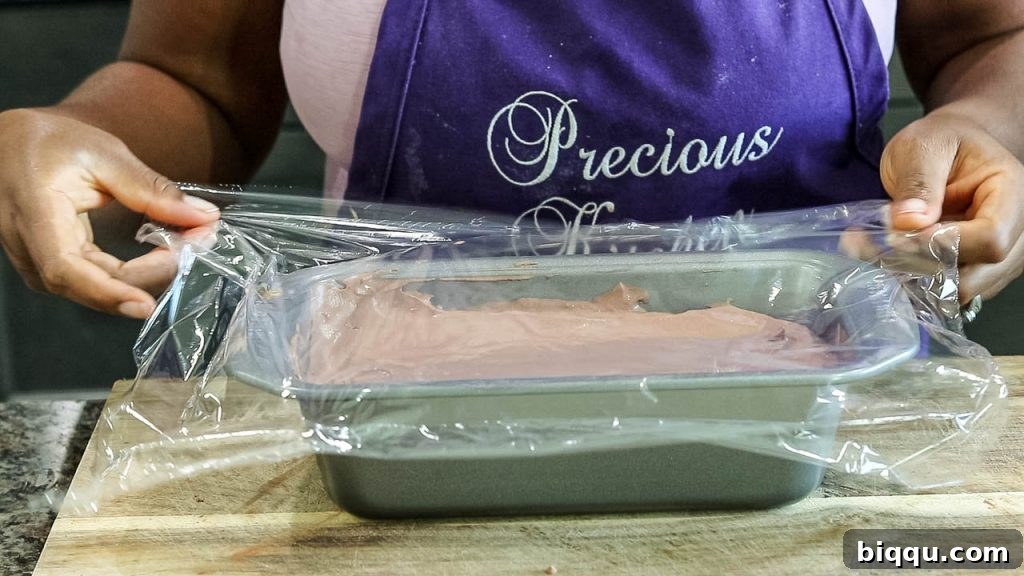
5. Cover and Seal for Protection: Use a spatula to gently level the top surface of the ice cream mixture, creating an even layer. Then, cover the loaf pan tightly with plastic wrap. It is absolutely crucial to press the plastic wrap directly onto the surface of the ice cream mixture, ensuring it makes full contact. This critical step helps to create a protective barrier that prevents air and moisture from reaching the ice cream, which is the primary cause of undesirable ice crystals forming on the surface. This technique guarantees your ice cream remains wonderfully smooth and creamy, not icy.
6. Freeze Until Firm: Place the securely covered pan into your freezer. Allow the ice cream to freeze for at least 7 hours, though for optimal firmness and an ideal scoopable texture, it’s best to let it freeze overnight. Once it is perfectly firm and set, your homemade chocolate ice cream is ready to be scooped, served, and savored!
Tips For The Best Homemade Chocolate Ice Cream
While this recipe is remarkably simple and forgiving, incorporating a few expert tips can truly elevate your homemade chocolate ice cream from merely good to absolutely extraordinary. Pay attention to these details for a consistently perfect frozen treat:
- Maintain Extreme Cold for Whipping: This is arguably the most critical tip for achieving perfectly whipped cream and, consequently, the best no-churn ice cream. Always ensure your heavy whipping cream is thoroughly chilled, straight from the coldest part of your refrigerator. For an extra advantage, consider chilling your mixing bowl and whisk attachments in the freezer for about 15-20 minutes before you begin whipping the cream. Alternatively, if your kitchen is particularly warm, place your mixing bowl containing the cream over a larger bowl filled with ice and a little water (creating an ice bath) while you whip. This constant cold environment helps the cream to thicken faster and hold those desirable stiff peaks more effectively and for longer.
- Avoid Overbeating the Cream: Once your heavy whipping cream has formed stiff peaks – meaning it holds its shape firmly when the beaters are lifted – stop beating immediately. Whipped cream can quickly turn into butter if overbeaten, and while homemade butter is lovely, it’s not what we’re aiming for in ice cream. If you happen to slightly overbeat and the cream appears grainy or curdled, you might be able to salvage it by gently whisking in a tablespoon or two of very cold milk until it smooths out, but prevention is always better.
- Choose the Right Freezing Container: A standard loaf pan, typically around 9×5 inches, is an excellent choice for freezing no-churn ice cream. Its rectangular shape not only allows for efficient and even freezing but also provides a convenient and large surface area for easy scooping once the ice cream is set. While any freezer-safe airtight container will work, a loaf pan makes presentation and serving much simpler. For those looking for an upgrade, specialized ice cream containers are available that are designed to prevent freezer burn and enhance scooping ease, though they are completely optional.
- Prevent Ice Crystal Formation: This step is paramount for achieving a wonderfully smooth and creamy texture. After pouring the mixture into its container and leveling the top, cover the ice cream tightly with plastic wrap. Crucially, press the plastic wrap directly onto the surface of the ice cream. This creates an airtight barrier that prevents air and moisture (which turn into ice crystals) from interacting with the surface of your dessert, thus ensuring your ice cream remains delightfully smooth and free of crunch.
- Prioritize Quality Ingredients: With a recipe featuring only three main ingredients, the quality of each component truly shines through. Opt for a good quality heavy cream and a reputable brand of cocoa powder. Higher quality ingredients will naturally yield a richer, more flavorful, and more satisfying final product. This simple recipe beautifully highlights the inherent richness and taste of its components.
- Patience During Freezing: While a minimum of 7 hours of freezing time is often sufficient, allowing your ice cream to freeze overnight (for at least 12-16 hours) will ensure it achieves its perfect firmness and optimal scoopable consistency. Rushing the freezing process can result in a softer, less stable, and less satisfying texture.
- Allow for Brief Softening Before Serving: For the absolute best scooping experience and to fully appreciate its creamy texture, remove the ice cream from the freezer about 5-10 minutes before you plan to serve it. This brief rest allows it to soften just slightly, making it much easier to scoop into elegant spheres and enhancing its luscious, melt-in-your-mouth appeal.
Customize Your Chocolate Ice Cream: Flavor Variations & Toppings
One of the most delightful aspects of making homemade ice cream is the boundless opportunity for customization. While this 3-ingredient chocolate base is undeniably fantastic on its own, its simple perfection also makes it an ideal canvas for endless creativity and flavor variations. Don’t hesitate to experiment and make it uniquely yours:
- Exciting Mix-ins: After you’ve gently folded in the sweetened condensed milk and cocoa powder, but before transferring the mixture to the loaf pan, it’s the perfect time to incorporate your favorite mix-ins. Popular choices include chocolate chips (whether milk, dark, or white), finely chopped nuts like walnuts, pecans, or almonds, crushed cookies (Oreos, graham crackers, shortbread), mini marshmallows for a rocky road vibe, or even swirls of creamy caramel or rich peanut butter for an extra layer of decadence.
- Flavor-Boosting Extracts & Spices: A small dash of vanilla extract (typically 1-2 teaspoons) can wonderfully enhance the existing chocolate flavor, making it even more pronounced and rounded. For a sophisticated twist, try adding a tiny pinch of sea salt to balance the sweetness, a teaspoon of instant espresso powder (which deepens chocolate notes without making the ice cream taste like coffee), or even a hint of cayenne pepper or chili powder for a captivating Mexican hot chocolate-inspired kick.
- Artful Swirls: Create visually stunning and delicious swirls by layering. Spoon half of the chocolate ice cream mixture into your loaf pan, then add dollops of a contrasting sauce or puree (such as vibrant raspberry puree, smooth dulce de leche, or warm hot fudge). Gently add the remaining ice cream mixture on top, then use a knife or skewer to create elegant swirls throughout the ice cream before freezing.
Once your magnificent chocolate ice cream is frozen, don’t forget the power of toppings to transform a simple scoop into a gourmet dessert experience. A basic serving of this chocolate ice cream can be elevated with:
- A drizzle of warm chocolate fudge, rich caramel sauce, or a tangy berry coulis.
- A generous dollop of freshly whipped cream, crowned with a bright maraschino cherry.
- A shower of colorful sprinkles, delicate chocolate shavings, or crunchy cacao nibs.
- Freshly sliced fruit such as strawberries, raspberries, or bananas for a refreshing contrast.
- A sprinkling of toasted coconut flakes or a crumbled cookie for added texture.
Watch How To Make Homemade Chocolate Ice Cream
Sometimes, seeing the process in action makes all the difference! To truly grasp the simplicity and ease of preparing this incredible Homemade Chocolate Ice Cream, I invite you to watch me prepare it in the video. This visual guide will walk you through each step, ensuring you feel confident and ready to create your own batch. As you enjoy the tutorial, please consider giving the video a like and, more importantly, SUBSCRIBE to my YouTube Channel! By subscribing, you’ll stay updated and won’t miss any of my upcoming delicious, easy-to-follow recipes and culinary adventures.
More Homemade Ice Cream Recipes You’ll Love!
Homemade Vanilla Ice Cream (VIDEO)
Watermelon Ice Cream
No-Churn Strawberry Ice Cream
Mango Ice Cream
No-Churn Coconut Ice Cream
If you make this irresistible recipe, please consider leaving a star rating and a comment below to share your experience. Your valuable feedback not only helps others discover this delightful recipe but also brings immense joy to me! Thank you for your support and happy cooking!

Homemade Chocolate Ice Cream
★★★★★
10 minutes
7 hours
7 hours 10 minutes
6 servings
Pin Recipe
Rate This Recipe
Print Recipe
Ingredients
- 2 cups heavy whipping cream (480 ml) cold
- 14 oz sweetened condensed milk (397 g)
- 1/2 cup cocoa powder (60g)
Instructions
-
Pour cold heavy whipping cream into a large mixing bowl. Beat using an electric beater or a sturdy whisk until stiff peaks form.
-
Add the sweetened condensed milk and cocoa powder to the bowl. Gently fold everything together until fully combined and the color is uniform, being careful not to deflate the whipped cream.
-
Pour the mixture into a loaf pan or an airtight freezer-safe container. Level the top using a spatula.
-
Cover the pan tightly with plastic wrap, ensuring the plastic wrap touches the surface of the cream to prevent ice crystals.
-
Place in a freezer and let it freeze for at least 7 hours, or preferably overnight, until firm. Scoop and enjoy!
Notes
Nutrition
Calories:
366kcal per serving
Additional Info
Dessert
International
366
Tried this recipe?
Mention @preciouscore or tag #PreciousCore!
This post contains affiliate links, which means I may earn a small commission if you make a purchase through them, at no extra cost to you. These commissions play a vital role in supporting my work and keeping this blog filled with delicious recipes. Thank you for your continued support!