
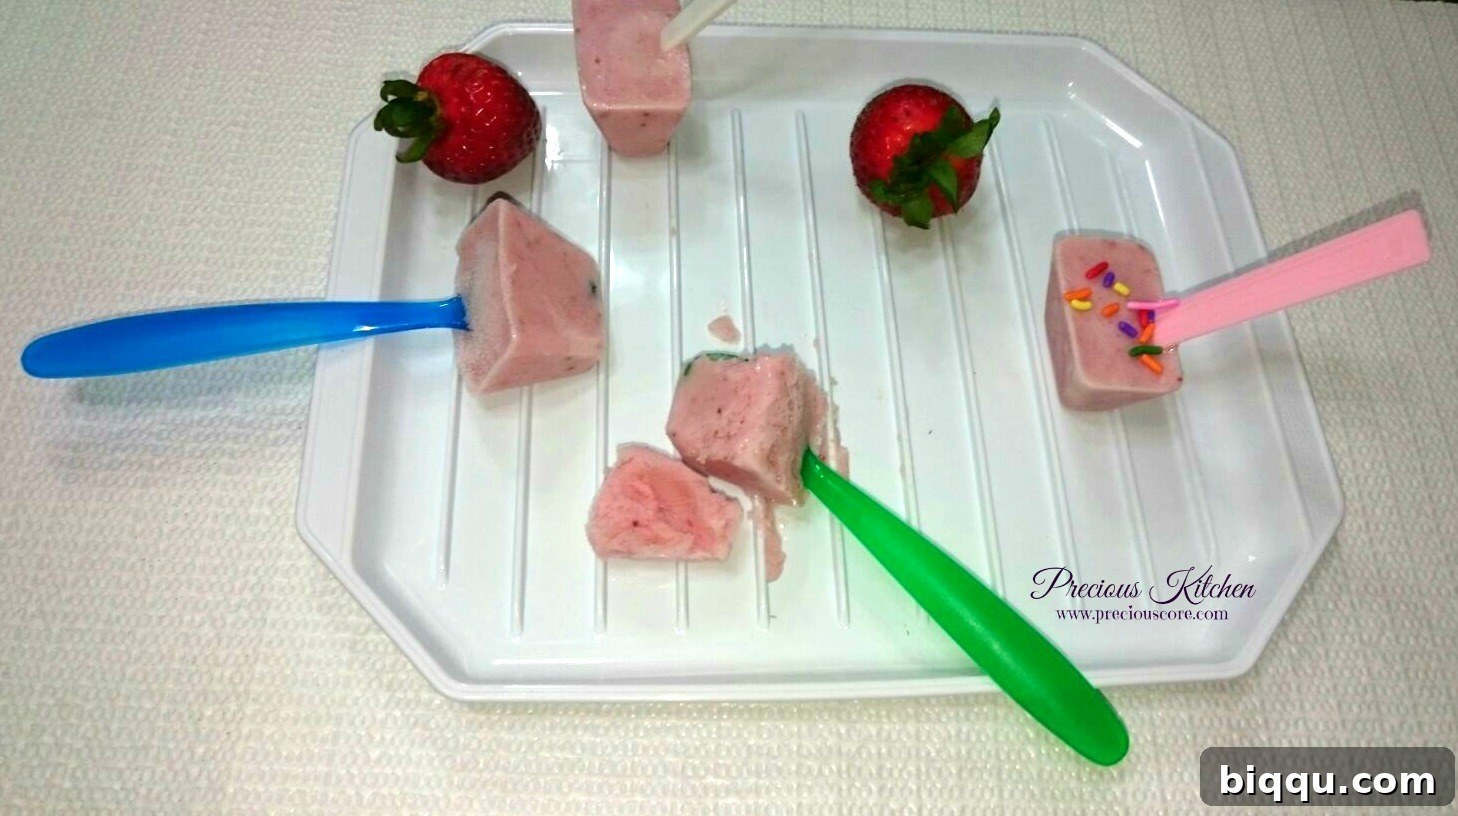
Deliciously Healthy Homemade Yogurt and Fruit Popsicles: A Guilt-Free Treat for All Ages
Who says healthy can’t be utterly delicious? These homemade yogurt and fruit popsicles are a vibrant testament to that very idea. Initially crafted with the intention of delighting children, their incredible flavor and refreshing texture quickly transformed me into a kid again, eager for another frosty bite. What makes them truly special is their perfectly balanced nutritional profile, making them not just a treat, but a smart choice you can feel good about indulging in.
Forget sugary store-bought options filled with artificial colors and mysterious ingredients. Our simple recipe empowers you to control exactly what goes into your frozen treats, ensuring they are packed with natural goodness. So healthy, in fact, that you could even serve them as a delightful and nutritious breakfast option on a warm morning, offering a cool start to your day that’s bursting with vitamins and probiotics. They’re an ideal way to sneak in some extra fruit and dairy into anyone’s diet, from the pickiest eaters to the health-conscious adult looking for a refreshing, guilt-free snack.
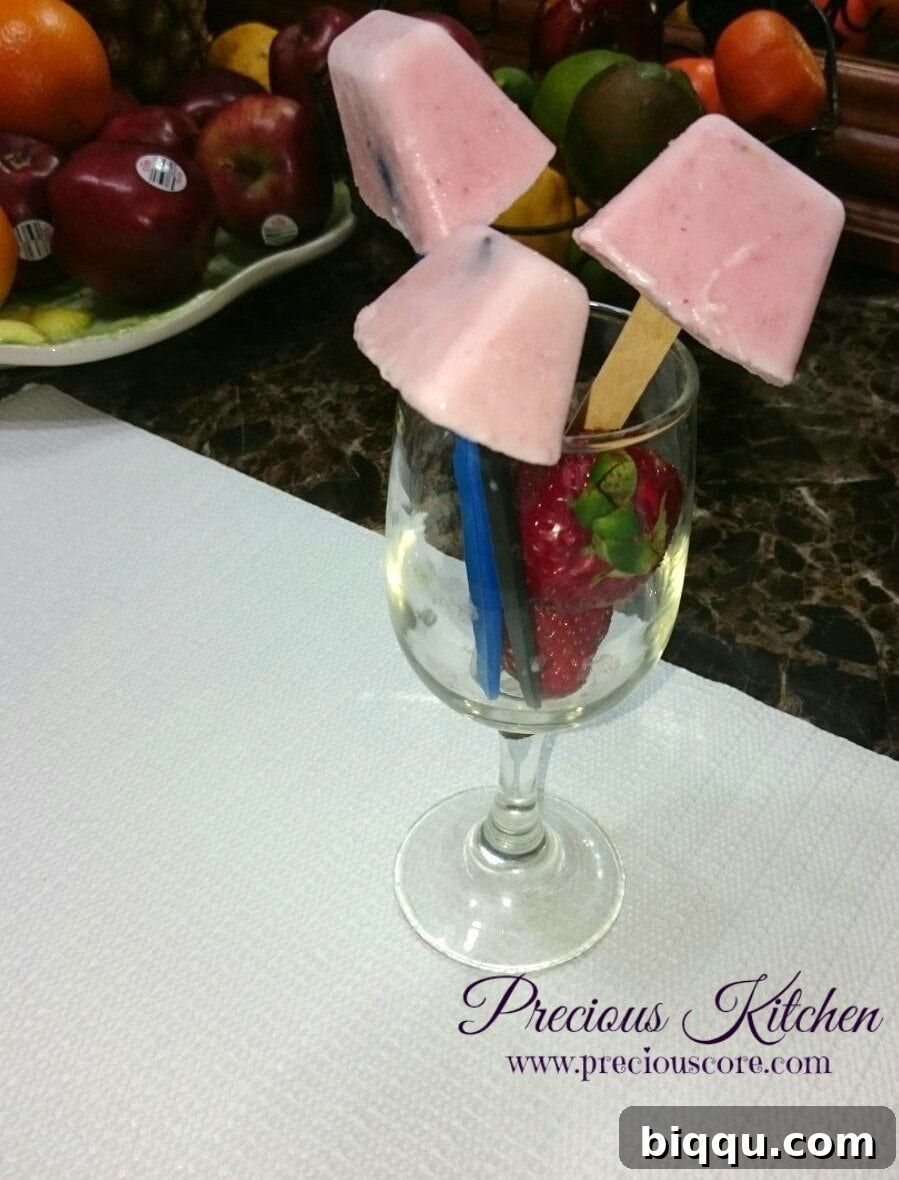
Simple Ingredients, Endless Possibilities: Crafting Your Perfect Popsicle
The true charm of this recipe lies in its elegant simplicity, requiring just four core ingredients to achieve a result that tastes anything but simple. This minimal ingredient list not only makes preparation quick and easy but also highlights the natural, wholesome flavors of each component. While strawberries lend their classic sweetness and beautiful ruby-red hue to this particular version, don’t feel constrained by the recipe’s suggestion. The world of fruit is your oyster, offering a spectrum of flavors and textures to explore and customize your frozen treats.
Consider the vibrant possibilities: creamy, tropical mango creates an irresistibly smooth and sweet popsicle, transporting your taste buds to a sunny beach with every bite. Freshly squeezed orange juice, perhaps with a hint of zest, would be absolutely divine, offering a tangy, bright counterpoint to the creamy yogurt. And for those scorching summer days, imagine the refreshing burst of watermelon – it would be utterly ah-mazingggg, providing hydration and natural sweetness in every bite. Other fantastic options include mixed berries (raspberries, blueberries, blackberries) for an antioxidant boost, kiwi for a delightful tart twist, or even mashed banana for extra creaminess and a touch of potassium. Feel free to mix and match to discover your personal favorite flavor combination or to use whatever seasonal fruit you have on hand!
Using wholesome, natural ingredients is key to creating popsicles that are not only delicious but also incredibly healthy. The blend of fresh fruit, protein-rich yogurt, essential calcium from milk, and a touch of natural sweetness from honey makes these treats a nutritional powerhouse. They are wonderfully free from artificial additives, excessive sugars, and unhealthy fats often found in commercial frozen desserts, making them a perfect guilt-free indulgence for any time of day, whether you’re craving a cool treat after a workout or a light dessert after dinner.
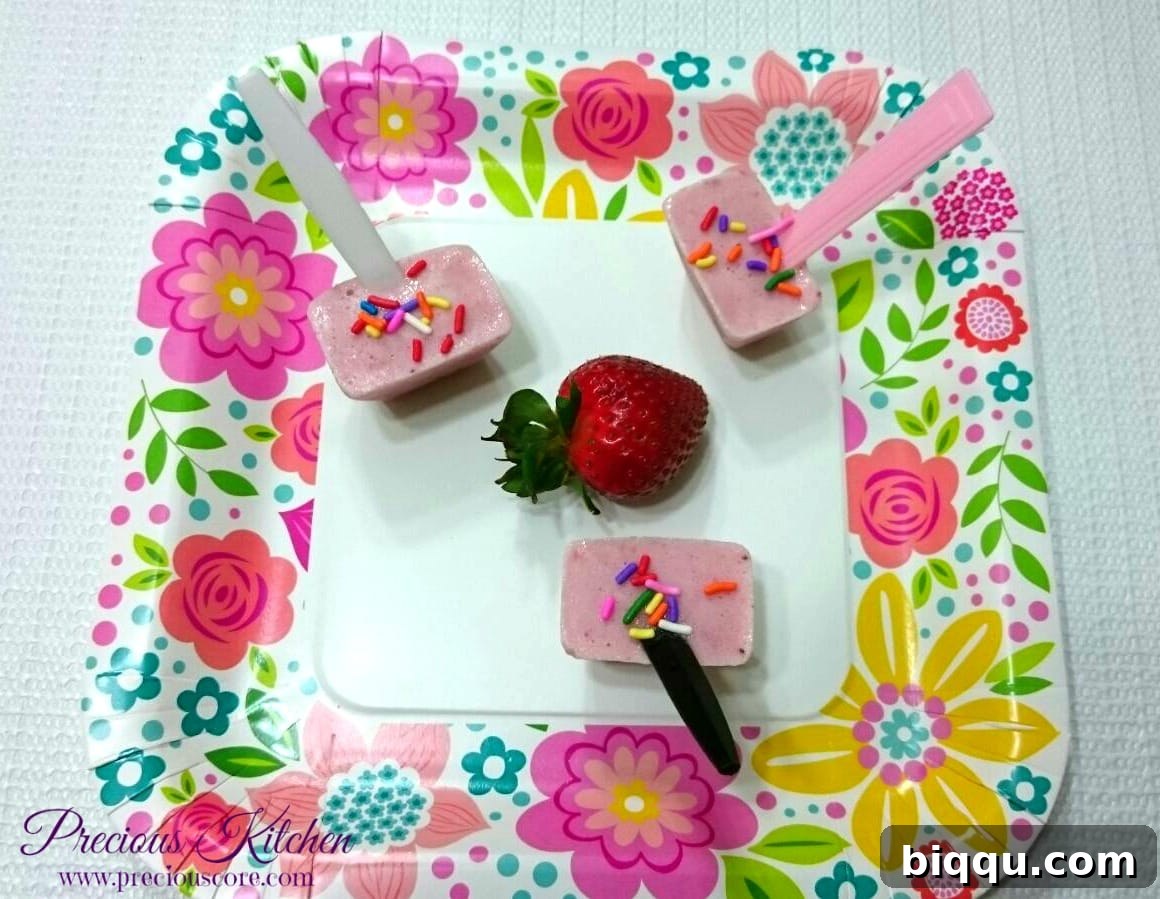
Homemade Yogurt and Fruit Popsicles Recipe
These healthy homemade popsicles are incredibly easy to make and offer a delightful way to cool down while nourishing your body. They are perfect for a refreshing snack, a light dessert, or even a fun, frosty breakfast!
Ingredients:
Prep time: Approximately 5 minutes
Freezing time: 3-5 hours (or conveniently overnight for best results)
- 6 large strawberries (or 1 cup of your preferred fruit, whether fresh for peak flavor or frozen for extra chill)
- 2 small cups (approximately 12-14 oz total) of plain yogurt (Greek yogurt for an extra boost of protein and thicker consistency, or regular plain yogurt for a lighter texture. Opt for unsweetened to control sugar levels.)
- 1 cup of skim milk (or your choice of milk, such as almond milk for a dairy-free option, coconut milk for a tropical twist, or whole milk for even creamier results)
- 2 tablespoons honey (adjust this amount to your taste preference, or substitute with maple syrup or agave nectar for a vegan-friendly option)
Directions:
-
Prepare Your Ingredients: Begin by washing and hulling your strawberries, or preparing whatever fruit you’ve chosen. If you’re using frozen fruit, there’s no need to thaw it completely; in fact, using slightly frozen fruit can help achieve a colder, thicker mixture when blending, preventing a watery consistency. Measure out your plain yogurt, milk, and honey, ensuring all components are ready to go. This simple preparation makes the blending process incredibly seamless and quick.
-
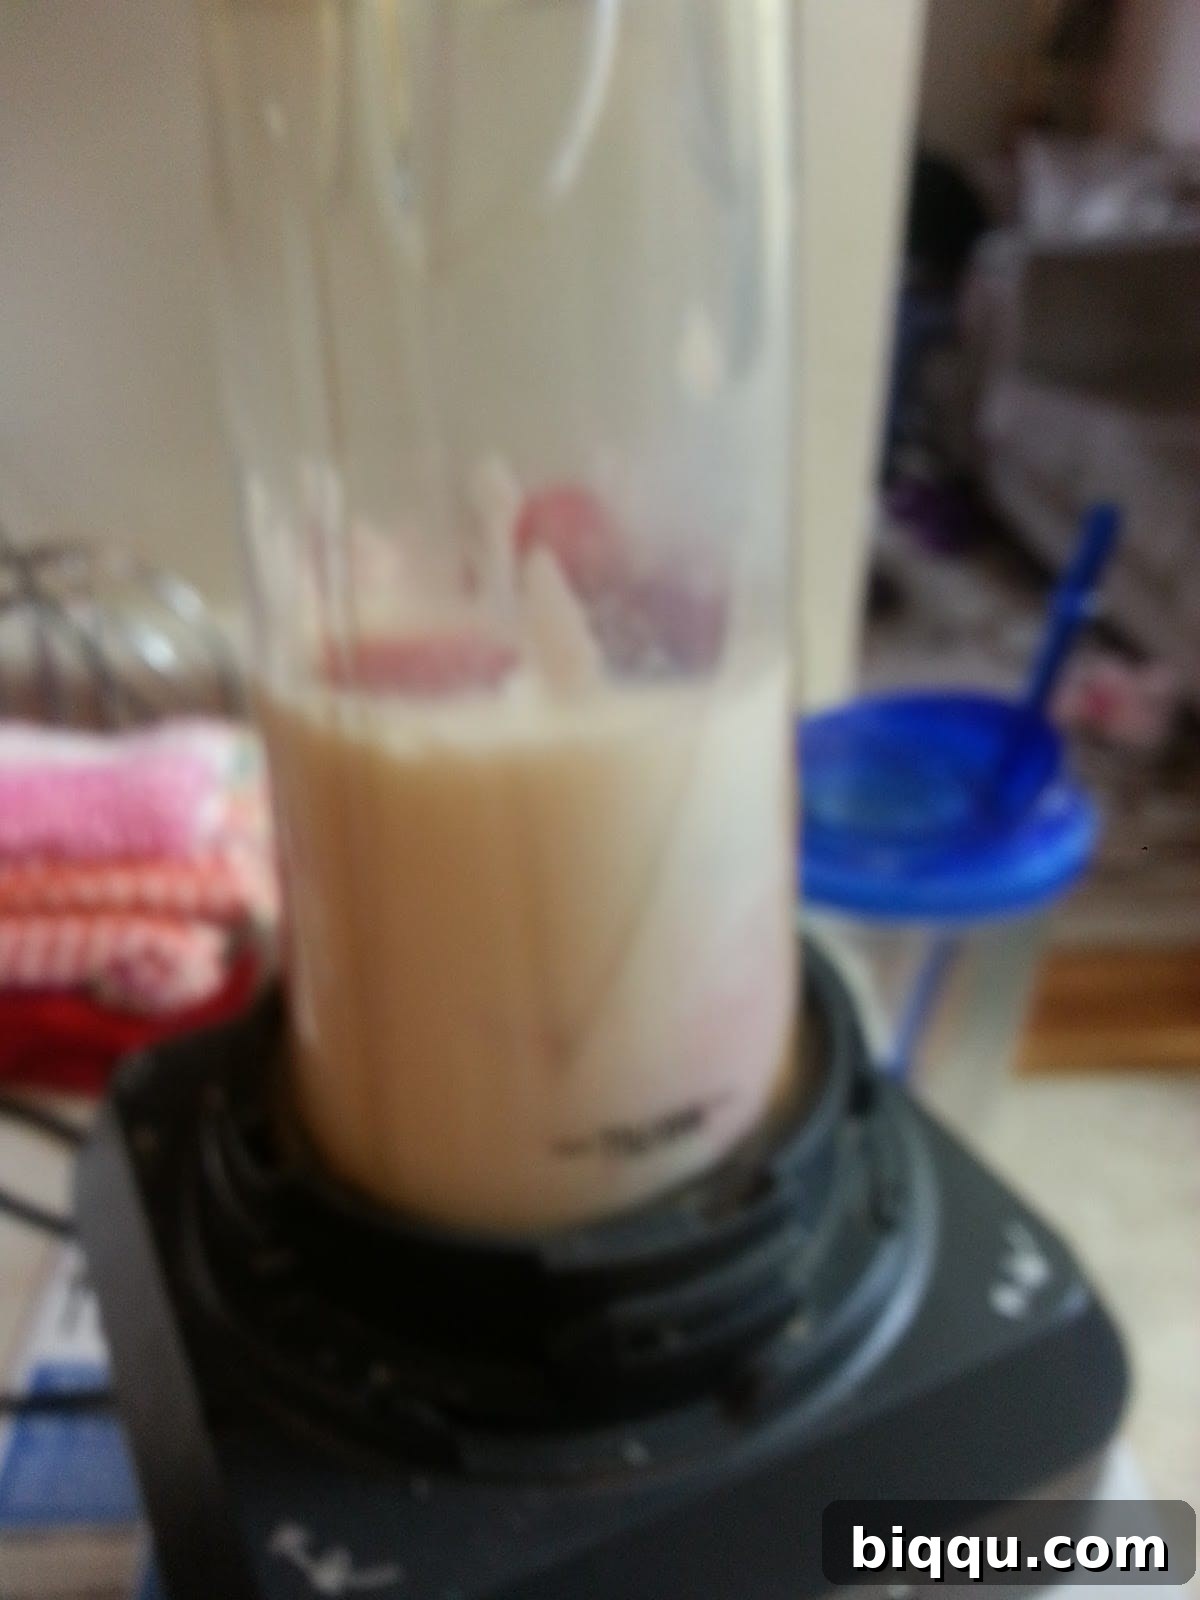
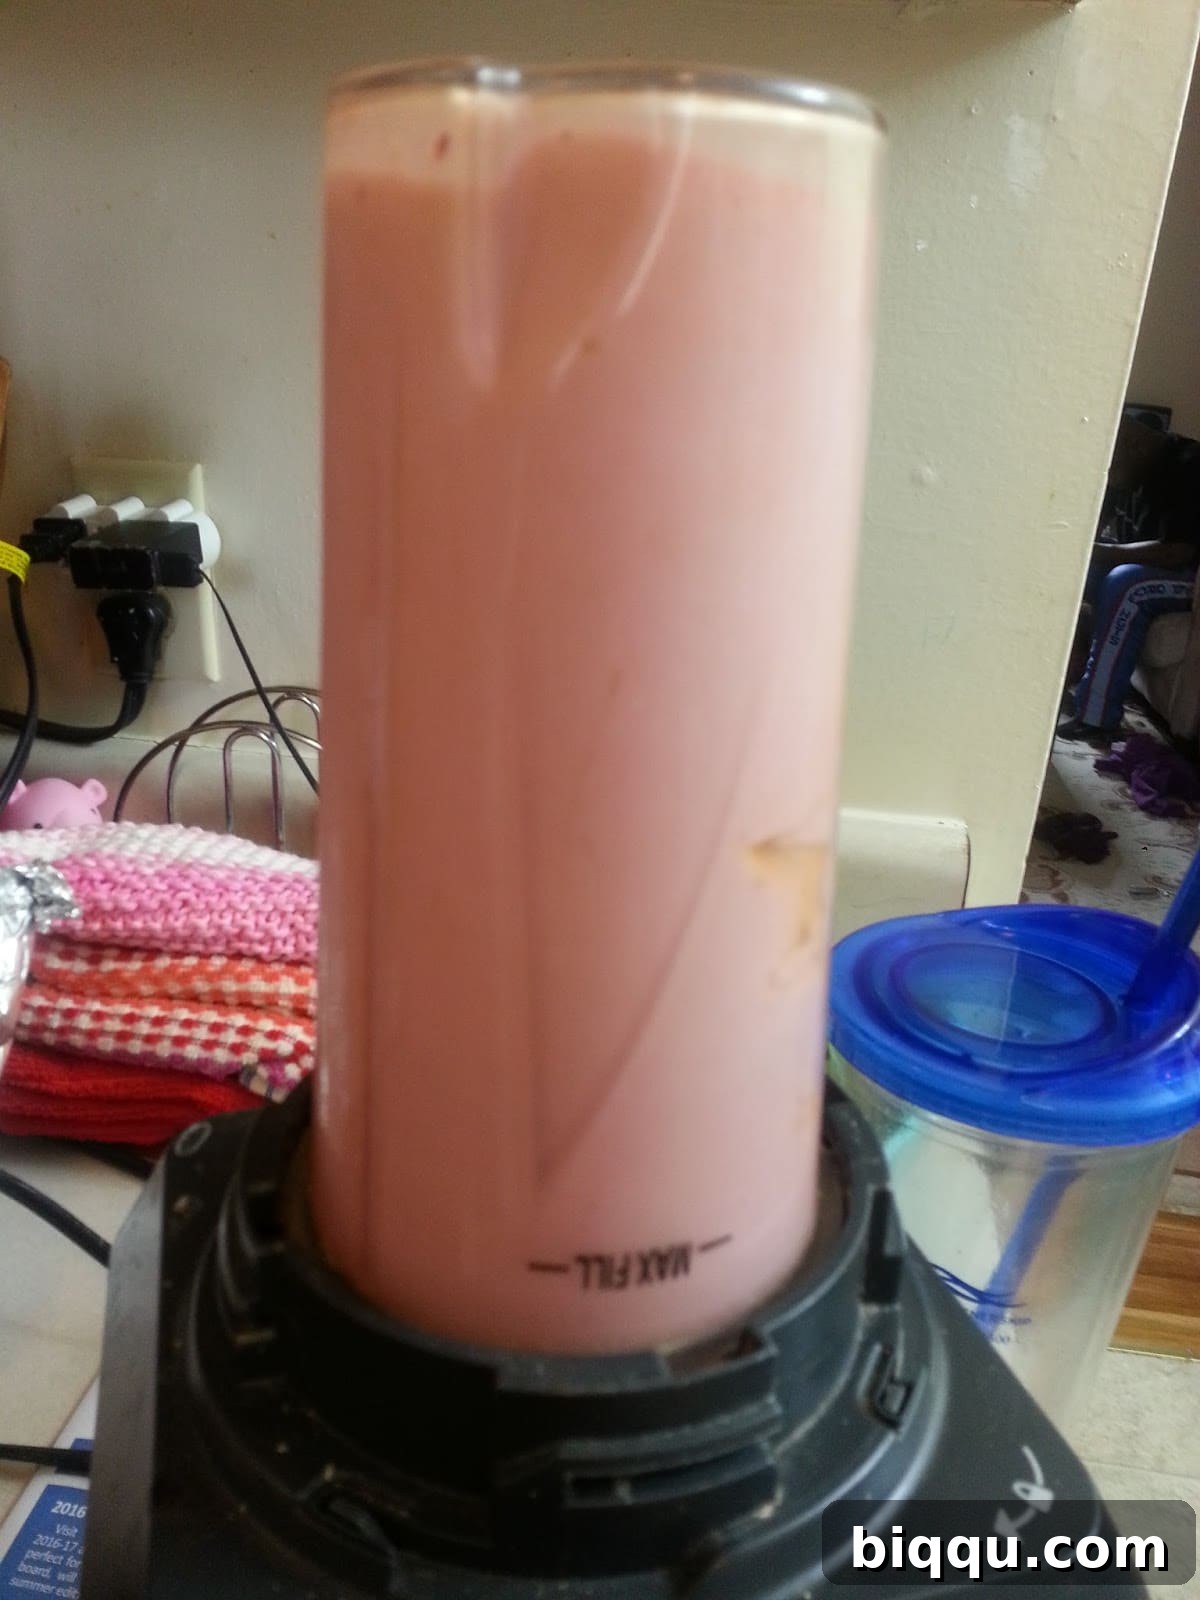
Blend Everything Together: Carefully transfer all your measured ingredients into a high-speed blender. If you’re using a smaller blender or wish to guarantee a perfectly smooth consistency, you might find it more efficient to blend the mixture in two separate batches. Always start with the liquid ingredients and softer fruits first at the bottom of the blender to help the blades get going smoothly and prevent air pockets.

-
Achieve Silky Smoothness: Blend the mixture thoroughly until it is completely smooth, homogenous, and creamy. There should be no visible fruit chunks remaining, unless you specifically desire a textured pop (in which case, blend for a shorter period). The goal here is a uniform, pourable consistency that will freeze evenly and provide a delightful, consistent mouthfeel. A powerful blender will make this process quick and efficient, but even a standard blender will do the trick with a little patience and scraping down the sides as needed.
-
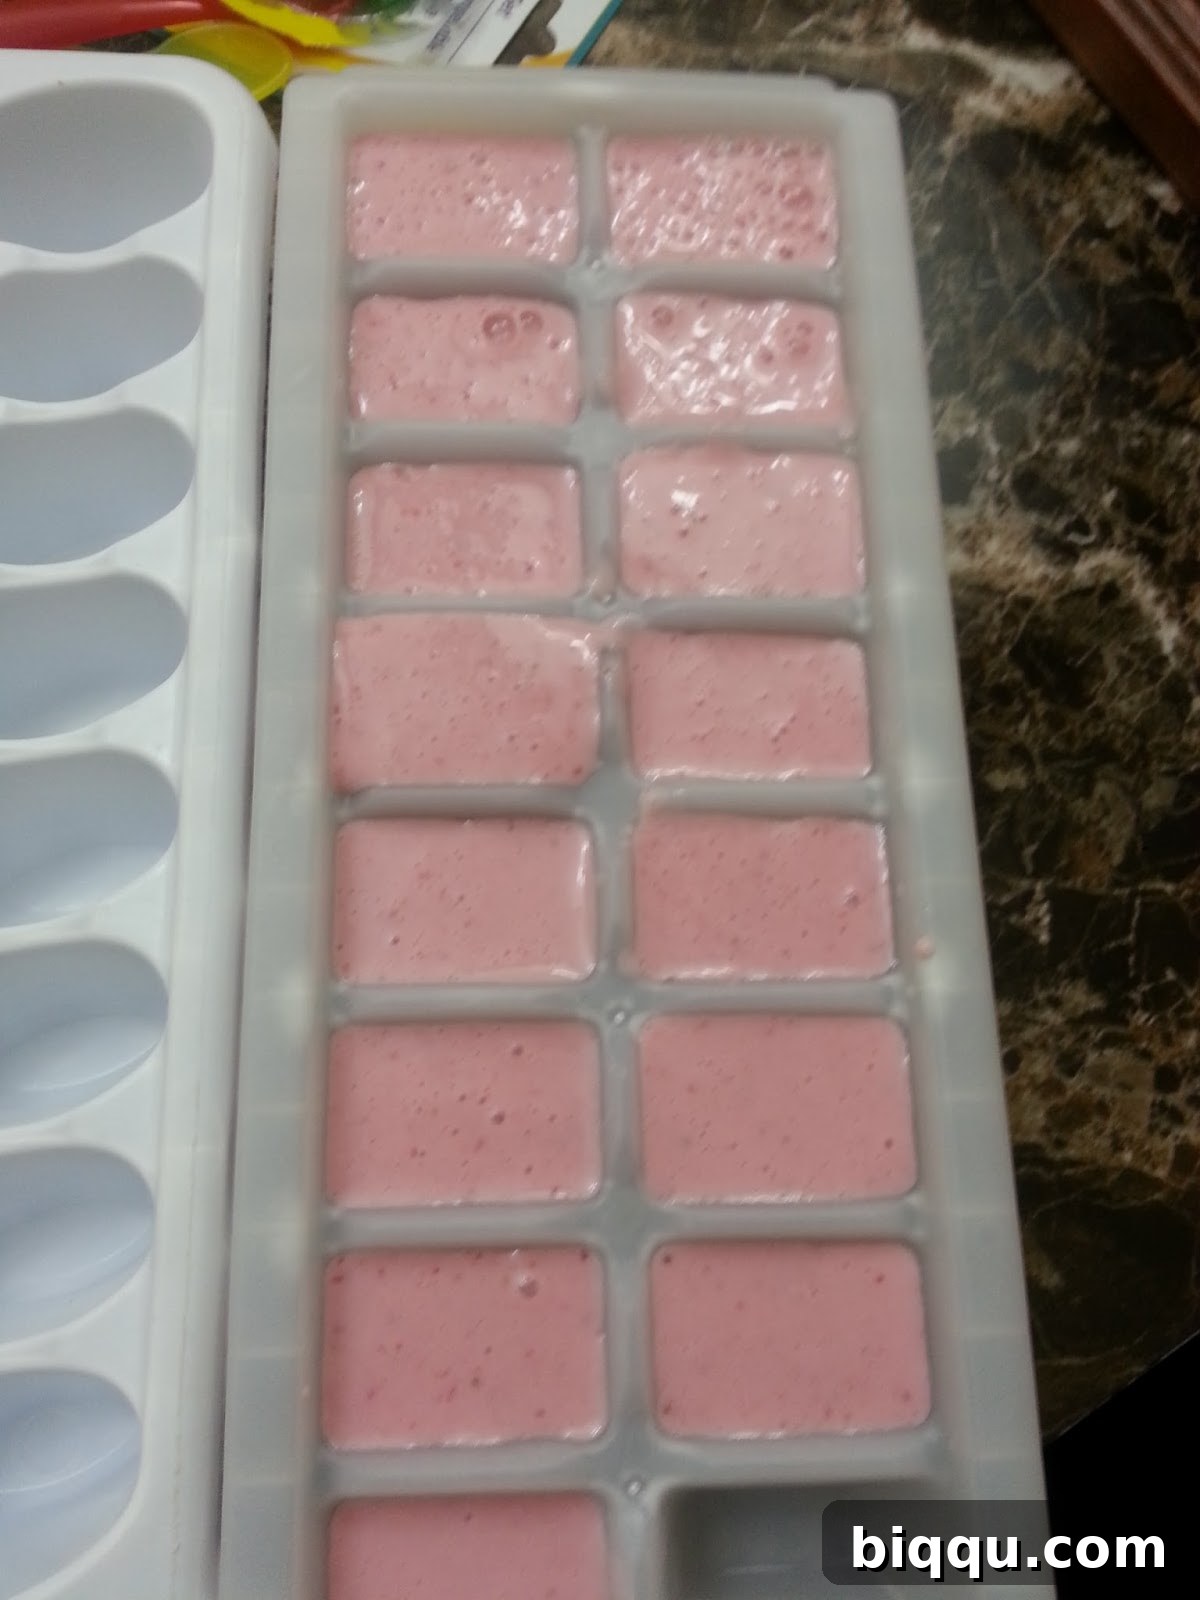
Fill Your Molds: Carefully pour the silky-smooth yogurt and fruit mixture into your chosen popsicle molds or, as a convenient alternative, ice cube trays. This recipe typically yields enough mixture to fill two standard ice cube trays, or approximately 6-8 individual popsicle molds, depending on their size and capacity. Be sure not to overfill, as liquids expand slightly when they freeze. If you’re using ice cube trays, you can cover them with aluminum foil and make small slits to easily insert popsicle sticks later.
-
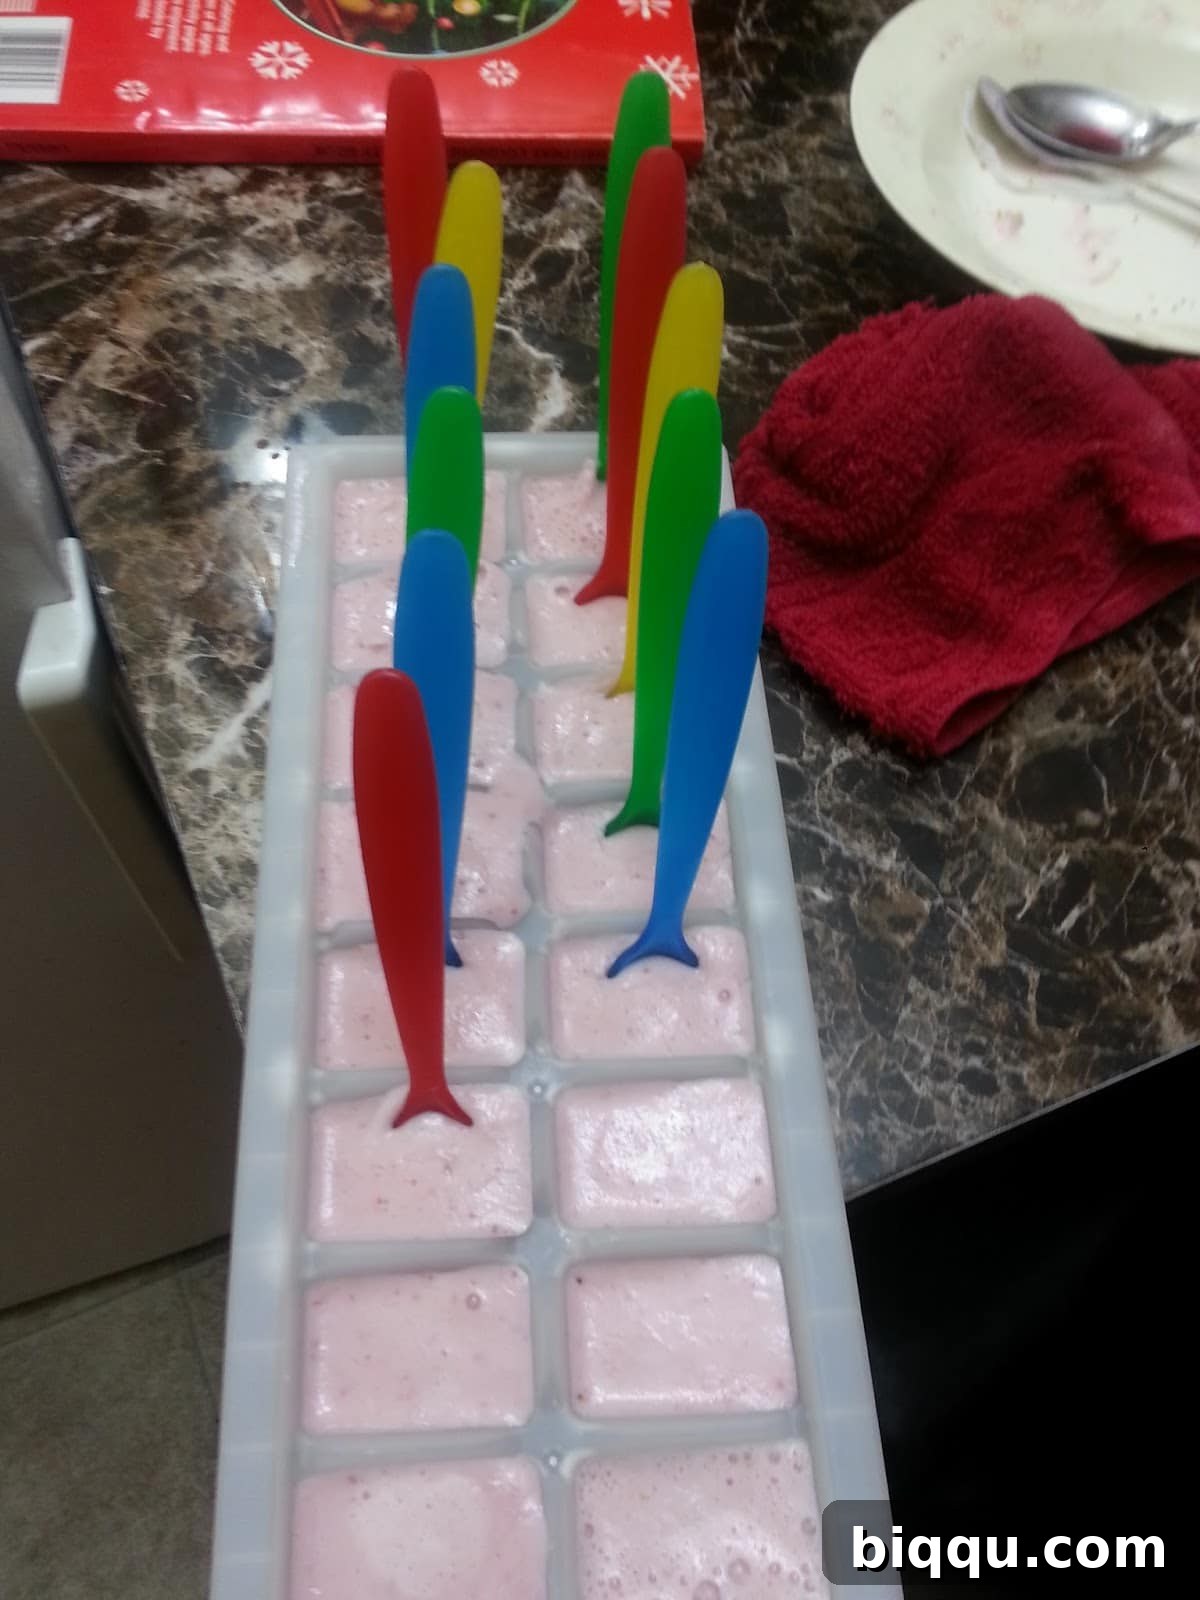
Insert Popsicle Sticks: Gently place the filled trays or molds into the freezer. Allow them to freeze for approximately 1 to 1.5 hours, or until the mixture has become slightly firm but is not yet completely solid. At this stage, the popsicles will be able to hold a stick upright without it falling over. Carefully insert a popsicle stick into the center of each partially frozen pop. Don’t fret if you don’t have traditional popsicle sticks on hand; small plastic spoons, sturdy coffee stirrers, or even small wooden skewers can serve as excellent, practical substitutes – true survival tactics for a delicious outcome! This step is crucial for easy handling once your popsicles are fully frozen.
-
Freeze to Perfection: Allow the popsicles to freeze completely and thoroughly. This usually takes about 3 to 5 hours, depending on the size and material of your molds, as well as the temperature of your freezer. For the best results and maximum firmness, which prevents them from melting too quickly, you could also leave them to freeze conveniently overnight. Ensure they are fully solid before attempting to remove them from the molds to prevent any breakage or mess.
-
Serve and Enjoy: Before serving these delightful, frosty treats, remove them from the freezer and let them rest at room temperature for about 2 to 5 minutes. This brief resting period is essential as it allows them to loosen slightly from the molds, making them much easier to extract without breaking or leaving half a popsicle behind. For ice cube tray popsicles, a quick dip of the bottom of the tray in warm water can also work wonders. Once released, immerse yourself in the joyful experience and savor every cool, fruity bite!
Why These Homemade Popsicles Are a Game Changer for Healthy Snacking
Beyond their irresistible taste, these homemade yogurt and fruit popsicles offer a myriad of benefits that make them a superior choice compared to their store-bought counterparts. First and foremost, you gain complete control over the ingredients. This means no high-fructose corn syrup, no artificial dyes that stain tongues (and consciences), and no mysterious “natural flavors” that often hide chemical concoctions. You’re giving yourself and your family pure, unadulterated goodness, tailored exactly to your preferences and dietary needs.
Furthermore, these popsicles are a fantastic and enjoyable way to boost your daily fruit intake. Many people, especially children, struggle to consume the recommended servings of fruits and vegetables, but these popsicles make it effortless and incredibly appealing. Each pop is packed with essential vitamins, vital minerals, and powerful antioxidants from the fresh fruit, alongside the beneficial probiotics, lean protein, and calcium from the yogurt and milk. This powerful combination actively supports gut health, strengthens bones, and contributes to overall well-being and a stronger immune system.
They are also incredibly versatile, allowing for endless customization. As mentioned earlier, the fruit options are limitless. You can also experiment with different types of yogurt – perhaps a coconut yogurt for a dairy-free and subtly tropical twist, or a low-fat Greek yogurt for an extra protein punch without added calories. Adjust the sweetness level by adding more or less honey, or even incorporating a pinch of cinnamon, a dash of vanilla extract, or a zest of lemon or lime for an added layer of sophisticated flavor. This adaptability ensures that these popsicles can cater to various dietary preferences, allergies, and evolving taste buds, making them a staple in any healthy household.
Finally, making these delicious popsicles is a wonderful activity to share with family, creating lasting memories. Involving children in the preparation process not only teaches them about healthy eating habits and where their food comes from but also instills a sense of accomplishment and excitement. They’ll be much more enthusiastic about eating a treat they helped create from scratch, transforming it into a fun, educational, and bonding experience for everyone involved.
Pro Tips for Perfect Popsicles Every Time
- Choose Ripe Fruit for Natural Sweetness: The riper and more in-season your fruit, the sweeter and more flavorful your popsicles will be naturally, significantly reducing the need for excessive added sweeteners.
- Always Adjust Sweetness to Taste: Before freezing, always taste the mixture! It should taste slightly sweeter than your desired final product, as the freezing process tends to dull sweetness perception. You can always add a little more honey or fruit if needed.
- Experiment with Textures: For a delightful chunkier pop, blend only half of your chosen fruit until smooth and then gently stir in the remaining finely chopped fruit before pouring into molds and freezing.
- Popsicle Molds Really Matter: While ice cube trays are a convenient starting point, investing in dedicated popsicle molds (silicone or sturdy plastic) often makes removal much easier and provides a more traditional, appealing shape. Look for molds with integrated stick holders for even easier and more stable stick insertion.
- Smart Storage for Longevity: Once your popsicles are completely frozen, you can carefully remove them from their molds. To prevent freezer burn and save space, store them individually wrapped in parchment paper, wax paper, or plastic wrap, then place them all together in an airtight freezer bag or container.
- Flavor Variations Beyond Fruit: Consider adding a teaspoon of pure vanilla extract for warmth, a pinch of cinnamon for a cozy touch, or even a tablespoon of chia seeds for added fiber, omega-3s, and a unique texture. A small squeeze of fresh lime or lemon juice can also wonderfully brighten and elevate the overall flavors.
So, go ahead, gather your simple ingredients, blend with enthusiasm, freeze with patience, and prepare to embark on a delightful journey back to childhood with every refreshing lick. These healthy homemade yogurt and fruit popsicles are truly more than just a dessert; they are a celebration of simple, wholesome ingredients transformed into a truly refreshing, nutritious, and joyful experience. Enjoy them as a perfect cool-down treat on a hot day, a vibrant and healthy breakfast on the go, or a guilt-free snack that satisfies your sweet cravings. Be the kid that you truly are, embrace the joy, and savor every single moment!