
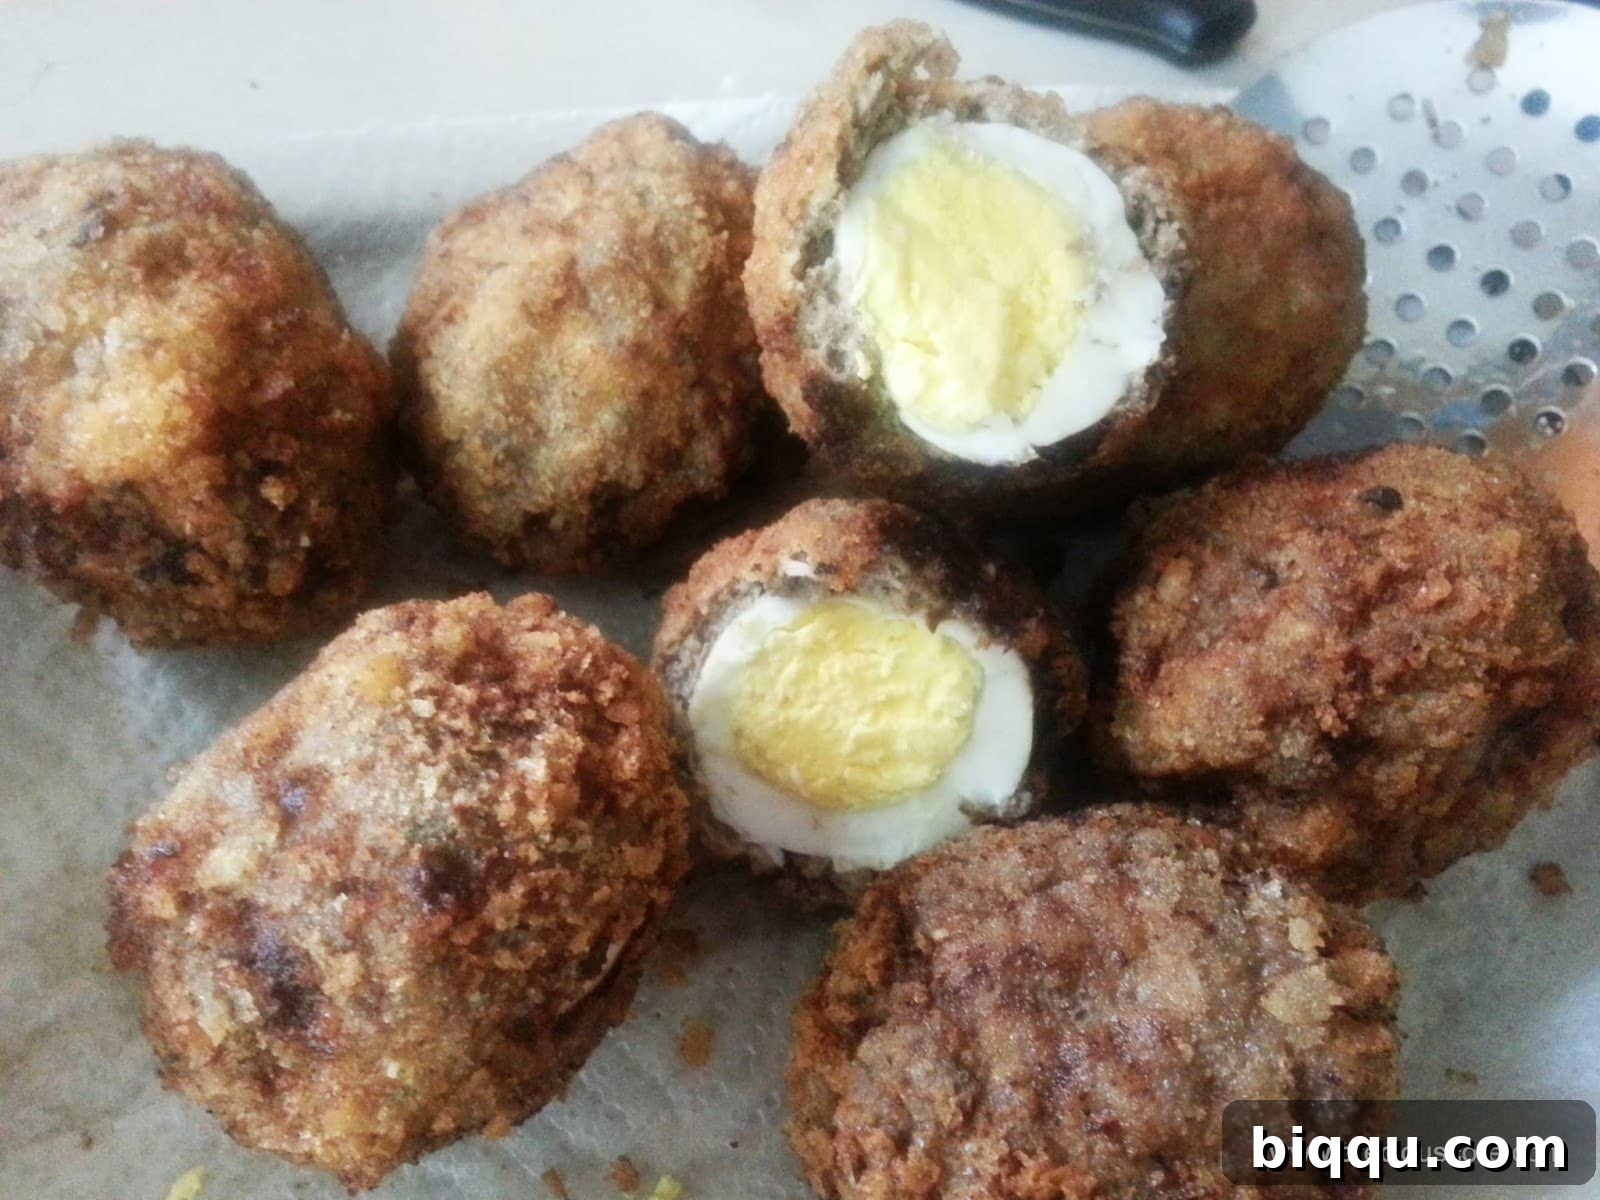
The Ultimate Guide to Making Perfect Homemade Scotch Eggs
Scotch Eggs! These iconic savory delights are more than just a simple snack; they are a culinary masterpiece that transforms a humble hard-boiled egg into an irresistible gastronomic experience. Whether you’re a devoted egg enthusiast or someone who typically shies away from them, the allure of a perfectly crafted Scotch Egg is undeniable. Wrapped in a savory blanket of seasoned meat and encased in a golden, crispy breadcrumb crust, these delectable morsels elevate the boiled egg to an art form, making it truly “worth dying for.” Get ready to impress your taste buds and your guests with this comprehensive guide to creating magnificent homemade Scotch Eggs.
Originating from England, Scotch Eggs have transcended their British roots to become a beloved dish enjoyed worldwide, adapting to local tastes and ingredients. From a hearty breakfast to an elegant picnic snack, a satisfying lunch, or a delightful appetizer, Scotch Eggs are incredibly versatile and consistently a crowd-pleaser. Their unique combination of textures – the firm yolk, tender egg white, succulent seasoned meat, and crunchy exterior – creates a symphony of flavors in every bite. This guide will help you master the art of making them from scratch, ensuring each one is a triumph.
Forget the often lackluster store-bought versions; there’s nothing quite like the joy and superior flavor of Scotch Eggs made fresh in your own kitchen. We’ll walk you through every essential step, from perfectly boiling and peeling your eggs to expertly seasoning your meat mixture and achieving that coveted golden-brown, crispy crust. We’ll also share invaluable tips and tricks to avoid common pitfalls and elevate your Scotch Egg game. Prepare to embark on a delicious journey into the world of homemade Scotch Eggs!
Recipe Overview: Key Details at a Glance
Before we fully immerse ourselves in the culinary process, here’s a quick glance at what to expect in terms of time and yield. These figures are estimates, and your actual times may vary slightly based on your kitchen setup and personal pace.
- Prep Time: Approximately 30 minutes
- Cook Time: Approximately 20 minutes
- Total Time: Approximately 50 minutes
- Yield: 7 glorious and satisfying Scotch Eggs
While the total time is less than an hour, the process is engaging and rewarding. Take your time with each step, especially the wrapping and coating, to ensure the best possible outcome. The effort invested will certainly pay off with delicious results!
Essential Ingredients for Your Scotch Egg Masterpiece
The foundation of any exceptional dish lies in the quality of its ingredients. Here’s a detailed list of what you’ll need to gather to craft your perfect homemade Scotch Eggs, along with some insightful tips for selecting the best components to ensure maximum flavor, texture, and overall success.
- 7 Large Hard-Boiled Eggs: These are the undeniable stars of our show. We recommend using large eggs for a substantial and satisfying Scotch Egg. It’s crucial that they are perfectly hard-boiled, fully cooled, and carefully peeled before you begin. Older eggs (a week or two old) tend to peel much easier than very fresh ones.
- 1 Pound (Approx. 0.5 kg) Ground Beef: While ground beef is a classic choice, offering a robust flavor, you have flexibility here. You could opt for ground pork, a savory sausage meat (such as Cumberland or Italian sausage, often pre-seasoned), or even a blend of beef and pork for a richer, more complex taste. We suggest using lean ground beef to prevent excessive grease, but a slight fat content (e.g., 80/20) will contribute to juiciness and flavor.
- Salt and Freshly Ground Black Pepper: These are your fundamental seasonings, forming the base of the meat’s flavor profile. Always use freshly ground black pepper for a superior aroma and a more vibrant kick compared to pre-ground varieties. Season generously but judiciously.
- 1 Tablespoon of Fresh Chopped Parsley: Fresh herbs are a game-changer. Parsley adds a delightful fresh, herbaceous note that brightens the overall flavor and provides a lovely speckle of green. Flat-leaf parsley (Italian parsley) is generally preferred for its more robust flavor compared to curly parsley.
- 1 Liter (Approx. 4 Cups) Vegetable Oil for Frying: You’ll need enough oil to adequately submerge your Scotch Eggs during frying. Vegetable oil, canola oil, sunflower oil, or even peanut oil are all excellent choices due to their neutral flavor and high smoke points, which are essential for deep frying.
- 1 Cup Breadcrumbs: The choice of breadcrumbs can significantly impact the final texture. Panko breadcrumbs, popular in Japanese cuisine, are highly recommended for an exceptionally light and extra-crispy exterior. However, traditional fine breadcrumbs also work wonderfully and create a classic finish.
- ½ Cup All-Purpose Flour: This ingredient is critical for the initial dredging process. It helps to create a dry surface on the meat, allowing the subsequent egg wash to adhere more effectively, which in turn ensures the breadcrumbs stick properly.
- 2 Raw Eggs: These will be beaten to create an “egg wash.” The egg wash acts as the essential binding agent, allowing the breadcrumbs to firmly adhere to the meat-wrapped egg, forming that irresistible crunchy crust.
Remember, cooking is an art, and these ingredients are your palette. Feel free to adjust quantities slightly or add other favorite seasonings to personalize your Scotch Eggs. Experimentation is part of the fun!
Step-by-Step Guide: Crafting Your Perfect Scotch Eggs
Phase 1: Preparation and Setting Up Your Workstation
A well-organized kitchen makes the cooking process smoother, more efficient, and ultimately more enjoyable. Let’s get everything meticulously prepared before we start assembling our Scotch Eggs. This mise en place will save you time and reduce stress.
- Prepare Your Dredging Station: Grab three separate, shallow bowls or deep plates. This setup is crucial for a clean and efficient coating process. In the first bowl, beat your two raw eggs vigorously with a fork until they are thoroughly combined and slightly frothy, creating a smooth egg wash. Place the ½ cup of all-purpose flour in the second bowl. In the third bowl, pour your 1 cup of breadcrumbs. Arrange these bowls in a logical sequence on your counter – typically flour, then egg wash, then breadcrumbs – to streamline the assembly line for coating.
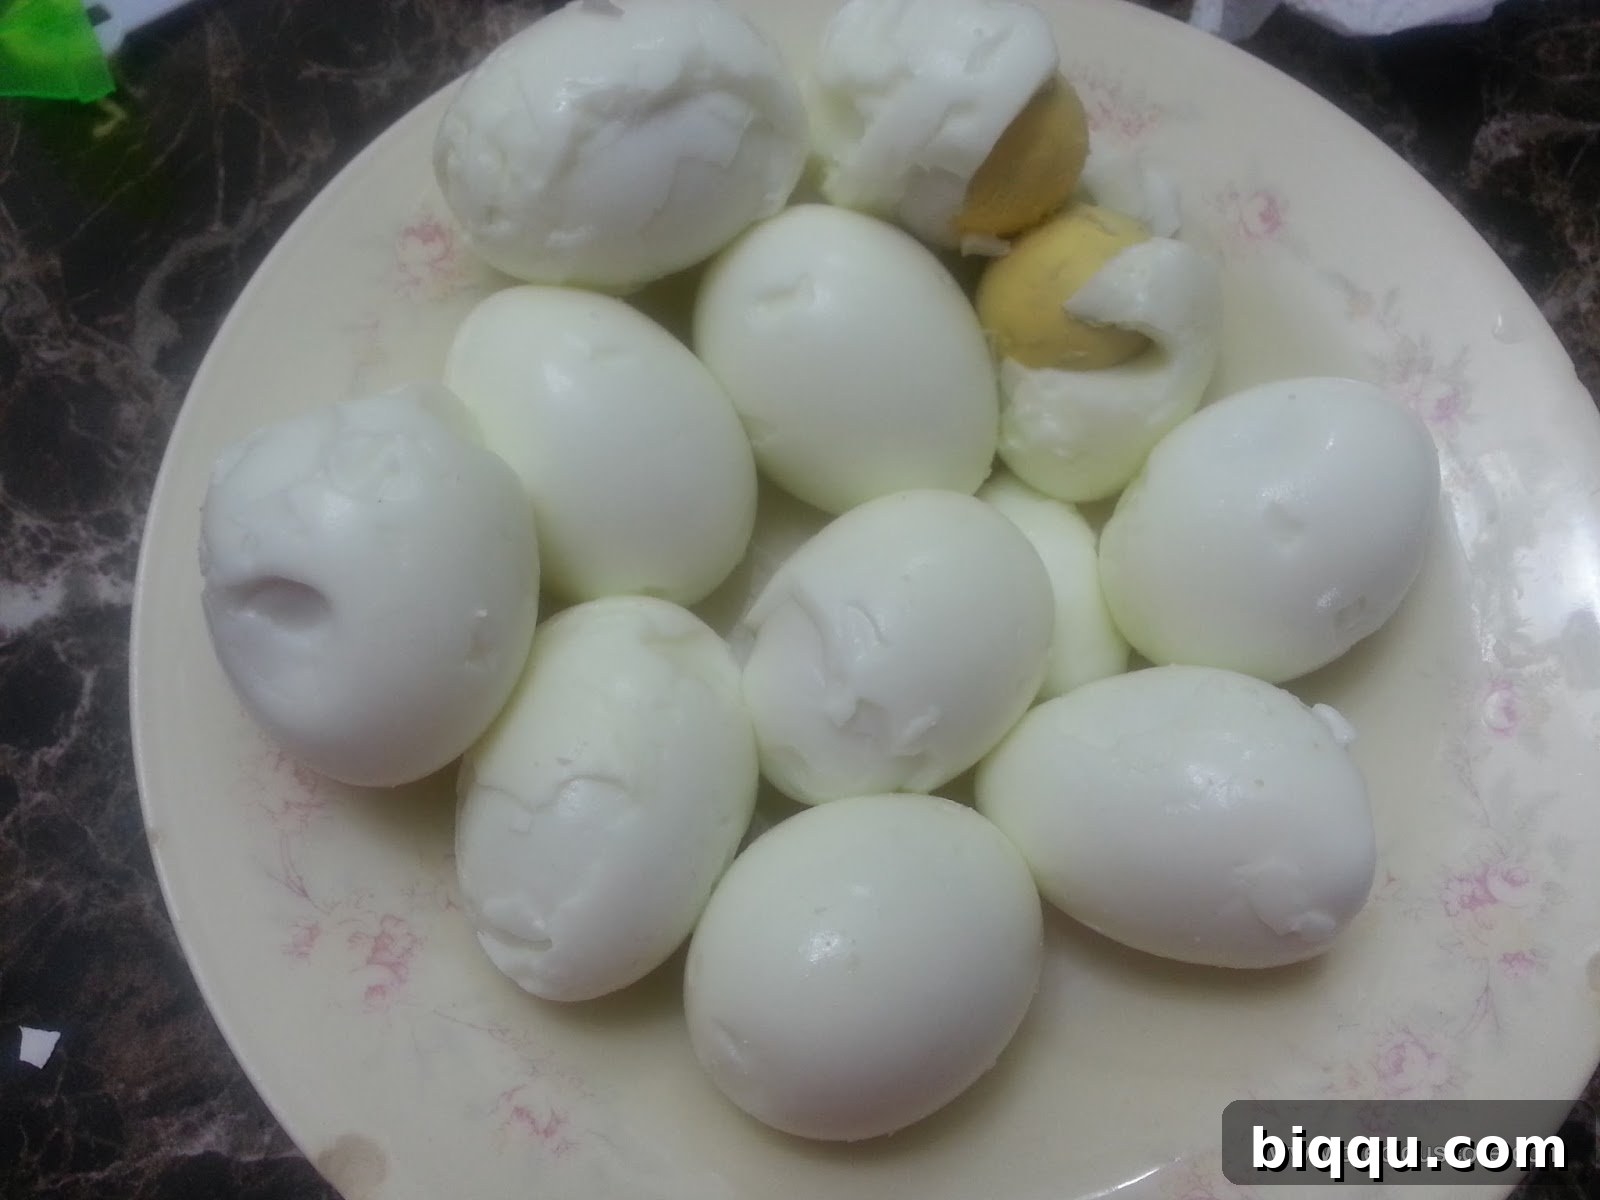
- Peel Your Hard-Boiled Eggs: This step can sometimes be surprisingly tricky for many home cooks! To minimize breakage and achieve a perfectly smooth surface on your hard-boiled eggs, try these techniques: after cooling the eggs completely, gently crack them all over by tapping them on a hard surface. Then, roll them between your hands on a flat surface to further loosen the shell. Peel them under a slow stream of cold running water, which helps to flush away small shell fragments and separates the membrane from the egg white, making peeling much easier. Don’t worry if a few aren’t absolutely pristine; they will still taste incredible encased in their savory meat shell. If you still encounter difficulties, remember that practice makes perfect, and slightly older eggs tend to peel more easily than very fresh ones.
Phase 2: Homemade Breadcrumbs – The Secret to Superior Crunch (Optional, but Highly Recommended)
While high-quality store-bought breadcrumbs are perfectly fine and offer great convenience, making your own breadcrumbs provides an unparalleled level of freshness, allows you to control the texture precisely, and can truly elevate the final taste and crunch of your Scotch Eggs. This step is optional but comes with a strong recommendation for achieving the best possible results.
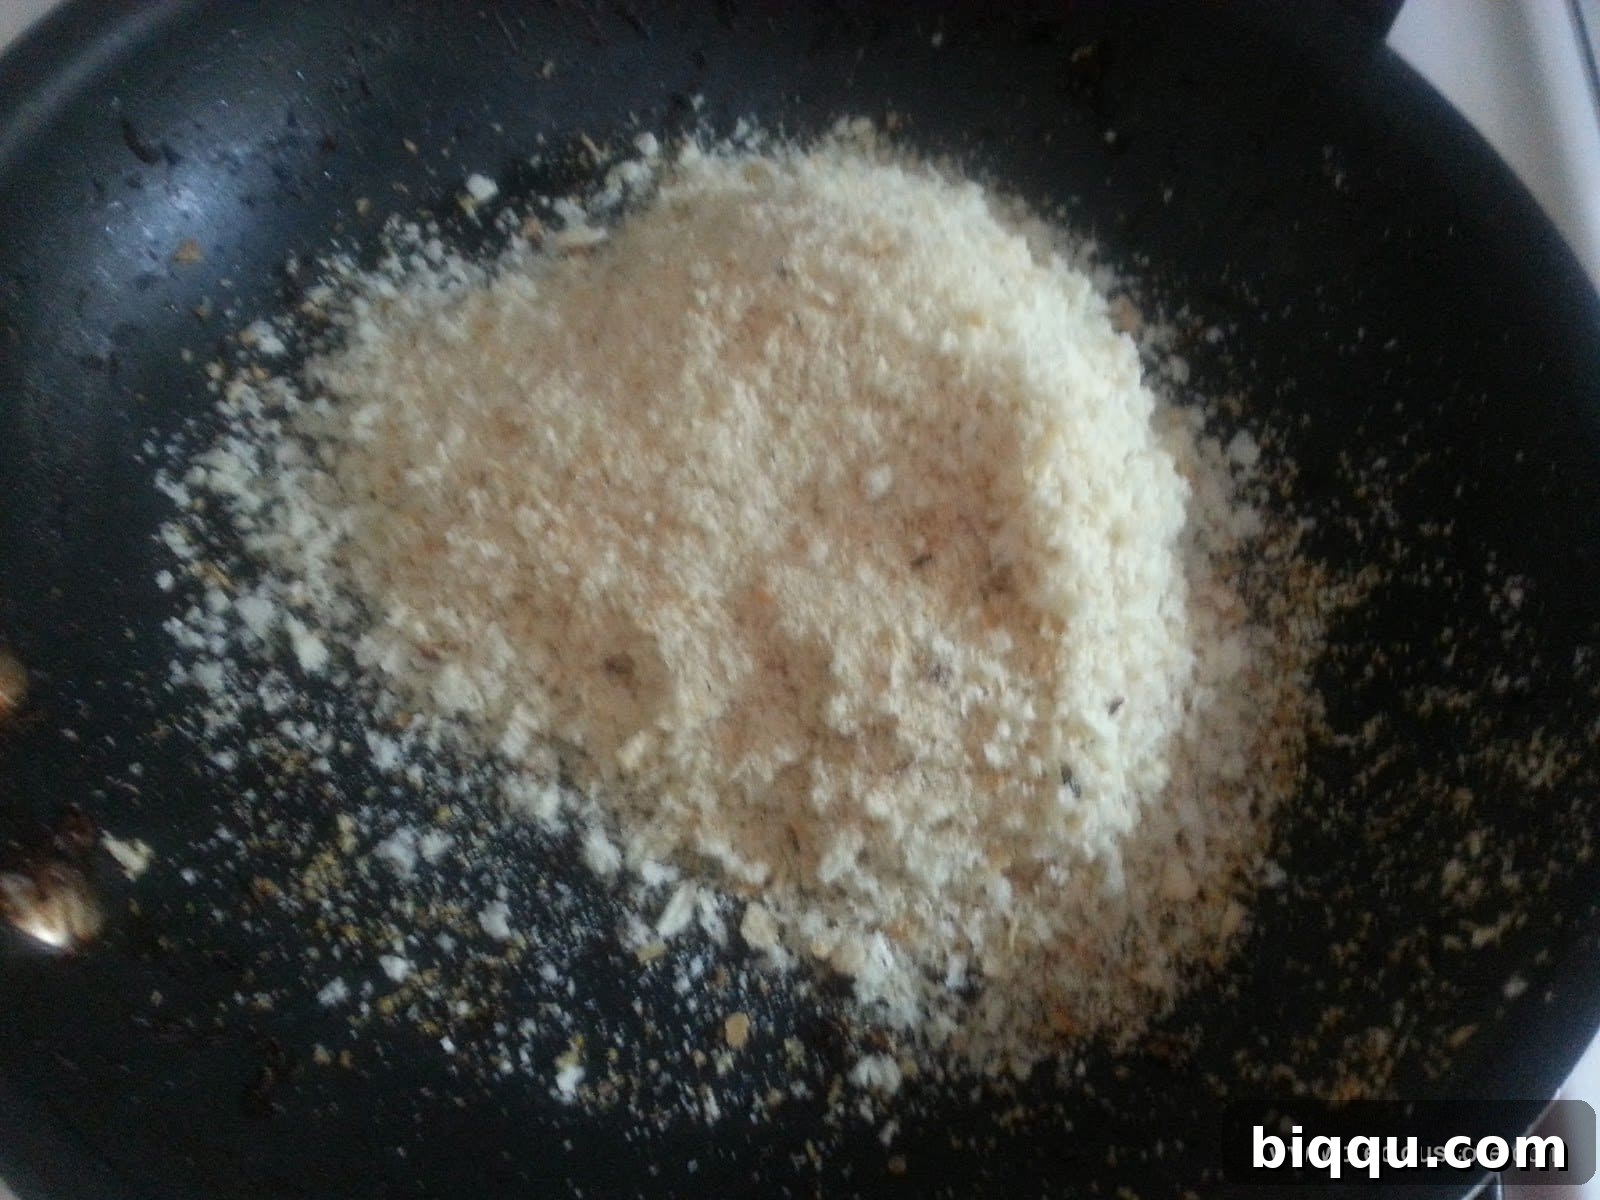
- Craft Your Own Breadcrumbs (if not using pre-made): If you decide to take the homemade route, start with good quality stale or slightly dried bread. Excellent choices include French bread, sourdough, ciabatta, or even day-old leftover sandwich bread. Cut the bread into roughly 1-inch cubes and spread them out evenly in a single layer on a baking sheet. Heat them in a preheated oven at a low temperature (around 250°F / 120°C) for approximately 10-15 minutes, or until the bread cubes are completely dry, crisp, and lightly golden, but critically, not burnt. Once cooled completely, transfer the dried bread to a food blender or food processor. Pulse until you achieve your desired crumb consistency. For Scotch Eggs, a relatively fine crumb creates a smoother, more uniform finish, while coarser crumbs will yield a more rustic, audibly crunchy texture. And just like that – voilà! You have fresh, custom-made breadcrumbs ready to go.
Phase 3: Seasoning the Meat – Building the Flavor Foundation
The seasoned meat layer is undeniably where much of the Scotch Egg’s savory character, depth, and personality truly shine. This is your opportunity to infuse the dish with incredible flavor, so don’t be shy with your seasonings; this is where you can truly make the recipe your own and customize it to your palate!
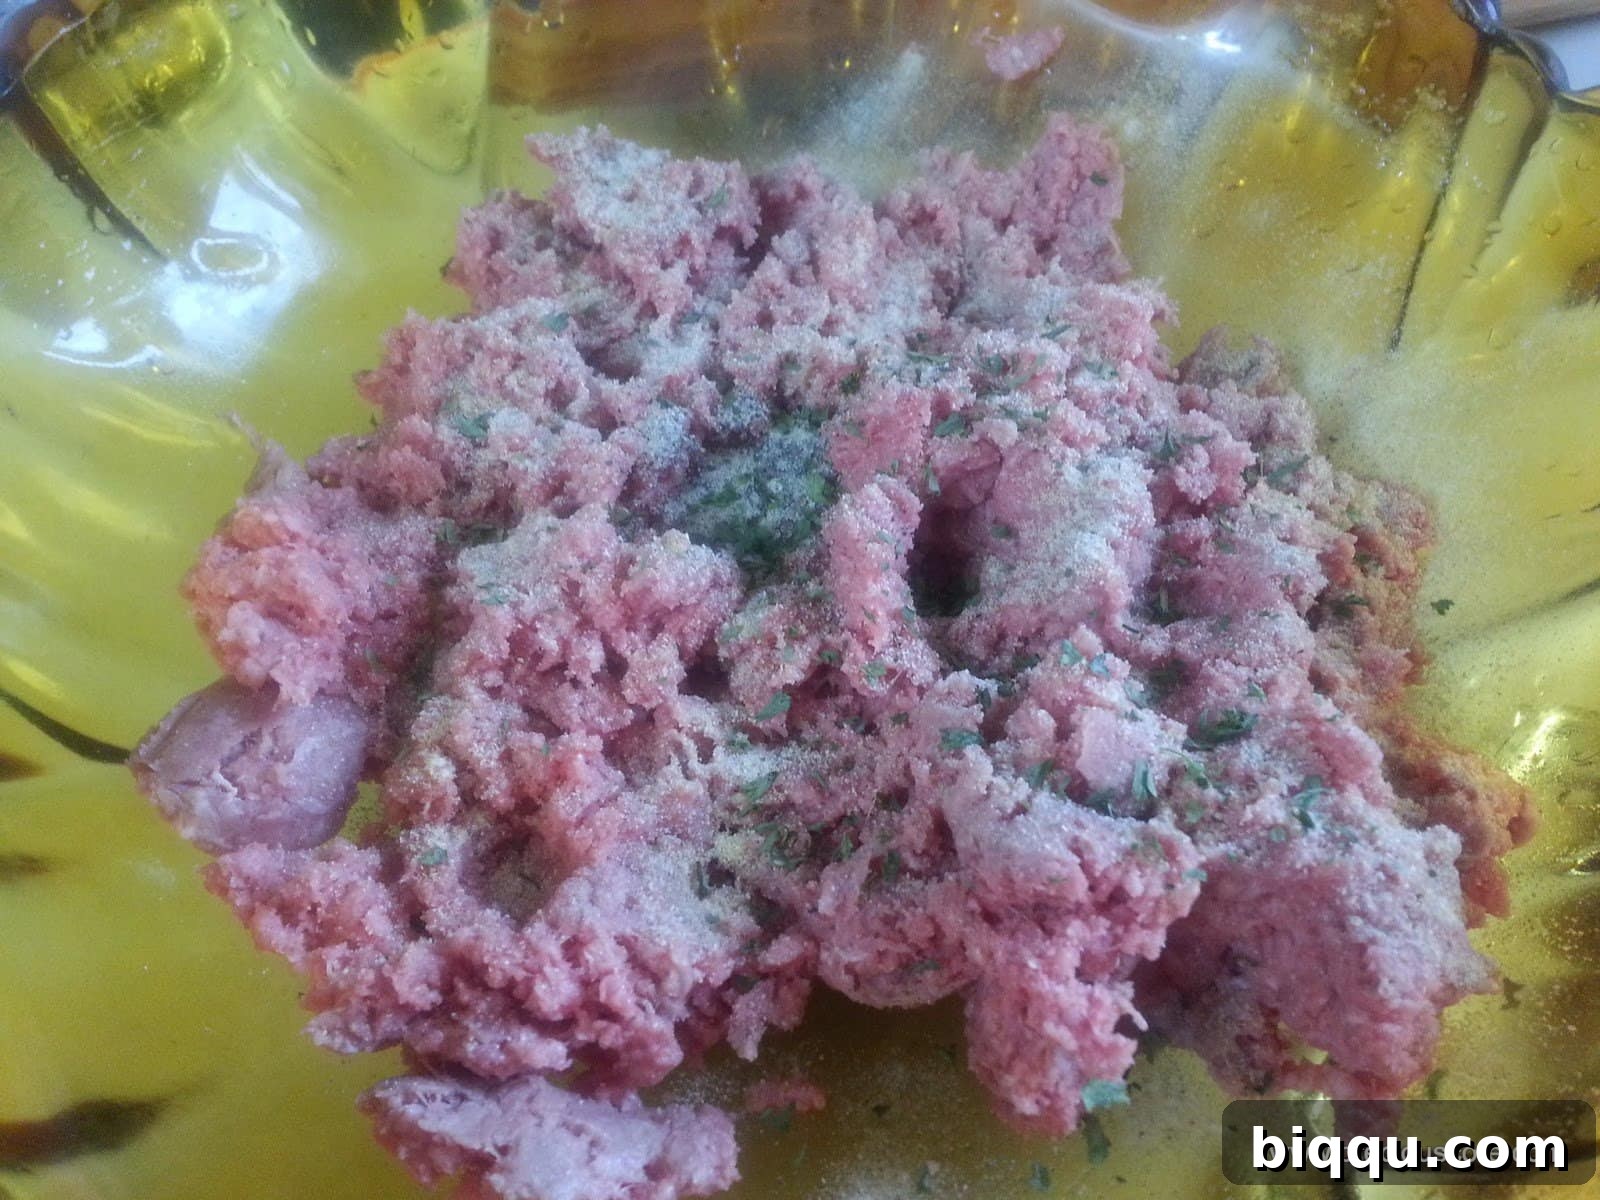
- Season the Ground Meat: In a large, spacious mixing bowl, combine your chosen ground meat (beef, pork, or a mixture) with the specified salt, a generous amount of freshly ground black pepper, and the finely chopped fresh parsley. Now is absolutely the time to get creative and think beyond the basics! Consider adding other aromatics and spices to introduce an extra layer of complexity and depth to your meat mixture.
Thoughtful Flavor Enhancement Suggestions:
- Garlic & Ginger: For a wonderfully aromatic depth and a subtle, zesty kick, add a teaspoon or two of freshly minced garlic and/or finely grated fresh ginger. These pair exceptionally well with ground meats.
- Onion Powder / Granulated Onion: If you desire a mild, consistent oniony flavor without the added moisture or texture of fresh onion, a teaspoon of onion powder or granulated onion is perfect.
- Smoked Paprika: A teaspoon of smoked paprika can work wonders, imparting a beautiful reddish hue and a deep, enticing smoky undertone that complements the meat beautifully.
- Cayenne Pepper / Chili Flakes: For those who appreciate a bit of heat, a modest pinch of cayenne pepper or a ¼ teaspoon of red chili flakes will add a delightful warmth without overpowering the other flavors.
- Worcestershire Sauce: A quick dash (about a teaspoon) of Worcestershire sauce can significantly enhance the umami profile and add a layer of rich, savory complexity.
- Other Herbs: Beyond parsley, consider incorporating a small amount of other finely chopped fresh herbs like thyme or sage. These add a lovely earthy, aromatic note, particularly if you’re using ground pork or sausage meat.
- Mustard Powder: A half teaspoon of dry mustard powder can subtly amplify the savory notes of the meat.
Using clean hands, thoroughly mix all the ingredients until everything is well combined and the seasonings are evenly distributed throughout the meat. Ensure there are no unseasoned pockets. Be mindful not to overmix, as excessive handling can sometimes make the meat tough. The ultimate goal is for all the ingredients to “marry each other,” creating a perfectly cohesive, richly flavored mixture that will embrace your egg.
Phase 4: Assembling the Scotch Eggs – The Art of Coating
This is where the true magic of Scotch Eggs comes to life! The key to creating a truly perfect Scotch Egg lies in meticulously creating an even, secure, and complete meat coating around the hard-boiled egg, followed by a thorough and consistent breading process. Precision here ensures a beautiful and delicious result.
- Wrap the Eggs with Meat: Divide your well-seasoned meat mixture into 7 perfectly equal portions. Take one portion of the meat and, using the palm of your hand, flatten it into a thin, even patty. The patty should be large enough to completely encase an egg. Gently place one peeled hard-boiled egg in the very center of this meat patty. Carefully and firmly bring the edges of the meat up and around the egg, completely enclosing it. Smooth out any seams and ensure the entire surface of the egg is evenly covered with the meat mixture. There should be absolutely no exposed egg white. Take your time with this step, pressing gently but firmly, to ensure a secure, uniform coating without any cracks or thin spots. A well-sealed meat layer prevents the egg from escaping during frying and holds everything together beautifully.
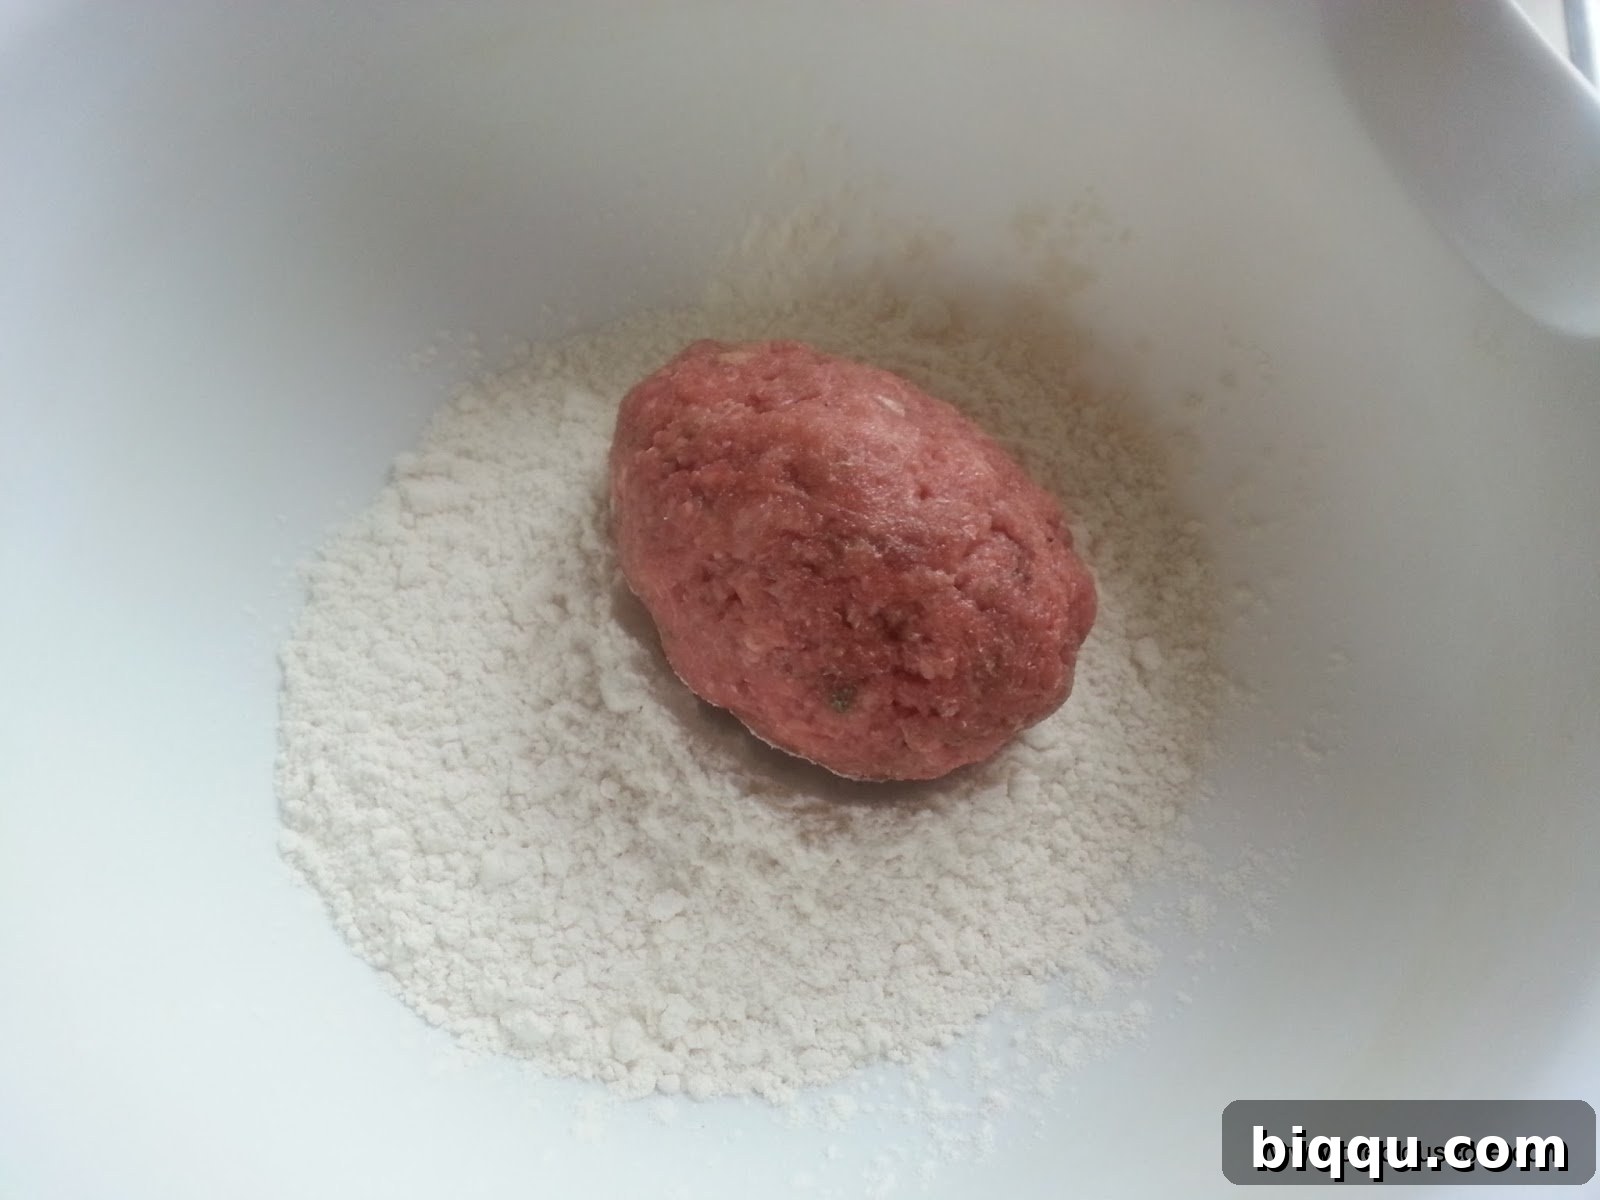
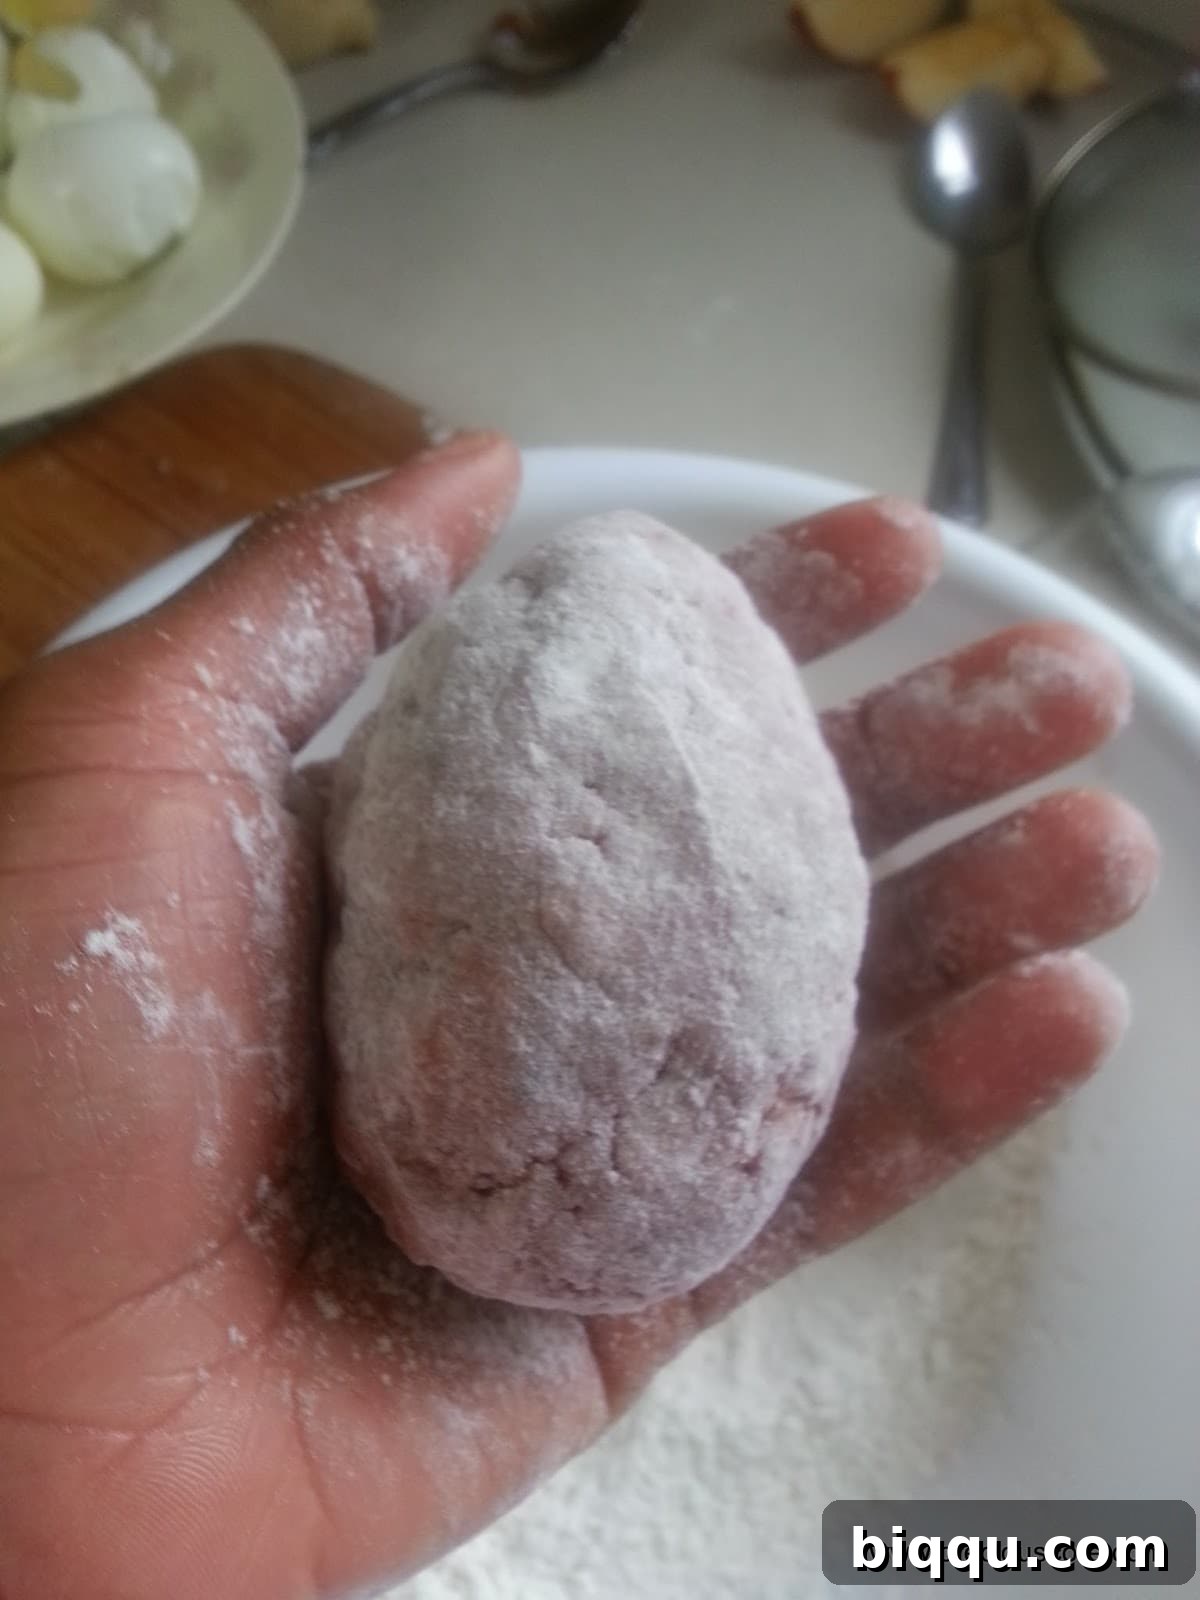
- First Dredge in Flour: Once the hard-boiled egg is fully wrapped in its savory meat blanket, carefully transfer it to your first bowl, which contains the all-purpose flour. Gently roll and pat the meat-wrapped egg until it is completely and evenly coated with a thin layer of flour. The flour serves a vital purpose here: it creates a dry, slightly tacky surface on the meat, which significantly helps the subsequent egg wash to adhere properly, forming a crucial bond for the breadcrumbs. Ensure full coverage.
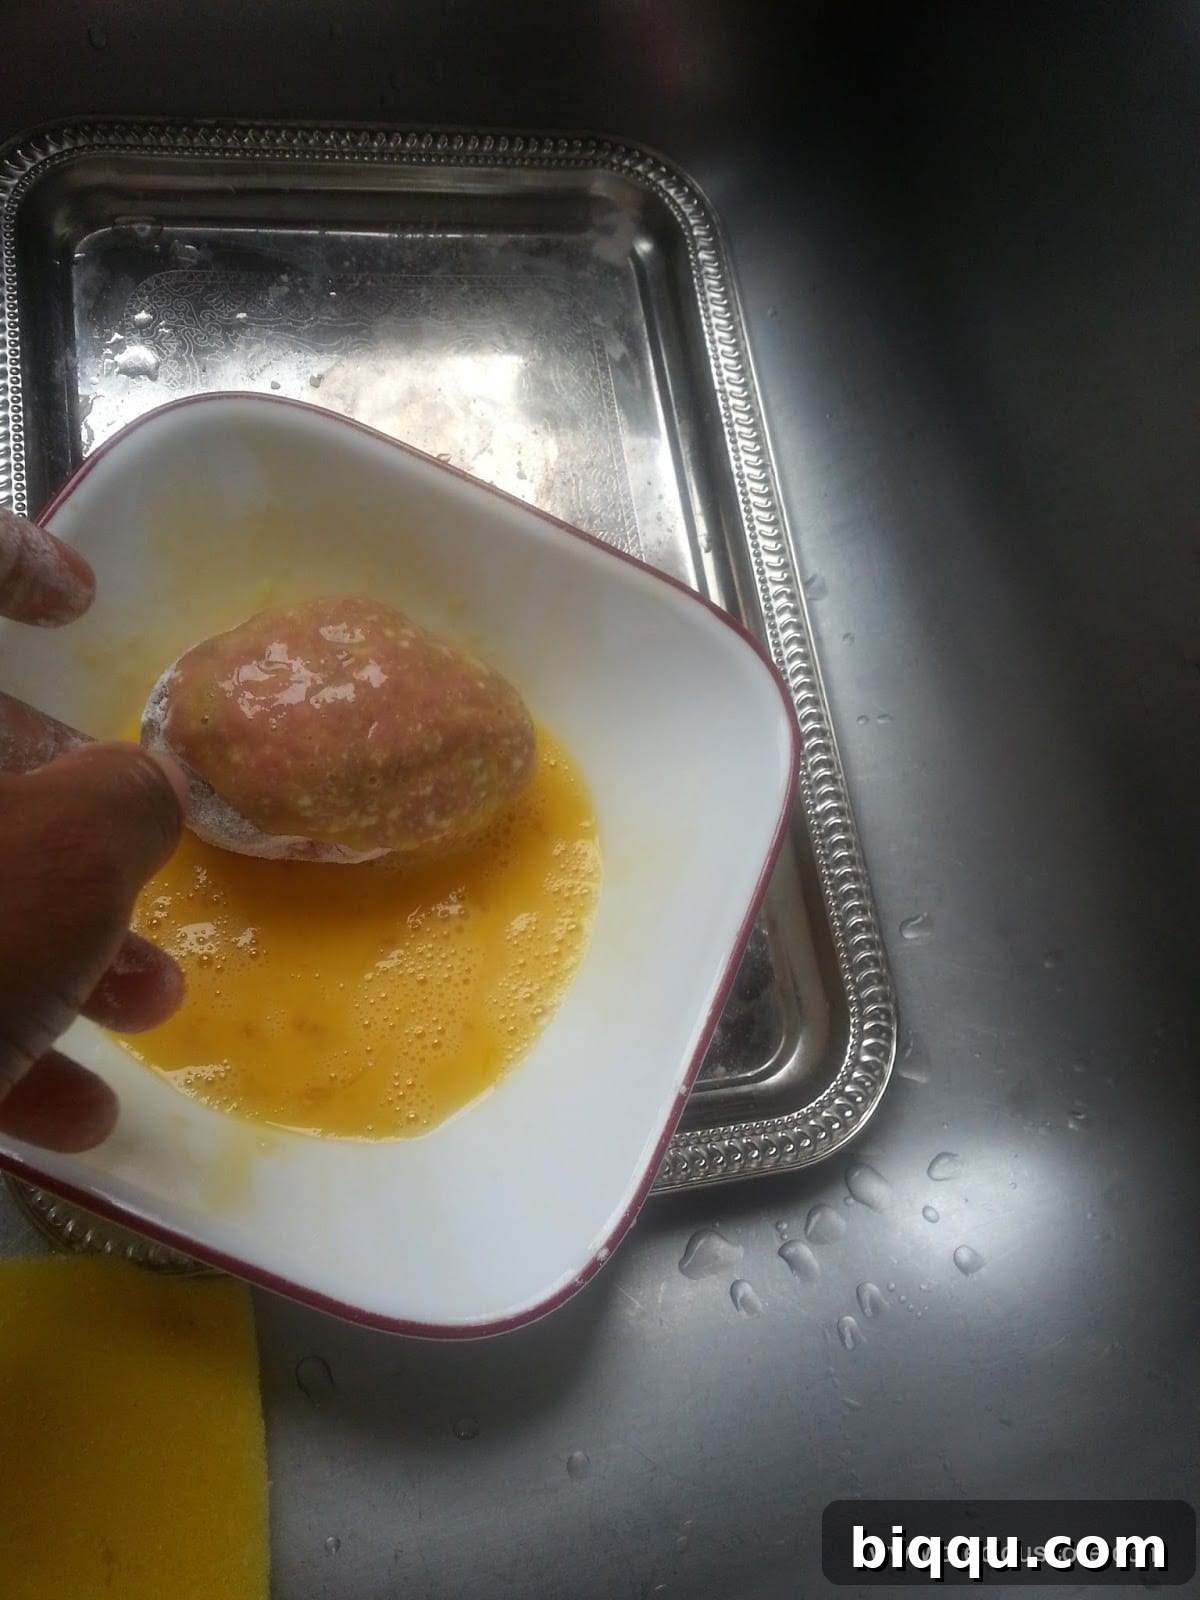
- Second Dip in Egg Wash: After its flour bath, carefully transfer the Scotch Egg to the second bowl, which holds your beaten raw eggs (the egg wash). Roll it gently and thoroughly to ensure it’s completely covered with the sticky egg mixture. This egg wash is the crucial “glue” that will firmly bind the final layer of breadcrumbs to the meat. Ensure even, complete coverage for a consistent crust.
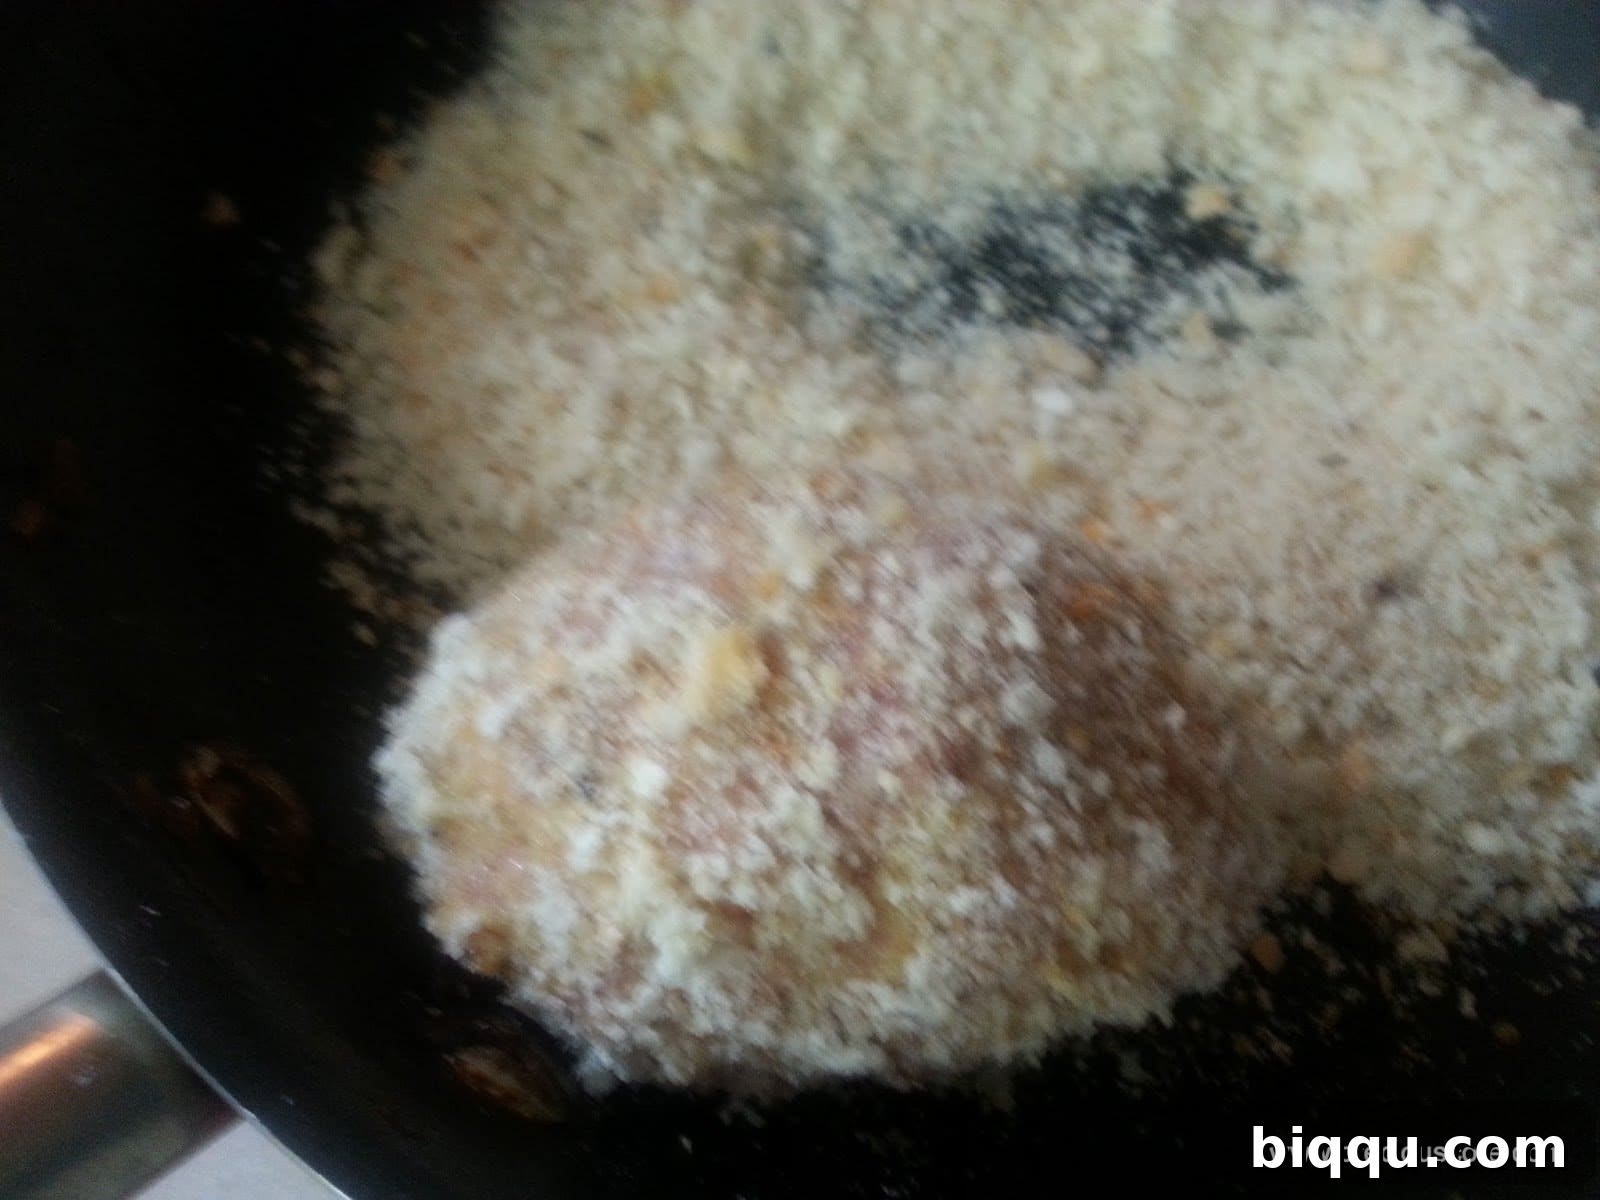
- Final Coat with Breadcrumbs: Finally, transfer the egg-washed Scotch Egg into the third bowl, filled with breadcrumbs. Roll and gently press the breadcrumbs onto the entire surface of the egg, ensuring a thick, even, and complete coating. This final layer is what will give your Scotch Egg its signature golden crispness and delightful crunch when fried. Ensure every part of the meat is covered, leaving no gaps, as this forms the protective and flavorful outer shell.
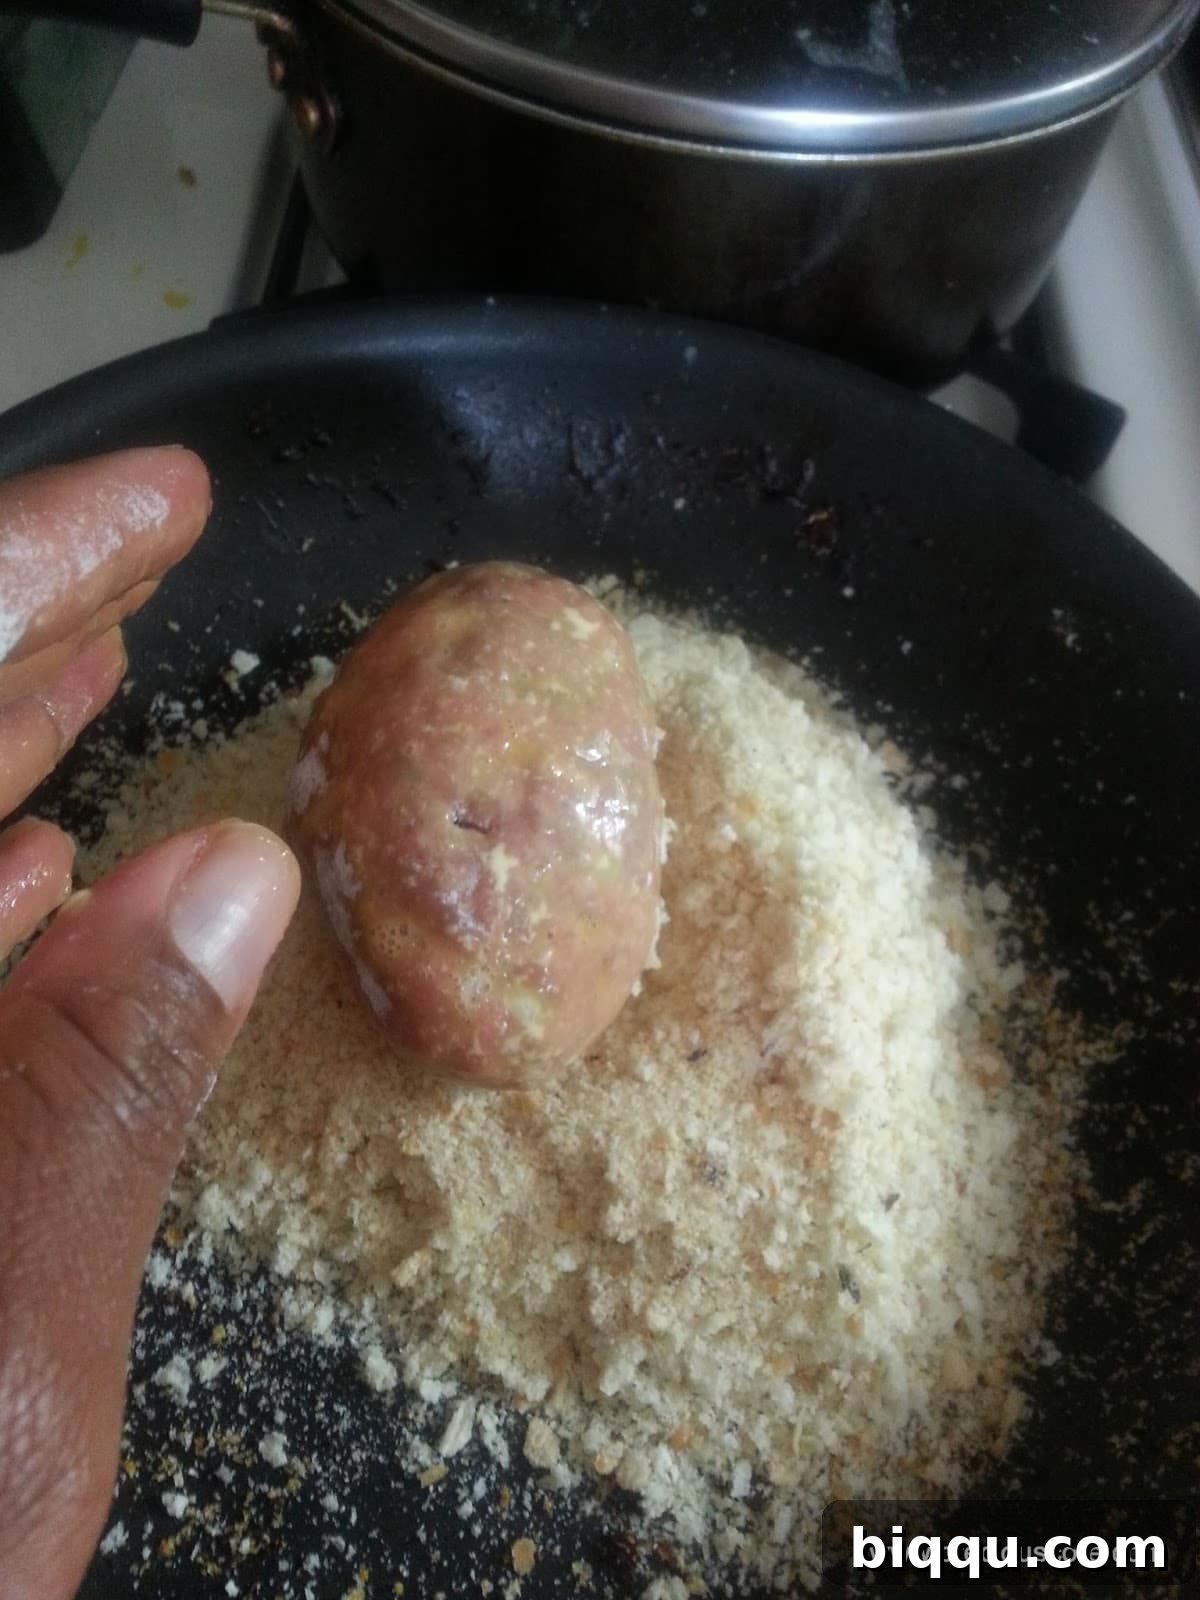
Repeat this entire meticulous coating process (meat-wrap, flour dredge, egg wash, breadcrumbs) for all remaining hard-boiled eggs. As you complete each one, gently place it on a clean plate, baking sheet, or wire rack, ensuring they are not touching each other. This prevents them from sticking together and helps maintain their perfect shape before frying. Once all are coated, you may chill them for 15-20 minutes, which can help the coating set and prevent it from falling off during frying.
Phase 5: Frying Your Scotch Eggs to Golden Perfection
Deep-frying is the traditional and most popular method for cooking Scotch Eggs, imparting that iconic crispy texture and ensuring the meat cooks thoroughly while the egg remains perfectly set and tender. This step requires attention to oil temperature for the best results.
- Heat the Frying Oil: In a large, heavy-bottomed pot, Dutch oven, or deep fryer, pour your 1 liter of vegetable oil. Place the pot on your stovetop over medium-high heat. The ideal temperature for frying Scotch Eggs is typically between 350-375°F (175-190°C). If you possess a kitchen thermometer (which is highly recommended for deep frying), use it to accurately monitor the oil temperature. If you don’t have a thermometer, you can perform a quick test: drop a tiny piece of breadcrumb into the hot oil; it should immediately sizzle vigorously and turn golden brown within approximately 30 seconds. Adjust heat as necessary.
- Carefully Fry the Scotch Eggs: Once your oil reaches the optimal temperature, very carefully and gently lower 2-3 Scotch Eggs into the hot oil at a time. It is crucial not to overcrowd the pot. Overcrowding will cause the oil temperature to drop significantly, which can result in greasy, soggy, and unevenly cooked Scotch Eggs. Fry in small batches to maintain consistent oil temperature and ensure even cooking and browning.
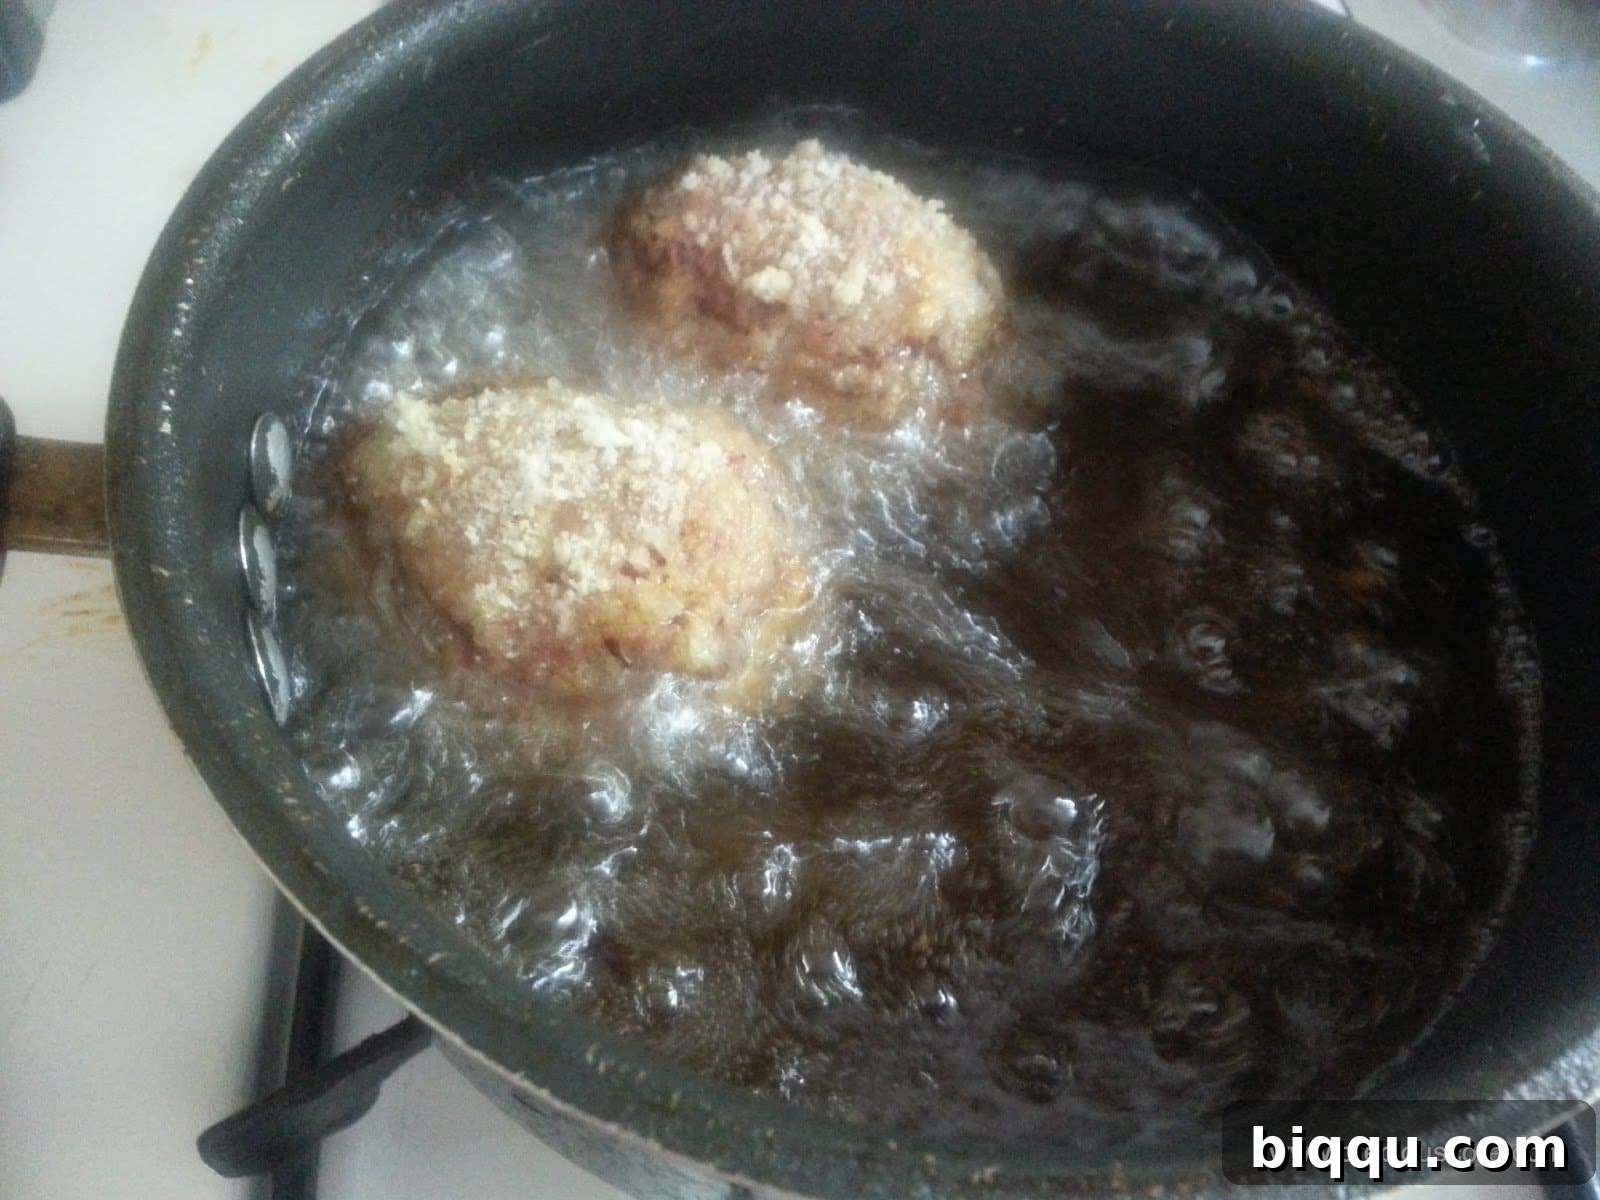
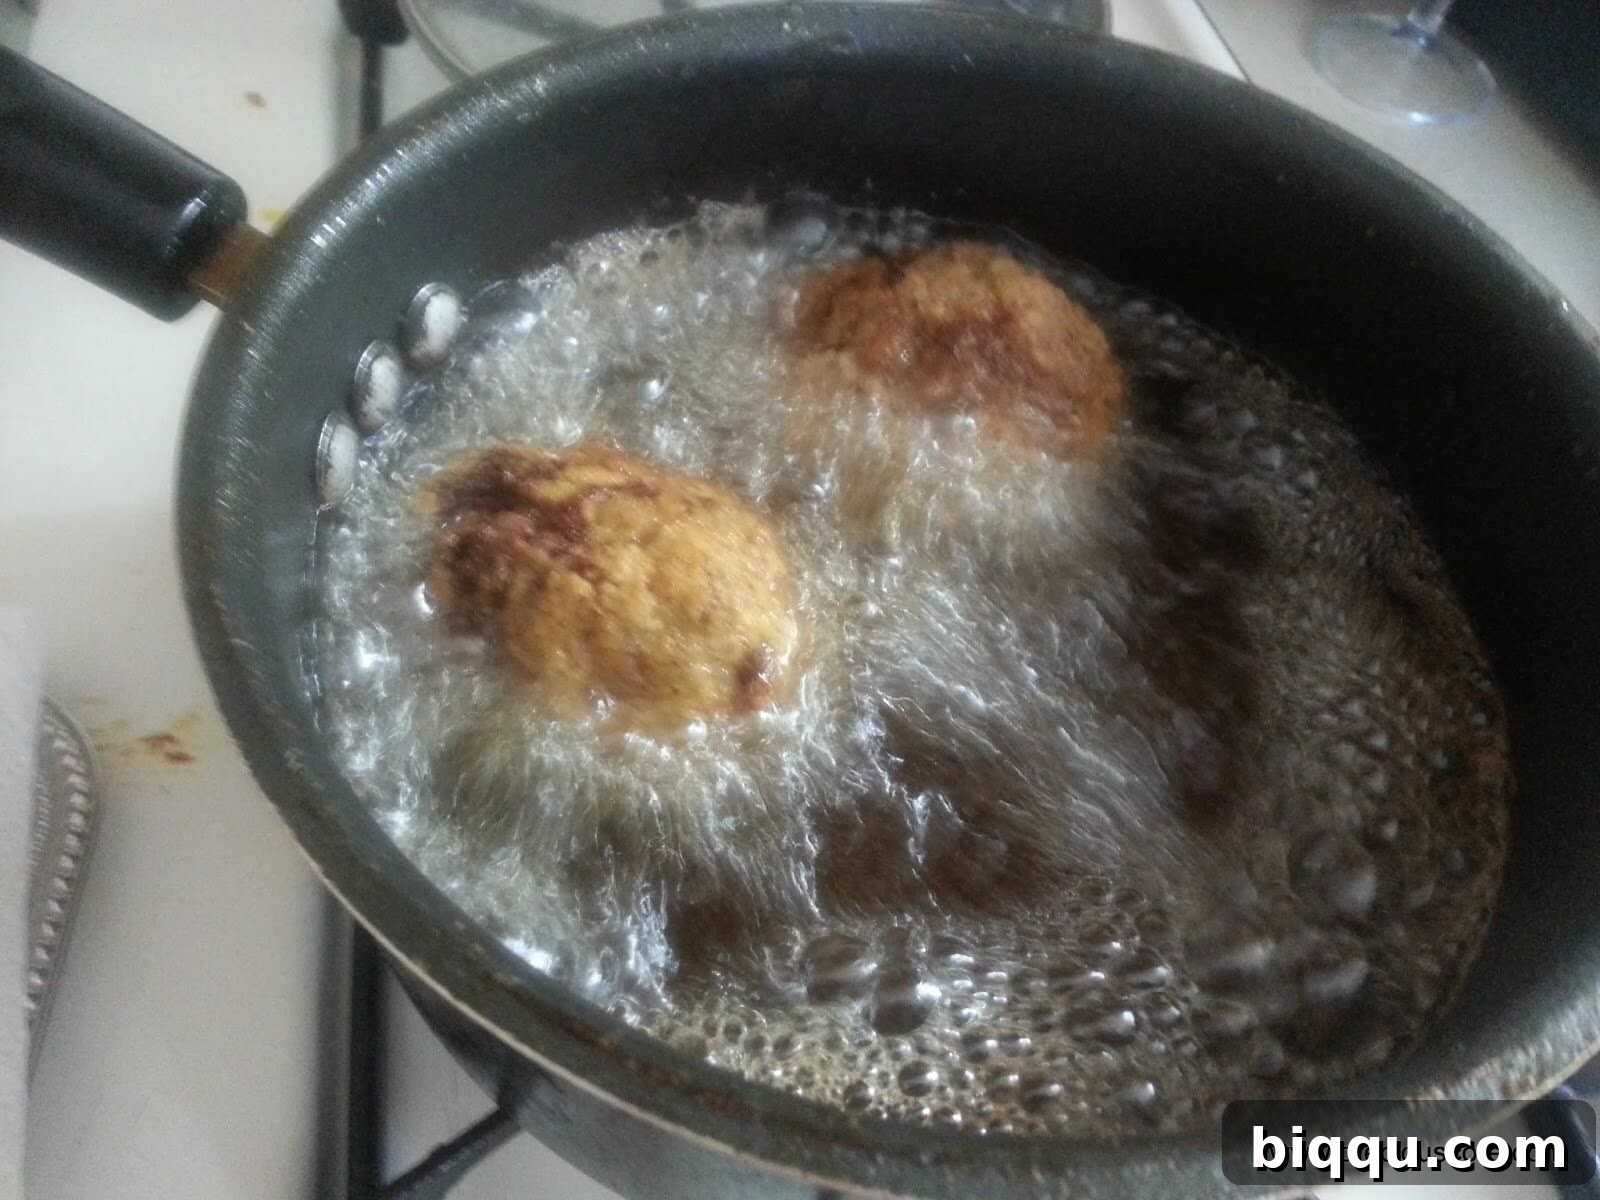
- Cook Until Golden Brown: Allow the Scotch Eggs to fry for approximately 5-7 minutes per batch. During this time, use a slotted spoon or a pair of tongs to frequently turn them, ensuring even browning on all sides. The meat coating should be thoroughly cooked through, and the breadcrumb crust should develop a beautiful, deep golden-brown color and become wonderfully crispy.
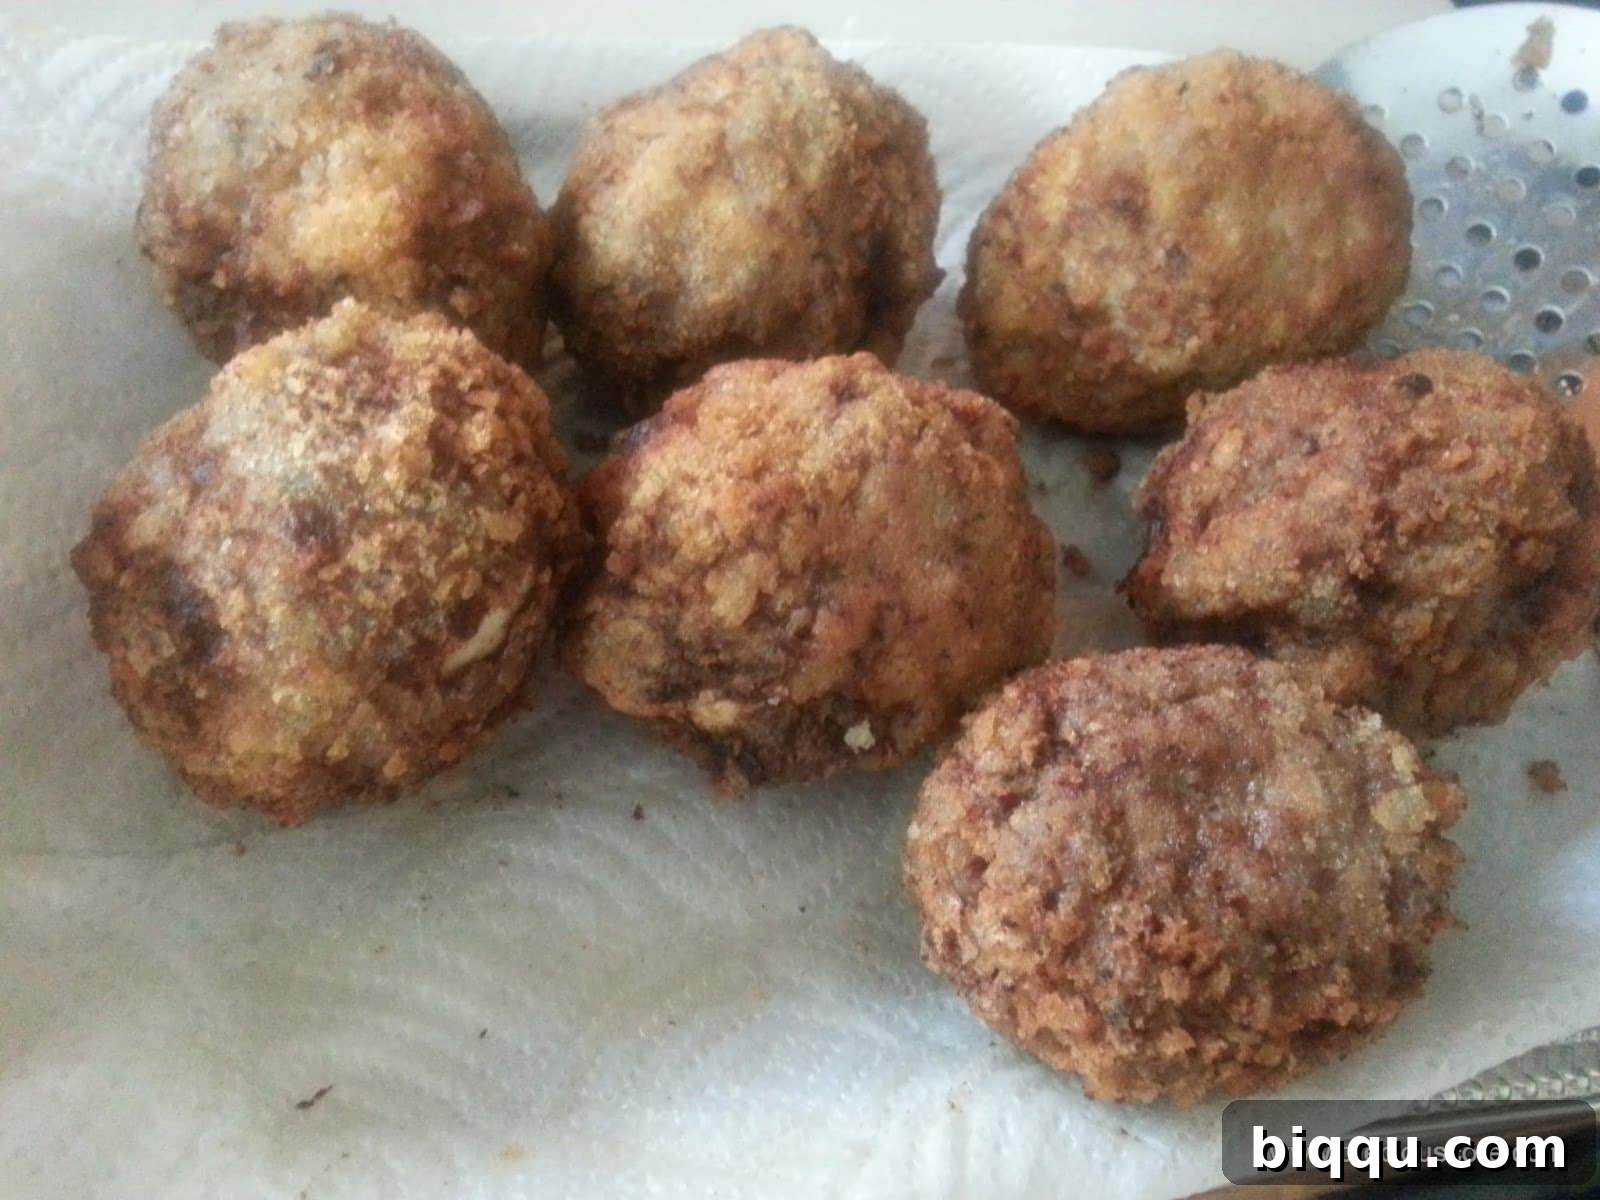
- Drain Excess Oil: Once cooked to perfection, carefully remove the Scotch Eggs from the hot oil using a slotted spoon or tongs. Immediately transfer them to a plate or baking sheet generously lined with several layers of paper towels, or onto a wire rack placed over paper towels. The paper towels are essential for absorbing any excess oil, which helps keep your Scotch Eggs delightfully crisp and prevents them from becoming greasy. Repeat the frying process with any remaining Scotch Eggs, always ensuring the oil temperature returns to the optimal range between batches for consistent results.
Tips for Scotch Egg Perfection & Troubleshooting Common Issues
Even with a meticulously followed recipe, a few insider tips and an understanding of common pitfalls can truly make the difference between a good Scotch Egg and an extraordinary one. Here are some expert pointers to help you achieve consistent success and overcome any challenges.
- Achieving a Smooth Breadcrumb Finish: The original content mentioned issues with a rough exterior. This often directly relates to the coarseness of your breadcrumbs. For a super smooth and refined finish, ensure your breadcrumbs are very finely ground. If using Panko breadcrumbs, which are naturally flakier and create a crunchier, slightly more textured finish (often preferred by many), you can still pulse them briefly in a food processor for a finer texture if smoothness is your primary goal.
- Preventing the Meat from Cracking: A cohesive meat mixture is paramount. Ensure your meat is thoroughly mixed with all seasonings until it forms a uniform, pliable mass. When wrapping the egg, take care to press the meat firmly and evenly around it, sealing any tiny gaps or cracks as you go. Chilling the assembled and coated Scotch Eggs in the refrigerator for 15-20 minutes before frying can also significantly help the meat firm up and reduce the likelihood of cracking or separating during cooking.
- Mastering Optimal Oil Temperature: This is arguably the most crucial factor in deep frying. If your oil is too cold, your Scotch Eggs will absorb excessive amounts of oil, resulting in a greasy, heavy, and soggy final product. Conversely, if the oil is too hot, the outside will burn quickly before the meat has a chance to cook through properly. A reliable kitchen thermometer is your best friend here. If you don’t have one, meticulously watch the oil and adjust the heat as needed, using the breadcrumb test as a guide.
- Avoid Overcrowding the Pot: Resist the temptation to fry too many Scotch Eggs at once. Frying in small batches (2-3 at a time) is essential for maintaining a consistent oil temperature, allowing enough space for even cooking and browning, and preventing a greasy outcome.
- The Secret to Perfectly Peeled Eggs: As mentioned, using eggs that are a week or two old (rather than very fresh ones straight from the chicken) often makes them considerably easier to peel. Additionally, giving your hard-boiled eggs an immediate “ice bath” – plunging them into ice-cold water directly after boiling – helps to shock the eggs, causing the egg white to contract and making the shell much easier to remove cleanly.
- Handling and Storage: Cooked Scotch Eggs can be stored in an airtight container in the refrigerator for up to 3-4 days. They are delicious served warm or cold. To reheat, you can use an oven (350°F/175°C for 10-15 minutes) or an air fryer to regain some crispness.
Serving Suggestions & Creative Variations
Scotch Eggs are incredibly versatile and can be enjoyed in a multitude of ways, making them perfect for almost any occasion. They are equally fantastic served warm, straight from the fryer, or chilled, making them ideal for picnics, packed lunches, or as a hearty, satisfying snack.
- Classic Pairings: For a traditional British experience, serve your Scotch Eggs alongside a dollop of tangy English mustard, a sweet and savory chutney, or a zesty pickle relish for an extra kick of flavor. A simple green salad with a light vinaigrette provides a refreshing contrast.
- Hearty Brunch Favorite: Elevate your weekend brunch spread by including Scotch Eggs. They pair wonderfully with classic brunch items such as baked beans, crusty toast, grilled tomatoes, and even sautéed mushrooms.
- Essential Picnic Food: Their portability and deliciousness both warm and cold make Scotch Eggs an absolute essential for any outdoor gathering, picnic, or garden party. They are robust and travel well.
- Party Appetizer: Cut them in half to reveal their beautiful cross-section and arrange them elegantly on a platter for a sophisticated party appetizer.
Creative Variations to Explore:
Don’t limit yourself to just beef! The world of Scotch Eggs is ripe for culinary experimentation:
- Different Meats: Experiment with various ground meats. Ground pork is a popular alternative, offering a slightly sweeter and fattier flavor profile. Ground lamb seasoned with mint and cumin can create a Mediterranean twist. Pre-seasoned sausage meat (like Italian sausage, chorizo, or even chicken apple sausage) can simplify the seasoning step and introduce exciting new flavors.
- Vegetarian Options: For a delightful plant-based twist, you can try wrapping hard-boiled eggs in a seasoned mixture of mashed lentils, hearty mushroom pâté, or a robust black bean “meat” alternative. There are many creative plant-based options that mimic the texture and savory notes of meat.
- Fish Scotch Eggs: As cleverly mentioned in the original recipe, coating your eggs with a well-seasoned fish mixture (such as smoked haddock or cod mixed with mashed potato and herbs) offers a unique and delicious seafood variation that’s lighter than traditional meat.
- Baked Scotch Eggs: If you prefer a lighter, less indulgent alternative to deep frying, consider baking your Scotch Eggs. After completing the coating process, bake them in a preheated oven at 375°F (190°C) for 20-25 minutes, or until the meat is thoroughly cooked through and the breadcrumb coating is golden and crispy. For a specific guide on baked Scotch eggs, you can check out this simple recipe. Baking offers a healthier profile without sacrificing much flavor.
- Air-Fried Scotch Eggs: For an even healthier and quicker option, air frying can produce surprisingly crispy results with significantly less oil. Air fry your coated Scotch Eggs at 375°F (190°C) for 15-20 minutes, making sure to flip them halfway through, until they are beautifully golden brown and fully cooked.
Final Thoughts: Savor Your Culinary Masterpiece!
Congratulations! You have successfully navigated the steps and crafted a batch of incredible homemade Scotch Eggs. The slight imperfections, such as a less-than-smooth exterior due to breadcrumbs, as humorously noted in the original content, are often what give homemade dishes their unique charm, character, and undeniable authenticity. What truly matters above all else is the amazing taste, the satisfying textures, and the immense personal satisfaction of creating something so delicious and impressive from scratch.
Scotch Eggs are more than just a recipe; they are an experience. They embody comfort food at its absolute best—hearty, intensely flavorful, incredibly satisfying, and versatile enough for any meal or gathering. Take pride in your culinary achievement! Share them with family and friends, pack them for a special outing, or simply savor them yourself as a well-deserved treat. We sincerely hope this detailed and comprehensive guide has empowered you to create your best Scotch Eggs yet, filling your kitchen with wonderful aromas and your table with delightful food.
Don’t hesitate to continue experimenting with different seasonings, meat choices, and even cooking methods to discover your absolute favorite rendition of this classic dish. The journey of culinary exploration is endless and rewarding. Happy cooking, and bon appétit!